
I hope everyone had a great Thanksgiving (if you celebrate it), and kudos to anyone that went out on Black Friday and braved the stores. The holiday was a welcome break for me, and now I’m excited to get back to our Pro-Follows. For those just joining us, I’ve been shadowing pro contractor and president of SDG Home Solutions Joe Bianco. Joe and his crews are in the process of finishing a basement, and here’s the progress so far:
- Framing Overview and Rough-in Electric
- Plumbing Rough-in
- Installing an Egress Window
- Tile Prep and Laying Tile
- Grouting the Tile Floor
If you live in the greater Baltimore area and are in need of a contractor, please consider Joe Bianco for the job. This Pro-Follow and others like the Triple Bathroom Remodel are excellent examples of the integrity and high-quality Joe bring to every home improvement project. Find Joe’s contact info on his website or on our Meet The Pros page.
At this point the electric has been completed, and all the lights, switches, outlets, cable connections and smoke detectors are fully functional.
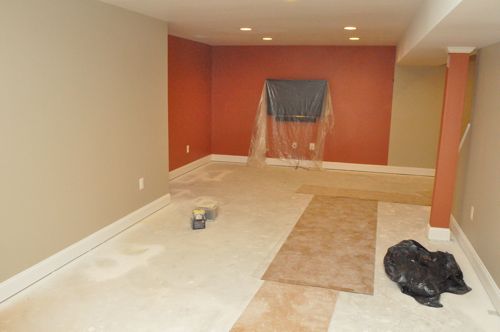
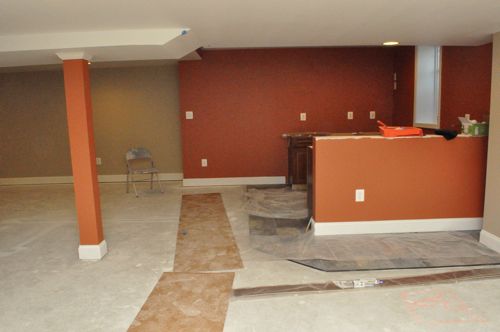
The painters have been through, and they’ll be back for a few touch-ups. Joe still needs to install a few access panels for things like water shut-off valves. All the tile has been finished, and the carpet should be installed this week or next.
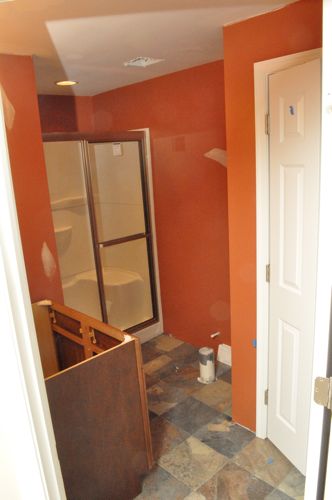
The bathroom is coming together, and soon the guys will be installing the toilet and other fixtures.
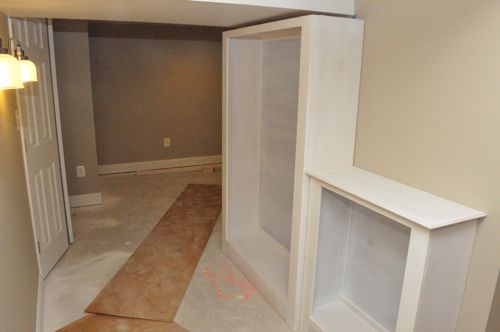
Joe custom-made these cabinets, and they’ll go in after the carpet. You can expect full details on an up-coming Pro-Follow.
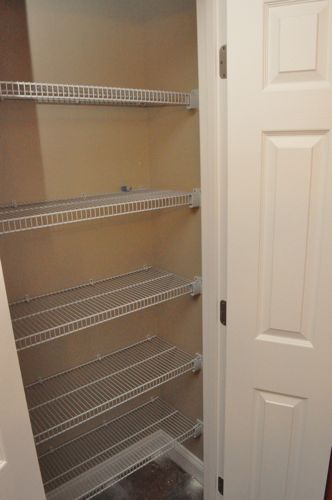
Installing Door Hardware
Joe’s crew came through and installed door knobs, strike plates, and stops for all the doors. I like these spring-style door stops because they aren’t easily damaged or dislodged.
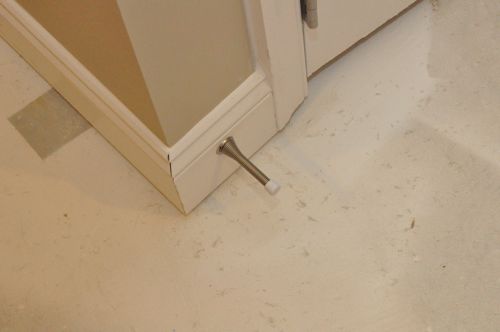
In some instances, the guys used these pin-style door stops to prevent the door from hitting nearby objects.
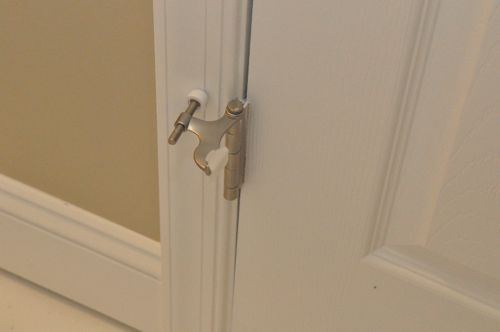
One perk of installing pre-hung doors is that the all the holes are already cut, and the door handles go on very quickly.
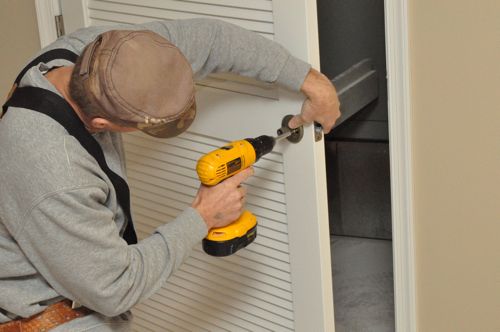
On a couple of doors the guys needed to widen the latch hole, and they used a drill with a cutting bit (much like a Dremel bit).

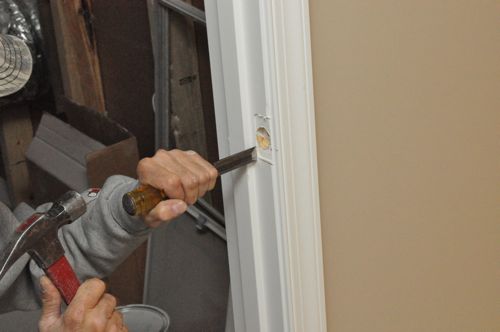
Next, they extended the strike plate opening by chiseling out a little more of the door jamb.
Installing the Bar Cabinets
Meanwhile Joe was installing the base cabinets in the galley-style bar. The granite countertop should be arriving later this week.
Step 1: Find the Highest Point
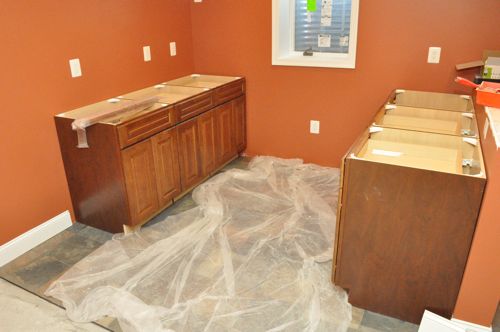
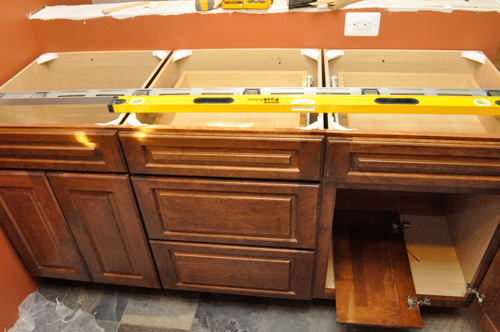
Joe started by setting the cabinets in their positions and determined the high point for each group. The high point determines the height to which the other cabinets must be shimmed so that they are all level and even for the countertop. For these three cabinets, they were all about even, and the one closest to the wall was the highest.
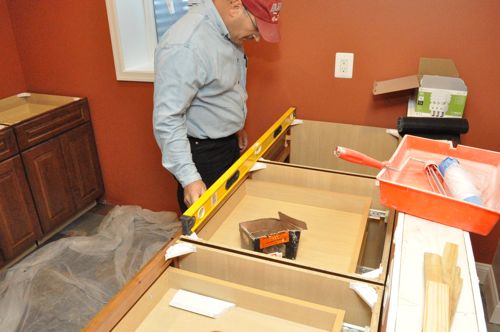
Joe also found one of the walls was noticeably out of square.
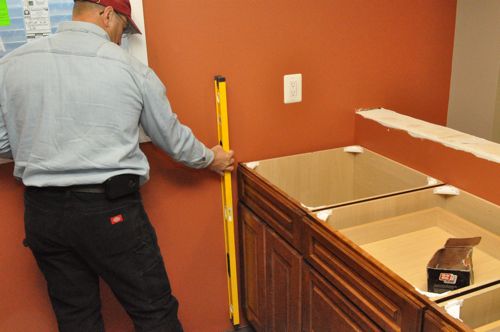
On the other side of the bar, the middle cabinet was the highest.

Step 2: Fill and Plane
Joe nailed a piece of filler to both cabinet face-frames adjacent to the window wall. This makes it easier to fully open the cabinet doors, and Joe was able to plane the filler for a snug fit against the wall.

Step 3: Shim Level
Next, starting at the highest point Joe shimmed the cabinets so that they were level front-to-back and side-to-side. This meant putting shims on the underside and sometimes the backside of the cabinet.
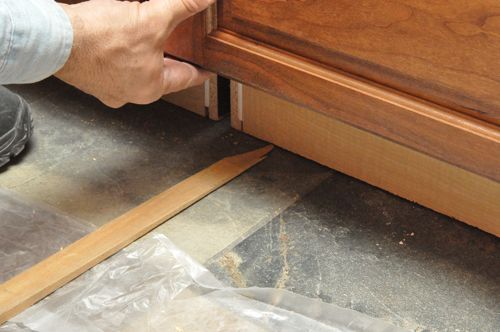
Step 4: Screw Frames Together
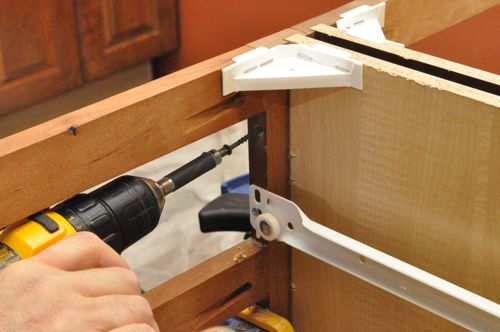
Joe also positioned the cabinet faces flush and clamped them together while he drilled a pilot hole.
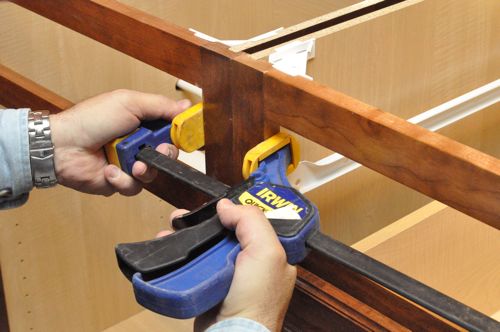
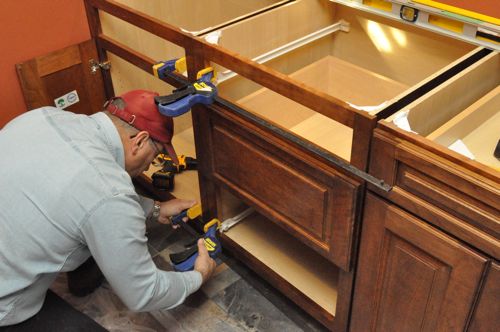
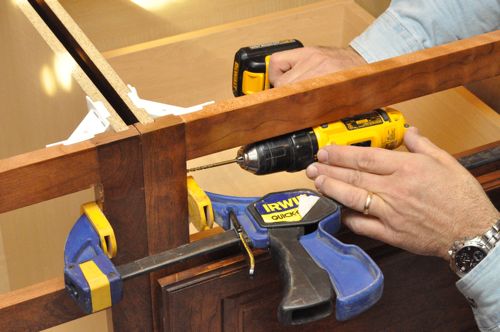
Joe used three 2-1/2″ screws to join the face frames.
Step 5: Locate Studs
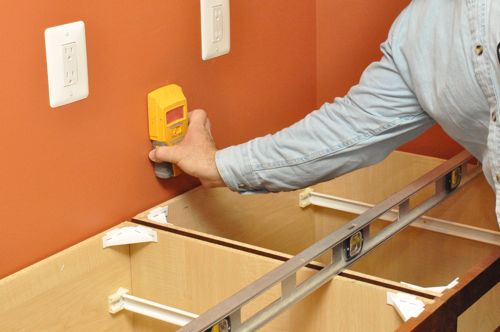
Along the half-wall the studs are marked. However, on the opposite wall Joe used a stud finder and educated guesses to determine the location of studs.
Step 6: Screw Base Cabinets to Wall
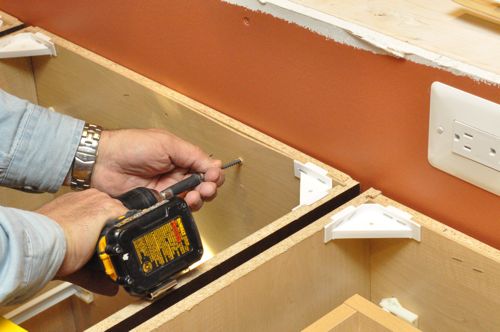
Joe put at least one screw per base cabinet into a stud to lock it into position.
Step 7: Cut Shims
Joe used a utility knife to score and snap the shims.
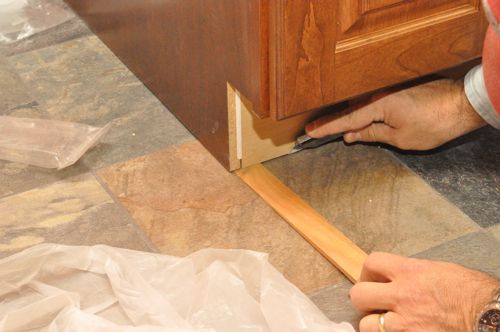
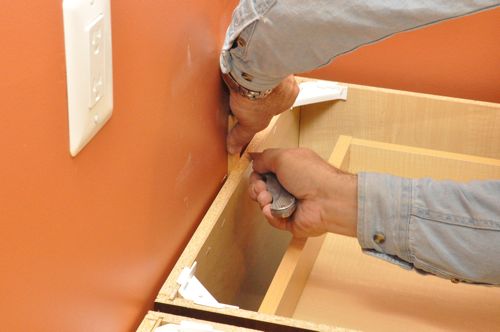
All that’s left is nailing the toe-kick along the base of the cabinets, and everything will be ready for the countertop to arrive.


The owners really like burnt orange huh?
I have found that the pin mounted doorstops can work, but if you put too much pressure on them they can punch through a hollow door, so theyre not the best for houses with kids.
are those 12″ or 18″ double doors on that closet? or is it just a trick of perspective?
I’ve found that too. Unfortunately, there isn’t a better solution when the typical door stop isn’t an option (that I’ve seen). If you’re asking about the double doors on the bathroom closet, I believe they are 12″.
I’ve got a couple of those in my house for the same reason. I don’t trust that type of doorstop, but I haven’t found a better solution
One question I have always had and could never figure out is what do you do to make the toe kick flush to the floor if some of the cabinets have been raised by shims?
Scribe the kick to match the floor or cover any bottom gap with base shoe (if the kick is installed before shimming).
I assume the guys will be installed the toe-kick tight against the floor. Any gaps caused by the shims won’t be visible because it’ll be concealed by the cabinet overhang (the face of the cabinet protrudes past the toe-kick).
Kind of related I guess…and shows how little I know…but I’ve never really understood shims. Do they just sit under the cabinet then? It seems like they would slide around or eventually get out of place. Seems strange just to stick them in and leave them. What am I missing?
Other than that I love the bar area!
The shims help level the cabinets before they are screwed into place. After that the cabinets are not moving. Then the weight of the cabinets will keep the shims in place.
I love that burnt orange, the whole project looks awesome.
This is looking great. The homeowners are going to love it.
Really impressive makes me long for a finished basement. I wasn’t too keen on that orange but I bet it looks better in person your monitor never displays colours exactly as they are. The orange really works well with the tile and wood too.
I think the orange looks pretty good, and you’re right that it looks nice with the tile.
This is turning into such a great living space.
Besides punching holes in hollow doors, the pin-style doorstops can also dent the trim around the door with too much pressure.
Pretty boss that they are going for granite in a basement wet bar. (Is it a wet bar? I forget.) Cabinets look good. Can’t wait for the follow on how he built those custom white ones.
It is a wet bar, and the sink will be to the right of the window, against the wall. I’m looking forward to those shelves going in too.
How did Joe know where to plane the filler strips? Did he use the traditional method of scribing a line with a compass?
He actually scribed a line on the filler strips by running his pencil along the wall. It was a slick trick (that I didn’t get a good picture of).
With a carpenter’s pencil, it’s really easy. That’s the method I use too. You have two different thickness to work with depending on what face you lay flat to the wall. If I need more of a gap I’ll lay the pencil on a paint stir stick or other block of wood and follow the wall.
Burnt Orange is a bold color, but I think it’s gonna look good