
Joe Bianco is a general contractor with a real passion for woodworking. He’s shown me pictures of built-in cabinets and fireplace mantles he has completed in the past, and they all looked very impressive. When I learned that Joe would be building some custom bookshelves as part of the basement remodel, I was excited to see Joe in action.
If you’re just joining us, today’s article is part of a series covering a basement remodel with local contractor Joe Bianco, and here’s what you’ve missed so far:
- Framing & Electric Rough-In
- Plumbing Rough-In
- Requirement and Installation of Egress Window
- Tile Prep & Laying Tile
- How to Grout a Tile Floor
- Installing the Bar Cabinetry
- Installing the Granite Countertops
- How to Install Wall-to-Wall Carpet Flooring
Joe built the shelf carcasses at his workshop. He used cabinet grade 3/4″ plywood, and the back is 1/4″ tempered hardboard. He made the left-side unit just short enough to clear the bulkhead after the carpet was installed.
Pro-Talk: In woodworking, the shell of a cabinet, shelf, dresser, etc. is often referred to as a carcass.
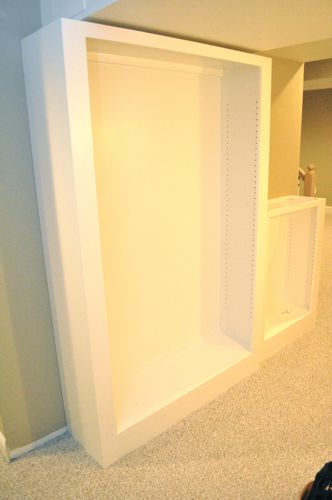
The face frames are made of Poplar and joined together with pocket hole screws. Joe secured the frames to the carcasses with finish nails through the face and then filled the holes. Both units and the shelves were painted with furniture grade paint that provides a more durable finish.
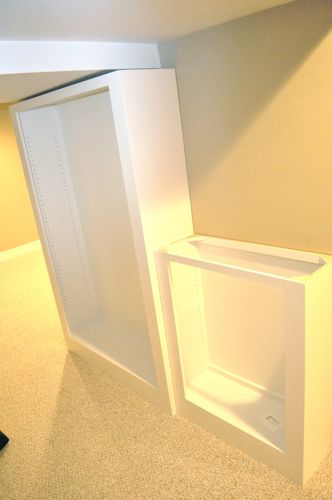
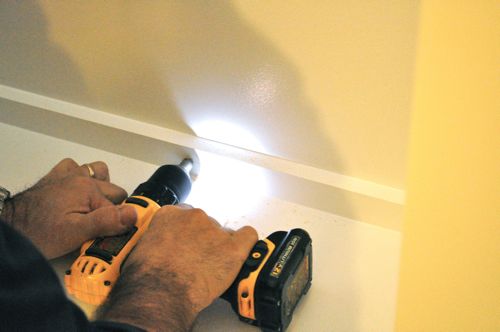
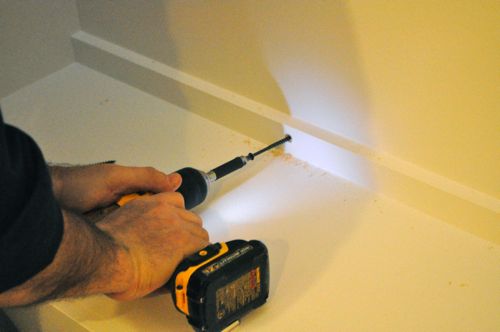
After Joe set the units in place, he was able to measure (inside the HVAC closet) for studs, and he drilled some countersink holes.
Next, Joe cut out an opening for an electrical outlet using his “miracle tool” (a Fein MultiMaster).
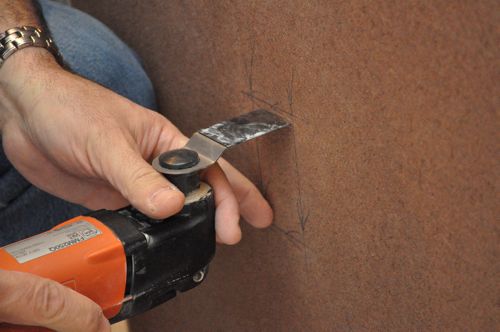
Pro-Tip: Code requires an electrical box extender to support the receptacle through the bookshelf.

Joe put in some long screws at the top and base of each unit, and he screwed them to each other as well.
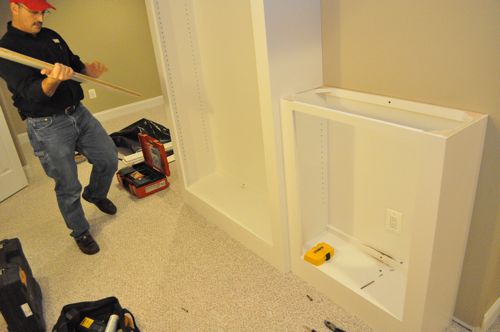
The half-height unit has a solid wood countertop, and Joe screwed that in place next.

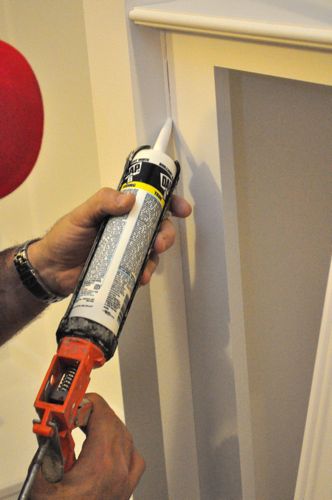
After that, Joe caulked this one corner before the rest because it will be inaccessible after he installs molding.
Joe purchased some plinth blocks at the local DIY center and he positioned them with an equal reveal at the bottom and top of the bookshelves.

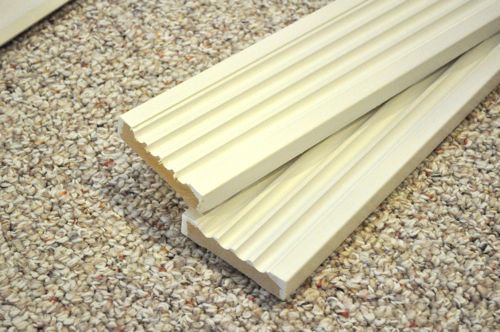
Next, Joe cut and nailed fluted casing in-between the plinths.
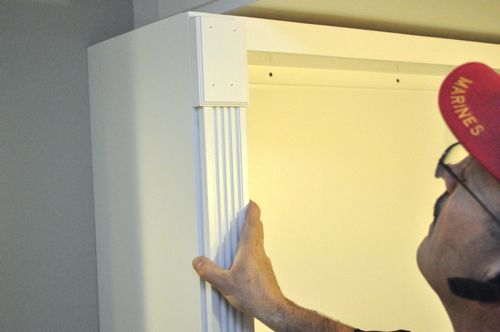

The top of the left-side unit will be wrapped in a simple 2-5/8″ crown molding.


The crown molding conceal the small gap between the shelf and the bulkhead.
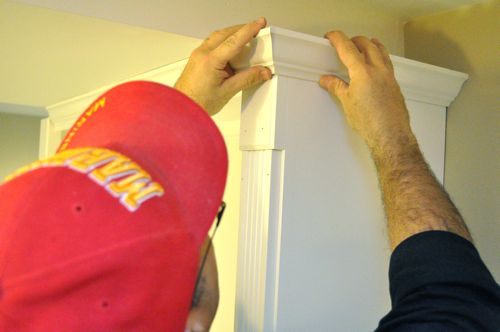
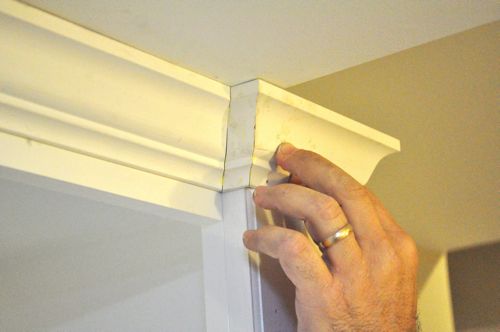

Joe glued and nailed all the crown molding.
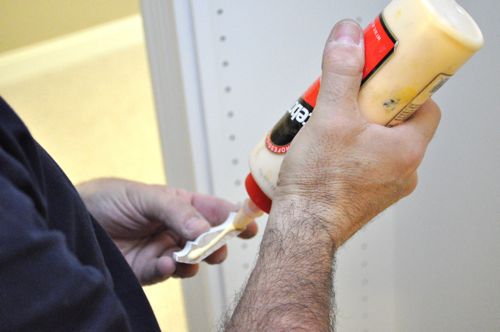
Pro-Tip: End grain pieces tend to soak up a fair amount of wood glue so Joe spreads a generous coating on both sides of the joint.
Next, Joe used some scrap plinth block to act as spacers along the bottom.
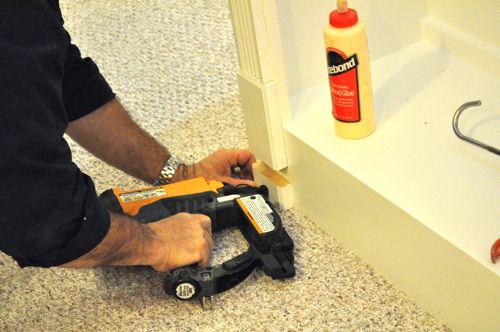
Joe continued the baseboard trim, wrapping the base of the bookshelves.
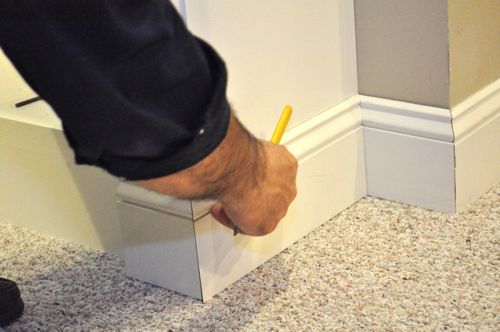
When all the molding was installed, Joe caulked all the edges and applied some touch-up paint as needed.
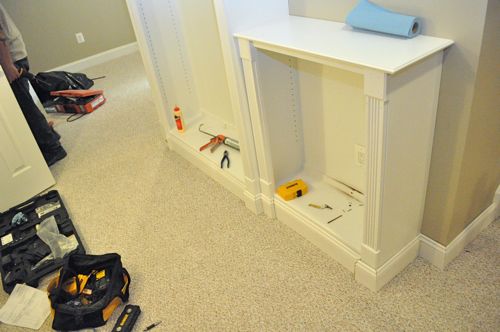
The last step was to insert the shelf support pegs and set the shelves in place. The finished product looks really good, and it’s a great use of this space.
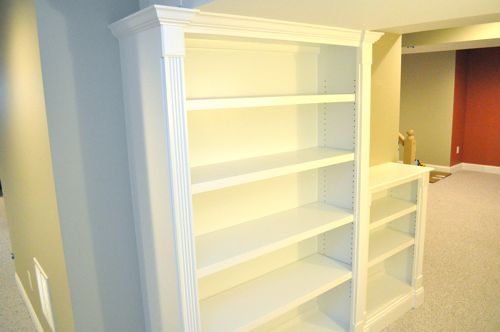

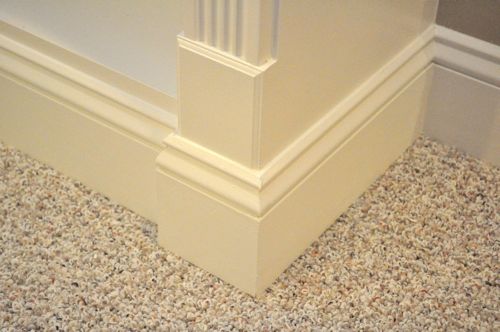
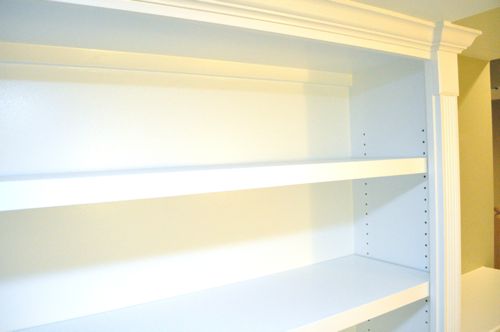


I like how he used the baseboard to wrap the bookshelves. That really makes it look like it belongs.
Exactly what I thought, Brady! Gorgeous.
Can you tell us more about the paint he used? I’ve done some built-ins myself and have always used oil based paint as I find it more durable, but if there’s an equally durable latex option I’d be curious.
The paint was a protective & marine coating “DTM Acrylic” semi-gloss made by Sherwin Williams.
How long did it take him to do this job? Being a pro I am sure he’s much faster than I am, but it would take me a while to finish this up. Also curious about the paint he used. Thanks!
I’ll ask Joe about building the carcasses. To install them and add all the molding took about 4 hours or so.
It just goes to show that a few bucks worth of trim and a little time and care are really what can make something go from basic DIY to Pro work.
OPC supplied bostitch?
This is interesting… It’s sort of built in, but sort of not as well. I’m curious how/why they decided to carpet underneath the bookshelves if they’re going to be built-in and wrapped with the baseboards like that. By carpeting underneath the bookshelves, they’re keeping the option open to remove the cabinets someday, but by wrapping the baseboards, they’re going to have to replace the baseboards someday when they remove the cabinets.
Oh, but to add to my previous comment.. it looks GREAT!
That looks fantastic! Joe really does solid work!
It’s kind of a weird little wall section so the book cases really help fill the spot well. Still getting used to the staggered case depths but I think I like it.
The trim work really made the difference.