
Welcome back to our latest Pro-Follow. If you’re new to One Project Closer, every Pro-Follow article is the result of spending time with a licensed, professional contractor on an actual job site including tips and tricks along the way. This Pro-Follow showcases Steve Wartman and his crew as they complete an in-law addition. Here’s what has been covered so far:
- Day 1: Excavation
- Day 2: Rebar, Inspection
- Day 3: Pouring Concrete Footers
- Day 4: Building the Block Foundation
- Day 5: Plumbing Rough-in
- Day 6: Pouring the Slab
- Day 7: Beginning Rough Framing
- Day 8: More Framing, House Wrap
- Day 9: Demo, Framing to House
- Pouring Concrete Stairs
- Day 10: Roof Framing, Sheathing
If you enjoy our Pro-Follows, take a moment to become an email or RSS subscriber and never miss an update.
Step 1: Insulate the Floor
After scheduling a partial inspection for the floor insulation, Steve’s crew pulled up the AdvanTech they had temporarily laid and began installing foam board to act as a moisture barrier.

Next, they unrolled R-19, unfaced fiberglass batts to meet the local requirement for insulating the floor (must be R-19 or higher).

Pro-Tip: In our area, permits pulled after July 1, 2012 must meet higher insulation requirements. The new code indicates R-20 for walls and R-41 for roofs. This is a challenge for contractors because most options (other than spray foam insulation) will not fit in the typical 2×4 or 2×12 framing and meet the new standards.
Step 2: Install Subfloor
After the inspector gave the OK, Steve’s crew began gluing and screwing the AdvanTech subfloor back in place.
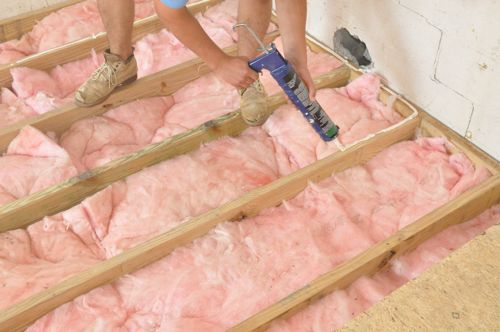
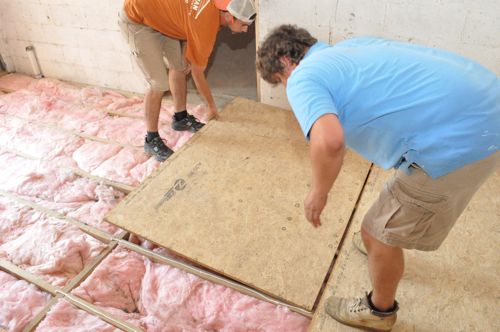

Since all the pieces were already cut, this went very quickly.

Step 3: Brace the Roof Trusses
Local code requires additional bracing for the roof trusses, and the guys went about fitting two 2×4’s diagonally along the ridges.

They also ran a brace along the bottom of the trusses. This has the added benefit of ensuring that everything is 24″ oc, and that’s very helpful when it comes time for drywall.


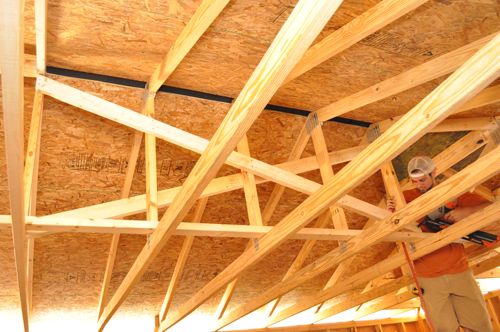
Lastly, they fit braces on the framing adjacent to the ridge.

Step 4: Lay Block and Install Lintel
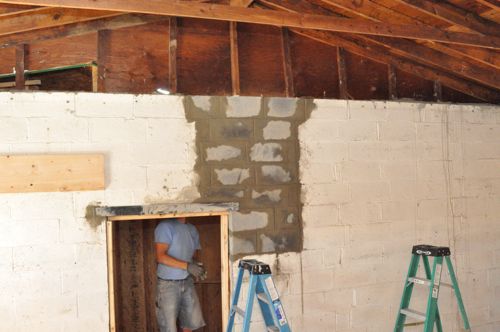
If you’ve been following along, you’ll know that the addition is situated alongside an existing garage which will be converted into living space. The guys had previously cut a doorway in the garage wall and removed a window. To complete this phase, Steve needed to rebuild the block wall and add a lintel above the new doorway.
Pro-Talk: A lintel is a horizontal support (steel in this instance) across the top of a door or window.


They used 8″ block and type-S mortar to set the new blocks.

This was a bit of a challenge because Steve needed to cut a space for the lintel in the existing block which they had previously filled to boost the integrity of the wall.

Using a combination of rotary hammer and a chisel, Steve cut the space for the lintel on both sides of the wall.

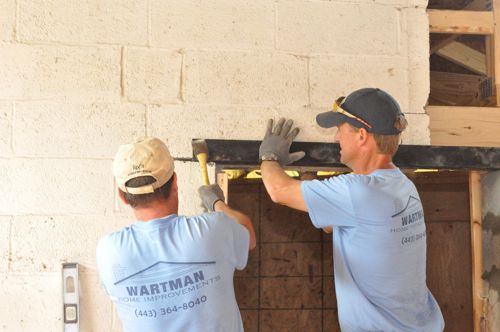
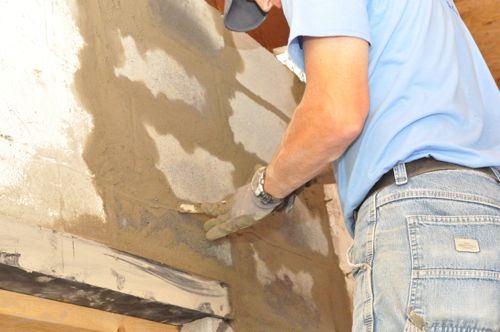
Next, Steve continued his block wall up and around the lintel. He also filled several courses of the new block with mortar and scrap pieces of block.
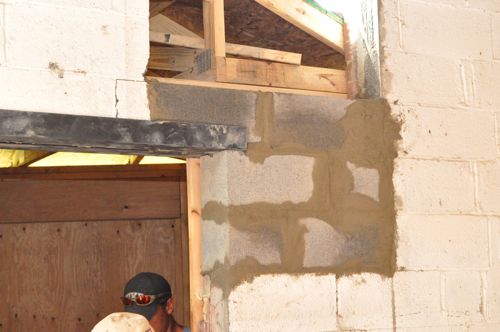
Lastly, Steve packed the joints tight with a jointer tool.
Step 5: Install Ledger Board
Meanwhile, the rest of Steve’s crew went about securing a sort of ledger board for framing in the rest of the garage. They started by striking a line that would provide space for 8′ ceilings.
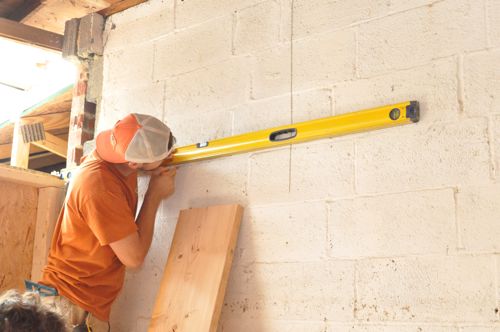
Next, the guys applied adhesive behind the board.
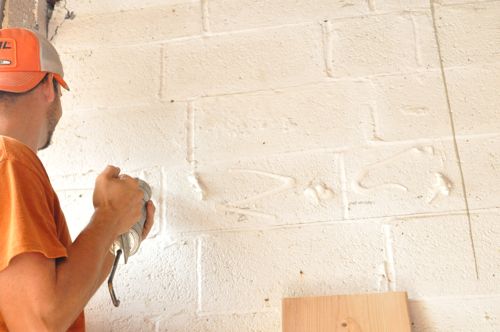
The guys used a powder-actuated nailer to hold the board in place while they went about inserting concrete anchors called Red Heads.
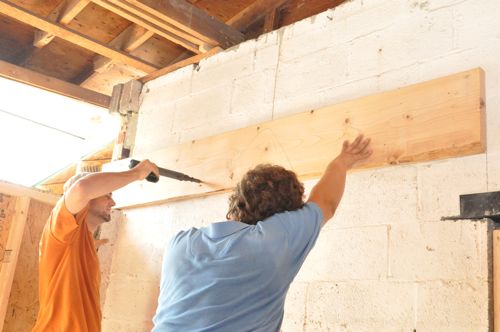
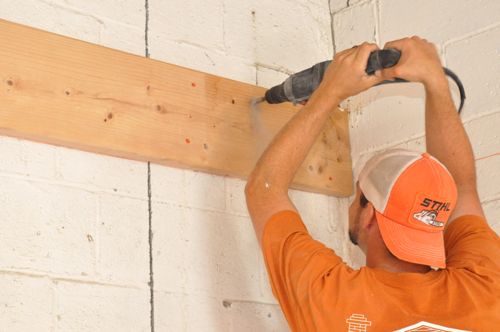
To install a Red Head, first they used a spade bit to cut through the board. Next, the guys drilled into the block wall.
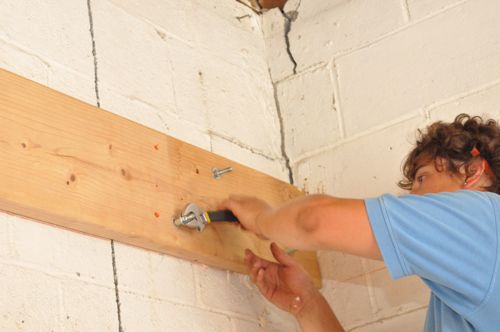
After that, they easily hammered the Red Head into place and used a crescent wrench to tighten it down.
That’s all for today’s Pro-Follow. Stick around as tomorrow the guys are tearing the roof off the garage!


I typically call them red heads too but their generic name is wedge anchors. Glad to see they used rigid foam against the slab.
i would never think to insulate a floor, though in retrospect it kinda makes sense.
In that last photo, it looks like a nasty crack in the blocks in that corner area. Am I seeing that correctly?
Hey Reuben, It’s not nearly as nasty as it looks (but good catch).