
If you’re a fan of our “other half” OPC, hopefully you saw Ethan’s amazing woodworking project – a cribbage board. We and I both love games! Usually, we play a lot of cards, like Hand and Foot, but we also really enjoy two player games that we can play in the evening after the girls go to bed. We’ve played Yahtzee, To Court the King, Epidemic, and at the holidays we often play Carroms with a wooden board my grandfather made. Ethan also plays video games, but I am all about people and the real life games!
Recently, Brett from Art of Manliness challenged Ethan to build a cribbage board and I was super excited. It’s a great tutorial, a thoughtful gift idea, but mainly I was excited because it would be a new game for us to play together!
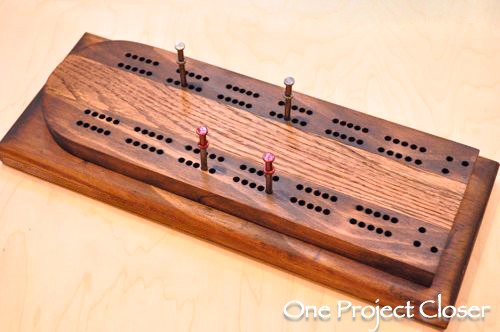
Ethan’s “classic style” cribbage board follows the basic design he found on other woodworking sites, and was also the perfect project for a beginner-moderate wood worker. It’s also cost very little in supplies and makes for a great Holiday gift!
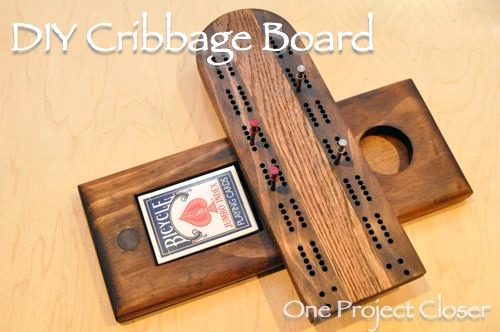
Tools and Materials
For this project Ethan used some scrap 3/4″ pine, 1/4″ plywood, and he purchased a strip of oak from the local HD. He also found a cribbage hole template which he modified to suit his purposes. One of our faithful readers, Jeff also suggested using a Cribbage Board Template sold by Rockler if you don’t want to make your own. Great suggestion, Jeff!
The pegs are made from double-headed nails, and he happened to have leftover stain and magnets from other projects.
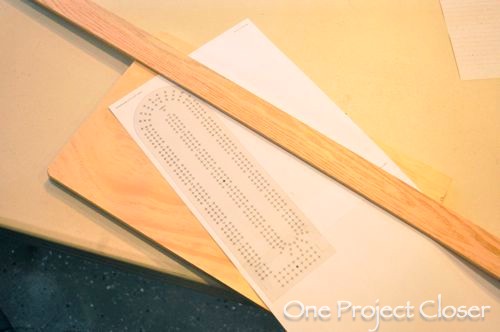
Tools Needed:
- Table saw
- Dado stack
- Coping saw
- Router (palm and table)
- Drill press
- Sandpaper
- Angle grinder
- Bench grinder
Step 1: Cut to Size
Ethan first cut a piece of pine using the table saw, cutting the top to 4 x 12″ and the base to 5-1/8 x 13-1/4″. He also cut 1/4″ plywood to the same dimensions to match the base.
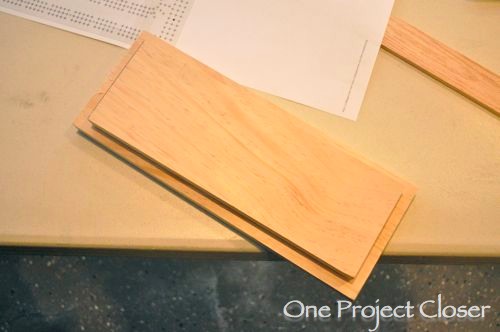
Step 2: Make a Template
Ethan then made a template for the top of the board, rounding one end into a half circle.
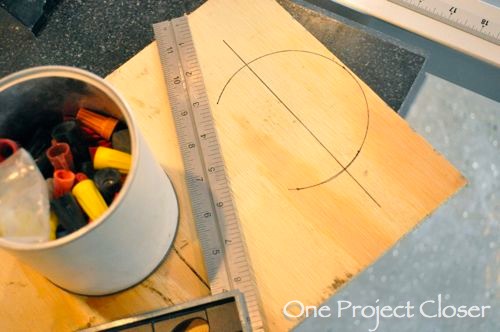
Step 3: Cut the Curve with a Router
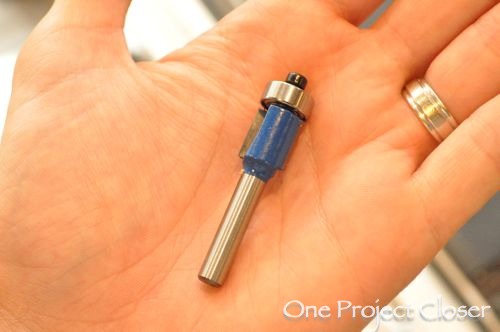
This router bit has a bearing on the end that follows the template, making it easy to cut a perfect match.
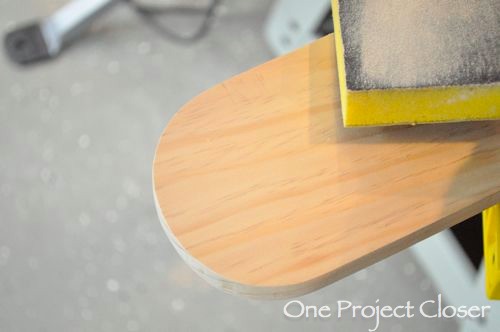
After cutting, Ethan finished the curve with a bit of sanding to perfect any small problem areas.
Step 4: Rout the Base
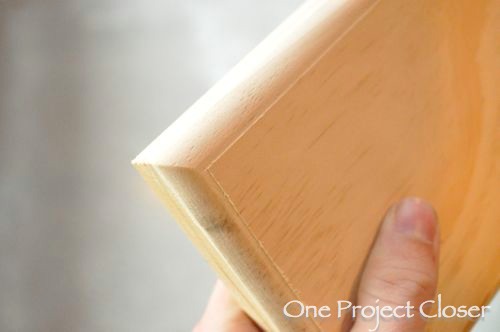
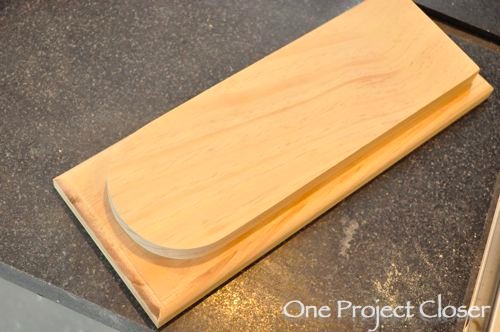
To fancy up the base, Ethan cut an eased-edge with a table-mounted router.
Step 5: Mark Locations for Cutouts
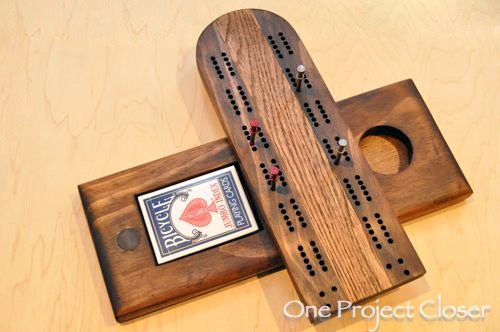
Ethan mapped out the locations for the playing card holder and peg holder. There’s a pair of magnets that help align the top and base, and everything swivels on a pin. All of these elements are concealed by the top.
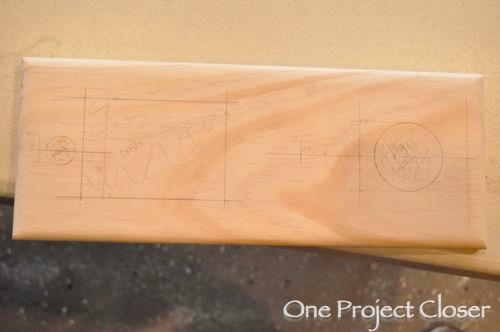
Step 6: Cut Holes for Pegs and Playing Cards
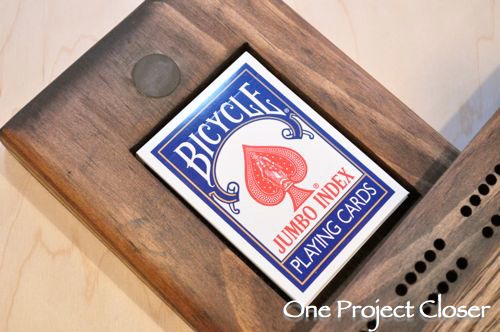
Ethan then drilled a starting hole and cut out the playing card and peg holders with his coping saw.
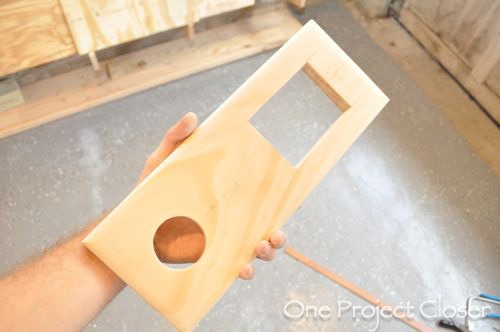
Step 7: Cut Magnet Holes
He then used his palm router again and set the depth to match the magnets. He carefully routed the magnet holes on the base and underside of the top.
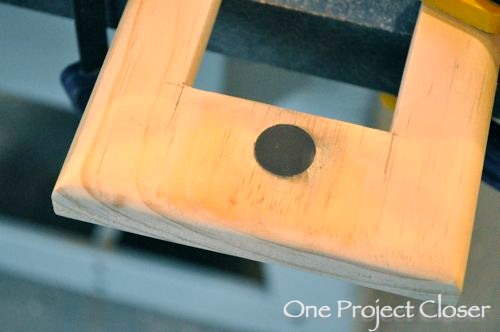
Step 8: Drill Hole for Pin
The top swivels on a pin or modified machine screw in this case. He cut the screw to length and ground the head as thin as possible. He then drilled a hole through the base, and for the top, he carefully drilled to the necessary depth.
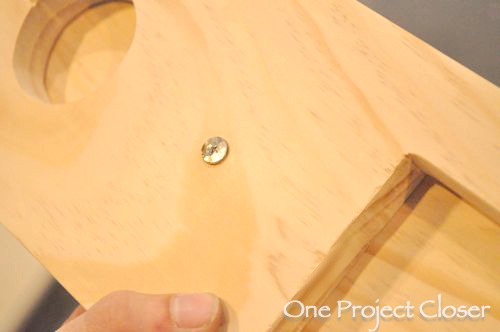
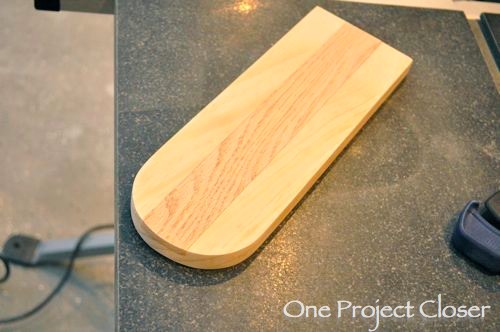
Step 9: Inlay the Oak
To cut out the oak “racing stripe” Ethan setup a dado stack on my table saw. After a couple passes it was the correct depth and width. By the way, this was all new to me – I feel like I have gotten an education on Ethan’s tools for this project! So don’t feel bad if you are learning along with me.
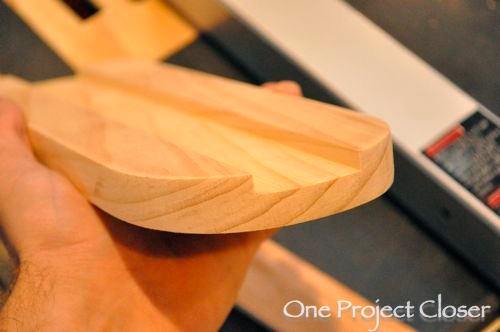
For the oak, he made a rough cut with his coping saw and sanded each end flush with the pine top.
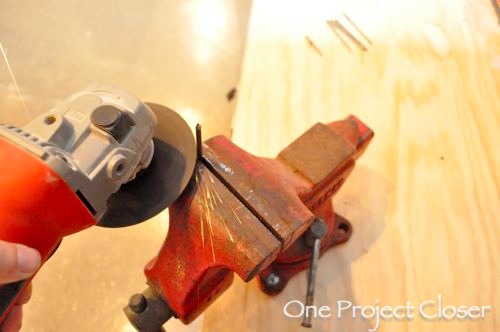
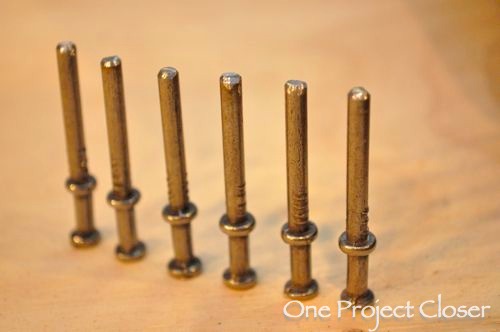
Step 10: Make the Cribbage Pegs
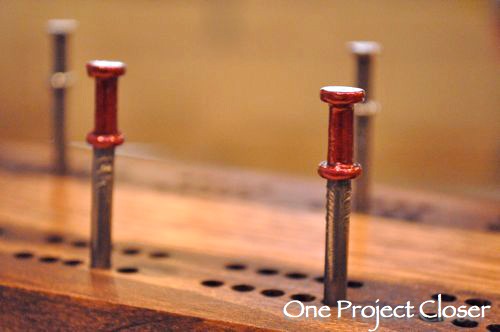
You can buy cribbage pegs (and they aren’t cheap) but instead Ethan used double-headed nails that are typically used for making concrete forms. He cut off the end with an angle grinder and cleaned up the cut with his bench grinder. Finally, we got to something up my alley! To distinguish the pegs, I painted one pair a dark red using nail polish!!! Crazy, right? But I have used this method to personalize keys and it works great. After painting two coats of polish, we sealed it with a spray paint clear lacquer, but we also could have used a clear top coat nail polish with as much luck.
Step 11: Drill the Holes
Ethan then taped the hole template over the cribbage board top and borrowed a drill press from my dad. After aligning the fence and setting the correct depth, things moved pretty quickly. He used a 11/64″ bit to drill all the holes. Make sure your template allows space between the holes so there is a small margin of error because it is A LOT of holes and hard to get it perfect every time. Ethan did an amazing job with this, because the holes look near perfect!
Step 12: Glue it Together
With all the separate pieces ready to go, he glued the racing stripe to the top and the thin plywood base to the underside.
Step 13: Apply Finishing Touches
Lastly, Ethan sanded all the surfaces to remove any dings, pencil marks or glue. Next, he applied a Walnut stain to the entire cribbage board, letting the two different species of wood create the visual interest.
What do you think? What games do you like to play? What should we convince Ethan to undertake as his next recreational project? heehee
As Always, thanks for reading!


Seriously cannot wait to make this for my Grandfather, this is his Favorite game of all time!
Thats awesome! send us pix if you do!!
I was wondering how those double headed nails got that color on them! Looks great.
Oh I fell in love with this project when you showed it on the Inspiration Cafe! I can’t wait to show this to my husband and see if he’ll make some for Christmas gifts. So cool!
That is a pretty sweet idea and what a cool thing to share with your kids when they get older.
I can’t wait to teach Wesley poker. He just might be the only kid in kindergarten who will be able to change a tire and play Hold ‘Em.
This is really neat, but I’ve got to be honest I don’t even know what cribbage is! Haha! We are a Monopoly and Settlers of Catan type family 😉
Classy looking cribbage board… too bad I forget how to play!