

Welcome to the Homemade Holiday Blog Hop! I’m teaming up with a bunch of other bloggers to give you a Handmade Gift Guide for this holiday season. After you read about how to make DIY Scented Ornaments with Essential Oils, be sure to look at the bottom for more great ideas.
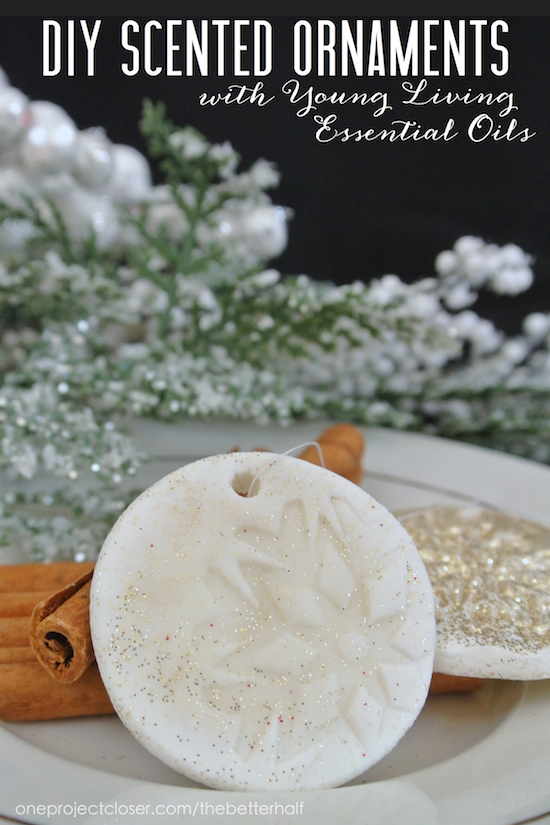
DIY Scented Ornaments
We’ve made clay ornaments in past years. What’s not to love? They are cute, personal, cheap, and the kids love making them! Also, write a cute note on the back with a Sharpie marker, and it becomes a fancy gift tag.
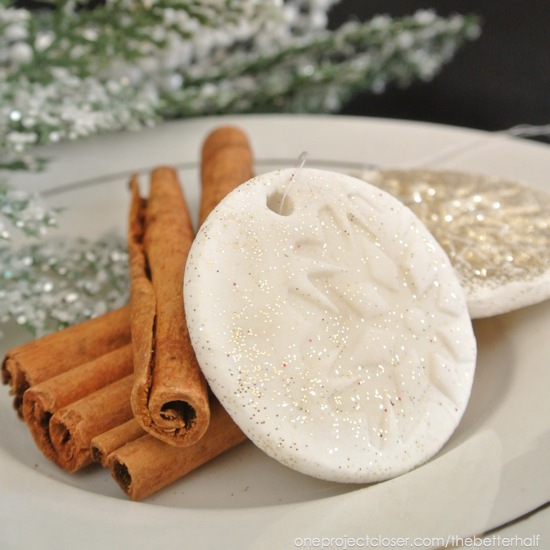
But this year, I decided to make them even fancier by scenting them with Young Living Essential Oils and adding some glitter. Not only are they beautiful but they smell like Christmas!
I love this recipe using Baking Soda, rather than salt or flour, because the dough is smooth and powder white, making beautiful and clean ornaments.
- 1 cup Baking Soda
- 1/2 cup Corn Starch
- 1/2 cup + 4 Tablespoons of water
- 15 drops of Young Living Essential Oil
- Optional: glitter, food coloring
- Heat all ingredients, mine Essential Oil, in small sauce pan over medium heat. Stir continuously. In a few minutes it will begin to boil and then, within 5 minutes it will thicken and form a ball of dough. Remove from heat and stir in Young Living Essential Oil and glitter, if desired. If adding food coloring, add just as it begins to boil.
- Once cool (not longer hot at all), roll out, using extra cornstarch to prevent sticking and use cookie cutters to create ornaments. For extra sparkle, add glitter on top when rolling out dough. You can also use stamps to put impressions into the dough, like the snowflake pictured.
- Move to cookie sheet with spatula, then puncture ornament hole using a large toothpick or skewer. Allow to harden 24 hours, flipping after 12 hours.
- Store extra in ziplock baggie.
- My favorite scent to use is Christmas Spirit or Cinnamon & Nutmeg Young Living Essential Oils.
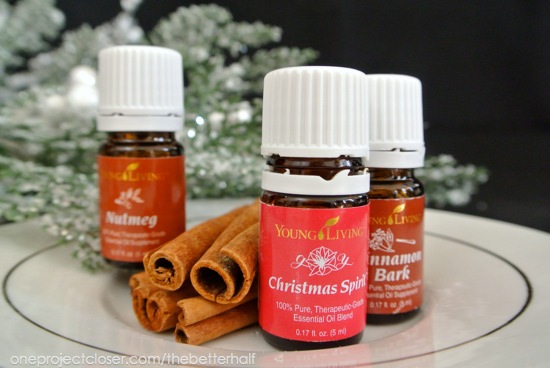
You can really jazz up these ornaments with any Young Living Essential Oils, but my current favorite is Christmas Spirit – a unique Young Living Essential Oil blend including Orange, Cinnamon Bark and Spruce. Seriously amazing! But, my next batch, I plan on using Peppermint and Orange Essential Oils.
On a side note, I made a double batch thinking it wouldn’t go very far, but boy was I wrong. We only used half and I stored the rest in a Ziploc, saving it for the next rainy day. 🙂
A Complete Holiday Gift Guide!

Need even more ideas? Check out more great tutorials and DIY holiday gifts using Young Living Essential Oils!
Peppermint & Lemon Body Butter
Homemade Thieves Scented Hand Cleanser
Citrus and Christmas Spirit Brown Sugar Scrub
Homemade Thieves Scented Foaming Hand Soap
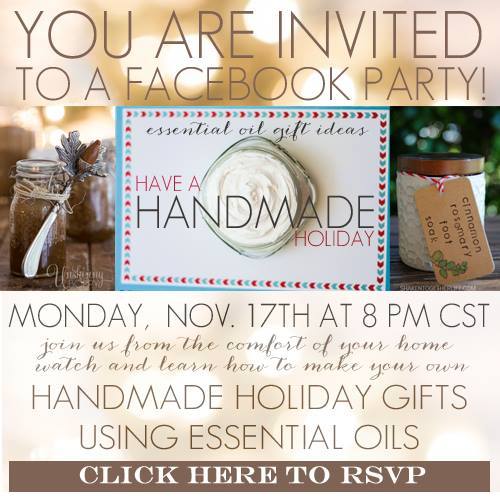
Also, we invite you back tonight for a fabulous FB party, with lots of Holiday gift tutorials and giveaways! Click on the pic to RSVP!
What do you think? What Young Living Essential Oils will you use in your DIY scented ornaments?
As Always, thanks for reading!

Don’t forget to check us out on Facebook and Pinterest!
Also, join us Monday, Novemeber 17th for a Facebook party with lots of great giveaways!

These are so cute Jocie! Garrett would LOVE this project.
How many does this make?
too many to count!! haha it made a TON!
i made these and half of them cRackeD….any reason why?
no idea!!! none of mine cracked. maybe you rolled the clay too thin?? good luck!
Do you bake these at all or is it just air drying? Saw a similar recipe and was wondering if baking vs air drying made a difference. Thanks!
Because of the essential oils, I let it air dry. But if you wanted to drop the oils on afterwards, baking I think would work well. 🙂
How long does the scent last?
May i know how long does the scent last? Thank you
I have a question
In your reciepes you say to add all ingredients together and cook. After cooking to add the essential oils again. We are to do it twice? For scented Christmas ornaments.
the directions say ad all mine the oil, i took that to mean minus toe oil.
Thanks for this recipe – they look great. I misread the recipe and used baking powder instead of baking soda. Will it make a difference? Should i start again? Also i am making these in summer (sydney australia) its HOT today. Will they dry too fast?
Can you paint them?