

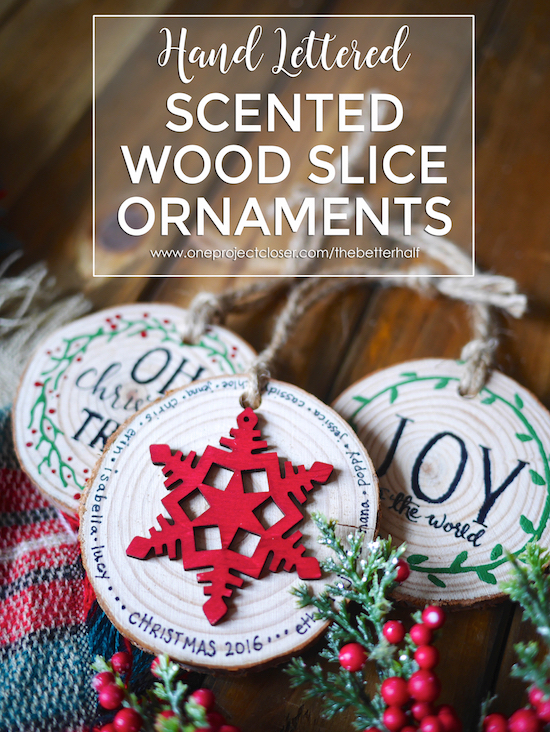
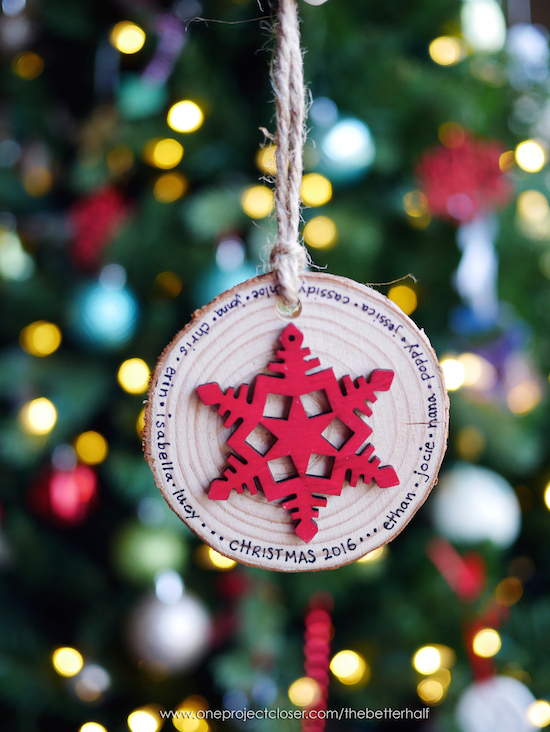
These cute little DIY Scented Wood Slice Ornaments will be the perfect + easy go-to holiday gift this year! They are inexpensive, trendy and beautiful! While they may appear difficult to make, I have all the tips and cheats to ensure you have a great outcome without a lot of trouble. This is also a great project for the kids, and can also be used as gift tags.
How to Make DIY Scented Wood Slice Ornaments
This is a very simple tutorial and the designs are endless! I’ve provided links for you to purchase everything from the comfort of your couch. Some are affiliate links – and I so much appreciate you ordering through this link because, while it costs you nothing, it helps me keep on blogging. MUAH!
Supplies Needed:
- Wood Slices (or slightly smaller pre-drilled Wood Slice Tags)
- Jute Twine
- Wooden Snowflakes + other holiday shapes
- Deco Art Multi Surface Paint – Black, Red, Green
- Chalkboard Coating
- Chalk Pencils
- Fine Tip Sharpie Pen
- Hot Glue
- Young Living Essential Oils for Scent
A few tips about supplies… The bigger the wood slice, the bigger the canvas. I ended up ordering larger Wood Slices that were not drilled and we drilled them ourselves. But you can also buy the pre-drilled ones with the hole and twine, but the only ones I have found are smaller by an inch. Also, any paint will do, but DecoArt’s Multi Surface paint is by far my favorite because I can use it on all my projects. The chalk pencils are a game-changer. Seriously! I love the control but the chalk look, rather than marker.
Directions:
1. Drill
If your wood slices do not have holes, drill those first! That way, if one cracks you won’t be sad that you’ve already done the work of painting it. Make sure you drill the hole far enough from the side, or it really will crack. 🙂
2. Add Embellishments
If you are going to add a wooden snowflake or other embellishment, it is best to do it before you paint or Sharpie other words on. Paint the embellishment first, then hot glue it to the ornament. I love the snowflake, but you could do anything – snowman, holly, reindeer, anything!
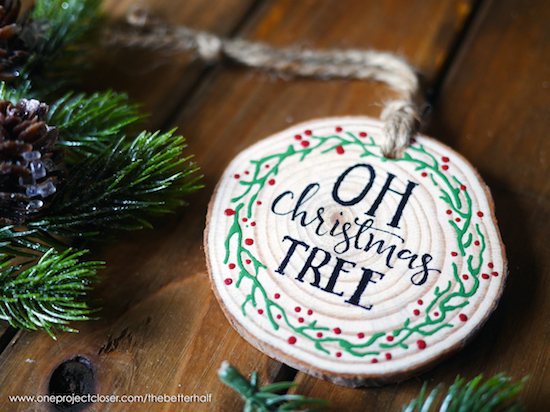
3. Paint your design!
If you are free-handing it, I found the Sharpie to be the easiest to apply. But paint looks beautiful, you just need to go slow and use a small brush or even a tooth pick.
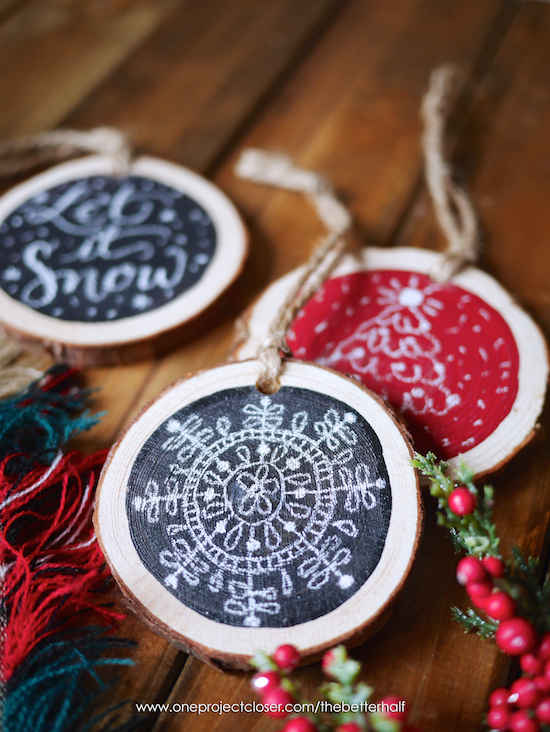
If making a chalkboard Ornament, use a larger brush to apply a circle of paint. Once dry, apply a 1-2 coats of chalkboard coating.

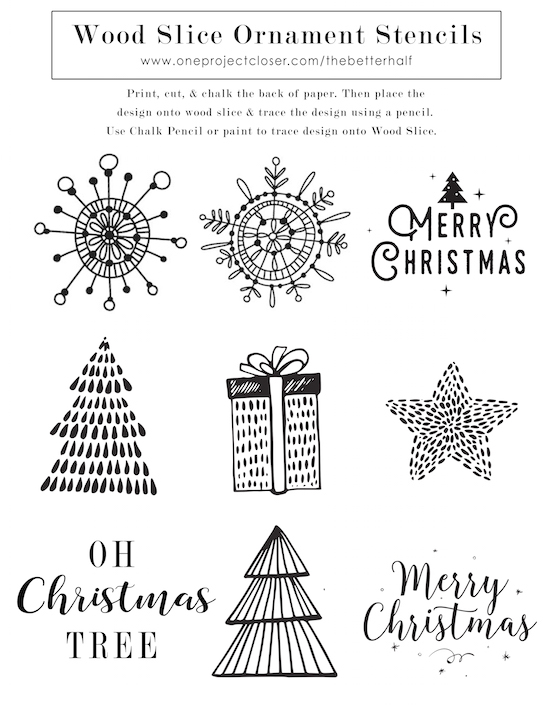
*Use a Stencil! If you aren’t confident in your hand lettering or design skills, print off this FREE stencil design! You can resize the design when printing to make it smaller or larger, depending on the size of your wood slices.
After you print and cut out your stencil, use a regular piece of chalk to coat the back of the paper. Then place the paper on the wood slice and trace the design using your pencil. Then, remove the stencil, and trace the chalk outline with Sharpie, paint, or chalk pencil.
Tip: If tracing onto chalkboard surface, use chalk the same color as your chalk pencil. If you are using paint or Sharpie on a plain wood slice, use a colored piece of chalk.
Right click or Command Click to print this free stencil!
4. Scent them!
Finally add a few drops of your favorite Young Living Essential Oils directly on the bark. A few of my favorite combos are:
- Peppermint + Cinnamon Bark
- Idaho Blue Spruce or Northern Lights Black Spruce + Cinnamon Bark
- Christmas Spirit
Handmade Holiday 2016
Tonight, Thursday, December 1, 2016 at 9pm EST, I’ve teamed up with a group of amazing bloggers to bring you tons more Handmade Holiday gift ideas plus lots of giveaways! I hope you will join us there – RSVP here.
In the mean time, here are all the fabulous handmade holiday gift ideas using Young Living Essential Oils.
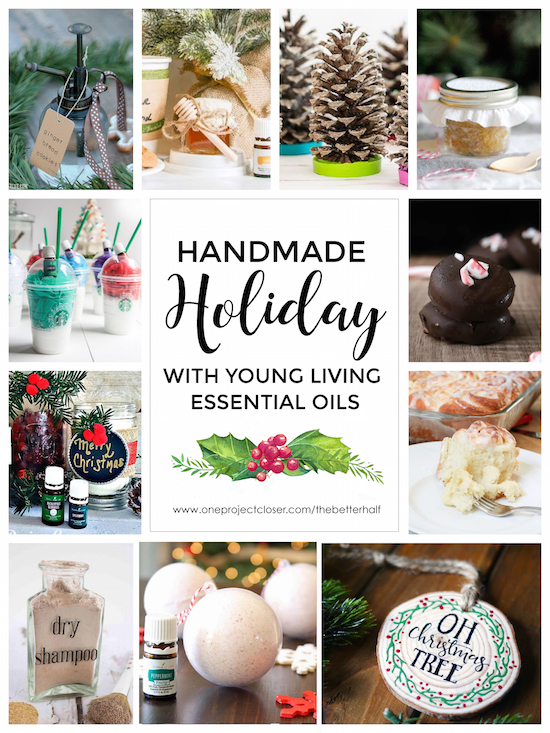
Holiday Room Spray | Essential Oil Infused Honey | Scented Pine Cone Trees
Winter Hand Scrub | Peppermint Patties | Cinnamon Rolls with Orange Icing
Scented Wood Slice Ornaments |Bath Bomb Ornaments | Dry Shampoo
Homemade Scented Candles | Epsom Salt + Shower Poof Starbucks Cups
What do you think? What scent will you add to your DIY scented wood slice ornaments?
As Always, thanks for reading!
Don’t forget to check us out on Facebook , Instagram, & Pinterest!
Be sure to check out other ornament and holiday Essential Oil posts while you’re here!
DIY Essential Oil Diffuser Bracelet


[…] Scented Wood Slice Ornaments |Bath Bomb Ornaments | Dry Shampoo […]
These are absolutely adorable and a great gift idea! Love them!
These are so cute! What a great gift idea and remembrance for each year! Great to infuse with pine so those who cannot do live trees can have a little scent of real!
HELP! I love these, but am crafty-challenged lol
Can you give more explicit instructions on transferring/tracing the “stencil” onto the wood circle?
Thank you!!
This is brilliant – not only a beautiful ornament, but scented too! Pinned and making later.
Your wood slice ornaments are perfect!! I’m going to try them for next year’s yearly ornament gift that I try to make for family every year. I should have time to finish if I start by July! Lol! I’ve cut a bunch of slices from the fallen branches after hurricane Irma left a ton of trees down here. I’m hoping they don’t crack as they dry. I’m glad you let us know there’s blanks available to buy. Thank you for sharing your creativity with us!