
Sunday I spent some time with family at my brothers house, and I always tend to migrate toward the kitchen at these types of events. Maybe it was all the delicious food- who knows? Anyway, I found a unique bottle opener on their refrigerator, and I was struck by the simple, yet functional, design. It didn’t look very hard to make so that’s how I spent my morning. Now that I’ve “tested” the bottle opener, I’ll share how you can make one too.
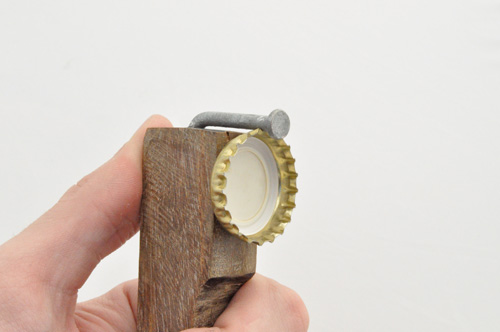
Make Your Own Bottle Opener
I chose a hard wood for this project so that it’ll withstand a lot of use. I had some spare walnut bullnose from installing my hardwood floors and decided this would be a great application.
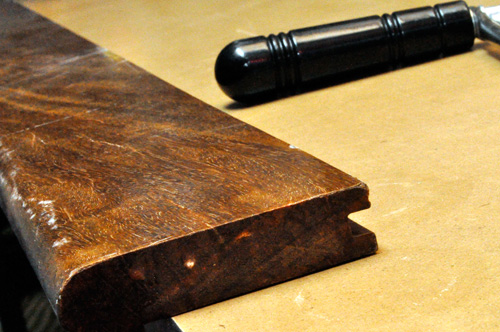
This is just a first-pass, and I didn’t measure anything. If you’re following along, the dimensions should be roughly 5″ long by 1-1/2″ wide. I’m using 3/4″ floorboards and that makes for a good depth. I wrapped everything in masking tape to give it a little protection from tear out.
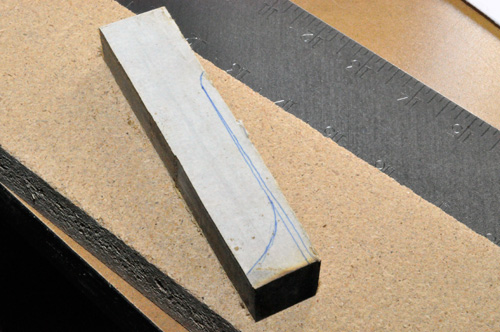
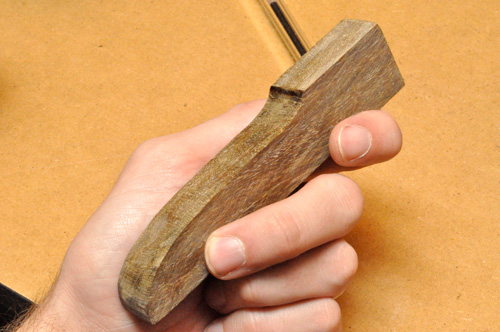
I sketched the curve of the handle and used a coping saw to cut along the line.
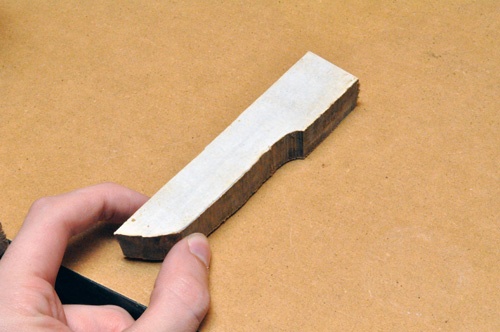
Next I sanded everything using that cordless Milwaukee grinder that I wrote about two days ago.

Jocie wasn’t too pleased when I harvested a couple 1/2″ diameter magnets from our fridge.
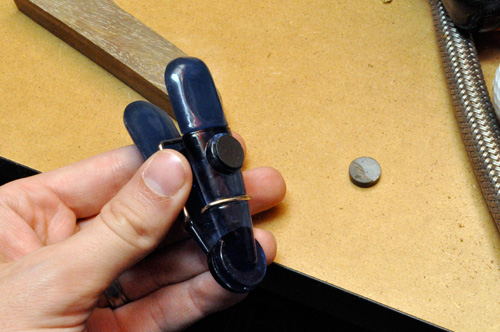
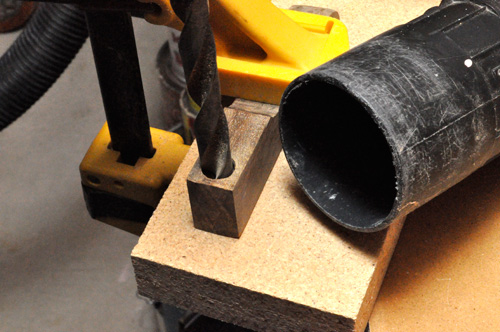
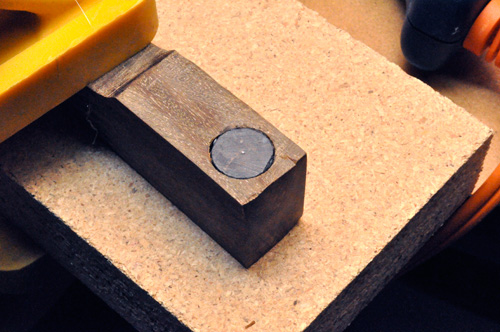
I clamped my workpiece down and setup my shop vac before drilling holes for the magnets. For 1/2″ diameter magnets, I used a 31/64″ drill bit to keep everything snug.
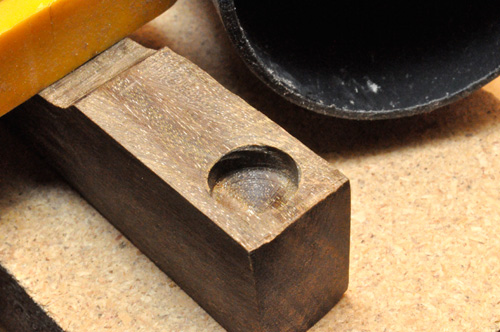
The magnet on the face of the bottle opener is for catching the bottle cap so I positioned it pretty close to the top. The second magnet allows you to keep the opener on the fridge and I placed that a little lower. I put a dap of hot glue behind each magnet, and it’s doing the trick.
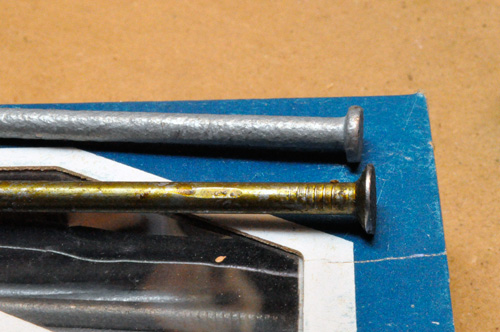
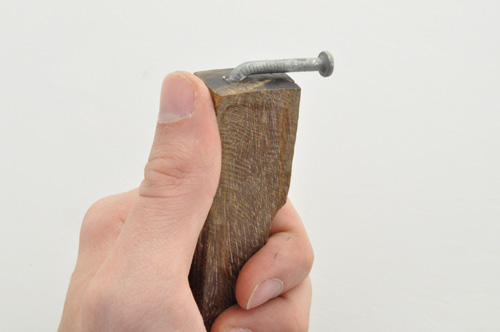
For the nail, I chose a 3″ with a common nail head. This is important because the underside of the nail head is what pulls the bottle cap off.

You can see how it compares to a more convex underside.
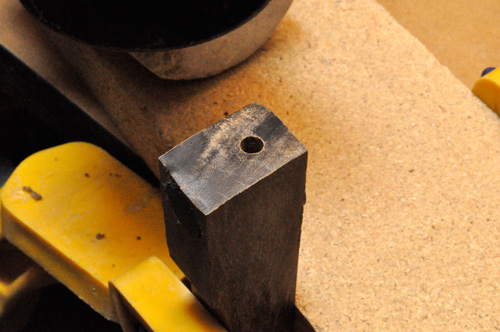
I drilled a hole for the nail using a 5/32″ drill bit, and added a dab of hot glue before pushing it in place.
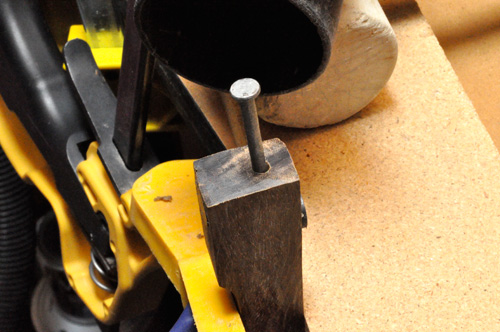
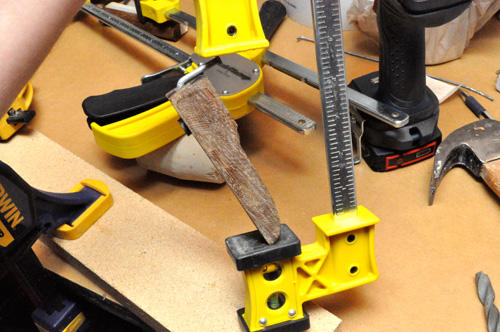
I didn’t want to bend the nail with a hammer. Instead, I used a clamp to slowly bend the nail to a right angle.
When I tested out my prototype, everything worked perfectly.
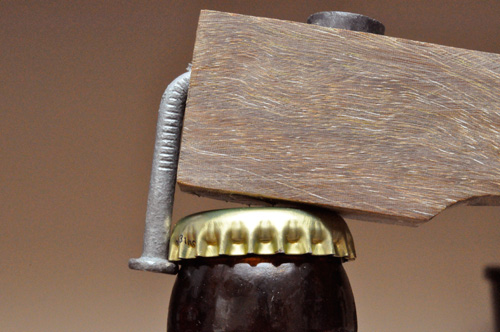
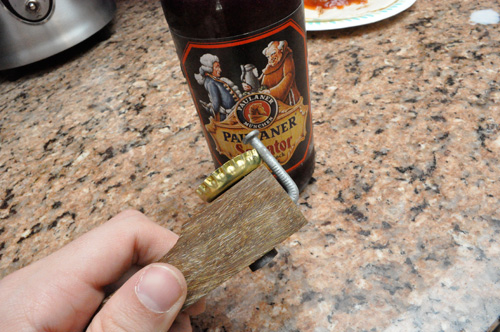
There are a few things I’ll do differently next time:
- Use a drill press to be more precise
- Drive the nail a little deeper to leave less overhang
- Get both magnets flush with the surface of the wood
- Use a more powerful magnet to hold it to the fridge
- Smooth out the edges
Even with my complaints, I’m really pleased with how it turned out. This is a great first attempt especially without measuring anything. Now I’m off to enjoy the fruits of my labor.



The original design for this bottle opener is attributed to Brendan Ravenhill from AREAWARE. You can see product details and even purchase one here. You might notice that my handle is opposite the one at the link. That was an accident but I think it’s actually better.


Did it bend the cap at all? I’m saving all of my various caps for a future bar top and most openers bend the caps just a little. I use the paint can openers currently and they keep the caps decently straight but still need a little adjustment to straighten.
Didn’t bend the cap at all. Same as when I used the one at my brothers house.
Hmm, maybe Jocie could paint or decoupage it to fit in with your kitchen decor.
She’d like that idea.
That’s genius! Now you just need to find a place for it on your tool belt!
AWESOME for many reasons
1. I saw Paulaner in there… probably my favorite beer generally available in America (The brewery in the town in Germany where my parents are living takes the cake… but it is only local http://www.bischoff-bier.de/ )
2. That is a great bottle opener… I might make one, but I am not sure if it is better than one I have that looks like a shark http://www.amazon.com/Animal-House-Shark-Bottle-Opener/dp/B000IZCANW )
3. Any project where beer is involved in testing is a winner.
I do have some suggestions/comments though.
It looks it could use a finish, it just looks a little dull, maybe a wipe on urethane? Alternatively you could open a few thousand beers with it and let the oils in your hands do the finishing.
You could have used a Forstner bit to make the bottom of the hole flat… but that seems a little overkill for such a tiny hole.
You should have been able to make the second magnet flush as well, less chance it gets knocked off.
I will pitch curiously strong (neodymium) magnets again, someone has some here at work, and they are pretty absurd!
It just seems so wrong that you used every tool BUT a hammer to deal with that nail, I understand its more precise, no worry about splitting, etc… but it seems wrong.
nice. I’m gonna see if I can “invent” something that doesn’t require as many tools or effort. How often have you found yourself without a bottle opener but you just don’t want to go into the house or go buy another one.
Put a pan head screw into the underside of your bench. Have it stand proud about 5/16″. Then move the bottle instead of the opener.
yea definitely need a stronger magnet to hold that thing up.
Primitive. If cavemen had beer they’d have used something like this to open it. Naw, probably not. They’d use their teeth. Still it’s pretty darn awesome in it’s simplicity.
Very clever. It doesn’t seem all that easy to make though! LOL, at least mot for me! 🙂
Old hard drives are an excellent source of very strong rare-earth magnets. If you have an old computer in your house which is never going to see any life again, it only takes a few minutes to disassemble the hard drive (usually you’ll need a size 8 torx bit) and pull out the magnets. Each drive comes with two and they are VERY strong – don’t let them join together or they will be very difficult to pull apart!
I have a wall-mount bottle opener with an old hard drive magnet glued to the wall about six inches below the opener, so bottle caps can just be allowed to fall and hit the magnet. It works great and guests always remark after popping open a beer.
Cool idea! But I think I could do without the magnets and shaping of the handle. Just put a nail in, bend it and get on with popping tops. lol
Had no idea about magnets in old computers. Have got a couple that are in need of being torn apart.
Fun project! My husband just uses his wedding ring to open beer bottles… its titanium so the bottle caps don’t mess it up 🙂
For cleverness ( and perhaps a product placement deal) you could have used the new Milwaukee tool in the sequence to open an Old Milwaukee beer.
Using the plans that you guys posted on ArtOfManliness.com, my business partner and I built a couple of these using oak and tiny washer magnets (that pack a wallop). We put masking tape on the drill bit for depth precision; one of the hardest things for me was knowing how far to drill. We had some difficulty getting the nails to go all the way down into the holes because the fit was so tight. I actually goofed up and drilled mine at a slight angle, so there is a tiny hole on the hand grip side! We got the nails in enough so that they work, and we bent them using vise grips and pliers. I bent mine down a bit too far, so it hangs over the edge at a negative angle. However, it still works and works like a charm!
The aspect that impresses me the most about this bottle opener is the magnet that catches the cap. I could not have imagined the convenience thereof!
Thanks for a great project!
That’s awesome Hans! I’ve built a couple of these, and it definitely gets easier each time.