
A great part of hanging out with pro contractors and carpenters (like Joe Bianco) is that I can pick their brain for my own projects. I mentioned a new woodworking endeavor, and Joe offered up some good ideas including making sure I properly joint all the wood. The problem is that I don’t own a jointer so I started looking for alternate methods, and indeed, there are ways to edge joint wood without a jointer.
What is Edge Jointing?
If you’re not familiar with the term, edge jointing (or just jointing) is the process of milling a flat, straight edge onto a board. This is an important step because even small gaps, bowing or cupping can eventually cause a glued joint to fail. Jointing both edges ensures full contact along the entire length of the joint and eliminates the need to straighten materials with clamps. You can read a little more about it on Wikipedia.
How to Joint Wood
Jointing is typically achieved using a jointer (pictured) where the in-feed and out-feed tables are parallel and offset at slightly different heights depending on the depth of cut.
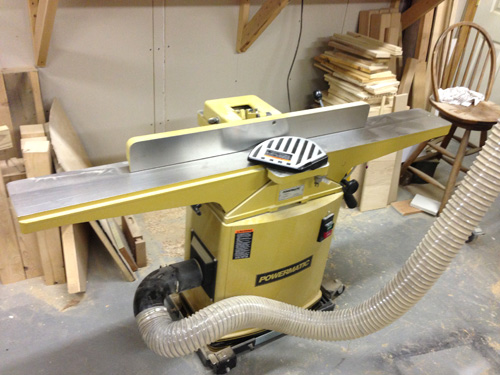
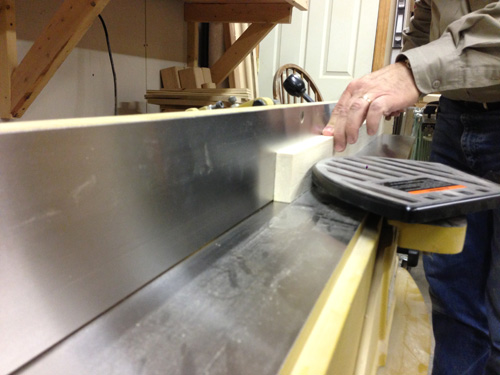
Stock is placed on the in-feed table up against the fence, and a small amount is trimmed as it passes over the cutting head.
The result is very tight joints with no movement along the entire length.
Jointing With a Table Saw
For best results and if you’re going to be jointing lots of wood, go ahead and spring for a jointer. You can achieve good results with a table saw or router. However, the work is much slower. If hand tools are more your style, pick up a jointer/plane like a Lie-Nielsen no. 7 jointer plane.
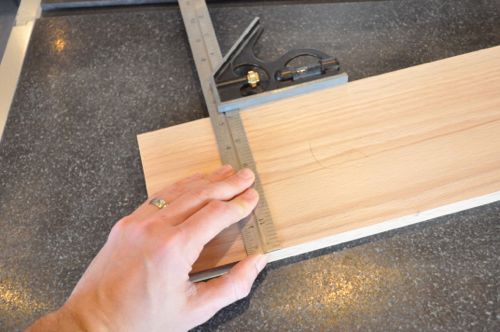
Step 1: Calibrate Table Saw
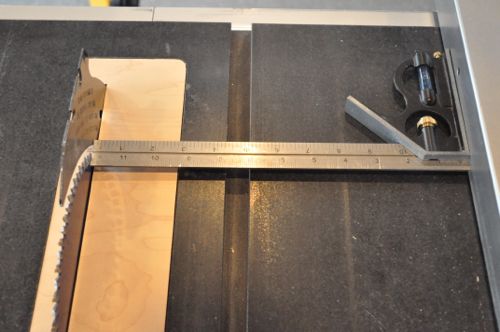
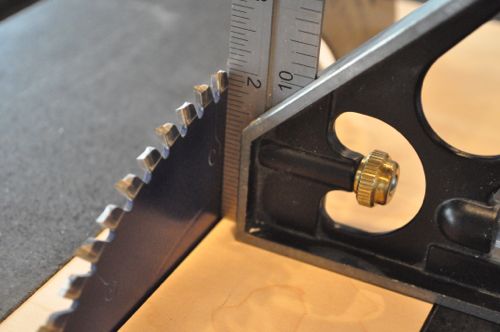
Start by checking and calibrating your table saw. You want to be sure the blade is perpendicular to the table and parallel with the fence.
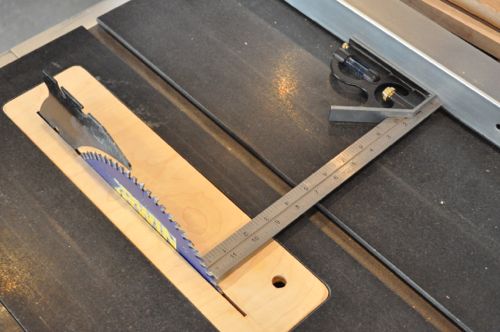
I like to use my combination square for checking the blade.
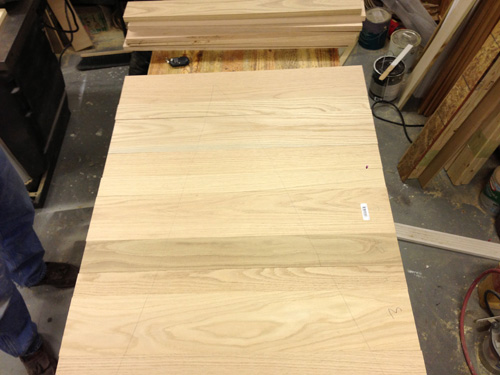
Step 2: Plan and Orient the Boards
Lay out the boards and label everything so you can check each joint as you work.

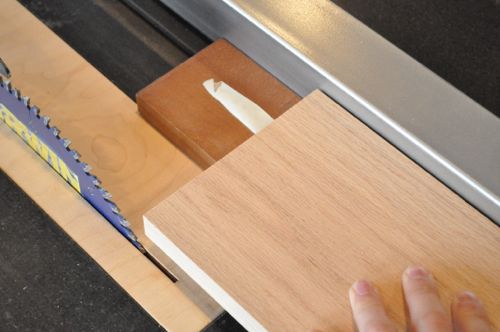
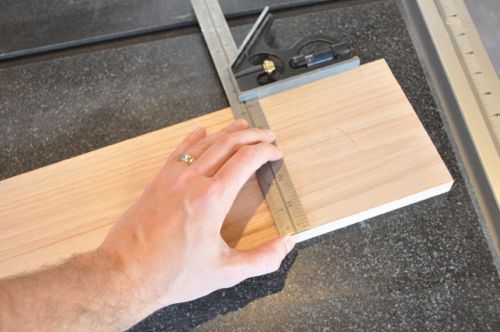
Step 3: Setup a Straight-Edge
For this method, you’ll need a straight-edge that will ride against the table saw fence.
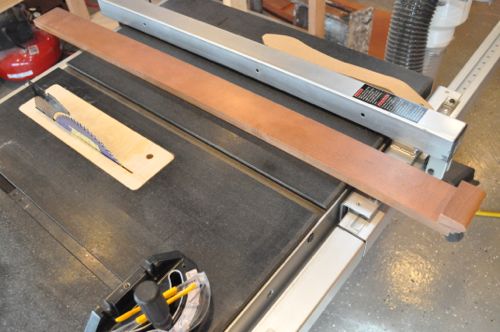
Using tape (preferably double-sided or carpet tape), affix the board to be jointed to the straight-edge.
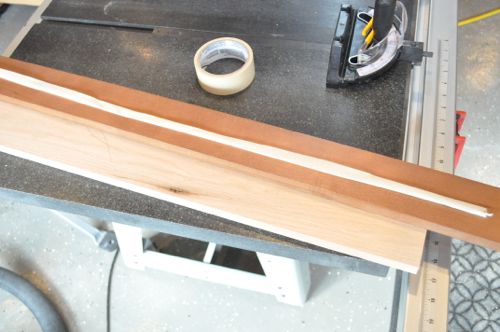
Stagger the boards so that only the straight-edge will contact the fence.
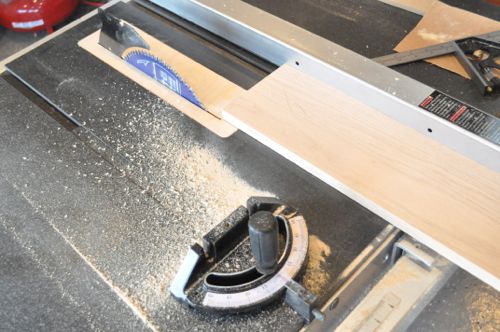
Step 5: Make First Cut
Sliding the straight-edge along the fence, cut away about 1/16″. If you have feather-boards, this is a good time to use them. Cut the board at a constant speed and with a smooth motion. If at any point, the workpiece looses contact with the blade, finish the cut and trim another 1/16″ off the same side.
Step 6: Cut Opposite Side
Now one side is perfectly straight and flat. Putting the freshly cut side against the table saw fence, cut the opposite side.
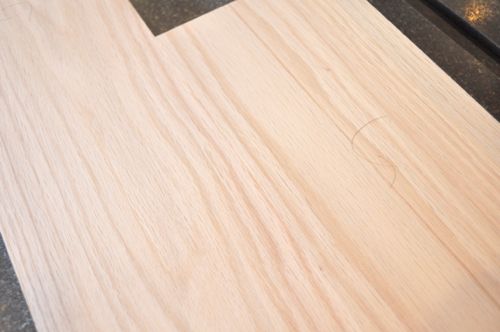
Step 7: Check for Fit (Repeat if Necessary)
I like to check the board for a consistent width. I also line it up with a straight-edge or level and check for any cupping.
Most importantly, check how the workpiece fits against its adjoining piece. Look for even the slightest gaps or rocking. If you see any problems along the entire length, joint the edge again.

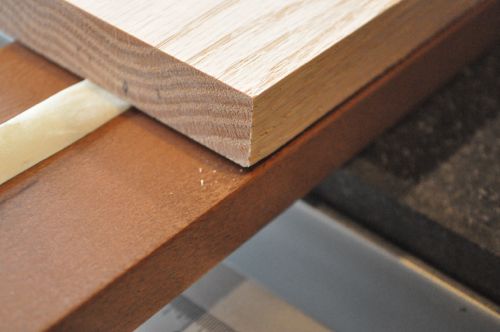
Great trick. I would think it might be better if your straight edge was above the board to be jointed so that the jointed board would not roack away from the fence giving a jointed edge that is not perfectly perpindicular to the flat face. Plus, your zero clearance insert can’t do its job of preventing chip out on the under side with that gap between the workpiece and the table. The straight edge would still be able to ride against the fence, but the lip might need to be thinner.
Great comment Brady! I think you’re absolutely right, and I didn’t even think to switch them. The only problem would be if the bottom side of the workpiece isn’t flat in which case you should made sure it’s concave (like a frown) against the table.
Great tutorial. How do you recommend finding the initial straight-edge? How do you know your straight-edge is straight?
You need a reference edge of some kind. A factory edge of plywood/mdf would work or you could test your straight edge on a machined surface like the surface of the table saw or even a machined level. There are also precision straight edges available from various woodworking outlets and online sources but can be pretty expensive.
Hmmm. Seems like it would work if you were careful about keeping the top piece of wood parallel to the top of the table saw. I could see the blade trying to pull down the rip cut as you make it, resulting in a straight, but slightly chamfered, cut. I am sure you avoided this by careful cutting, but to do a lot of wood this way would seemingly be painstakingly slow. Personally:
Powermatic 8″ Jointer: $2,600.00
Veritas #6 Fore Plane: $265.00
Even if you spring for a Lie- Nielsen, seems less pricey and takes up a LOT less space in your shop.
The cheapest/fastest option may be the handheld power plane with an edge guide from the likes of Bosch, PC, DW, etc. Just over a $100 and no tuning like a hand plane. Although I often use the power plane to knock down a majority of the material and then fine tune with a vintage hand plane.
Yeah you’re right. I guess I just prefer not to have one more redundant tool in my shop. Plus, I’ll take plane shavings over power tool dust on the floor any day. Way more romantic/old school.
The Powermatic option shouldn’t be used to justify not purchasing a jointer, especially with the alternative you mention. Grizzly has a tabletop jointer (model G0725) with a 6″ blade that runs $235, and I can vouch for quality products from Grizzly. Good fitting, gap-free joints go a LONG way in making the work look great and there are options to get those results without buying Powermatic. Their products may be great, but why buy a Ferrari when you need a Sunday church commuter?
Another method is to build a rather simple jig that rides in the miter groove of the table saw that allows the piece to be clamped to it and then run through the table saw. This is a good method if neither side is particularly straight to reference against a fence.
I learned several things with this article and the followup comments. Great article as usual.
You not owning a Joiner is like Julia child’s not owning a turkey baster
Great post Ethan. I’ve never used a jointer but to be honest it doesn’t seem like it’d be necessary. Careful cuts and/or good hand tools can do the job instead. Good tips for the table saw, though.
Oh…and nice zero clearance insert 😉
i appreciate this article. owning a jointer is great but it takes up space and costs $$$… so this is a great alternative if all you have is a table saw…