
The official OPC workshop is coming along albeit rather slowly. To give you some perspective, we had Fred & Kim’s garage insulated back in May. Then, almost a month later we poured the concrete foundation for a new shed to clear out the garage. That shed was delivered in late July. We are mid-way through August and just completed hanging drywall. Hopefully I can step up the pace and be in there before winter. It’s good to have goals right?
I’m one of those guys that looks at a project and thinks, “We can finish this up in a couple hours,” and eight hours later the job is done. Somehow I forget that corners are not always square, studs are not necessarily 16″ o.c. and old drywall might be out of place. That’s how this project went.
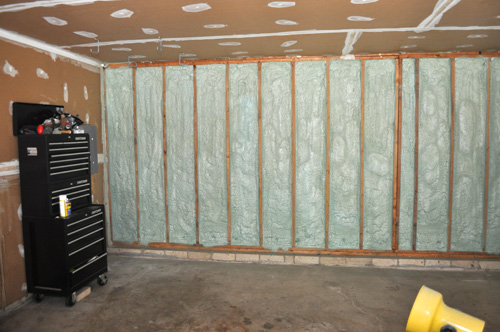
We started by cleaning out and organizing the garage.
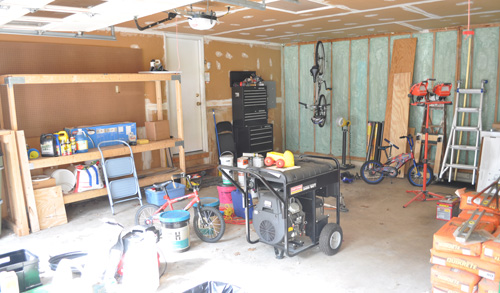
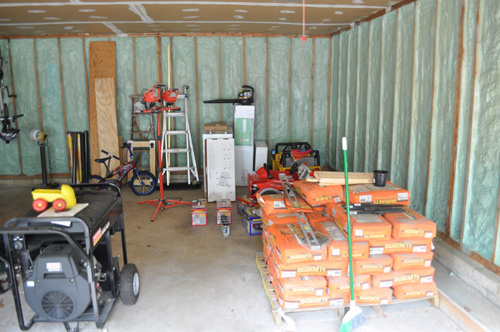
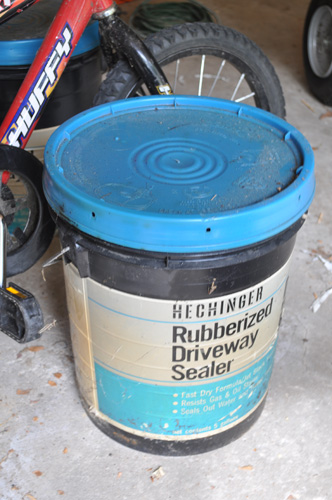
Does anyone remember Hechinger’s? Their retails stores closed shop in 1999. 🙂
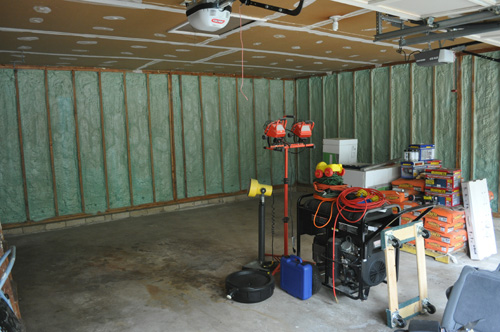
Looks pretty good. Did you know that a leaf blower works great for cleaning out your garage?
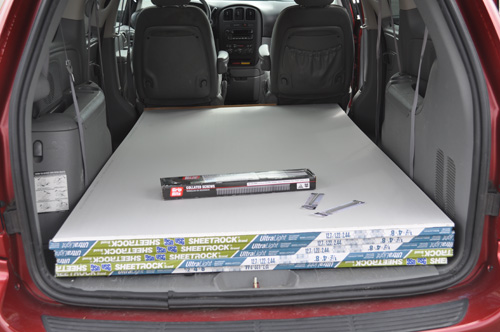
Next, Fred and I picked up some drywall, screws and bits at Home Depot. There’s nothing like riding in style in the Caravan. We don’t know if it’s intentional or not, but 4 x 8 sheets of drywall fit perfectly when you remove / stow the back seats.
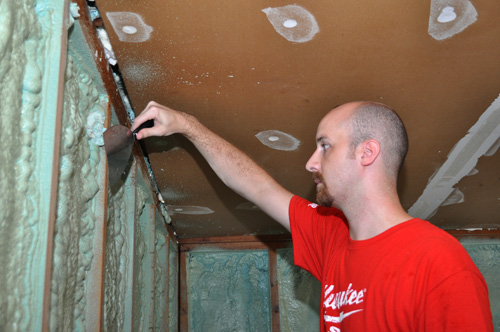
We had to scrape a few studs to removed some over-spray from the insulation,
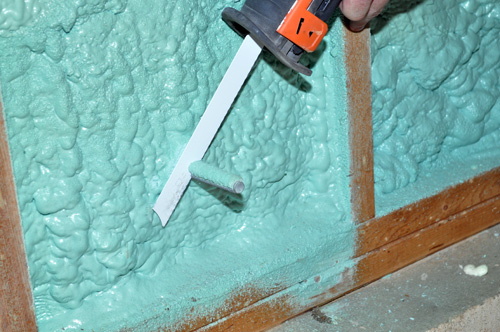
and trim a few carriage bolts. The recip. saw made short work of these.
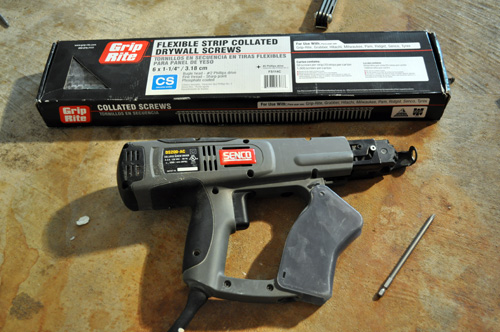
Here’s a picture of the Senco screw gun we used. If you’re ever installing drywall, a screw gun is extremely useful. Not only does it drive screws super fast, you can set the depth to sink each screw the right amount. Check out this afternoons post for a fun little contest about using this screw gun.
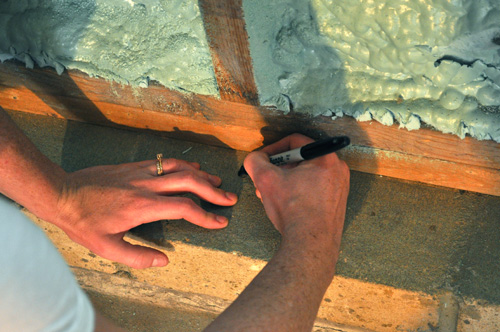
Kim marked the center of each stud so we could easily find it after moving the drywall in place.
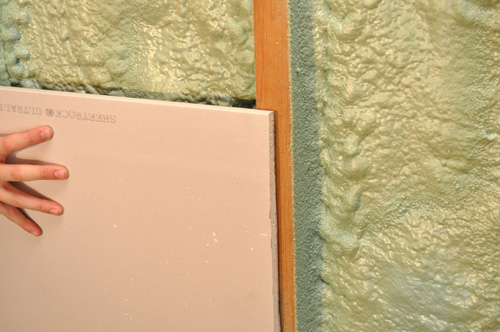
Drywall is manufactured in 8′ x 4′ sheets (among other sizes), and they fit perfectly when studs are place 16″ on center (o.c.). This is a picture of our very first piece of drywall. Did you notice that we had to cut the edge? That’s because the corner was out of square by about 1/2″, and without cutting, the other side wouldn’t line up with the stud.

The edge of the drywall should hit the center of the stud unless it’s a corner. That leaves enough room for the next piece.
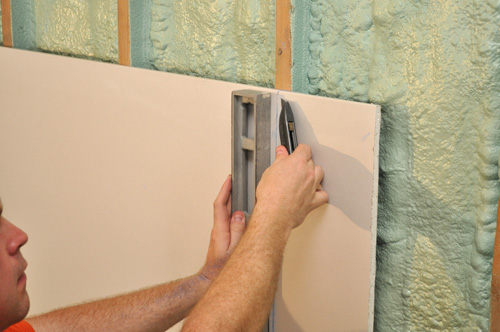
To cut the drywall, use a utility knife to score the front. Put some pressure on the backside, and the drywall will snap along the cut. Then use the utility knife to cut the paper backing. In this picture, Fred is lining up his first cut using a level as a guide.
Remember how Kim marked all the studs? We used those marks to snap chalk lines so that we knew where to screw.
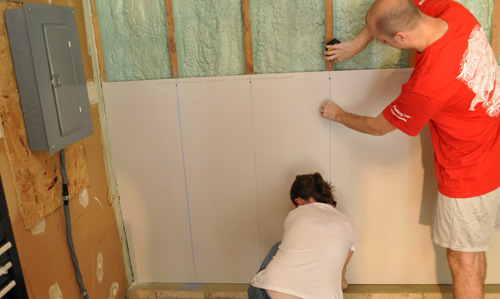
Here’s a close up of Fred putting in some screws.
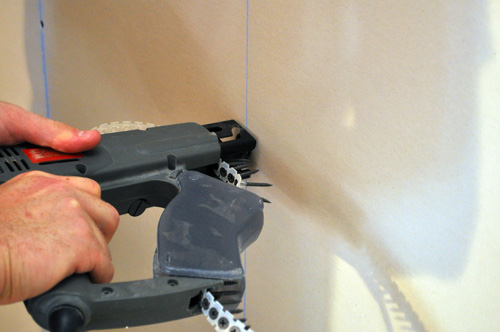
We completed the bottom row before moving on to the top.
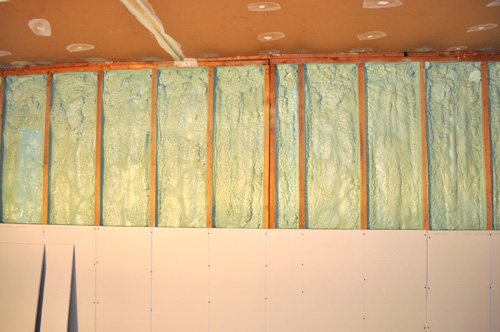
The top row was much more difficult because we had to cut at least 4″ off the top of each piece. To make things even more interesting, the ceiling wasn’t straight at all. Some of the drywall on the ceiling had sagged as much as 1.5″ (like where that ceiling joint meets the wall).
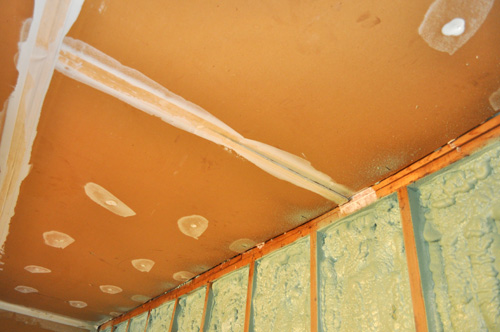
At first we decided to cut out any major problems and patch the ceiling later. We quickly abandoned this idea because the insulation above the ceiling adhered to the drywall, and it was a lot of work to remove even a small piece.
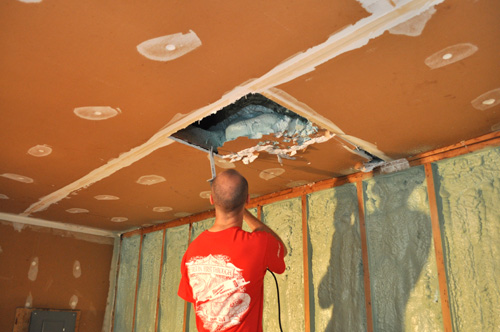
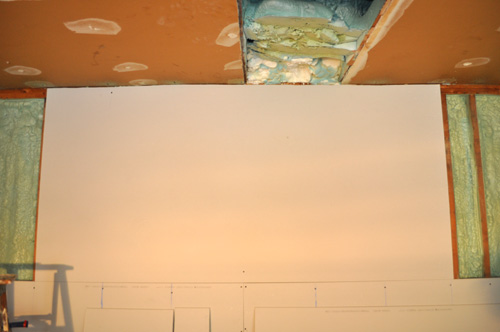
Instead, we measured the distance for each stud and cut our drywall to match. Yeah, it was slow going. You can’t really see it in these pictures, but we did remember to stagger the drywall joints.
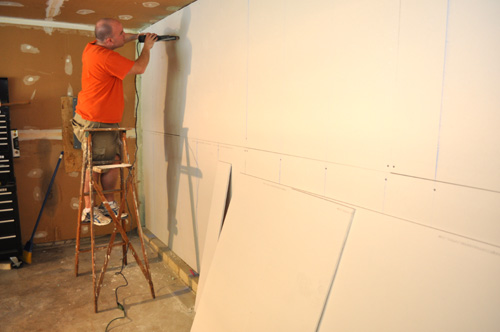
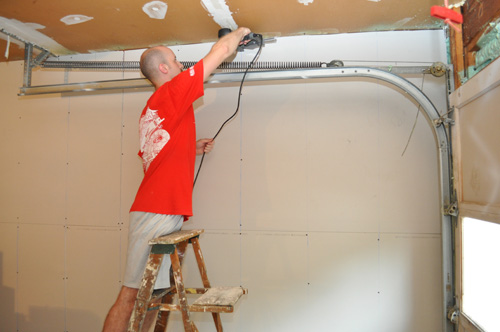
Clean up time! We grabbed some black contractor bags that PlasticPlace.net sent us. This is the first time anyone has sent us trash bags, but I’ll admit, a heavy duty trash bag is just what we needed. Goodbye drywall scraps, loose screws and anything else we could fit inside.

In the end we were rewarded with some good looking drywall. Next, we’ll need to mud and tape all the joints.


Wait a minute…studs are always 16″ o.c. on all the DIY shows! I was just saying to my future wife the other day, “the thing about these shows is that they make it look too easy with everything being done in 26 minutes plus commercials.”
Most projects that should take 8 hours end up taking 8 days or 8 weeks. Great post.
oh could you elaborate or explain this a little more to me:
“At first we decided to cut out any major problems and patch the ceiling later. We quickly abandoned this idea because the insulation above the ceiling adhered to the drywall, and it was a lot of work to remove even a small piece.”
I don’t understand what you were trying to do and what you ended up having to do
Hey Icarus,
So the ceiling had several places that sagged up to two inches, and our original plan was to cut out the worst offenders and replace the ceiling drywall later. After we cut away that first piece, we realized that the closed cell foam (bluish-greenish stuff) was adhered to the other side. It made it really difficult to cut out the drywall and so we decided to leave it and instead cut the new drywall to match the contour of the ceiling. Not ideal but I don’t think we’ll notice it. That all make sense?
oh now i see what you mean. thanks.
Looks good!! My garage has no interior surface (except for some pegboard I just put up), and its probably going to stay that way… I don’t feel like re-doing all of the electrical in it, and its detached.
Yes, I think someone actually thinks about putting sheet goods into the minivan when they design them (go figure). I find a minivan is way more useful than a truck (it moved me to college, in one trip, with a futon).
That’s not a lag bolt… its just a bolt, with the nut covered by the insulation. A lag bolt would be pointy, and into a stud, not straight through the sheathing. What is it holding on the outside?
I guess since nothing was exactly 16″ OC, you really couldn’t hang it vertically and avoid the butt joints. Did you use a drywall rasp for some of the shaping? I have seen the tool a few times, but rarely see it actually used in howto guides.
Its pretty easy to see where the two pieces come together in the pictures, just look for the studs with two sets of screws in them.
Our plan is to surface mount the electrical- keeps it easy and somewhat simple if we need to move anything.
Thanks for catching the mistake- I was thinking carriage bolt. Fred’s deck is on the other side. I’ll update the post.
No drywall rasp- just a utility knife and a lot of measurements.
Wow you can really see the sag in the back corner in the third to last picture. Was it the weight of the spray foam that made it sag or was it just time? Even if you added a bunch more screws to the ceiling, the rigidness of the foam would keep the rock from pulling flat to the bottom of the trusses.
Great job!
Hey Jeff, It was sagging before the foam, and now there’s foam between the drywall and truss. You’re right that no matter how many screws we put in, it won’t budge.
It was probably sagging because its 24″OC, and its probably not 5/8 drywall, being an unconditioned space doesn’t help either.
whats your plan for the overhead? im thinking about ways to protect from the cold weather?
Looks good! I empathize with you. Aaron’s been busy hanging drywall and backer board in our bathroom. Nothing was level! Need more shims anyone?
Nice article. I was wondering if you have ever done an article on drywall repair, for cracks and holes. I have a long crack under a light switch plate and need to fix it.
Thanks an I enjoy getting your emails
This is spot-on for me right now! We are in the middle of drywalling our upstairs. The drywall is almost up (thanks to my son. I call him the drywall guru). But he is leaving soon and I will be on my own to tape and mud.
I sure hope you will be posting how-to’s for that. I’m planning to do a joint compound mixture texture over the drywall because I know that I won’t be able to get it smooth. I did this in the hallway outside of the bedroom over walls that were stripped of four layers of wallpaper. It’s an easy process of mixing JC with a little water and rolling it on the walls. Really hides mistakes in drywalling which this newbie needs!
are you going to seal the floor with something? I was thinking of doing that and I want to hear others thoughts on it or see a DIY on here.
Yep – we’ve already got the product and that is coming. We’re going to be using an Epoxy Coating that was provided to us. I am most excited about the floor!
You guys should consider installing a layer of plywood over the drywall. Plywood in shops and garages are great so that you can more easily hang stuff on the walls. Looking good. Did you like the Senco screw driver? They look really sweet…but I never see any of our pro installers using them.
Good tips. We’re thinking about the surface layer – plywood, pegboard, storage, etc. Not sure where we’re headed on that yet.
The SENCO: Fabulous tool… If you’re guys are loading screws on a driver, this will be significantly faster… We used it on the subfloor project a while back successfully too.
Haven’t chatted with you in a while. Hope all is well in NH!
I’m in the process of buying a bank owned property that has a hole through the ceiling drywall in a closet next to the square entrance hole where someone stepped through so your drywall articles will help. Also the ceiling in the lower level has a sag about 1″ over 6ft by 12ft no cracks, but noticeable sag if you really look at it. I heard though a friend that homes built in my area in that era (70’s) it was a problem because they would use nails instead of screws. Have you ever ran across this? Thanks, Rich
Hey Rich,
Nails vs. screws isn’t an issue as long as they’re installed correctly. Either way, it’s important to use construction adhesive on all the studs because that’s what really provides the long-term hold.