
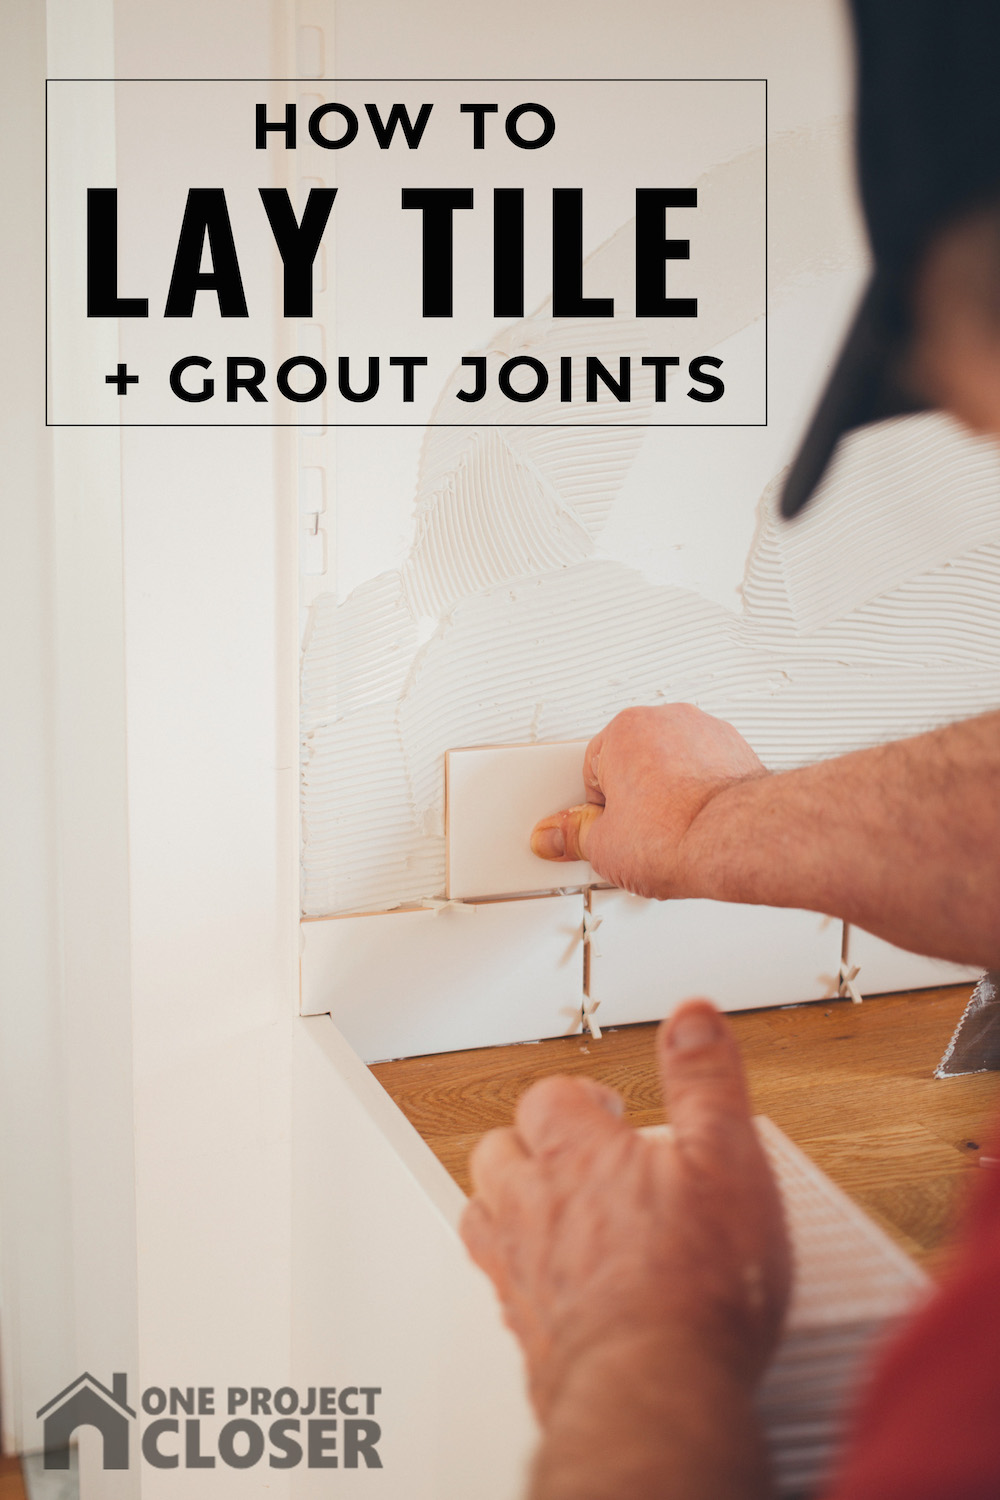
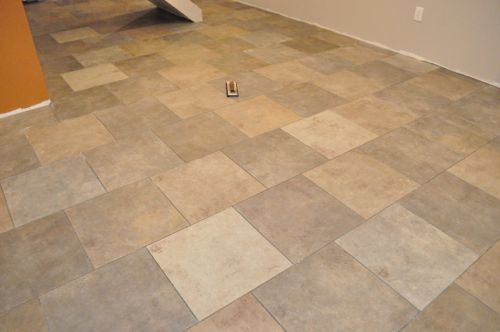
Grouting tile joints is last step for installing a tile floor, and what better way to learn than from two seasoned, professional tile installers. Jim and Rich are the guys from Diamond Tile located here in Maryland, and each of them have over 27 years of experience laying tile. Last week they finished the floor in Fred & Kim’s basement. They shared the details with me for grouting tile and achieving a beautiful tile floor. In today’s Pro-Follow you’ll learn about the tools and products they recommend, mixing grout, spreading grout and finishing the tile.
Already laid your tile and now need to clean those grout lines? Practically Functional has some great tips on how to clean grout with her homemade cleaner!
Tools & Materials
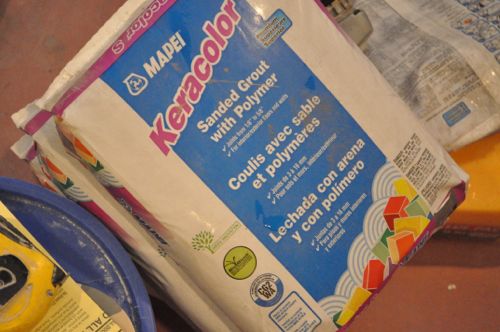
Rich is using Mapei Keracolor S which is a cementitious grout with a polymer additive. The additive helps the grout dry harder and resist stains. This is a sanded grout, and Fred & Kim selected a grayish color.
Pro-Tip: Sanded grout is appropriate for tile joints 1/8″ to 1/2″ wide. Smaller joints should be grouted with un-sanded grout.
Pro-Tip: Mistakes are more noticeable with darker grout while lighter colored grout will blend and hide imperfections.
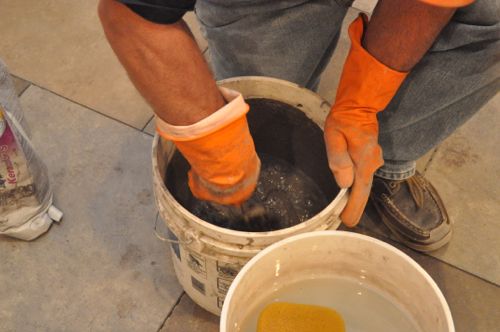
Grouting tile only requires a few tools, and Rich is using a small trowel, grout float, sponge and a bucket of clean water. He also used a drill and paddle mixer to mix the grout.
Pro-Tip: Wear gloves when applying grout because the sand and lye can cause skin irritation.
Step 1: Mix the Grout
The most common mistake when grouting tile is failing to properly mix the grout and water. If the grout is too thick, it will be extremely difficult to work, and if the grout is too thin, it will not adhere to the tile and easily chip away.

Rich thoroughly mixes the grout with a paddle mixer, and he targets a creamy paste consistency and uniform color. After the initial mix, he lets the grout slake for about 5 minutes, and then he remixes everything to eliminate any air bubbles. Also, while Rich is working he will periodically remix the grout; however, he does not add any more water.
Pro-Tip: Well-water can cause grout to effloresce resulting in a white haze.
Pro-Talk: Slaking is the process of leaving the grout undisturbed to allow the water to completely penetrate the dry ingredients.
Pro-Tip: It’s important that the grout be mixed completely through. Otherwise, there may be some color variation. Mix separate batches with the same proportions to help achieve consistent color throughout.
Pro-Tip: Depending on the room temperature, most grout has a 30 minute window of work time. Mix as much grout as you can spread in that time period.
Pro-Tip: Black and gray colored grout will permanently stain paint and the grout float used to apply it. Lighter colored grout can be wiped away.
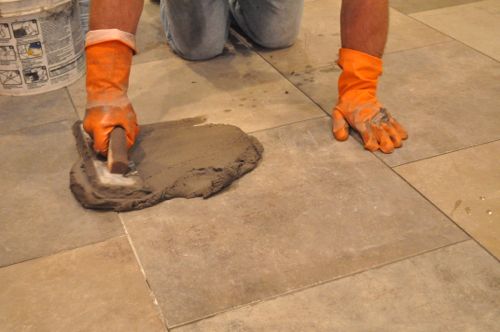
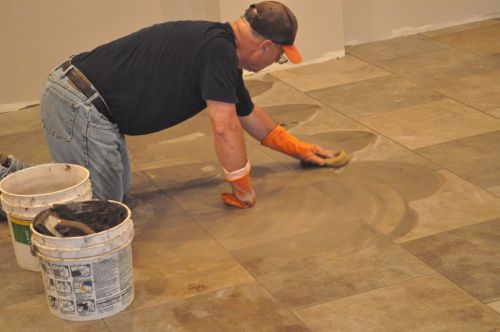
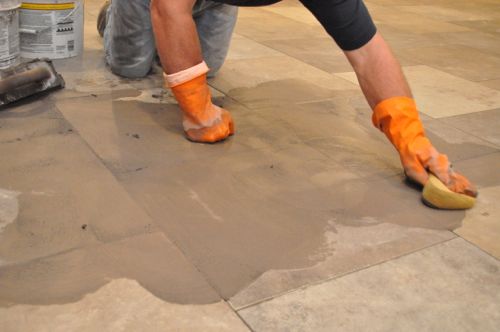
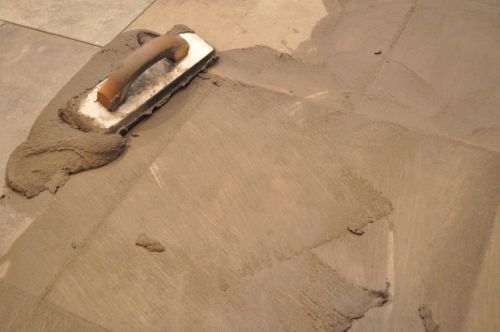
Step 2: Spread Grout
Rich started on one side, spreading the grout with a grout float.
Pro-Tip: Slightly moisten the tile before grouting to make it easier to spread.
He spread the grout across a section of tile and forced the grout into the joints.
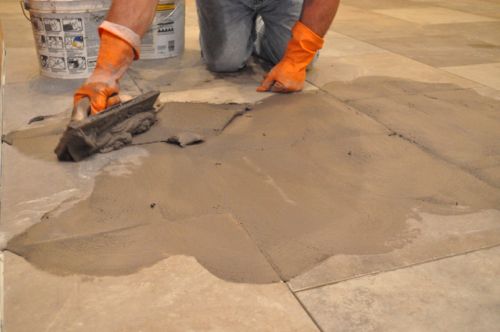
Rich used the grout float to pack the joints tight and eliminate voids, and after that he used the float to remove excess grout.
Rich held the float at about a 45°, sweeping the grout up and down in short passes.
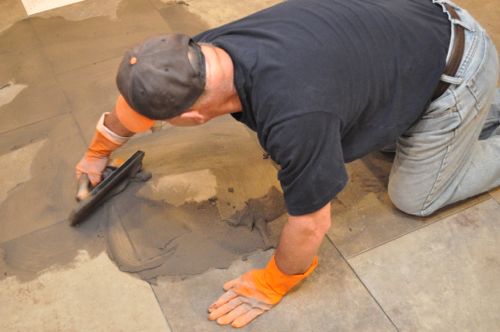
Step 3: Sponge Joints Clean
Using a damp (not soaking) sponge, Rich cleaned the face of the tiles with a circular motion.
Pro-Tip: Wait about 15 minutes for the grout to firm up before sponging clean. Otherwise, it’ll pull the grout out of the joint.
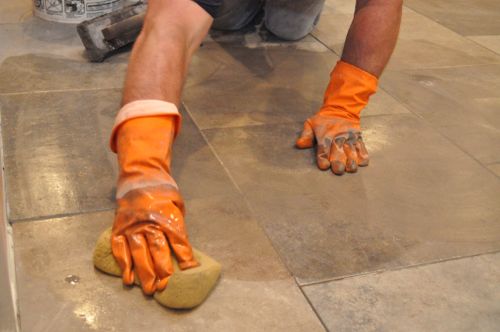
After the first pass with the sponge, Rich went back and cleaned the tile and joints a second time, wiping at a slightly diagonal angle to the joint.
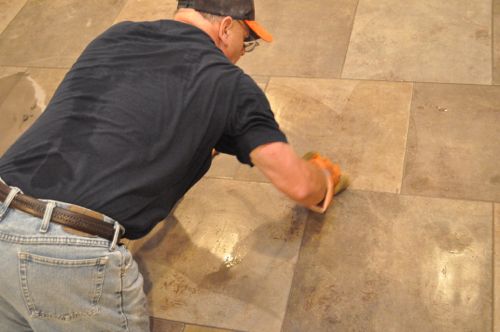
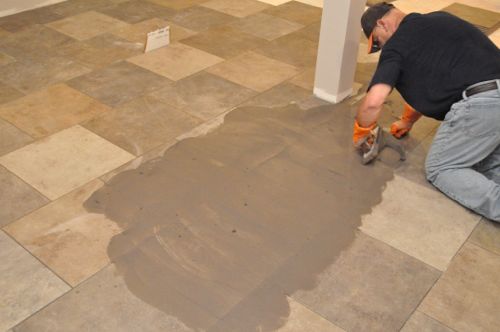
Step 4: Repeat Spreading Grout and Sponging Clean
Working in these small sections, Rich finished off the floor.
Step 5: Let Dry
The grout will need about 24 hours to dry and harden before the floor is ready for foot traffic. Jim and Rich feel that sealing the grout is usually unnecessary because the protection is short-lived, and the grout will still need to be cleaned periodically. They advise sealing the grout only in areas that will be prone to stains.
Pro-Tip: If after a few hours a slight haze appears on the face of the tiles, it can be buffed off with a dry towel or cheesecloth.
Pro-Tip: Mapei recommends waiting 21 days for grout to fully cure before regular cleaning.
Finished
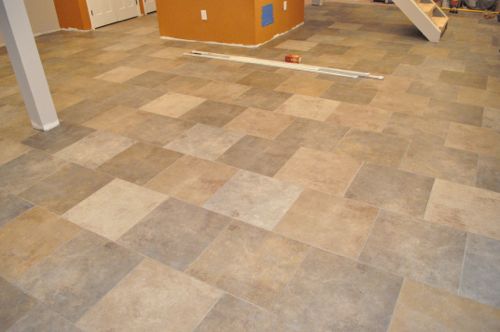

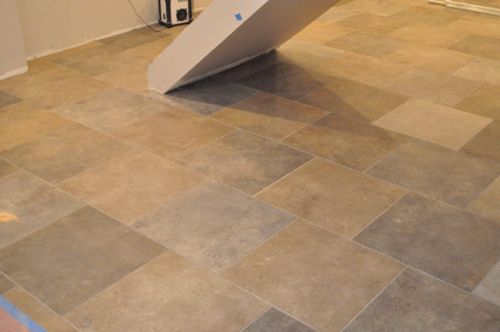
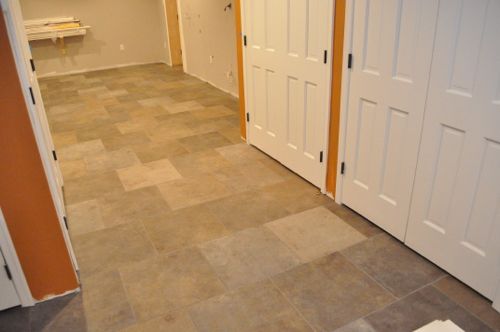

Beautiful floor. These guys are good. Amazing how quickly the basement went together.. hope they enjoy their new space!
Here’s a sponge tip for those reading. Only make one pass across large tiles before flipping the sponge. A grout sponge has 6 different faces that can be used before rinsing and wringing.
It seems Jim and Rich prefer to use Mapei products. Have they said why they prefer them over other brands?
Such a tidy job, you make it look so easy and a great finish.
Mapei products are more reliable, maybe that helped him to choose that product over the others…
Wow, what a clean job you did there, hope i could be so proffessional
What brand/style of tiles are those? I love them! Great article too..