
Last time we left off, Steve Wartman and his crew were nearing the completion of the master bathroom remodel. Rick and his team had finished the tile installation which leaves a short list of tasks to complete (vanity, toilet, etc.). One of those tasks was installing bypass shower doors, and that’s the topic for today’s article.

If you missed out on any of the previous updates for this Pro-Follow, you can see the progress as these links:
- Day 1: Bathroom Demolition
- Day 2: Plumbing, Electric Rough-in, Underlayment
- Day 3: Installing a Bathroom Vent Fan
- Day 4: Tiling a Bathroom Shower, Floor
All of our Pro-Follows are the result of shadowing real contractors on actual job sites. Take a moment to sign up for our email or RSS feed, and if you live in the Baltimore area and are looking for a contractor, consider hiring one of our pros (contact info here).
Materials
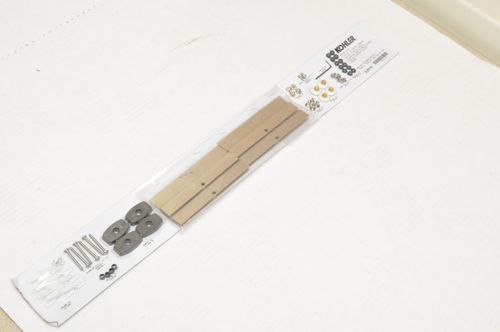
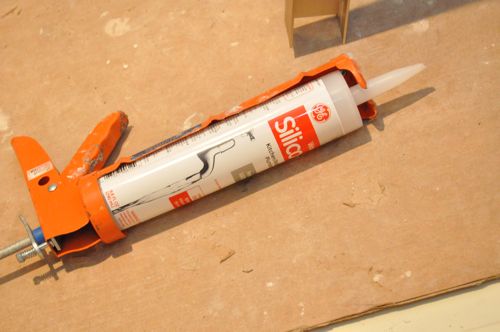
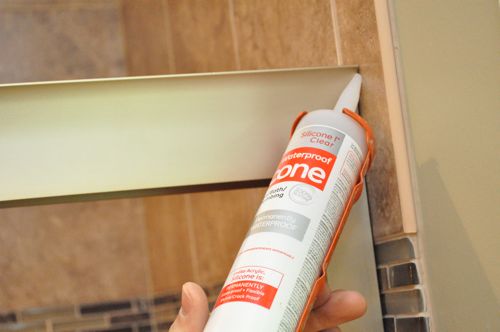
The guys are installing a Kohler bypass shower door kit, and in addition to the provided materials, they picked up some silicone sealant (see below).
Silcone Sealant
It’s important to use 100% silicone sealant for this project because silicone is more flexible, waterproof and longer lasting than other sealants. Even though it’s tougher to work with than latex or siliconized latex products, it’s a better choice for this project.
Tools
- Miter saw
- Screwdrivers
- Drill
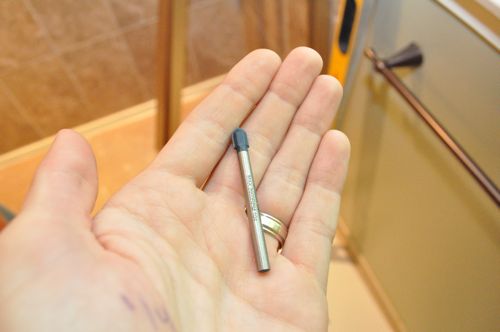
- Tile drill bit
- Tape
- Level
- File
Step 1: Position the Bottom Track
Steve’s crew began the installation with the bottom track (pictured), and they measured the opening along the shower pan.
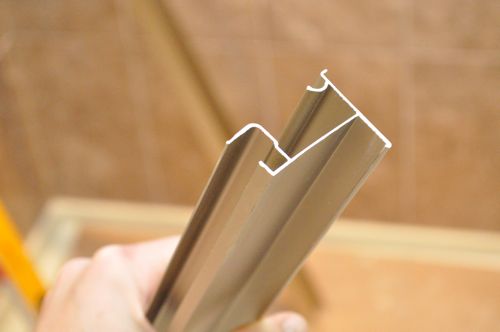
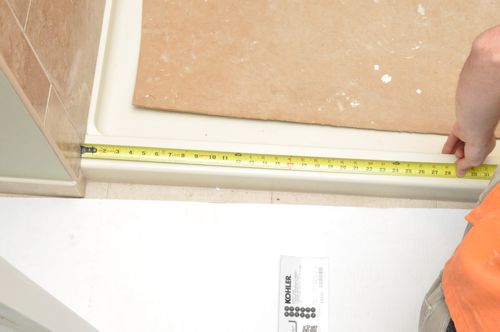
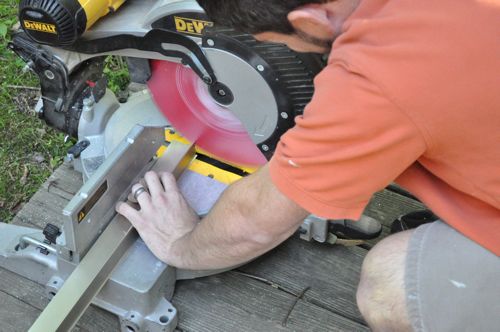
The guys subtracted 1/4″ from the length because this piece does not need to be a perfect fit, and they cut the track with a miter saw. Afterwards, they ran a file over the cut edges to remove any burrs.
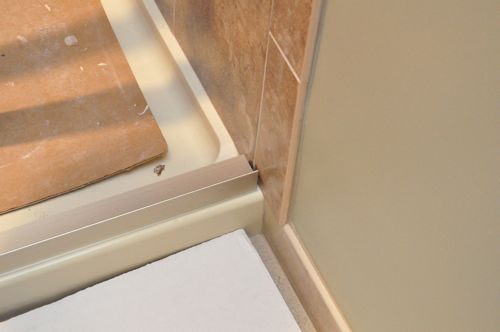
Centering the track on the shower pan curb, they taped it in place.
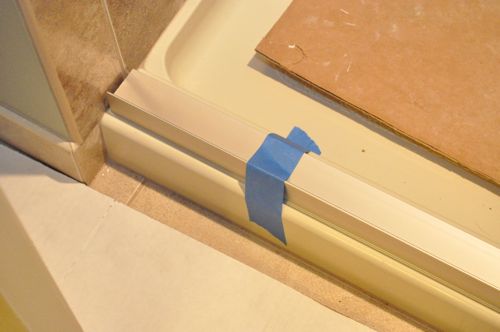
Step 2: Drill Holes for Wall Jambs
Next, Steve’s crew moved the wall jamb pieces into place and used a level to plumb them both.
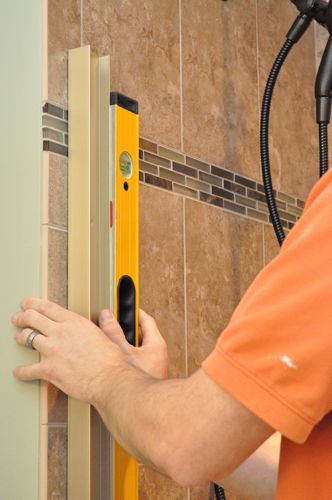
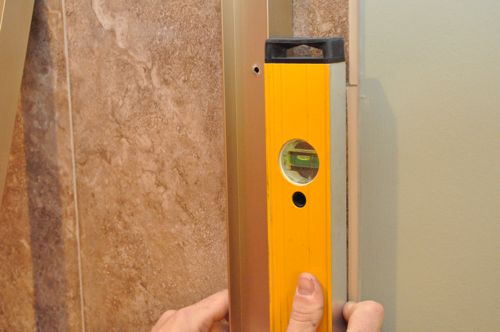
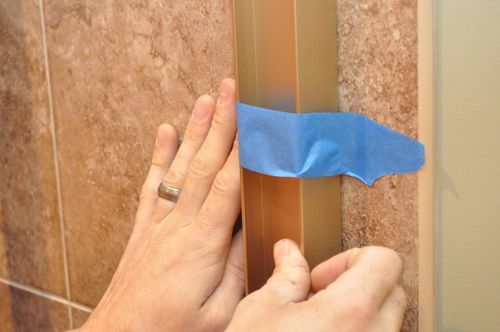
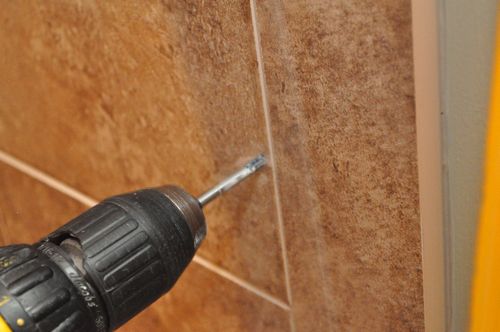
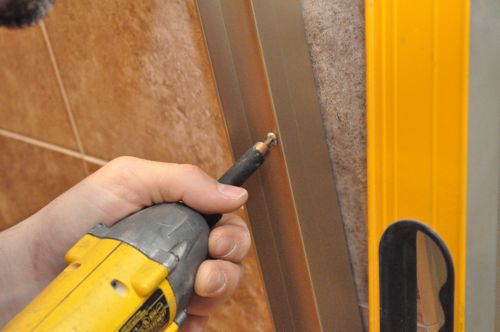
With the jambs taped in place, the guys marked screw hole locations. Next, they drilled through the tile with a 5/16″ tile bit.

Step 3: Insert Anchors
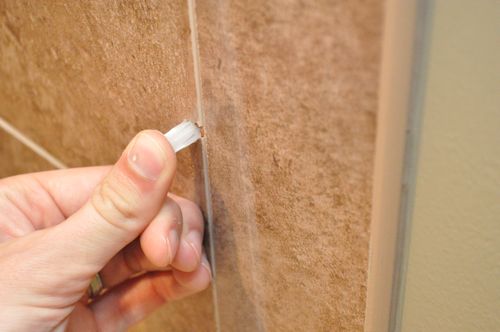
These plastic anchors fold over themselves and Steve’s crew pushed one into each hole.

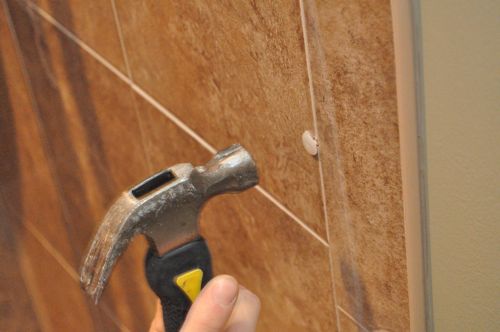
Some of the anchors needed a little encouraging with a hammer, and the guys very mindful not to damage the tile.
Step 4: Secure Bottom Track
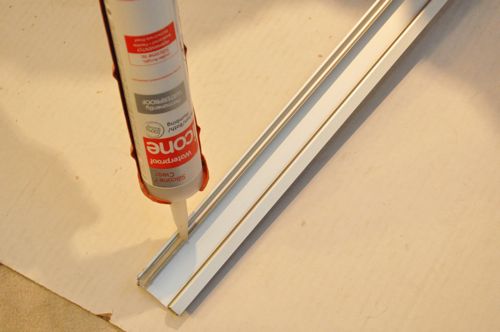
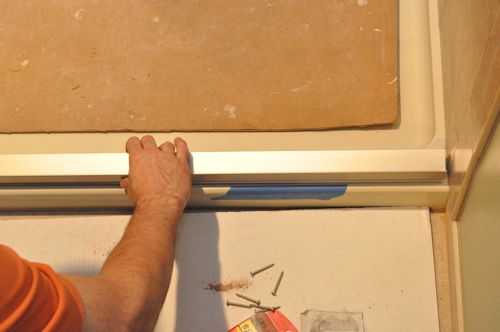
Now that the holes are ready, the guys marked the location of the bottom track (with more tape) and flipped it over. The bottom of the outside edge has a small, half-circle groove, and the guys applied a bead of sealant in that groove. Next, they pressed the track back into place.
Step 5: Secure Wall Jambs
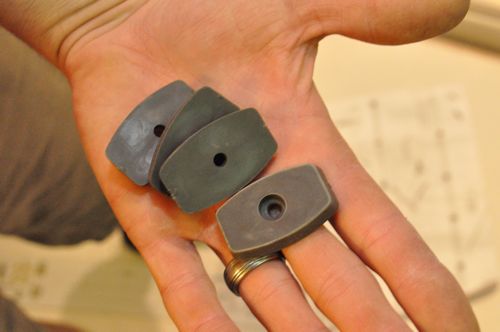
The wall jambs each have three screw holes, and both the top and bottom screws get these rubber door bumpers.
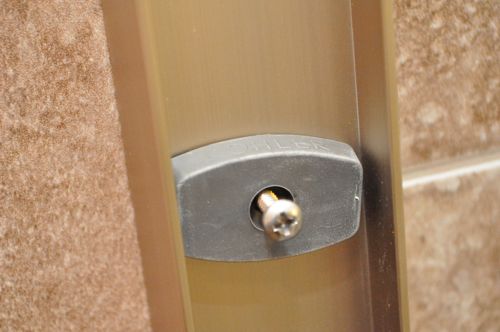
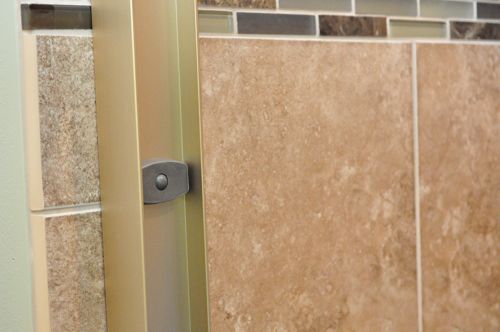
Lining up the jamb with the holes, Steve’s crew secured the jambs to the walls, and each screw was concealed behind a screw cap.
Step 6: Cut and Install Top Track
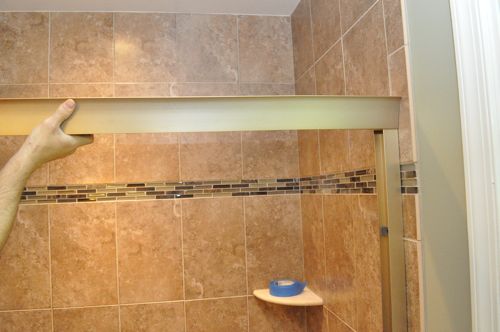
The next step was to cut and move the top track in place, and both ends of the top track are visible so the guys worked carefully to get a snug fit. This top piece rests on the wall jambs and there aren’t any screws. This is OK because the shower doors hang from the top track, and the weight alone is enough to keep it from moving.
Step 7: Assemble Shower Doors
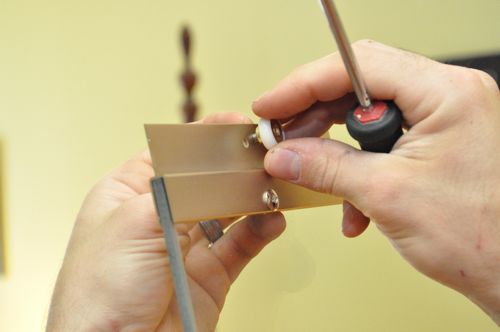
For each door, the guys attached two hanger brackets. They started by adding the bushing and placed the hanger overtop.
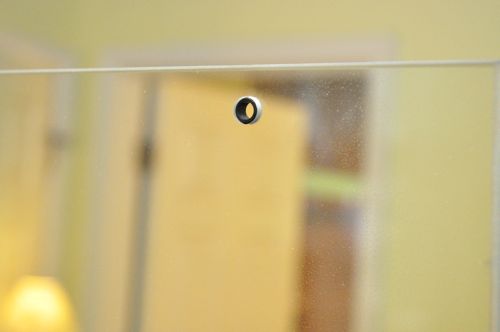
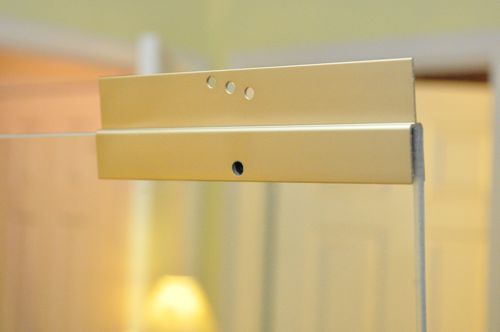
The hanger is held in place with a bolt, and the guys were careful not to over-tighten it.
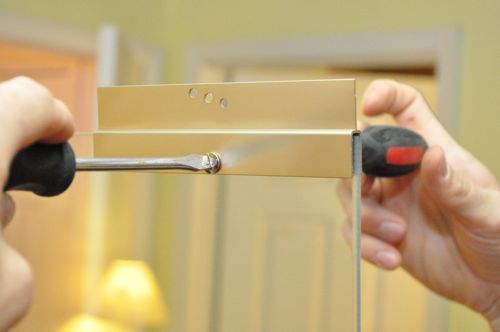
Next, they placed a roller in the middle hole of each bracket. Check out the diagram to see how the rollers were oriented for each door.

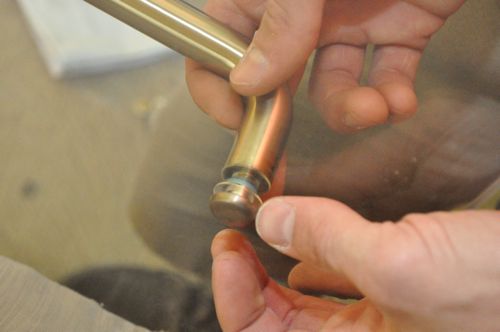
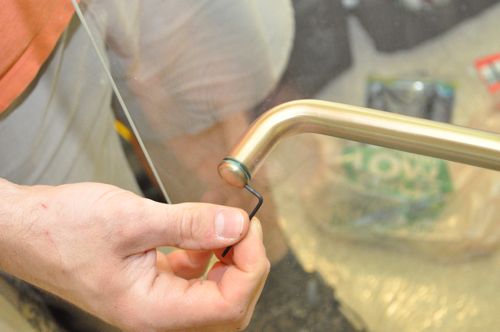
The door handles have plastic spacers on either side of the glass, and again the guys were careful not to over-tighten the screws.
Step 8: Hang Shower Doors
To hang the doors, Steve’s crew angled the hangers into the top track and moved the roller into a slot.
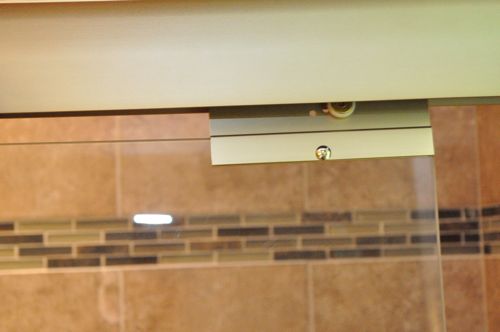
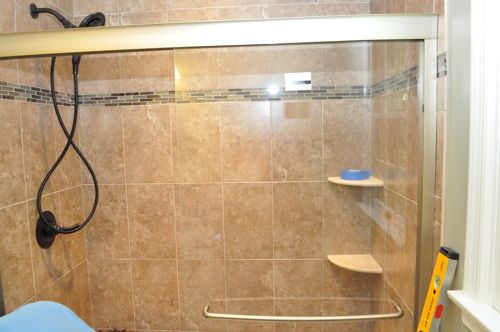
Pro-Tip: If the door doesn’t sit flush with the rubber bumpers, move the roller closest to the wall to an adjacent hole thereby raising or lowering the door for a better fit.
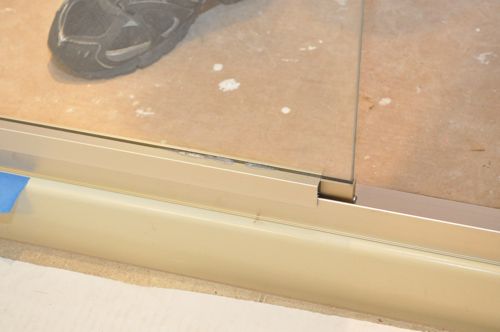
The outer door overlaps the bottom track as shown in this picture.
Step 9: Install Inner Door Guide
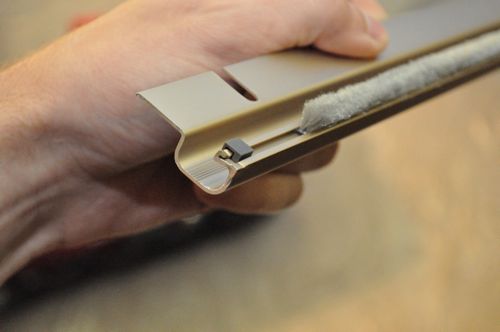
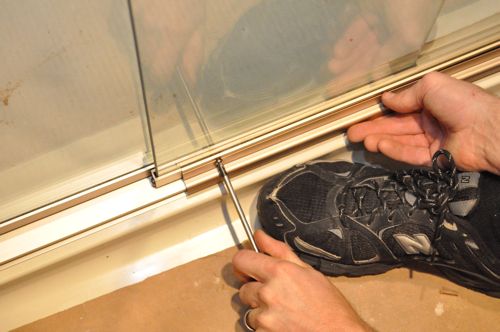
The inner door has an additional guide to prevent wobbling, and it screws in place with two screws.
Step 10: Seal Inside and Out
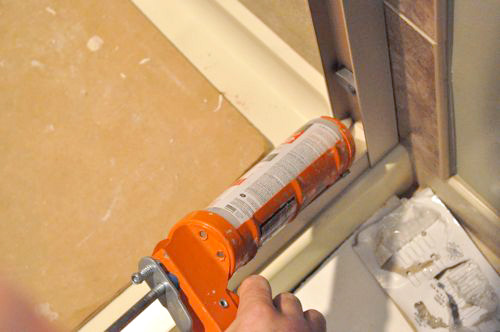
The last step was to seal the inside and outside the doors along the walls, across the shower pan and inside the corners of the track.
That’s all for today. Look for an update revealing the completed bathroom sometime this week.


A good tip about these doors: if they start squeaking or not rolling smoothly, its the wheels, DO NOT WAIT!!!! Just replace them, they are cheap and its REALLY easy (see middle of step 7). It makes a huge difference, and my wife no longer hates our shower doors. While you have the doors off, make sure the tracks they run on are clean, just a damp shop towel (no guarantees of ever getting it clean again!!) was what I used.
I prefer shower doors to shower curtains. In my next home there will be no shower curtains if I have anything to say about it.
Good post.
the curved rods make a big difference with the curtains, gives you significantly more space in the shower (and keeps the curtain from attacking you). but I like the doors better as well.
I really dislike shower doors. Can never seem to keep them clean. But for those who need them, this is a great tutorial. 🙂
Just say its “frosted” 🙂
I hear that! I spend a lot of time cleaning my shower doors…. Curtains are easy to change out when the time comes.
I use some scrubbing bubbles to keep mine looking nice – cuts through the soap scum and then a little windex to make them shine.
cool. looks pretty easy.
What about lining up the track so the drilling goes through the grout lines, instead of the tiles. or any tips on drilling through tiles and not cracking them?
They considered that, but decided against it because the two sides did not perfectly line up. Even if they had drilled through the grout on one side, it wouldn’t have been in the grout on the other side. Instead they decided to split the difference.
Great tutorial if we ever consider going back to a shower door at another location. Had one in a guest bath and removed it. These tips look like they might apply well to an all glass swinging door.
Did Steve give you an idea on the cost of the door (without labor)?
Also, do the side posts have any sort of saddle to them or does the top bar just merely rest on the top? What stops the top from falling either into the shower or into the bathroom.
Doors look nice but yeah the cleaning thing. Shower curtains for me. I made the mistake of using a clear shower curtain once. Went to the trash in a few months and replaced it with a white one.
So I have a related question. I just had a contractor redo a secondary bath in my house, and turned former tub into standing shower. The base he/we chose was a fiberglass base 24″ tall, then ran tile the rest of the way to the ceiling. Looks great, but shower doors are not yet ordered or installed. So I’m looking at this setup now, and the shower opening is 58 1/4″ from the tile to the ceiling, but 56″ at the shower base. So the opening is approx 3/4″ wider on either side from the top of the shower base to the ceiling and I’m wondering how a shower door frame will be made to fit this? do they make custom wall jambs? Spacers? I can send photos if this would help, but at this point I am not sure I’m going to let this contractor finish the job.
Hi Ethan:
This question is about the hanger bracket that you show in your picture. I have a Kohler shower door that fell and shattered during cleaning. Unfortunately, the brackets for the broken shower door got trashed with the broken glass and I CANNOT find a replacement bracket which is exactly the same dimensions as the original. Any suggestions? I have searched all over the internet but to no avail.
The bracket is brushed nickel (I can live with a different finish) and its size is 5 7/8″ x 1 3/4″ approximately
Thanks
Rajat