
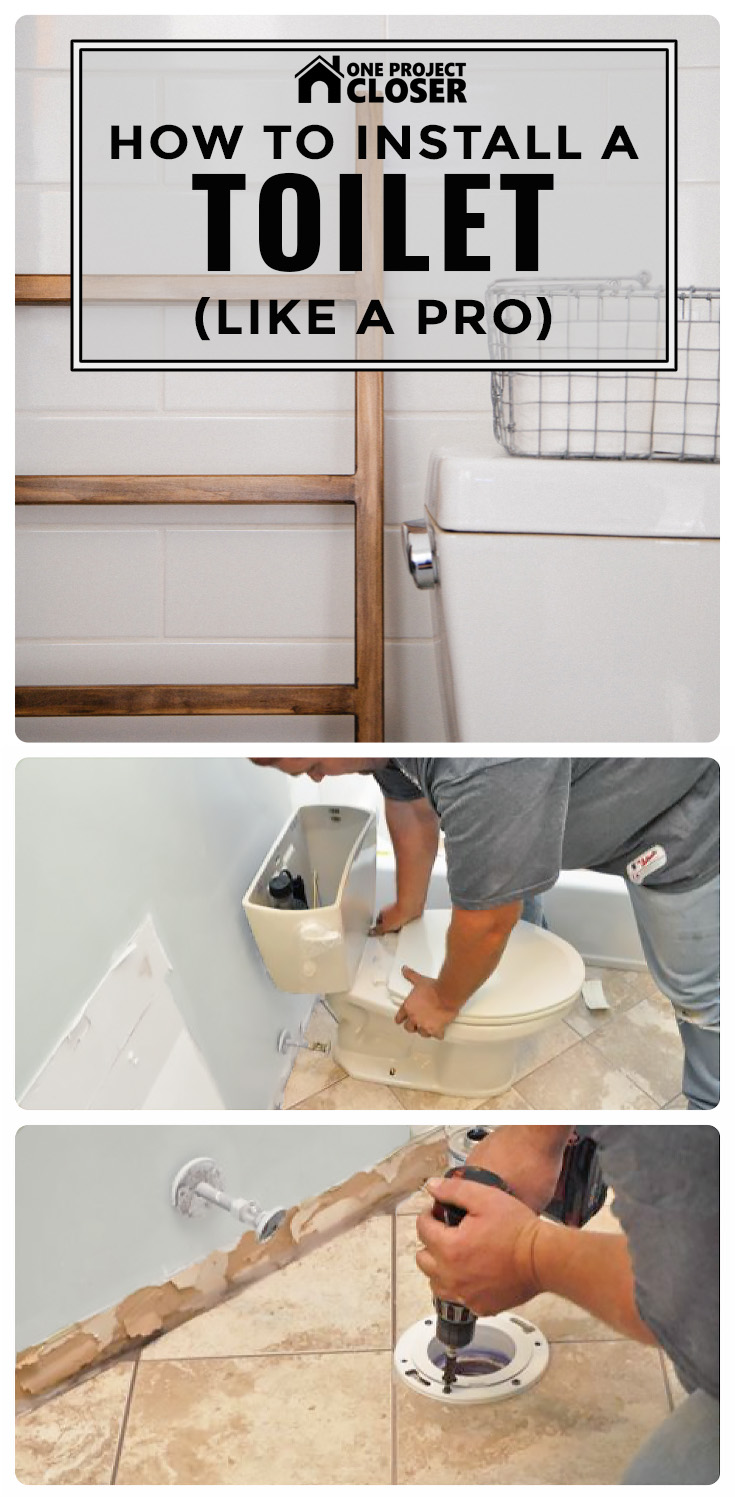
Unless you’ve installed a few toilets, you may not know all the tips and tricks to ensure your commode will work well for years to come. The last thing you want is to make a mistake resulting in a leaky toilet. Even though installing a toilet is a common do-it-yourselfer task, it’s always helpful to see how a professional plumber tackles the job. Today I’m back at the bathroom remodel with general contractor Joe Bianco, president of SDG Home Solutions to show you how to install a toilet. He’s brought in Charlie, a master plumber from Drain Relief, to install three toilets and some shower hardware.
Step 1: Assemble the Toilet
Charlie began by attaching the tank to the bowl and installing the toilet seat.

All the necessary hardware was included with the toilet, and most manufacturers will pre-install the fill kit. Even so, Charlie double-checked that everything was properly installed.
Pro-Tip: Be careful not to over-tighten the nuts which will crack the porcelain.


Pro-Tip: Charlie prefers Gerber toilets and recommends avoiding anything less than 1.6 gallons per flush.
Step 2: Prepare Flange
Today Charlie was installing three toilets, and two of the toilet flanges were in good shape. For those all he needed to do was clean away the old wax rings and remove the old closet bolts.

The flange in the third bathroom was broken, and Charlie went about replacing it with a new one. First, he used a small cutting disk to cut the waste line. Next, Charlie primed and glued a PVC coupling and the new toilet flange.
Pro-Tip: The flange should sit flat on the floor or at a similar height if the floor does not extend underneath.
Pro-Tip: Purchase a flange with a rotating collar to make installation easier. Otherwise, you’ll need to orient the flange properly when gluing the PVC.

Charlie measured the distance from the wall to make sure the new bolts would be positioned at an equal distance.

Using a tile drill bit, Charlie drilled six screw holes, and secured the flange to the floor.


Pro-Tip: Use galvanized or stainless steel screws that won’t rust.

Step 3: Set Closet Bolts
Charlie always uses Set Fast self-adjusting closet bolts which are unique because they feature a “threadlocker” that eliminates the need to snap or cut excess bolt length.

That patch of white is the threadlocker, and when the hex nut reaches it, the stud travels further into the anchor nut.

Charlie positioned the closet bolts in the flange and slid the washers down to secure them.

Step 4: Place Wax Ring
Next, Charlie put the wax ring on the flange.


Pro-Tip: If the flange is sitting a little low, use an extended height wax ring.

Step 5: Set Toilet
Carefully, Charlie set the toilet over the flange, lining up the holes with the bolts.

Charlie pressed the toilet firmly against the floor.

Step 6: Place Washers and Nuts
Charlie slipped a nylon washer and regular washer over the bolt and screwed on the nut. At this point, he only hand-tightened the nut.

Step 7: Level Toilet
Charlie checked the toilet was level front-to-back and side-to-side.

If the toilet was out of level or rocked back and forth, Charlie shimmed the toilet with pennies or stainless steel washers.
Pro-Tip: You can purchase plastic toilet shims at DIY centers. However, Charlie has found that they are often very visible or crack when you attempt to cut them to size.


After verifying that the toilet was level, Charlie tucked the pennies underneath the edges of the toilet, and he tightened the nuts on the closet bolts.
Pro-Tip: Closet bolts are designed to hold the toilet tight against the flange, not to prevent the toilet from rocking.

Step 8: Attach Supply Line
Charlie installed a 3/8″, braided steel toilet connector.

Pro-Tip: These connectors feature rubber gaskets that eliminate the need for Teflon tape.

Step 9: Check Fill Level
Charlie opened the supply valve and let the tank fill up. He checked for leaks and adjusted the fill valve so that the water met the fill line.

Pro-Tip: Charlie advises against caulking between the toilet and the floor because leaks would go undetected and damage the subfloor.
Finished
After one last check for leaks and that everything is working properly, the toilet installation was finished.


The trick with the pennies is golden! I have never used the Set Fast self-adjusting closet bolts, but I will certainly look for them the next toilet installation I need to do. I hate making a mess when grinding off the top of the bolts at the end of the installation!
I love doing these Pro-Follows because where else would I learn about using pennies to shim a toilet?! As odd as it sounds, I was really excited about doing this one.
Love the penny trick too. About all they are good for these days. I realize he’s a master plumber and I’m not but I like to caulk 3 sides of all toilet installs. It prevents nasty gunk, dust, and hair from getting trapped in the seam but still allowing water to escape out the back in case there is a leak. The floor is also a lot easier to mop if there’s a fillet caulk joint.
I mentioned to Charlie that I’d seen that done, leaving a “weep hole” in the back. He hasn’t seen it, but I expect it would be a find solution.
As a Master Plumber in the State of Texas it is actually on the test that we are required to take, that all fixtures must be sealed watertight to the floor or wall. When the instructor was asked about caulking toilets for the same reasons mentioned here, he said that yes, they must be caulked or sealed to the floor watertight. A wax ring is not considered a watertight seal.
Any rationale for why Gerber over anything else?
Charlie says they’re the best available right now, and they always flush well. He used to be a big fan of Toto, but he feels they’ve declined in quality over the past few years.
We had two Gerbers in our place when we moved in. I replaced the one in the master bath remodel and I should have kept it. It flushed nicer.
I’ve never seen those set fast bolts before. That’s pretty neat, and the pennies. Good idea. I just would have had a crooked toilet…
Good info. We’ve replaced a few toilets lately. The penny trick is a good one to remember. I don’t know if I’ve seen Gerber toilets at Menards, which is our local home improvement store. We’ve been purchasing Eljer or Mansfield.
Love the penny trick too. Isn’t it amazing that with all the different materials things are made of these days, toilets are still porcelain.
Any reason they put the toilet in before finishing the wall behind it? I would think doing the wall without the toilet there would be a lot easier. And it’s not like putting in the toilet creates a big mess.
I also like the penny trick…resourceful! 🙂
Should the toilet be at least a cetain distance from the wall? I know butting right up next to it isn’t desirable, but is something like .5″ or 1″ recommended?
So many useful tips! I like when they’re practical too! (the pennies and not caulking the base of the toilet).
Good article.
As others have mentioned above – caulk the three visible sides of the toilet so that if there is a leak water will escape out the back and alert you. This looks much nicer with a finished bead of caulk and makes cleaning much easier.
I’ve used plastic toilet shims before – they aren’t the worst thing in the world and can quickly help you level the toilet. To cut them I’ll slide them in place and CAREFULY use an oscillating tool to make a flush cut (or cut almost all the way through so I don’t damage the floor, then tear/tug with pliers). Then caulk the shim in place and you have a nice finished edge.
Can you clarify why the ring was installed on the ground – I was always told to secure the ring to the toilet first than install the toilet –
Hey Nick,
Thanks for the comment. I’ll ask about the ring next opportunity I get. Speaking from my own experience, I’ve seen it done either way, and I’ve had rings that wouldn’t stay in place while I carried the toilet.
Got the toilet, got it installed but wanted to replace the seat with a cushioned one. The seat with the toilet is not standard round or oblong, but something half-way in between. Any idea where I can find something to fit this toilet?? Seems like the replacement seats are all the standards…. ;-(
I’d check the toilet manufacturer to see if they offer a cushioned seat. Hopefully they still carry the shape you’re looking for.
I like the Set Fast bolts. Wouldn’t the pennies corrode, turn green over time?
I had to change out a leaking wax ring a few months back. I wish I’d had this then. I’m going to do two small bathroom remodels in the near future. I’ll keep an eye out on Gerber toilets.
This is a great tutorial. I had never heard of Gerber toilets before, but will be on the lookout for one since we are planning to replace the toilet in our laundry room. The penny trick is really cool.
I caulk around the front and sides of the toilet; this way if it leaks you will see (and smell) it in the back but it will keep the floor in front dry (hopefully)
Glad to see pennies still have a valuable application in this day and age
haha yes!! i was quite impressed by the penny trick myself
Thanks for the explanation. I bought a new toilet from my plumber and they came to my house to install it.
Right after they left I noticed the darn thing was installed all crooked. I made’em come back to the house to fix it. They were going on about how my floor was crooked so it wasn’t their fault.
So how was it that the old toilet had been standing there perfectly straight for the past 30 years or so?
I made them fix it and I wasn’t gonna pay any extra. They did not like that much.
Next time, I very well might install my own toilet. My plumber is an idiot.
I agree with Charlie regarding not caulking between the toilet and the floor. Toilets are provided with all of the necessary seals, so if you find a toilet installation leaking, then check the seals rather than using silicone.
If I had a nickel for every penny I used as a shim ………
Thanks for everyone’s posts, lot of good information here, enjoyable page!
Installing a new bathroom, and this share filled-in
the gaps for me. Thank you.
I eventually want to share as you’ve done. Like give something back.
Thanks again.