
Installing radiant heat flooring is a great project for homeowners and do-it-yourselfers. Radiant flooring adds comfort and value to your home, and it’s not overly difficult to install. I spent the day with professional contractor Joe Bianco as he completed this project. Read on to learn how it’s done.
Materials
- Warm Tile radiant flooring kit
- 1-1/4″ concrete anchors
- Thin-set mortar

Tools
- Straight-edge
- Hammer drill
- Driver
- Hammer
- Snips
- Fish tape
- Multi-tool
- Chisel
- Multimeter
Step 1: Plan the Layout
One of the challenges with installing radiant heat flooring is that the heating cable cannot be cut or even nicked. For that reason, radiant heat is manufactured in several standard lengths to cover an approximate square footage. Follow the manufacturer guidelines to purchase the proper length for your installation.
Here’s a picture showing the coverage area for this particular product. Alternate Heating Area refers to a floor with unconditioned space below it and installations on concrete slabs (like today’s bathroom). Also, the space underneath vanities, toilets, tubs, etc. should not be included in this calculation.
For this how-to, Joe is covering a small bathroom and purchased the brown kit from a local distributor.

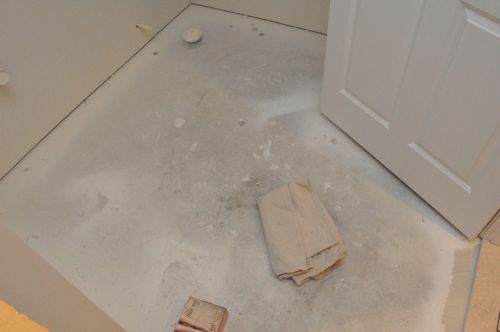
It’s important to know that this radiant flooring installation is a part of a larger basement remodel, and the electrician has already installed a single-gang box with power. If that’s not the case for you, you’ll need to install a remodel box and supply power from an existing circuit or possibly a new one.
Step 2: Fish the Power and Temperature Sensor
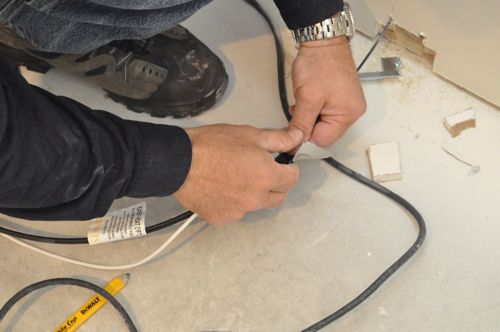
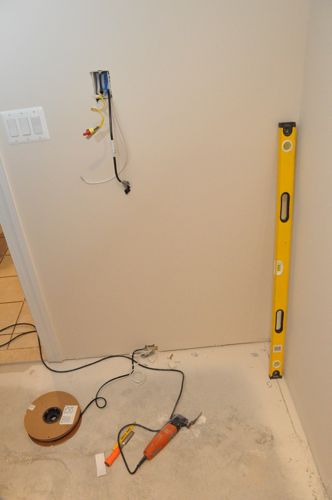
Joe began the install by cutting a small hole for fishing the “cold lead” (non-heated section of the heat cable) and temperature sensor to the box, and he used his Fein Multi-tool and a chisel to make the necessary cuts.
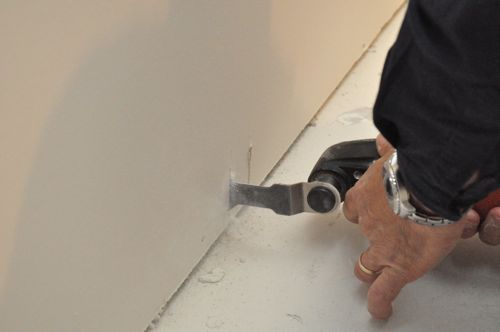
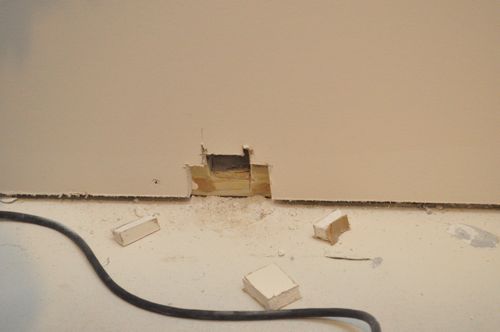
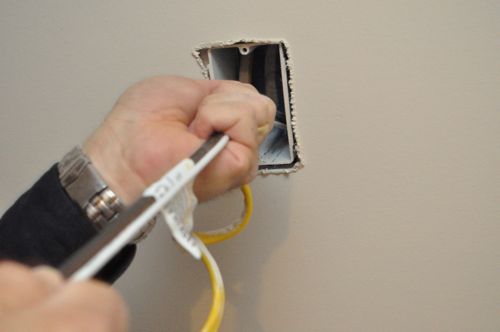
Joe fished a tape down the wall and out through the hole.

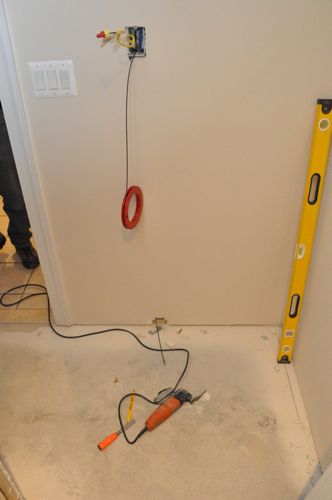
Next, Joe secured the temperature sensor and the cold lead with tape and pulled them through.
Pro-Tip: Consider installing (but not connecting) a second temperature sensor so that if the first one goes bad, you can use it as a backup. It’s an inexpensive precaution.
Step 3: Install the Metal Track
All of the heat cable is initially secured in place with a metal cable strapping. Before you start anchoring the metal track, clean the floor of any dirt, debris and especially sharp objects.
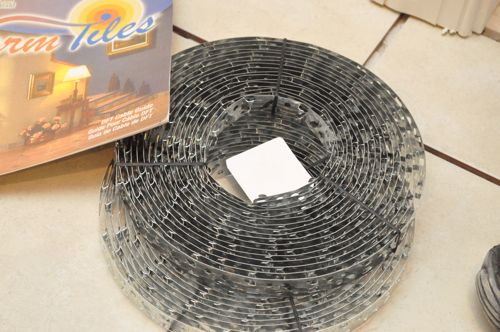
The heat cable border needs to be between 1-1/2″ and 6″, and Joe measured 4″ off the walls. Next, he use a level to scribe straight lines.


The metal track can be cut to length using snips.

Since we’re installing over a concrete slab, each hole needs to be pre-drilled, and the track needs to be fastened with concrete anchors. Joe used 1-1/4″ Tapcons.


This picture shows two of the three strips Joe installed, and you can visualize how the heat cable will run back and forth between the track. The manufacturer suggests tracks installed at 30″ to 36″ intervals for Standard Heating areas and 18″ to 24″ intervals for Alternate Heating areas. This is to prevent contact between adjacent runs which could result in overheating.

Step 4: Begin Laying Wire
Once all the track was in place, Joe started running the heat cable through the track without bending the metal prongs that lock the cable in place. This first pass was to define a general route that would cover the entire space.

The manufacturer indicates that the cable should be laced through the strapping at repeated intervals. Joe has used this product in the past and decided to set up some areas (like in front of the shower) with a tighter pattern. Regardless, the heating cable should have a minimum distance of 1-1/2″ between runs. Also, be sure to leave a 3″ space between two runs for the temperature sensor. It’s important that the heating wires do not cross the sensor.


Step 5: Adjust to Length
Warm Tiles provides helpful markers on the cable to know how much length is left, and that allows you to adjust the cable so that it is adequately spaced.


Step 6: Tighten and Secure the Wire
Once Joe determined the final route, he began pulling the cable taut and bending the metal prongs that lock everything in place. The 180° turns should extend at most 1″ past the metal strapping. Be careful hammering the prongs as you don’t want to damage the heat cable.


Don’t pull the cable too tight. Otherwise it will sit up and will be tougher to cover over with mortar.

Step 7: Trench the Concrete
The cold lead and temperature sensor are a little bigger than the heat cable so Joe needed to cut a 1/4″ trench in the concrete.

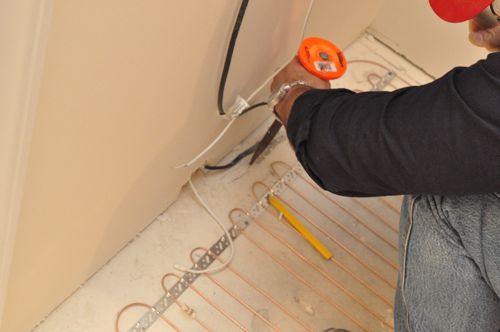
Step 8: Secure the Power and Temperature Sensor
The cold lead and temperature sensor are secured with these plastic clips.


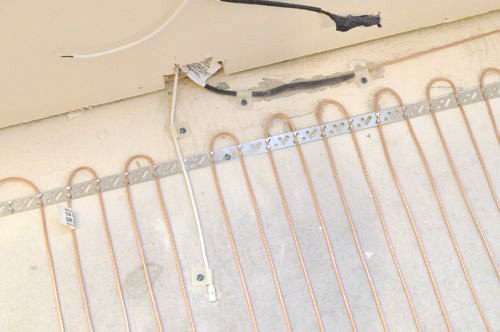
After the cold lead and sensor were set in place, Joe installed this metal plate to the wall framing to protect the wires.
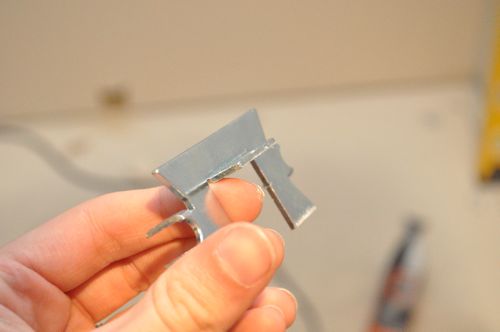
Step 9: Test for Resistance
At this point, Joe tested the wires to ensure they were working. He used a multimeter connected to the cold lead wires and verified a resistance. Next, he did the same for the sensor.
Pro-Tip: Keeping a multimeter connected during the entire install (not just during Step 9) will allow you to know instantly if a wire has been compromised.


Step 10: Wire Thermostat
Warm Tile included diagrams for wiring the thermostat. It was easily accomplished by wire nutting the appropriate connections and plugging the sensor wires into the appropriate ports.


Step 11: Cover with Mortar
The last step is to embed all the wires in mortar or self-leveling compound, and it’s important that everything is completely concealed. If not, there’s a chance that the heat cable becomes damaged, and the entire system won’t function.


There were a couple trouble-spots so Joe setup some ceramic tiles to push the wires down. Once the mortar begins to take hold, these divots can be filled for a smooth, uniform finish.

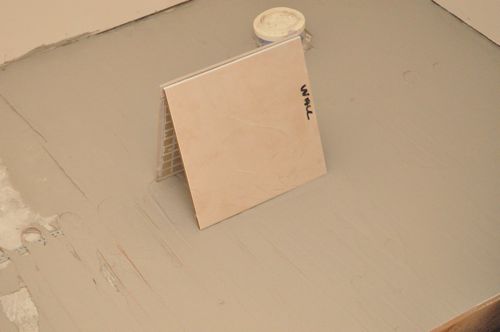
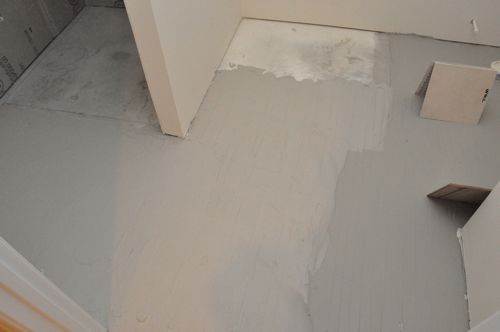
Now this floor is all ready for ceramic tile.


great post. do you always have to trench the concrete? what risks are there with water, say the tub overflows? Would that completely short out the heaters or are they designed to deal with a little moisture?
The wires are completely encased in mortar before tile even goes down. Chance of water infiltrating is essentially zero. The biggest chance for a short comes with installation. I kept the multimeter hooked up to show resistance until the self-leveler was dry. The heating cable has a thin layer of clear plastic over it as well. Also, you wouldn’t have to trench the concrete but you would need a thicker mortar bed all over to cover the sensor wire and cold lead/resistance wire splice.
I just installed this same system in my own house. It is so easy to install. The hardest thing was just getting power to the thermostat. Make sure to put in a deep box because there are 5 wire connections and the thermostat is recessed into the box.
I installed over a wood/durarock subfloor so my spacing is 3 inches between cable runs. If I had to do over again. I might put them alternating at 1.5 inches and then 3 inches so that the floor heated up faster. Right now it takes a couple hours to heat up in the morning. It’s a programmable thermostat though so it’s not a big deal to just set it earlier.
I used self-leveling mortor with a plasticizer. It covered the cables very quickly and was ready to tile in only a few hours.
This site had a ton of install videos on the system. http://www.worldclasstiles.com/HeatedFloors/tabid/161/Default.aspx
I nearly did this in my recent master bath remodel, but decided that it’s ultimately a project for a more long-term home as we’re quickly outgrowing our 2 bedroom condo. I’ll have to bookmark this for future reference.
Heated flooring is on my “dream” list, but we too are in a temporary housing situation, so all our projects at this point are cosmetic. Nice to know it is a fairly easy project though. My only concern will be the part about needing to “install a remodel box and supply power from an existing circuit or possibly a new one.” The Mr. and I would need a tutorial for that as well. Smart tip about the 2nd temp. sensor.
What is the cost to operate a system like this? How much power does it draw?
Hi Jerrick,
Warm Tiles give directions for computing the general operating costs. The formula is:
[kW-hr * 8 (expected # of operating hours every day) * sq. ft. of area * 16 (alt. spacing)] / 1000
So for example: [8.9 cents kW-hr * 8 * 40 sq. ft. * 16] / 1000 = 45.6 cents / day
How much did the kit cost? I’ve looked into radiant heating before but its all very pricey. I’ve never seen this kit before and would like to know how it stacks up. How much did the whole project add to the cost of the bathroom, versus just doing normal tile?
I just put in the green kit (19-26 sqft) in my small upstairs bathroom (40 sqft of floor but good portion occupied by vanity and toilet). It was $109 for the wire and $139 for the programmable thermostat from Menards. $50 for two bags of self leveling mortar. $1 for the old work box. The green kit only takes 2.2 amps so I tied it into the bathroom circuit. I have no doubt that we’ll get that money back when it comes time to sell. The enjoyment we get out of it is just a bonus.
Could have saved some money by getting just regular thinset to cover the cable but the self leveling was so fast. It went down in 20 min (most of that was mixing time) and I was setting tile a few hours later.
That’s not bad at all. Some of the stuff I’ve looked at was like $250+ just for a 4×4 sheet of pre-spaced wire and such.
Interesting install looks like it could cause some grief while covering the wires with mortar. I wish our upstairs bathroom had heated tile as the furnace is at the back of the house and the bathroom faces north. Plus I’m in Canada Eh.
Does the heat end up warming the room any, or is it just enough to warm the tiles?
If I close the bathroom door it heats the room. I have the floor set at 86, it’s a pretty good size thermal mass considering the thickness of the floor. Right now I’m tiling the alcove in the tub and I close the door to keep the dogs from wandering in. The room can get toasty while working.