
This is a comprehensive guide for how to install a tile floor (ceramic or porcelain). Below you’ll find tutorials for every step of the process, with expert knowledge and tips from professional tile contractors. Read on for links to the individual articles and recommended tools for laying tile. We hope you enjoy the series!
This series covers everything for installing a ceramic or porcelain tile floor, including leveling the floor, installing underlayment, marking guides, laying tile and grouting joints. Just follow the steps below, and you’ll have the know-how to install tile in almost any situation. Keep in mind that the content is provided without warranty. We strive for thorough, accurate information in describing all the steps and precautions for a job, but there is always the possibility we’ll omit something important. Use this information at your own risk.
If you find this guide for installing tile helpful, we hope you’ll spread the word, and there’s a few ways to do that. Like this article on Facebook and give it a +1. All the buttons can be found floating to the left of the article. If you own a website, feel free to share this article with your readers by linking to this page.
Not Doing it Yourself?
Before we get started, if you aren’t doing this job yourself and you live in the greater Baltimore area, we highly recommend Jim and Rich from Diamond Tile. We partnered with Jim and Rich to create this series, and you can see the quality of their work and attention to detail in every picture. Call Diamond Tile at 443-386-0065 for a free estimate.
If you’re not local to Baltimore, we suggest using Home Adviser for free quotes. They match homeowners with screened and approved local contractors who can get the job done right. Here’s the link:

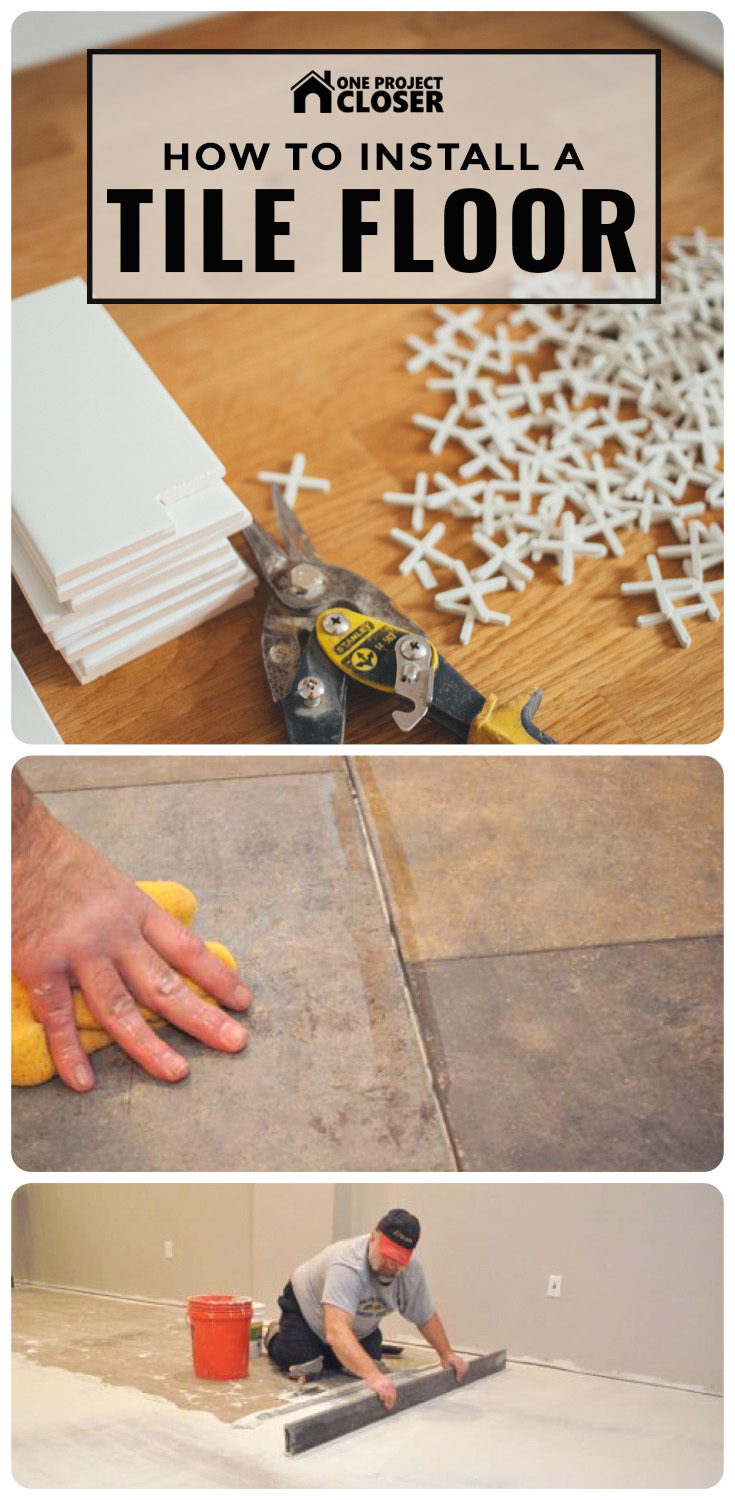
Steps to Install a Tile Floor
(hover over the links to learn more about the article)
Step 1 : Checking the Subfloor
There’s a lot of confusion about what constitutes a suitable subfloor for tile and what substrates you can (and cannot) tile over. The majority of installations take place over a wood or concrete subfloor, and the two big concerns involve too much deflection and movement from seasonal changes. Read the article at that link to learn what criteria your subfloor should meet before laying tile.
Step 2: Installing Radiant Heating Wire (Optional)
Installing a heating element is a great upgrade for a tile floor, and installers are being asked to install more and more heated floors. Floors can be heated in a number of ways, and we recommend putting down radiant heat and covering it with mortar or pouring self-leveling mortar (SLM).

Step 3: Level (Flatten) the Subfloor
Professional tile contractors estimate that 90% of all remodel jobs require flattening the floor to eliminate peaks and valleys. This is an important step that is often overlooked, and an uneven floor can result in protruding corners or even broken tiles. In this article, Jim and Rich describe how to “level” an uneven wood or concrete subfloor.
Step 4: Installing Underlayment
A tile floor is only as good as the underlayment beneath it. Commonly cement board is installed over a bed of mortar. Another option is to install Schluter DITRA underlayment which serves as an uncoupling membrane, eliminating some of the major causes for cracked and delaminated tile. The guys prefer DITRA; however, it adds time and cost so they don’t use it on all jobs.
Step 5: Marking Guides
Marking accurate guides makes laying tile much easier because you can pre-cut all the tiles and eliminate the need for spacers. Jim and Rich snap chalk lines to set up a grid, and the result is perfectly straight tiles and joints.

Step 6: Laying Tile
With the proper prep work, laying tile is an easy matter. The guys pre-cut all the tiles around the perimeter, support posts, steps and doors, and they lay the tile according to their guides. Mortar in the joints is a common problem, but Jim and Rich have a great trick for eliminating excess mortar.
Step 7: Grouting Tile Joints
Grouting the joints is one of the last steps before the tile install is complete, and it really brings the tile together. This article shares how Jim and Rich grout tile joints including what tools and materials they use and a lot of pro tips.

Step 8: Installing Baseboard and Shoe Molding
Install baseboard and shoe molding involves scarf joints, inside corners (which can be cope cut), and outside corners. Quarter round can be an acceptable alternative to shoe molding if you have large gaps.
If you worked hard to sufficiently flatten the floor and make precise cuts, you can eliminate the need for shoe molding altogether.
Tools to Install Tile Flooring
A successful tile installation requires the right tools, and fortunately most of them are relatively inexpensive. The highest price item you’ll need is a tile saw, and this can be rented at your local home improvement center. This list doesn’t include materials like mortar or grout. Check the individual tutorial for material details.
 Other tools you need include:
- Chalk line
- Tape measure
- Level
- Wax pencil
- Foxtail brush
- Hammer
- Utility knife
- Screed or straight-edge
- Jamb saw (or something similar)
- Corded drill with mixing paddle
- Buckets
- Tile saw (or something similar)
- Notched trowel
- Flat trowel
- Grout float
- Sponge
Where to Purchase Ceramic or Porcelain Tile
 The old adage that “you get what you pay for” is true with tile. High quality tile is manufactured to be more uniform in size, and that’s important for aligning tile with consistent grout joints. The tile we show here was purchased through a local tile distributor, and we suggest you do the same.
Depending on what you select and where the tile is manufactured, expect to pay at least $3 per square foot. Be sure to purchase boxes with the same batch number or consecutive batch numbers. This helps ensure a consistent color and pattern.
Big box stores also carry tile. However, they usually offer seconds of quality brands and mixed batches. This makes it frustratingly difficult to maintain a uniform look and pattern, especially with smaller grout joints. DIY centers usually have better prices and often offer promotions that small distributors can’t match. If price is your main concern, be sure to check out list our Home Depot Coupons and Lowe’s Coupons before you buy.
Did You Find This Guide Useful?
If you found this guide useful, we’d really appreciate it if you’d click the Facebook “Like” or Google “+1” buttons over there on the left. They let others know that these guides are helpful! Thanks so much!

What a great resource you’ve built here! Each of the articles is well written and informative. Good to have them all in one place. Bookmark for sure.
This complete article will be printed and used one day soon. i will also file this under my favs. I am once again amazed at the work and the help you guys ffer us. this has become one of my very favorite sites to visit.
This is an incredible resource. I’ve enjoyed watching this project come together. I may be trying to tile a basement floor here in the near future and I’ll be using this as my primary tutorial. Thanks for the hard work.
Ah, glad you linked back to how to install the floor heating. I was wondering why a new article didn’t come along for that because I thought you had mentioned it. Turns out there was one–four years ago!
Great resource, Ethan.
Thank you for providing such a great resource for a project like this. I’m hoping to tackle a smaller tiling project in the future and will be pinning this as a reference.
Thanks for this great step by step guides. I’m a beginner and have gained tremendous inspiration from this article.
Thank you for putting such a good tutorial for beginners. just to make you aware the facebook like button doesn’t let me like it? do i have to be logged in? (sorry ex-technophobe here)
Sandra
Hi Sandra,
I believe you do have to be logged in. If you’re not, it should prompt you. Thanks!
Thank you Ethan
I am not sure I feel confident enough to tackle an entire basement area with tile after this series… BUT a bathroom feels a lot more manageable now!
Thank you for posting such a detailed tutorial. The information is priceless for a first timer attempting a tile floor installation.
Will definitely bookmark this one. Great tutorial for beginners like me. Thanks so much!
Thank you for the great resource. I’ve been looking to tackle tiling a bathroom as my first flooring project and this is the most in-depth guide I’ve seen.
what an awesome guide, you provide such a great service here.
This was so helpful – thanks for the detail and step by step.
Great article. My biggest issue has always been the elevation of tile to tile to tile. Any advice on keeping the tiles as level as possible and not having to remove every other tile to check the elevation of it?
Yeah, it’s a great tutorial. Thanks for sharing!