
If you never frequent the “finer side” of OPC, I’d encourage you to take a look. Jocie does a great job with The Better Half, and I’m always impressed with the crafty projects she pulls off. For instance, she has an article called Pallets 101 with a video all about how she makes those awesome pallet signs, and check out these amazing handmade leaf bowls!
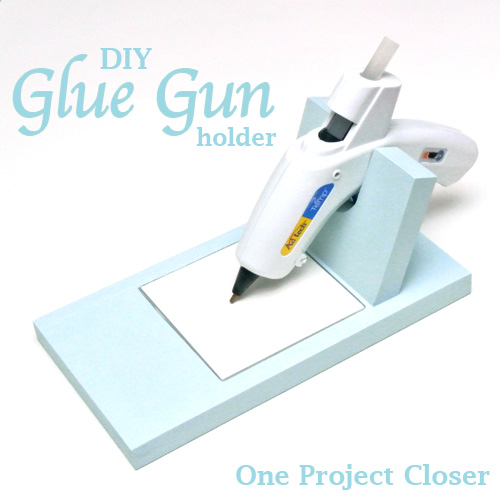
With Jocie doing more and more, we finally setup a craft desk, and one of the accessories she requested was a glue gun holder. Today’s article is about how I made a nice, simple glue gun holder for her.
Tools & Materials
Rummaging through the shop I was able to find:
- 3/4″ cabinet grade plywood
- 1 x 2″ poplar
- 1 x 4″ pine
- Old bathroom tile
- Wood glue
- Wood filler
For this project I used:
- Table saw
- Miter saw
- Palm router
- Clamps
- Sander
- Spade bit and drill
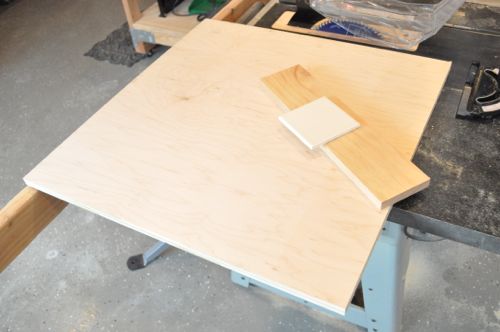
Step 1: Rip Plywood to Size
I didn’t have enough solid wood for this project so I used some plywood for the main body, and I started by ripping it down just wider than my tile. I also cut the length leaving a few inches on either side. In the end, my plywood measured about 4-1/2 x 8-1/2″.
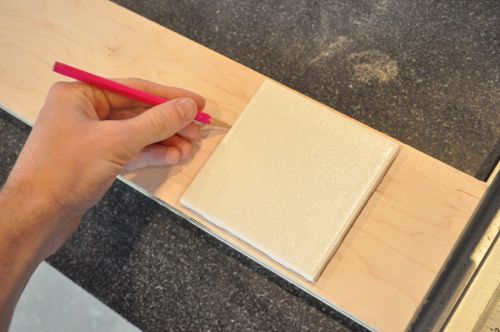
I centered my tile and traced the outline.
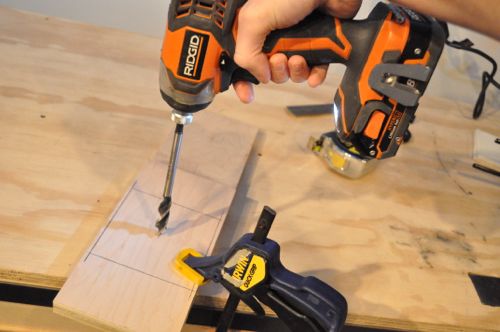
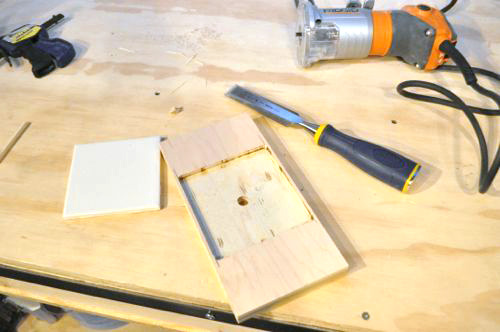
Step 2: Drill Push-Hole
I measured the center of the board and drilled a small hole. The plan is to recess the tile, and this hole will make it easier to pull it out for periodic cleaning.
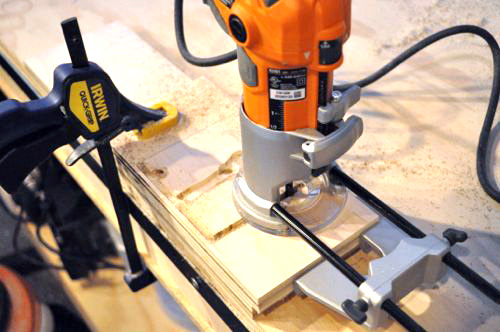
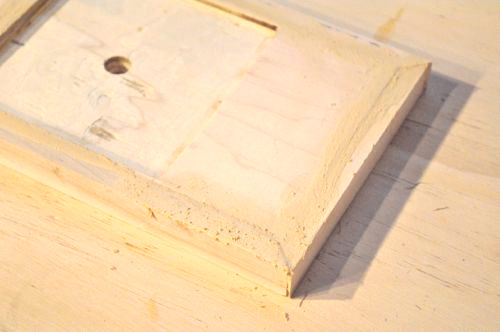
Step 3: Recess Tile
I set my palm router depth so that the tile would be a hair proud from the board. Starting at the push-hole, I cut the tile recess.
Next, I cleaned up the corners with my chisel. You’ll notice a few scorch marks, and that’s because I was a bit too aggressive with the router. If the edge was going to be visible, I would have started out shallower and made a few passes.
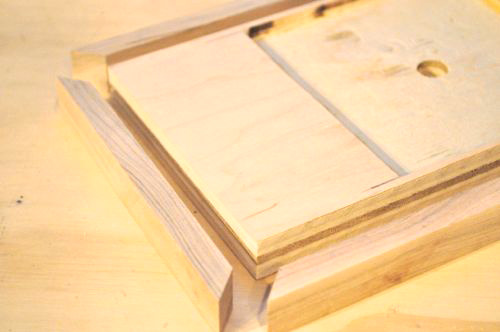
Step 4: Picture Frame
The cut edges of the plywood would have taken paint differently than the rest so I made a quick picture frame border out of poplar.
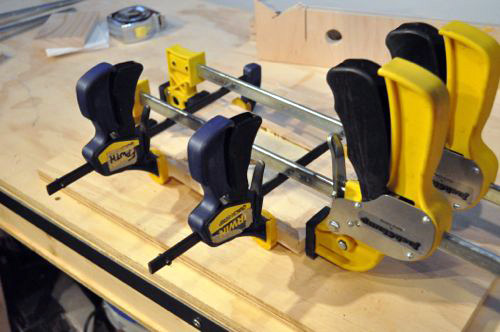
Step 5: Glue
I loaded it all up with glue and clamped it down to dry.
Step 6: Wood Filler
To make sure all the joints looked good, I quickly smeared wood filler over everything.
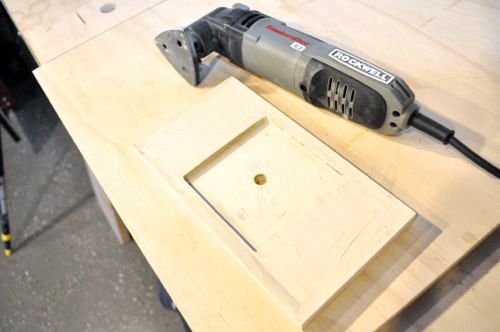
Step 7: Sand Smooth
I love my Rockwell X2 (review at that link), and I used it to sand the base until everything was nice and smooth.
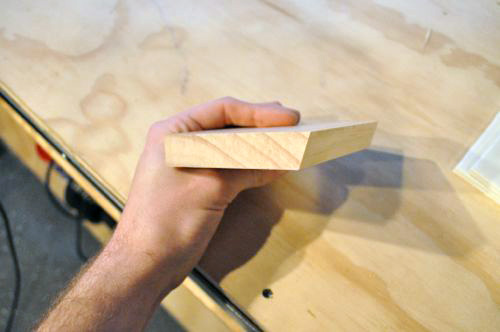
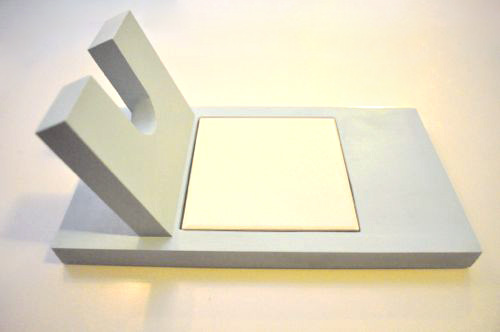
Step 8: Cut Holder
I used pine for making the U-shaped holder, and it measures 4-3/4 x 3-3/4″. I held the piece at the angle I wanted and used a straight-edge to mark a line. Then I used my miter saw to match the angle.
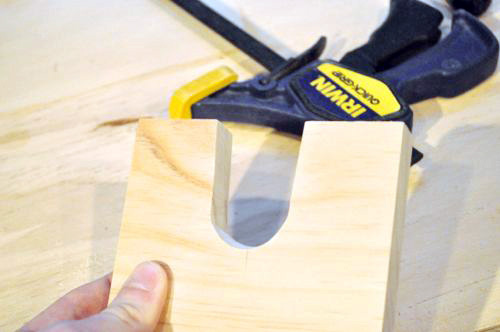
The groove is centered on the board and measures about 1-1/2 x 2-1/4″. I used the glue gun to test for fit and sanded it as needed.
Step 9: Screw in Holder
I predrilled and countersunk two holes through the base and up into the holder.

Step 10: Paint
Jocie wanted it painted a “light Tiffany blue”, and after a few coats the glue gun holder looks pretty darn good.
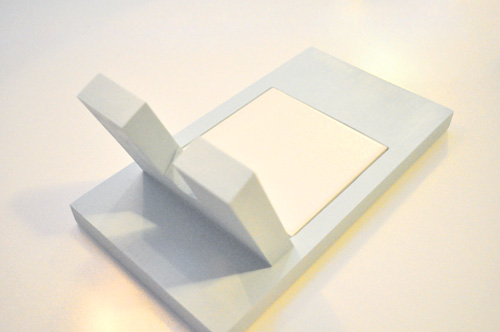
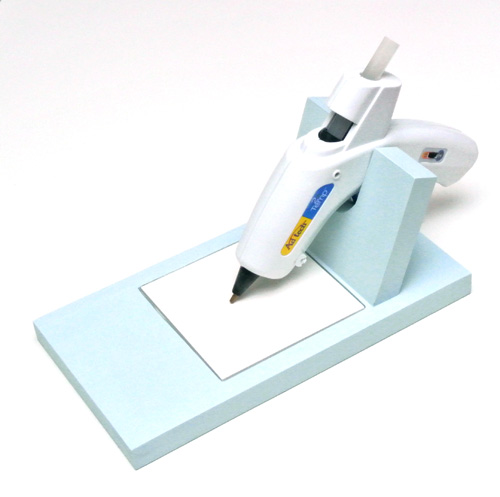
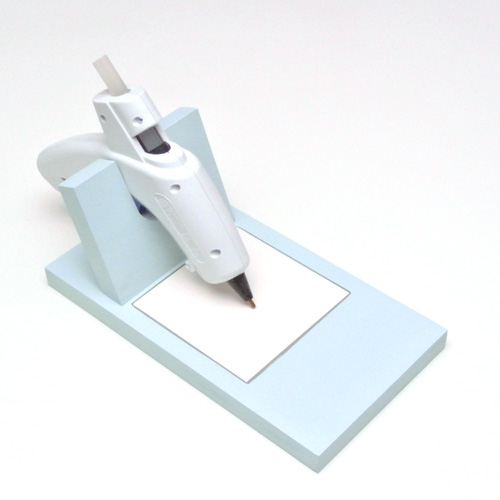
Finished
Let’s hope she keeps it looking nice :).

I’m confused what this is used for. Don’t most glue guns have a stand on them?
Not a stand worth using. Ethan made this for me bc my glue gun won’t stand up and as a result is completely covered in glue. I went out and bought this new glue gun to start fresh when ethan made the stand. and i LOVE it!!!
I guess I don’t use a glue gun enough to know that!! haha
What I like about your stand is that it appears to be much more stable than the typical stand that ships with glue guns.
I think it’s nifty (and Ethan is a good husby) and I love the production on this post. glue guns are not just for crafting, there are a great secret weapon in the fight against home improvement. happy friday all.
ooh. always building something. What if there was a glue gun holder that required the use of a glue gun to make? Conundrum.
It’s like when Matthias used a bandsaw to make a bandsaw. So meta. http://woodgears.ca/bandsaw/build.html
Hahaha good old Matthias. His is one of the finest sites out there.
Painting it black might help keep it looking nice. 😉
I need one of these! How about adding one to the Rewards Center? 🙂
I doubt the gun is heavy enough to depress the trigger in the holder but if it is a small relief slot the width of the trigger would remedy that while still supporting the gun.
i have got to get on this project asap. my wife would love this… great idea!
So you did all that work just to paint over it all? For shame.
What a great project! I agree with Jocie the stands that glue guns have attached them are so bad. This is a great way of keeping it upright. 🙂
Great project! Thanks for the tutorial!! Visiting from DDD
This is something simple and looks pretty cool to make…thanks
Using the tile for easy clean-up was pretty smart.
Thanks for the tutorial. I hope to make one this afternoon with the help of my husband.
oooo awesome, let us know how it goes! we’d love to see pix!!
Nicely done. That’s a lot of clamps in picture 5.
Perfect for the craft room. Those stands are pretty unstable so this is a good idea.
I just told my husband he needs to make me one of these! That’s awesome!
I covet this! My mom was always creating when I was young, I so remember her having a glue gun holder. I would pick the gobs of hardened glue off the front end where the glue would drop. Love yours, thank you for linking it. I am sharing this on my COM-FB page. jen
This is brilliant! I think I’m going to ask my husband to make me this for Christmas!
I am in my 60’s and pretty handy, but do not have a router or some other things to make this. I bet these would sell like hotcakes if you put them on ETSY !!!!! If you left it unfinished, I, as other crafty ppl, would be happy to put my own finishing touch on this for 10 or 15 dollars !!!!! Love the tile, too ! Would be easy to keep clean !
Anybody wanna make me one ????? LOL Jus kidding…. (sort of)
Mommajozy
Why aren’t you selling these for Valentine’s Day? Nothing says, ” I am forever in love with you!” like a custom- made glue gun holder. Is ” a hair proud” a regional phrase? I’ve never heard it in the Midwest.
Haha. Thanks. I’m not sure if “proud” is a regional term. All it means is not quite flush with each other. For instance, the tile sits taller than the rest of the holder.
I have been searching everywhere for a tutorial on how to make one of these and its looks great! The only thing I’d add to it it maybe a cup on the front to hold the glue sticks! 🙂 thanks for adding this!
This is great! My glue gun is always falling over and this would make gluing so much faster. Thanks for the tutorial!