
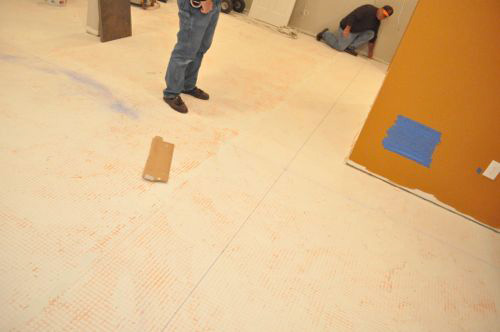
Welcome back to another Pro-Follow. I’ve been working with Jim and Rich from Diamond Tile as they tile Fred & Kim’s basement floor, and it’s been great to see how professional tile contractors tackle this job. The guys have finished installing DITRA, and you can read about that process at the link below. Now it’s time to set up guides. This was particularly fascinating because Jim and Rich create a very precise grid-work that enables them to eliminate the need for spacers, make all the necessary cuts beforehand and lay the tile in perfectly even rows.
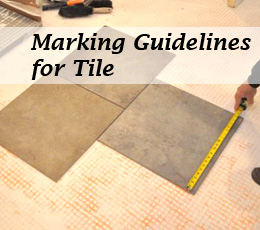
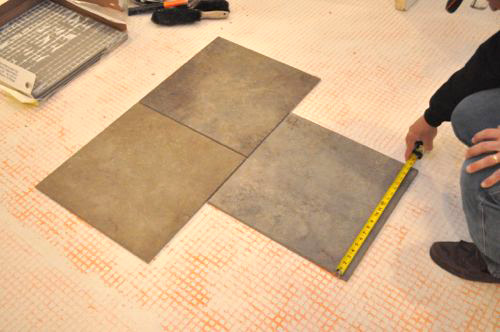
Step 1: Measure Tile Including Joint
Jim and Rich start by setting out a few tiles with space for the joint. This enables them to get a true measurement along each dimension. For instance, the guys are installing 20″ x 20″ porcelain tile. In reality, these tiles measure 19-3/4″ plus 1/8″ grout joint. With these measurements, the grid spacing is 19-7/8″.
Pro-Tip: Always measure dimensions using tiles from the same batch as the rest of the floor. Don’t use sample tiles or a tile from a different batch number as actual dimension will vary.
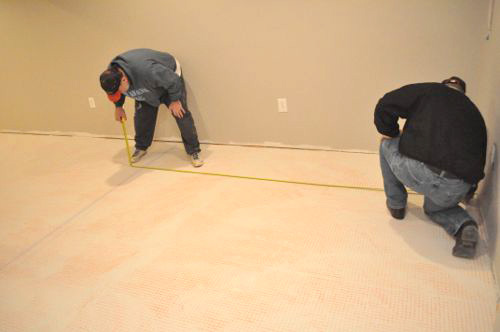
Step 2: Measure First Guide
The first two guide lines are the most important because the rest of the grid is based on them. For the first guide, the guys select an exterior wall and measure an equal distance off the wall. Usually, this line is centered on the room. In this case, the guys shifted it (by a factor of 19-7/8″) so that it would span the entire length of the room.
Pro-Tip: Exterior walls are usually more square than interior walls.
Pro-Tip: Shift guide line so that perimeter tiles (cut tiles) aren’t too small and unsightly.
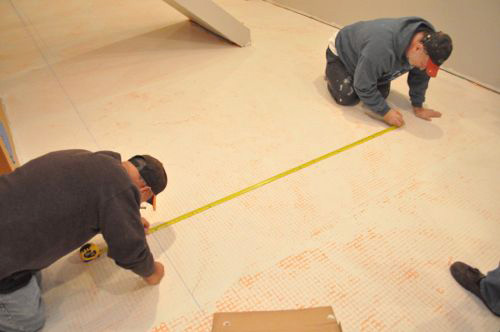
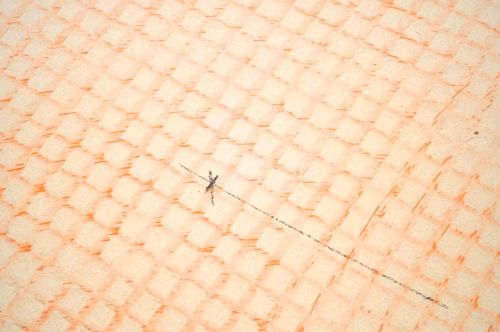
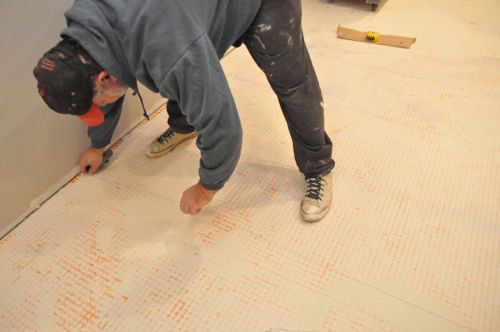
Step 3: Check Distance to Wall
After the guys snapped a chalk line, they checked the opposing wall to see if the two were parallel. It turns out the walls were off by about 3/8″ over the entire length, and that’s pretty good. Small, gradual variations like that won’t be noticeable to the naked eye.
Step 4: Setup Right Triangle
The second guide is perpendicular to the first, and the guys used right triangles to ensure it was perfectly 90° from the first guide.
If you’re not familiar, a right triangle has specific dimensions, and that enables the guys to mark an exact point based off where two lines intersect.

Pro-Tip: The guys often offset measurements by 1″ to avoid using the end of the tape measure.
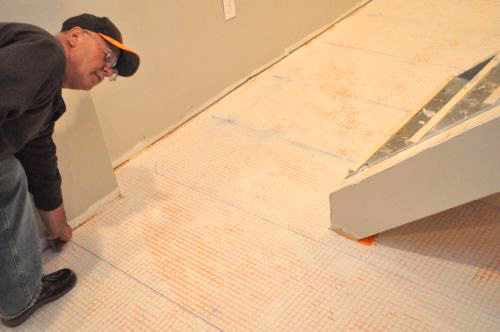
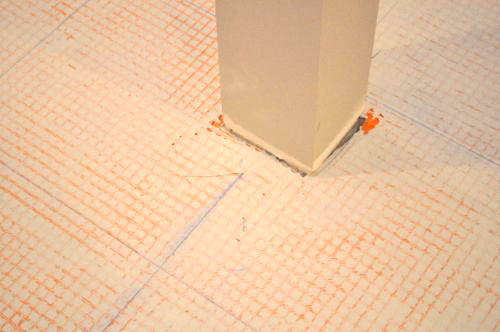
Step 5: Mark Second Guide
After marking two points, the guys snapped a chalk line, and again, they checked the opposing walls for square / parallel. The guys also checked how the tiles would meet the two support posts. This was important because if a post was completely encompassed by a single tile, it would require an irregular cut. Fortunately, that was not the case, and the guys didn’t need to shift any guides.
Pro-Tip: Chalk lines can easily be erased using a damp sponge.
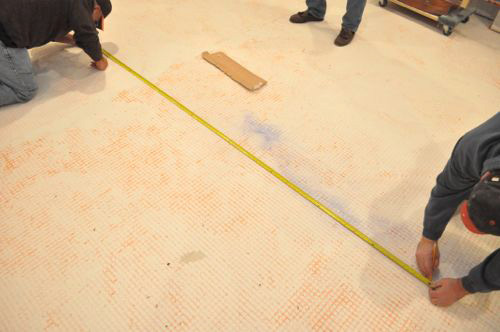
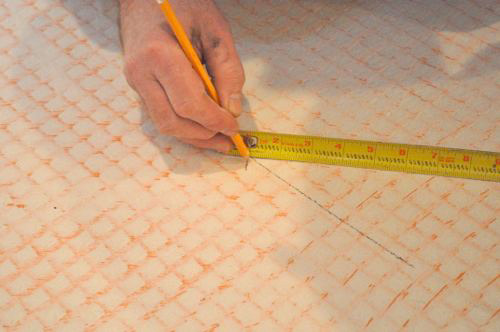
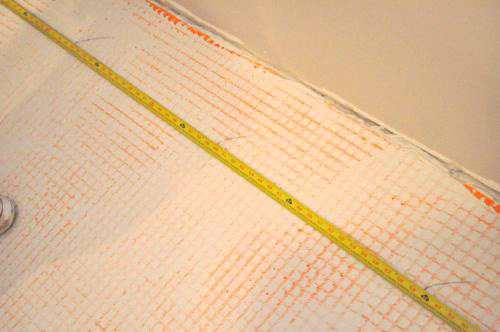
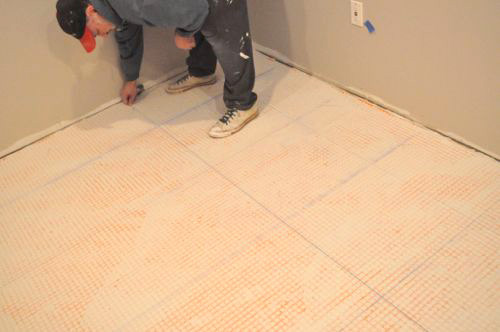
Step 6: Mark Tile Intervals
The guys based all subsequent guides off the first two, and they marked off points every 19-7/8″.
Pro-Tip: For smaller tile, the guys usually snap a line for every 2 or 3 tiles. These tiles are big enough that they won’t be able to reach more than one tile at a time.
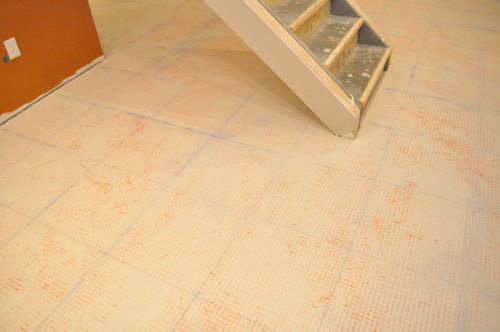
Step 7: Mark Perpendicular Intervals
Jim and Rich repeated the process for the perpendicular guides, marking lines every 19-7/8″.
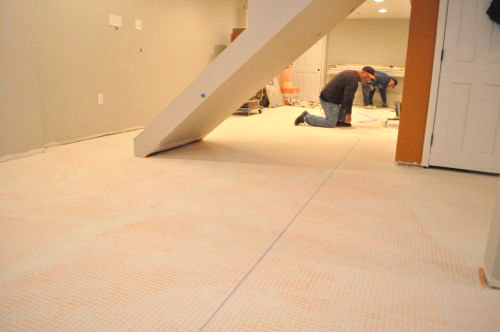
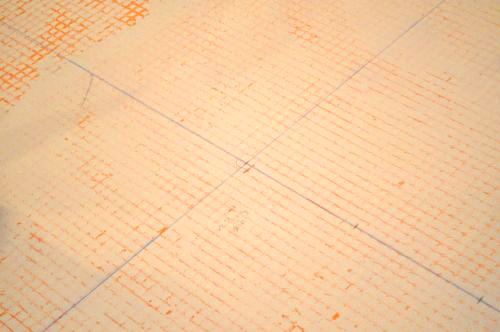
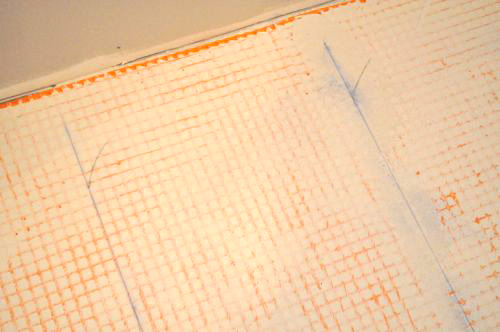
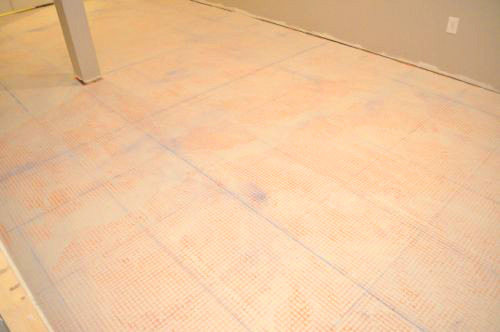
Finished
In the end, the floor was a grid-work showing each and every tile, and these marks are precise enough that Jim and Rich can precut all the tile.

Nice write-up again Ethan. Taking the time to lay everything out is so important if you want to avoid slivers of tiles at entryways and other noticeable areas.
Something else to keep in mind is to not cheap out on tile. Often times the cheap tile at the big box stores is inconsistent in size and will make it frustratingly difficult to keep your grout lines lined up. You can’t just go by brand either. Often times the big box stores will carry seconds of quality brands that aren’t as true as their more expensive counterparts.
Take a few of those tiles used to measure spacing and stack them like playing cards and put them on end each way on a flat surface. You should be able to tell if they are not all the same dimension.
Any plans for an article on choosing quality tile?
I hadn’t considered that yet…. lemme look into it.
Great comment. By mapping out this grid they were able to put about half sized tiles around the perimeter and avoid ugly cuts around the support beams. And it’s true what you said about big box stores carrying seconds and leftover batches. I don’t think the savings is worth the additional headache.
Eek, you are right on the money. That was going to be my comment as well. Often stamped on the box is the nominal size of the tile but variances are a given with the big box tiles. The only exception is cut stone. That is usually cut a lot more accurately.
This is good to see. Definitely a step I would have tried to skip! I didn’t know big box stores were sub-standard. Sure that’s not just a rumor? I used to hear that big box stores had sub-standard plumbing fixtures, even though they were boxed with the same brand names and model numbers you get from a plumbing supply store. Turns out, that’s not the case at all…
I know where you’re coming from, but I’ve seen the difference in quality with my own eyes. Big box tile has a lot more variation, and often you’re mixing and matching batch numbers. Tile is something I’d recommend purchasing from a tile distributor.
Interesting, wouldn’t have thought they would have snapped so many chalk lines. Guess this is the most accurate way to do it
That’s what I thought before working with Jim and Rich- that you don’t really need that many guides. However, this is more accurate because you’re not relying on spacers (which are only as accurate as the tile they’re up against.
Looks good! Love all the math (I am a high school math teacher). Did I miss where they install the heating element? Or is that done after the tile is installed?
Any suggestions for marking guidelines to install tiles on a diagonal orientation? We are about to lay tile in a small square area that has a adjoining storage closet and bathroom, and we’d like to know if there are any special tips for popping lines for that type of install. My main concern is in getting the first lines correct.
For those first two lines, I’d start much the same (measure parallel off exterior wall, use triangles to mark perpendicular line). After that, you can use a framing square to create the first diagonal guide (set the corner on first guideline and pivot the square so that the perpendicular guide is equidistant on either side). Use that to create the diagonal guides. I hope this makes sense 🙂
We don’t have an exterior wall to use as it is a hallway area in the middle of our house. Should we just pick any wall? Our walls aren’t exactly super square. 🙁
Pick whatever wall makes the most sense for the grout lines to match (whatever will look the best).