

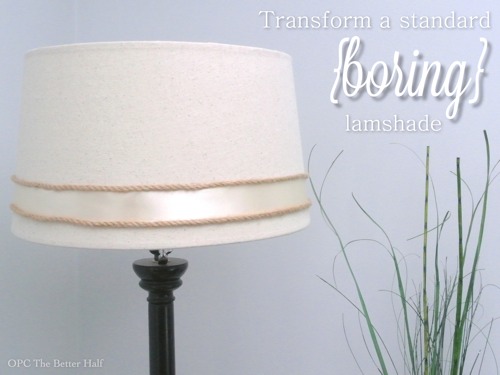
A month or so ago, I was invited to participate in the WayFair/Hometalk blogger challenge. Our mission was simple, chose one of three WayFair items to makeover: a mirror, shelf, or lampshade. Then, chose one of three themes: geometric pattern, incorporating rope, or black & white. WayFair sent us the product and a $25 gift card to cover supplies…if we chose to accept their challenge.
Ethan and I are not ones to walk away from a challenge, especially Ethan. He has been known to do some crazy food challenges, like eat 9 butter dogs (after a full meal) or a whole onion. There have been a lot more but those were the nastiest. While I don’t eat crazy foods, I’m pretty competitive and don’t back down from a challenge. So, when asked…Challenge Accepted.
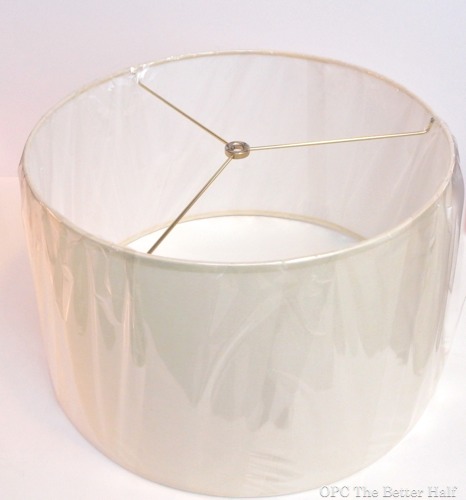
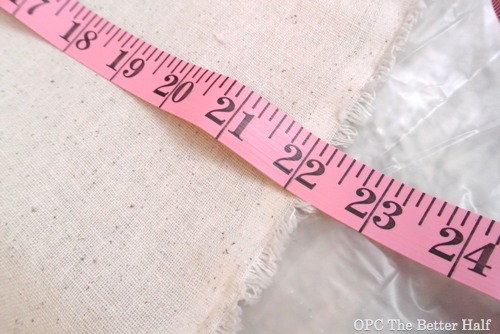
I chose the drum shade which came in a light linen/cream color and measures about 13 x 14″ bottom x 8″ H. I wasn’t exactly sure of my vision for the shade and went back and forth bunches of times on whether or not to do a geometric pattern or black & white. At the end of the day, I went the opposite direction and chose rope. Lol.
Materials Needed
On Monday, I went to Hobby Lobby, sans kids and with a gift card in hand – it was like a vacation! Everything was 50% except the fabric, for which I used my 40% coupon on my phone. Below I listed the prices I paid, totaling $13.46.
- Drum Shade – FREE
- 2 yrds Fabric – $3.99
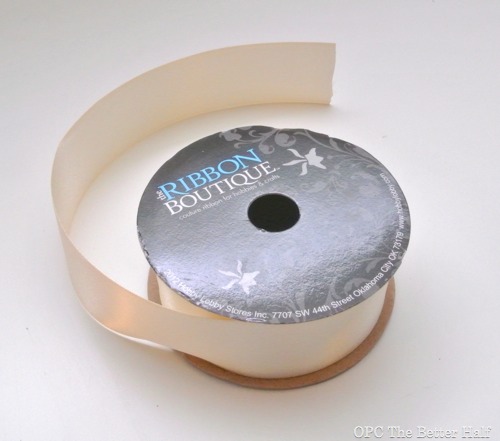
- Ribbon – $1.99
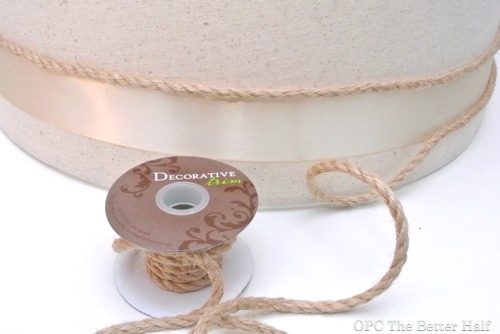
- Rope – $1.49
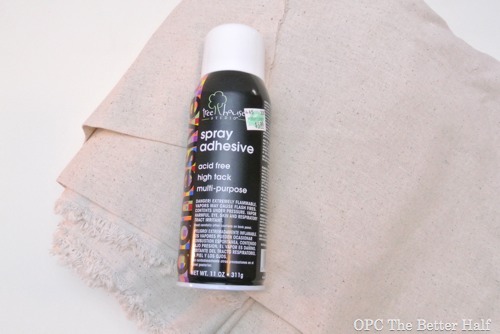
- Spray Adhesive Bond – $5.99
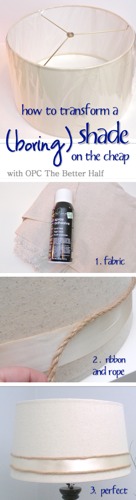
Step 1: Cover the Shade with Fabric
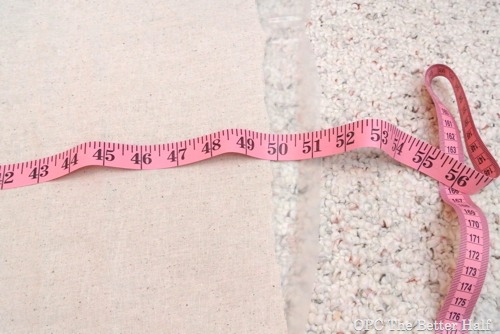
I first cut a 50 x 22″ section, which was plenty of fabric for this relatively small shade. After cutting it, I ran a quick iron over the fabric to get out any small wrinkles.
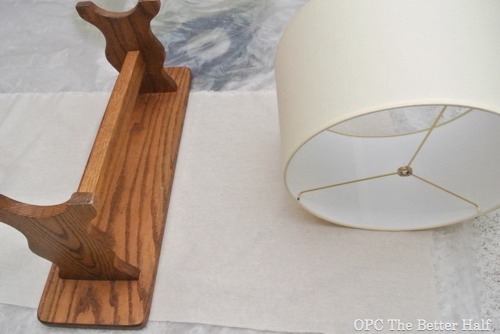
I then laid down some plastic sheeting and opened the windows for ventilation as I prepared to use the spray adhesive to bond the fabric to the shade.
I began laying the fabric flat on top of the plastic, with the shade laying all the way to the left bottom corner, with the seam lined up with the edge of the fabric. There was lots of fabric above and to the right of the shade – this was necessary since the shade is not perfectly round, but slightly angled. (sorry, I took the picture on the wrong side.)
I also placed my girl’s bench on the fabric so that I could pull the fabric tight as I wrapped it around the shade.
I sprayed both the drum and fabric lightly with the spray adhesive, waiting a minute for it to become tacky, then began to wrap the fabric around the shade. I loved that the fabric had some give to it, so I could pull out wrinkles as I wrapped.
Once back around to the seam, I cut the fabric straight along the seam, with a little to spare and folded it under.
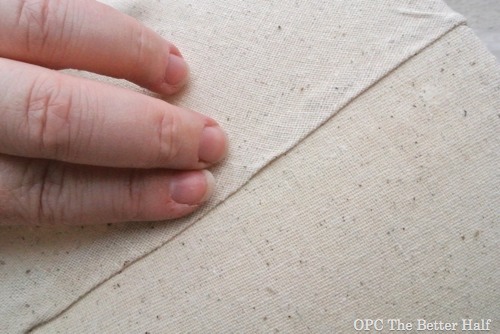
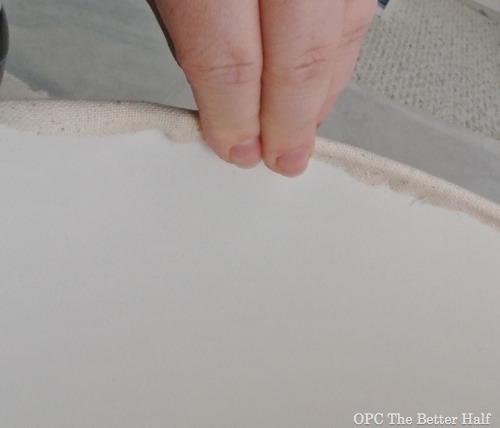
Then, I cut off any excess from the top and bottom of the shade, leaving about a half-inch.
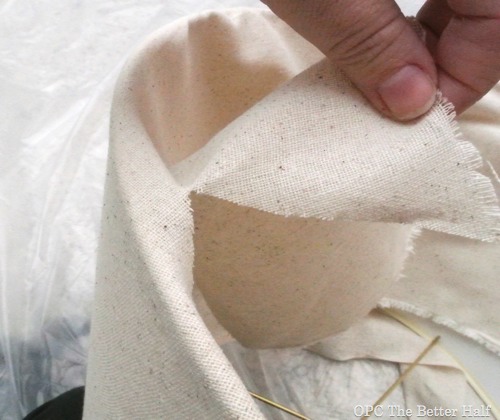
Then, I sprayed the inside of the shade around the edges, also spraying the inside edge of the fabric with the spray adhesive.

After waiting a minute, I pressed in the edges to the inside of the shade.
Wow, that part was way easier than I expected! Hooray!
Step 2: Add Ribbon
This was probably the most difficult part because the ribbon is straight and the drum angles out. But I made it work! 🙂
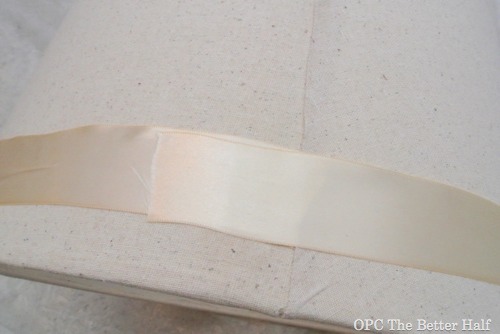
I sprayed the back of the ribbon, waited a minute, and then wrapped it around the shade. Every quarter around the shade I cut a small pleat that I later covered with the rope.
Just like the fabric, I folded in the edge at the seam and sprayed a little extra adhesive to hold it down.
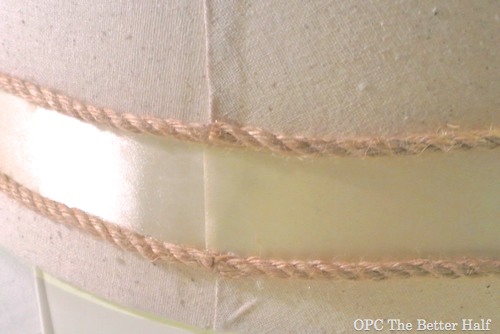
Step 3: Add Rope
This was the EASY part! I busted out my handy-dandy hot glue gun and, starting at the seam, glued the rope around the top and bottom edge of the ribbon.
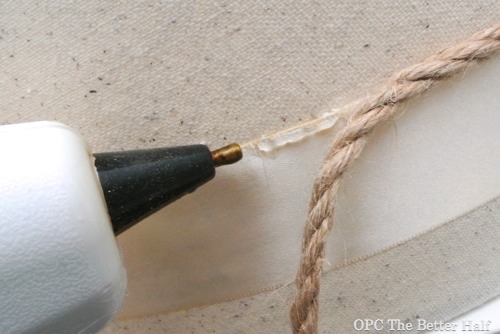
Once all the way around, I cut off the rope so that it would line up with the start of the rope, of course adding a bit more glue!
Step 4: Challenge Accomplished!
$13.46 and 30 minutes later, I had a brand new shade for our living room…not to shabby.
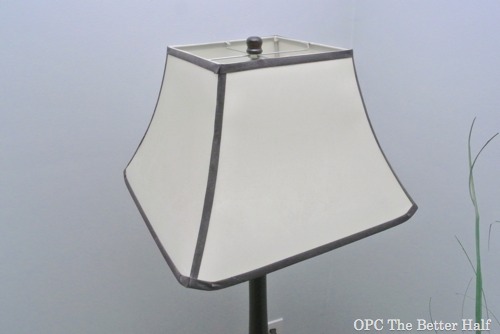
Here’s the previous shade. Not very exciting. Ignore the crazy amount of dust.
And now….
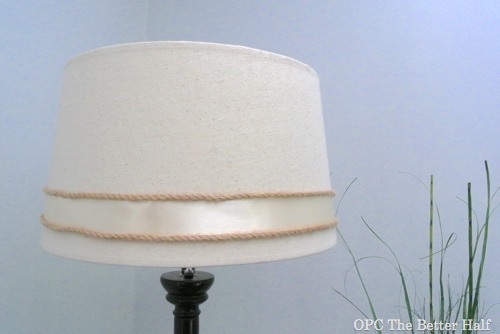
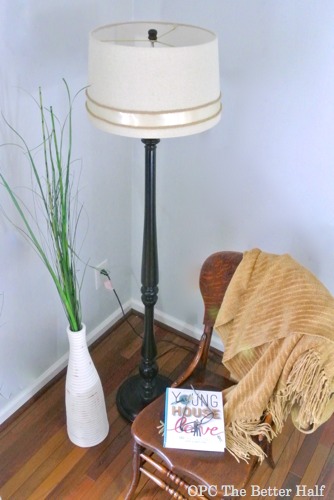
And all in 3 (okay, 4) steps!
What do you think? How would you spice up a plain shade?
Thanks to WayFair and Hometalk for an exciting DIY challenge, enabling me to transform a plain shade with fabric, rope, and ribbon!


I have been looking for a hot glue gun for a while, but all I found was a mildly attractive glue gun with a great personality.
hahaha, LOVE this and shared on FB. thanks so much!!!
Spray adhesive! Smart move.
So pretty!!! Love the layers!
What a clever idea! The satin ribbon adds a touch of elegance and the rope a relaxed charm. Now you’ve got a dressed up shade that you can take anywhere.
Thanks so much, Kathy!
I love it, Jocie. The ribbon and rope really add pizzazz. 🙂 I was asked to participate in the challenge as well- it was a lot of fun, wasn’t it?!
Your first commenter up there cracked me up! 😀
Looks great, Jocie! I do love a nice drum shade!
Pretty! Love the textures together. Very classy move, my friend. 🙂
Looks great. Love the burlap rope!
You really snazzed up the plain shade!
I’m having so much fun reading all these WayFair challenges! Love what you did to a plain shade!
Love it! You are so creative.
As soon as you mentioned the 3 options I thought you would choose rope. 🙂
Will the spray adhesive hold up when the lamp heats up? Or maybe you use energy light bulbs and won’t worry about it?
Its been on all day today and off and on since it went up earlier this week, and no problem so far. I thought about the heat issue, but decided to push forward regardless. lol.
This shade looks so much more like your style Jocie. Great choice. 🙂
What a great way to liven up a lamp shade. i never would have thought of using spray adhesive.
I think spray adhesive will soon be my best friend when we begin our hunt for lamps!