
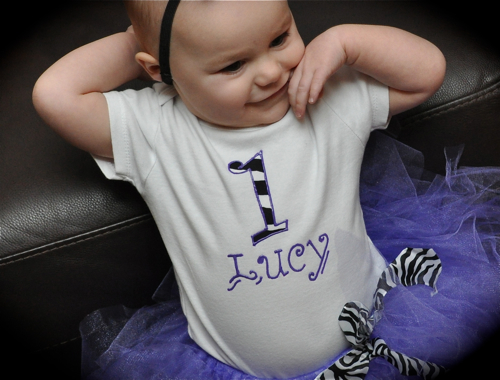
Lucy, my baby, is about to turn ONE at the end of this month! I can’t believe how fast the past year has gone. As you can imagine, we are very excited and the party planning has begun. When Izzie turned one, I searched for a “Birthday Girl” shirt and, while very cute, I felt like I could top that with Lucy. This was a much easier project than expected and was more time consuming than anything else.

Here are the step-by-step instructions so you can make your own complete outfit at home!
The T-Shirt
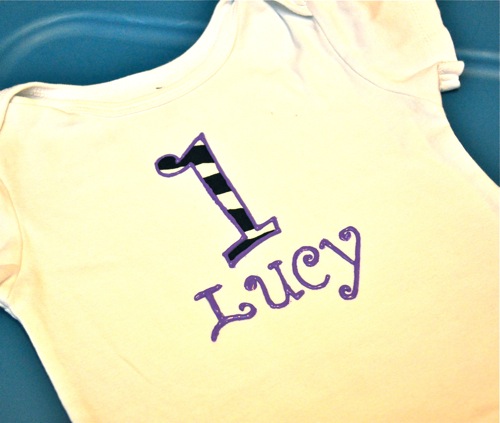
This shirt idea was a concept born for me in the 90s. My Aunt Nita, who passed away several years ago, gave me my love of crafting. In the summers, I would stay with her a week, and she taught me to sew outfits and aprons and make puffy paint sweatshirts. If you don’t remember the late 80’s and early 90’s, picture Precious Moments people appliqued on white sweatshirts, edged in puffy paint. While the look is dated for adults, the concept is still great for little kids! I made this shirt for less than $3, using an old onesie that was still in good shape.
Materials:
- T-shirt or onesie
- Fabric or fabric scrap for the applique
- Puffy Paint
- Heat N Bond Lite (found at Joann’s, Hobby Lobby, etc.)
- Iron
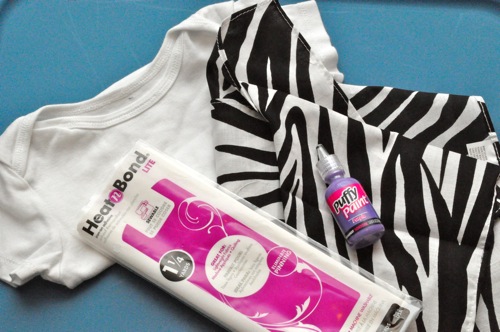
Step 1: Prep the t-shirt
First, pick a t-shirt/onesie and fabric for the applique and pre-wash, dry, and iron. Depending on the color of the applique, the shirt color can vary, don’t feel like you have to stick to white. If you tend to put your shirts in the dryer on high heat, make sure you do this BEFORE putting on the applique so that the shirt doesn’t shrink and warp the applique. For the applique, I used a zebra print bandana that I found at Walmart for less than a dollar.
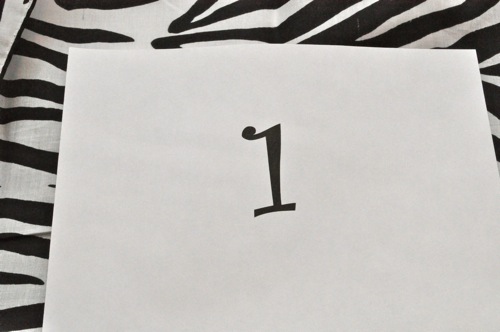
Step 2: Print a Number “1”
I then used my computer to print out a number “1.” I used 300 point (crazy huge) in Curlz font, but feel free to get creative. Once it is the correct size and font, print and cut it out. You can also free hand the number or design.
Step 3: Glue It Using Heat N Bond
Cut out a square just larger than your number “1” of Heat N Bond Lite. Iron the Heat N Bond, glue side down (paper up) to the back side of your fabric. Do not use steam when ironing and kept the iron moving so you don’t burn the fabric.
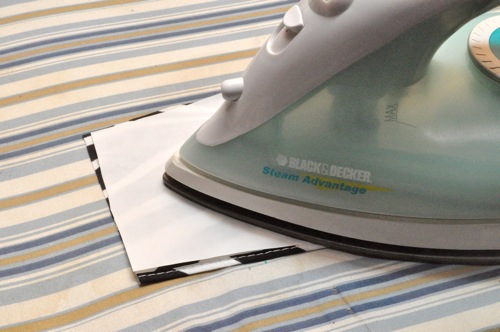
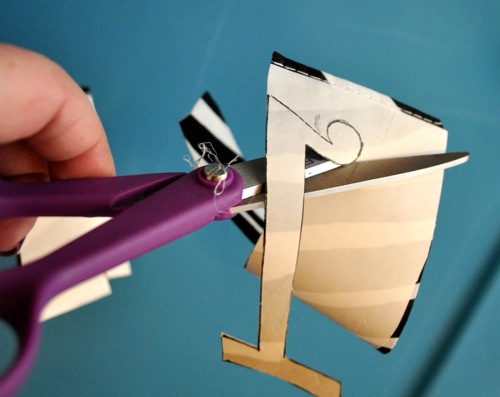
Then trace your number “1” onto the paper backing of the Heat N Bond which is now affixed to the fabric. Remember to flip your number over, so that once cut out the number is facing to right direction on the front of the fabric. Carefully, cut out the number.
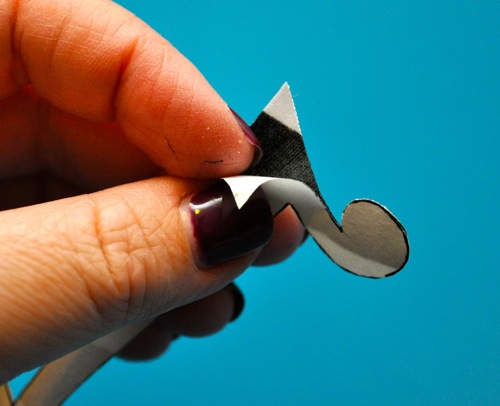
Peel of the paper backing from the Heat N Bond.
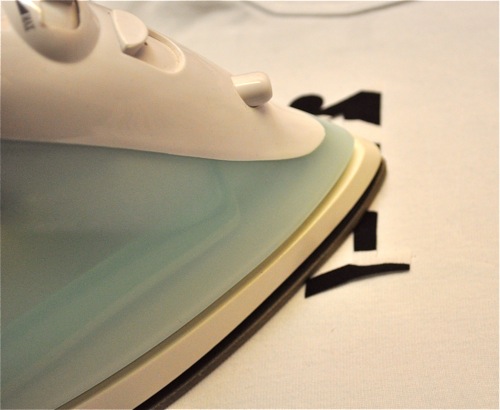
Center it, glue side down, on your ironed, pre-shrunk shirt. Iron it on, again using no steam. Check to make sure the edges of the applique do not peel up. If they do, iron again.
Step 4: Paint the Edges
Use puffy paint to edge around the number “1.” This is not necessary to hold on the applique, but I wanted to add more purple to the shirt to tie it with the hat and tutu. If using a thicker fabric for the applique, the puffy paint can help smooth the visual lines. It is a good idea to put a piece of paper or plastic in between the two layers of the shirt so that glue and paint do not seep through – a small plastic cutting board works great.
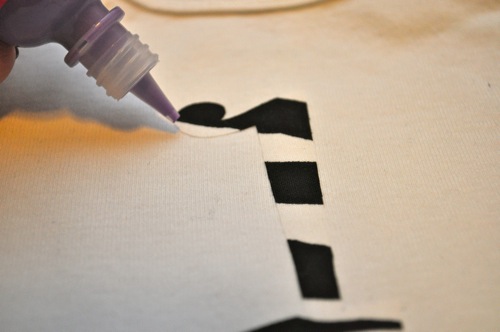
Then, I used the puffy paint to write Lucy’s name below the number. I typed her name on the computer, and then copied it, just free-handing it. If you don’t like your handwriting, I saw some pretty cool iron-on letters at Hobby Lobby that would also be cute, but a little more expensive.
The Hat
I wanted Lucy to have a party hat that coordinated with her outfit and would also pull more of the purple from the tutu closer to her face.

Materials:
- Fabric
- Tulle
- Felt
- Stuffing
- Stretchy Headband
- Needle and thread
- Hot Glue
Step 1: Glue the Felt Hat
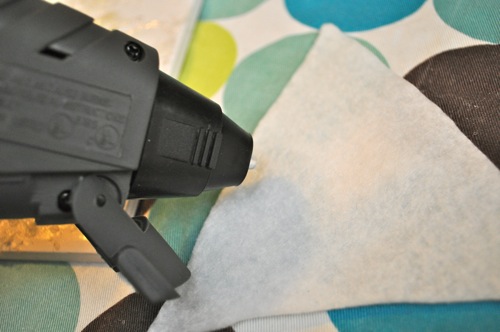
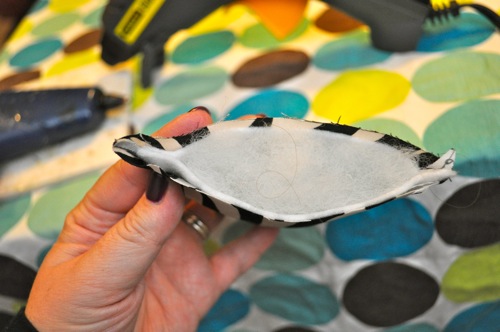
First, I made a felt hat to use as part of the stuffing, which fabric will go over. I cut out two pieces of felt to the desired size of the hat, with a slight bow at the bottom so that it fits the contour of her head. Then, I glued the felt pieces together, without gluing the bottom edge. This felt piece will be part of the stuffing. You do not have to use felt, but I wanted the hat to look more structured than stuffed.
Step 2: Sew the Fabric Hat
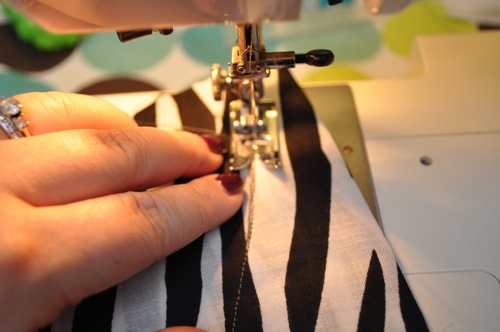
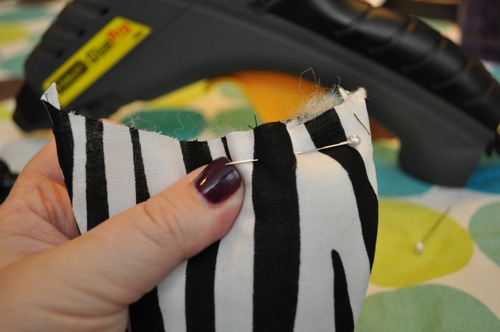
Then place the felt hat on the back of your fabric (I used the zebra print bandana again), and trace it. Next, straight pin the two pieces of fabric together along the tracing, inside out.
Straight sew the two sides of the hat, leaving the bottom open. Then cut out your hat, cutting along the bowed bottom and cutting around the sewed sides, leaving a small margin around the sewed sides. Turn it right-side out.
Step 3: Stuff It
Push the felt hat into the fabric hat, making sure the top is completely in.
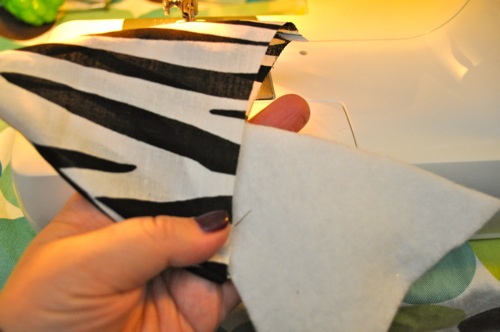
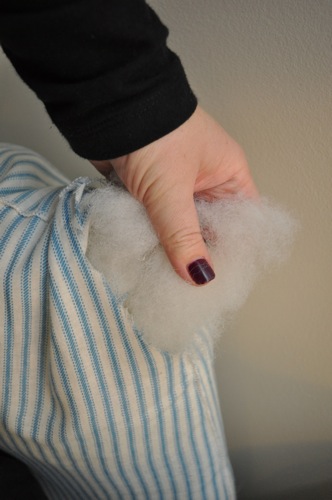
Then stuff with batting. I used an old pillow. 🙂
Step 4: Glue the Bottom
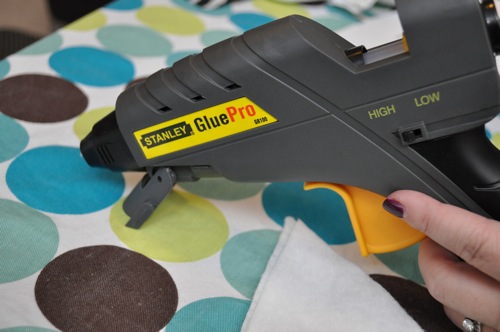
Glue the seams of the bottom of the hat together. Don’t worry about it looking rough or the glue showing – it will be hidden by tulle. Place to the side for later. (Check out my NEW glue gun Ethan gave me for Christmas!)
Step 5: Add the Ruffled Tulle
Place several strips of tulle on top of each other and straight pin together in a line down the center of tulle, long-ways. You can use more or less tulle, depending on how thick you want it to look. The tulle should measure longways about twice as long as the width of your party hat.
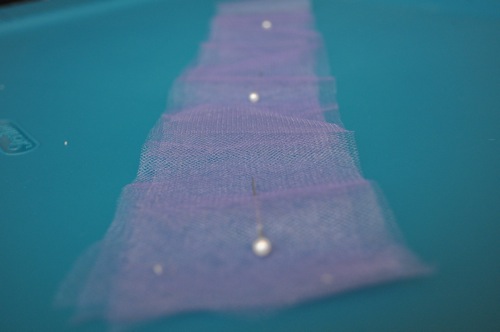
Hand stitch a single line down the center of the tulle, removing the straight pins as you go. After sewing the entire length of the tulle, pull the end of the thread to gather the tulle until it is the width of the hat.
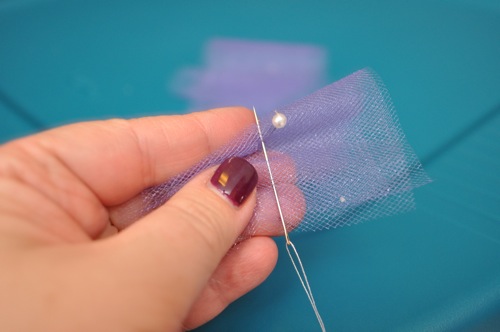
Step 6: Glue the Tulle to the Hat
Place a bead of hot glue down the center of the gathered tulle, following the thread line, and place firmly on the bottom of the party hat.
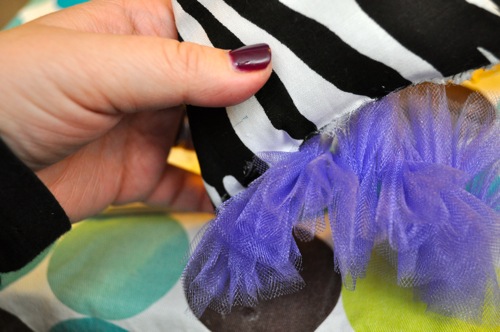
Step 7: Affix to a Head Band
Place a bead of hot glue on the underside of the tulle, now attached to the party hat, and affix to a head band (depending on the age of the child you can use a hard or elastic head band, or even barrette).
Step 8: Make the Top Tulle Puff
For the top of the hat, stack several squares of tulle, about 2 inches on each side, on top of each other and pin together.
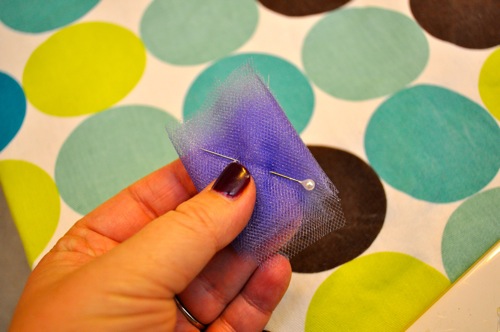
Round off the edges and fold in half. Sew a dart in the center. Fold in the opposing direction of the dart (90° turned) and sew another dart. The goal is to get the tulle to face upward, almost looking like a flower. Then hot glue tulle puff to the top of the hat.
The Tutu
I never realized how easy it was to make your own tutu until my sister, Erin, also a crafty person, made one for Izzie for her first birthday. I was very excited to make once for Lucy since it is the most dramatic and girly piece of the outfit, and I LOVE IT!
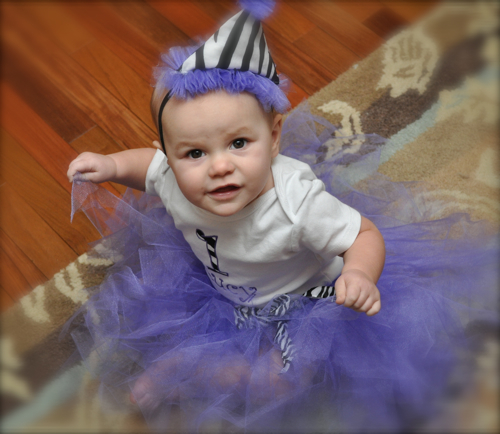
While absolutely adorable, this is the most expensive piece of the outfit to make. Fortunately, I found a very pretty purple tulle for 99¢ a yard from Walmart. You can also use coupons or find a good sale at Hobby Lobby or Joann’s to cut down the cost. If not looking for a cost effective option, check out the glitter tulle – it is super fabulous! I made this tutu for around $8. This is also the most labor intensive piece of the outfit, but pretty mindless once you hit a groove – a great craft to do while watching a movie.
Materials:
- Tulle, 2 – 4 yards
- Stretchy headband or elastic
- Ribbon (optional)
- Scissors
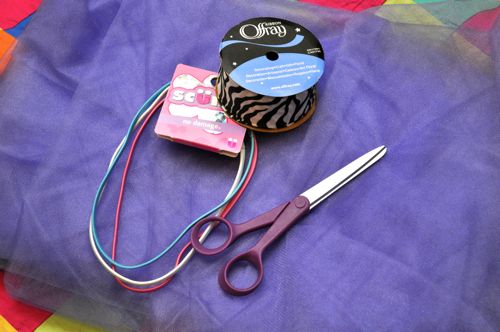
Step 1: Measure and Cut the Tulle
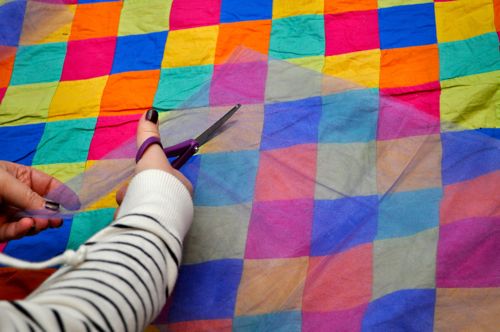
First, measure how long you want the tutu to be. Since Lucy is crawling, I did not want the tutu to go below her knees. Keep in mind that as the tutu is worn, it will wrinkle and get more poofy, appearing shorter.
For a fuller tutu, layer the tulle before cutting strips. I used two layers to make a thicker shirt.
Then cut your fabric longways to twice the desired length of the skirt. So for example, if you want your skirt to be 12″ long, cut your 2 – 4 yards of tulle longways so that it is 24″ wide.
Once your tulle is the correct width, layer it if desired, and fold in half longways.
Cut 2″ wide strips of tulle. One end should be cut and the other side should be looped.
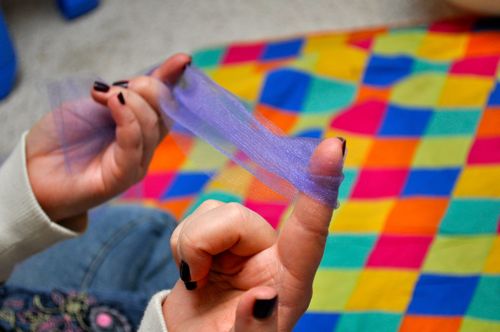
When you think you have cut enough strips, cut some more! You will need a ridiculous amount. Really it depends on how dense of a skirt you want, so feel free to wing it.
Step 2: Loop Around a Head Band
Once tulle is cut, take one strip (or two if layered) and place the loop in one hand and wrap around the elastic head band, looping around the head band and back through the loop. Pull until tight.
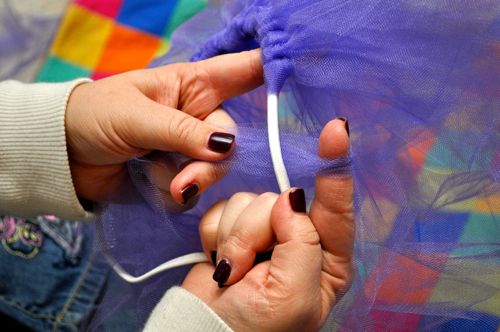
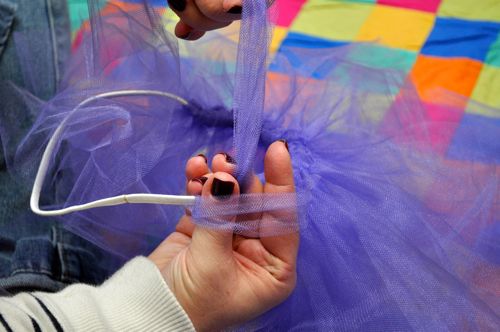
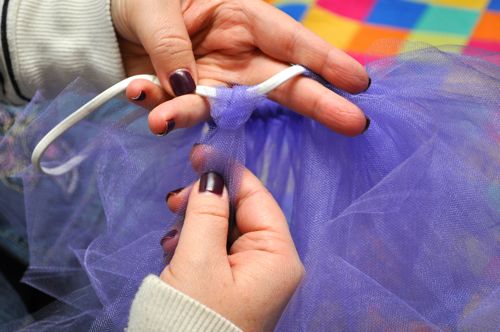
Repeat, repeat, repeat! Push together the tulle, less space between the loops will make for a denser skirt.
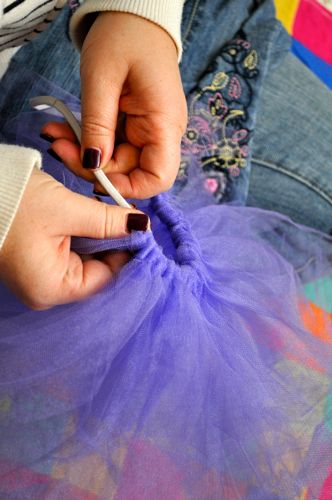
Finally, after a long time of looping tulle, you will have worked your way completely around the elastic head band.
Step 3: Add a Bow
Make a small space between two loops and tie a bow, using coordinating ribbon.
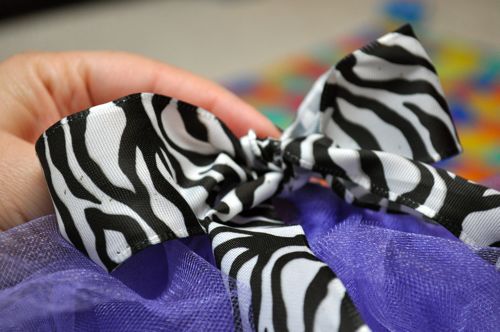
You can also add beads, flowers, gems to the tulle skirt for extra embellishment.
What have you made for your kid’s birthday outfits?
Sharing this on:


How adorable! Good tutorial. I’ll keep this in mind for future grandbabies. 🙂
My 2 year old would love a skirt like that! Thank you!
Thats so precious. I remember running around in my tutu at 2. I loved it.
Thanks ladies! i really had fun making it!
Love the onsie, Love the skirt, Love the headband! Thanks for the adorable idea. 🙂
Wish I had a little girl so I could make one of these… hmmmm… maybe I need to use this idea for sock monkey apparel!
I can give you mine, LOL!
Absolutely adorable outfit! Happy you linked to Things I’ve Done Thursday!
http://www.bearrabbitbear.com
What a cute birthday costume idea. I bet she’ll love it for more than her birthday too. Little girls love dressing up at any age.
I might be making a longer version of the tutu for the flower girls at our daughter’s wedding. Still waiting on approval from the bride. Too many choices now a days to make up ones mind easily.
Great job! So glad that you shared. Thanks for helping make Things I’ve Done Thursday a success!
Thanks Melanie for visiting!
I love your ideas! She is so cute in her birthday outfit. This is SO fun!
I’d love it if you would share this on my Fun stuff fridays link up party. It just opened!!
-ashley
http://pencilleddaydream.wordpress.com/2012/05/04/fun-stuff-fridays-link-up-2/
Hey Ashley, Just tried to link up, but sadly too late. Make sure and check out our link party we are trying to get up and running too! Thanks for visiting!
Also, if you visit regularly and comment you can get free stuff! Check out our Project Rewards section to see more!
This is totally adorable. Thought it was embroidered, super thrilled to see its iron on!
Thanks, Jen. I loved it too. I’m sad she no longer fits into it, the shirt or tutu. 🙁 why do babies grow up?
This is such a cute outfit! I absolutely love it. I cannot wait to try this out for my daughters first birthday!
Given the cost of buying these in the store this is a great money saving idea
Just picked up my tulle for K’s birthday tutu! Excited to use your tutorial