
I saw these beautiful wooden owls on Etsy and loved them, but they were so expensive – $80! So when one of my best friends was having her baby shower, I decided I would try to make them myself (with Ethan’s help). This ended up being a MUCH simpler project than I expected and it turned out to be one of my favorites too. One thing I loved about this project was that I used supplies I already had on hand – even the wood was a scrap from an earlier project.
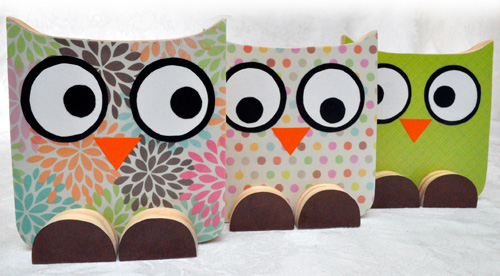
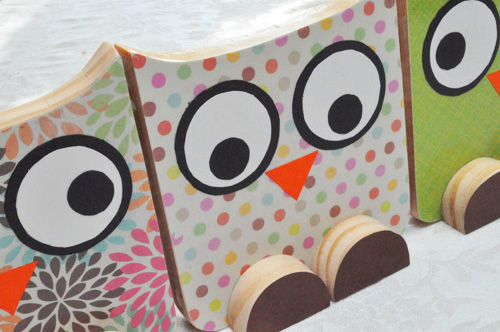
The owls were a big hit at the shower and my friend, Colleen loved them. Here’s a step-by-step guide so you can make your own at home.
Materials and Tools Needed:
- Solid wood (we used Birch)
- Scrapbook paper or cardstock
- Mod Podge or Elmer’s Glue
- Jigsaw
- Sandpaper
- Pen blade or VERY sharp knife
- Sponge brush
- Clear lacquer
Step 1: Print and cut out Stencils
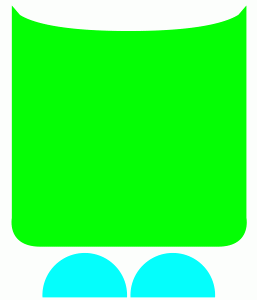
We made stencils for the owls, feet, eyes and beak, so all you need to do is print them out and cut them! I had a really hard time making my owl eyes perfect, so if you have Creative Memories circle cuts or punches, this would have been a great time to use them!
Step 2: Trace the Owl and Feet
Trace the owl and its feet onto wood. We used solid 3/4″ Birch, but you can choose thinner or thicker wood depending on the look you want. The wood we used worked really well to create a heavier owl that sits well on shelves. However, a thinner owl would go great above a door frame. Whatever wood you choose, make sure it is decent quality and can be sanded to look pretty (don’t go for the cheapo plywood).
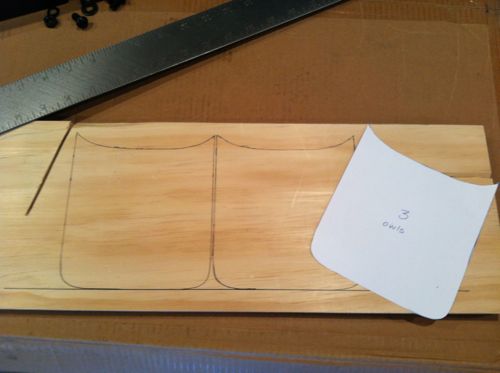

Step 3: Cut and Sand!
Cut out the shapes using a jigsaw. Use a fresh blade and go slow, cutting away tiny pieces to make it easier. Be sure and wear gloves and eye wear for protection!
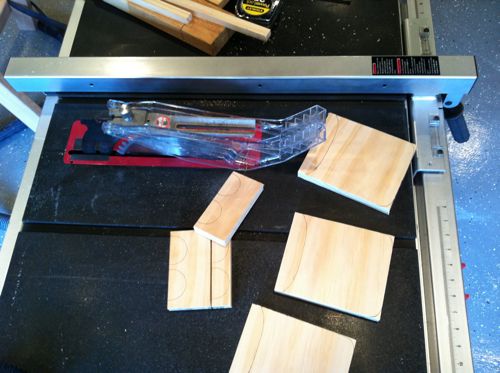
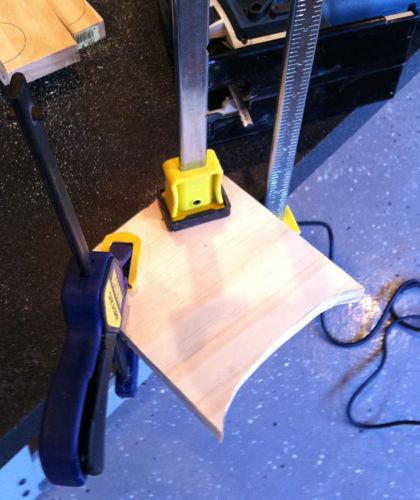
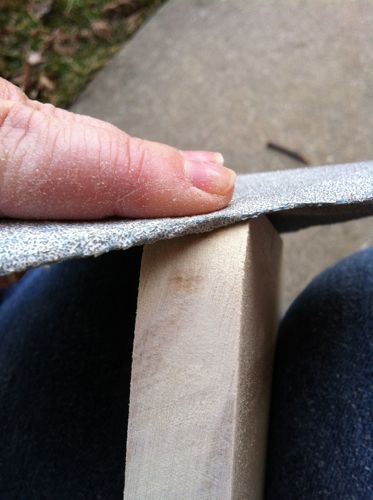
This was the most time-consuming step for me because I hand-sanded the owls and feet, first starting with a coarse sandpaper then using a fine paper to create more polish. You can also use an electric sander, but be careful and wear gloves so you don’t sand off you hands (ahem, Ethan). After sanding, wipe the wood down with a damp cloth to remove any sawdust.
Step 4: Cut the Paper
Choosing your paper is really what makes these owls unique! Patterns and shapes create a lot of interest but be careful not to use too large or busy of a print or it will detract from the owl. Using pastels will create more of a child-like feel, but darker colors and metallics will make them more appropriate for adult decor. Also, scrapbook paper comes in lots of cool patterns, but cardstock is easier to apply to the wood without air bubbles forming. It’s really your call, but something to take into consideration.
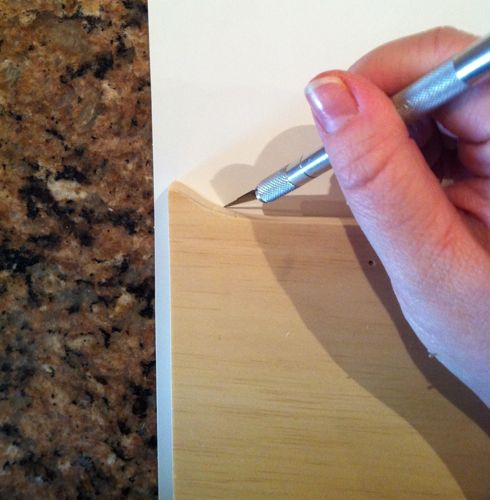
On a cutting board (or an old magazine if you don’t have anything else), place the owl face down on your scrapbook paper or cardstock and trace the outside edge of the owl with the Pen blade or knife. Apply a good amount of pressure as you go, otherwise you may need to re-trace the owl. Ideally, you will completely cut the paper to the exact size of the owl. It is important to do this with each individual owl and foot because even though you used a stencil, each piece will be slightly different, and you want your paper to be the exact size of the owl. I originally tried tracing on the paper with a pen and then cutting it out, but it was not precise enough.
Step 5: Mod Podge the Paper to the Owl and Feet
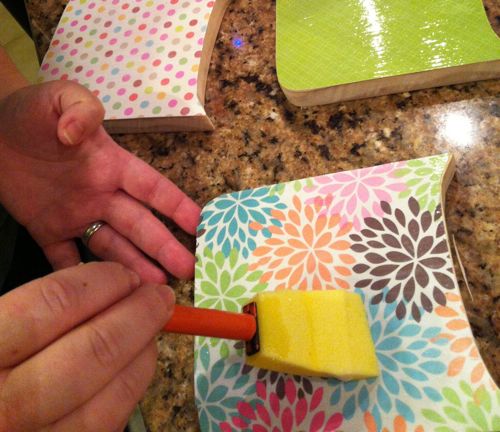
This was the fun and quick part for me. Using Mod Podge (post to follow on how to make your own for CHEAP) and a sponge brush, apply a decent coat to the front of the wooden owl. Then, place the scrapbook paper on the owl starting on a corner and slowly pressing down while working your way across the owl. Press down the paper, even moving it around a bit to make sure the entire surface between the wood and paper is coated in Mod Podge and to ensure there are no air bubbles. Apply another coat of Mod Podge on top of the paper. Again, check for air bubbles. You may need to use a hard, flat surface (Pampered Chef scrapers are great for this) to run along the owl to push out any bubbles. Apply two coats of Mod Podge in total, allowing it to dry in between coats.
Use this same process for the owl feet.
Step 6: Glue the feet
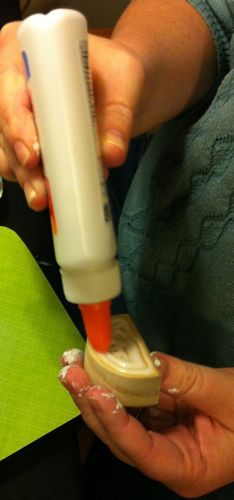
Since these are really just decorative pieces, I used Elmer’s Glue to affix the feet to the owl. Once in place but still wet, stand the owl up to make sure she stands straight.
Step 7: Mod Podge the Eyes and Beak
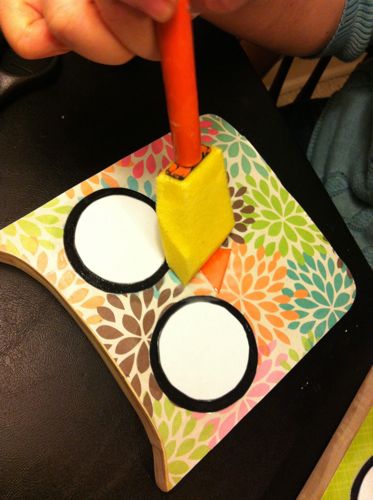
I purposefully glued the feet first so that you can space the eyes and beak correctly in relation to the feet. Once the feet are dry, place the eyes and beak on the owl and figure out the spacing before you glue. Then, starting with the largest black circles, Mod Podge them to the owl using two thin coats and dabbing the brush rather than wiping. This is important because the black ink from the paper can run onto the owl, so be careful and make sure and let your Mod Podge completely dry in between coats.
Repeat this process with the medium white circles, small black circles, and beak, in that order. The small black circles can be placed off-center (left, right, up, down, diagonal) within the whites of the eyes to give the illusion of the owl looking in a specific direction.
Step 8: Spray a Finishing Lacquer
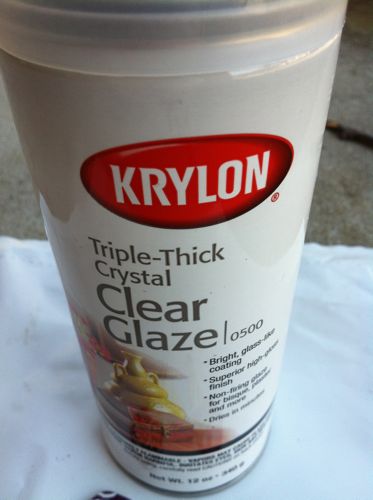
Mod Podge leaves a matte finish on the owls, so I used a crafting Finishing Lacquer to seal the owl and create a slight sheen and a much more polished look. Remember to sign the back of your owl or write a personalized message on the back before spraying the lacquer. As with most spray paint and lacquers, it is best to apply 2 -3 thin coats in a well-ventilated area.
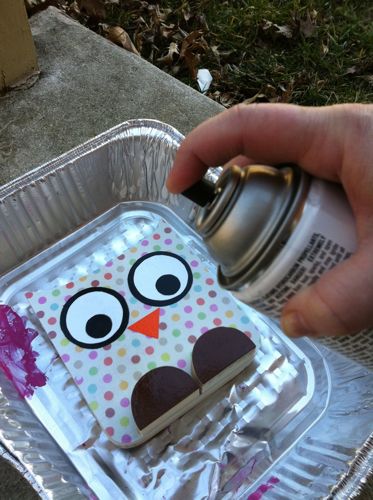
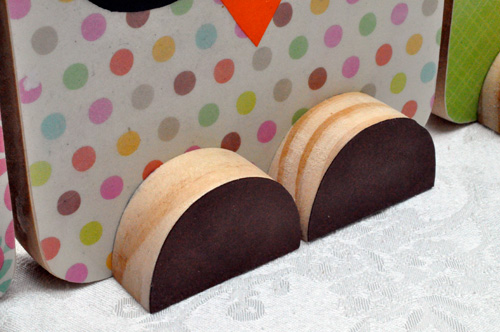
Finished!




Excellent photo-documentation! Fun project!
Super cute! And looks easy – my kind of DIY. So happy I found your website 🙂
Hi Ann, Thanks so much for visiting, hope you’ll come again!
They are adorable! Will the mom use them later to decorate the nursery?
Congrats on the new site.
Yes, my friend Colleen has an owl themed nursery, which was originally why I really wanted to make owls for her. She is due in a couple weeks and is putting the finishing touches on the nursery, including the owls! 🙂 Glad you like the better half – FYI its all the same project rewards, so we’d love to have you on both “halves” commenting and earning points!
Nice. Do you think the same thing could be done with thick enough cardboard and an exacto-knife?
Definitely could, but since you see the sides of the owls, it won’t have a polished look. But maybe a good idea on a smaller scale, like for cards and embellishments.
Jocie, these are AMAZING! Are they heavy enough to act as book ends for children’s books? That would be so adorable! I love the new website! However, can I use my same sign in as One Project Closer? Seems strange that I have to enter my email address after having signed in???
You definitely could use a thicker wood and make bookends, or just add a a metal bracket.
I know very little about the programming end of things and the sign in situation, so ethan will respond to that part of your question. 🙂
I think I’m going to look at these every so often today… just to make me smile :O)
Adorable! The coat rack idea from the Etsy page is cute and seems like it would be fairly easy to DIY too. There a lot of cute ways to use these. If I wanted to hang them flush on the wall (like the bird art display clips) what would you recommend using/doing to them for that?
i would think you could drill a shallow hole in the back for a nail, or even better use those 3M nail-less hangers that come off the wall easy. i use those for a lot of stuff! 🙂
Super cute!
So fun Jocie! Love the new “better half”. And this project is great, I’m sharing it on my fb wall. 🙂
Thanks, Karah for the compliment and for sharing on FB!
I just love these! They are so adorable and look easy to make too :). I love the fact that you were able to make use of your scrap wood for these! – Great project
Oh my gosh those are just the cutest Jocie! With a bit different cutting one could easily make other critters too. Heck as they are, with a different face, they’d look like kitties!
Thanks! I had the same thought about other critters. I have plans in the works to make a birdie but as a door sign. post in the future hopefully. 🙂
Oh, you just gave me an idea. When I read the word “door” and before I got to the word “sign” I thought you were going to make a “door stop”. These could easily be made by attaching a wedge to the bottom of the back. With the country breezes we get I’m always looking for something to hold the doors open. These would be so cute and, like you, I have plenty of scraps of wood to make them with. Thanks again Jocie!
What a great idea!! can I steal it? 😉
You sure can. I wouldn’t have thought of it had it not been for you!
Okay, so those are pretty much the cutest things ever!!
Thanks, Jenna! I think so too, i’m thinking of having more babies just to have a new room theme! lol!
LOVE THEM!!!
Thanks, Andrae!
I love these!!! I just have to get hubby to cut me some out now!!!
Thanks so much for the tutorial 🙂
They are FABULOUS!!!!!!!!!!!!!!!!! I need some!!
Thanks so much for sharing at The DIY Dreamer… From Dream To Reality!
Make sure to put my button somewhere on your blog so that you can have a chance at being featured 🙂
These are so dern cute! Not only do I love owls, love mod podge, but I super blessed to have a handy hubby in the wood work area!
seriously LOVE these!
Thanks, Amy! Its been one of my favorite projects yet! Hope to see you back again!
These are so cute, Jocie!
Do you cover both sides of the owl with the cardstock?
You could add more pizzazz to an already nice product by painting the exposed wood. Like an earlier responder, I could see these used for hanging coats on a wall. Could also be used to add interest to a wall in a kid’s bedroom- perhaps different dinosaurs/ fish/ etc. .