
For those of your following along with my very slow kitchen re-design, not long ago I completed my first sewing project – a kitchen valence. Up close, I loved the fabric, and the valence itself was sewn perfectly (yeah, I’m awesome!). However, once I hung it up, I was not thrilled. the pattern was too small and the color scheme was not what I had envisioned.
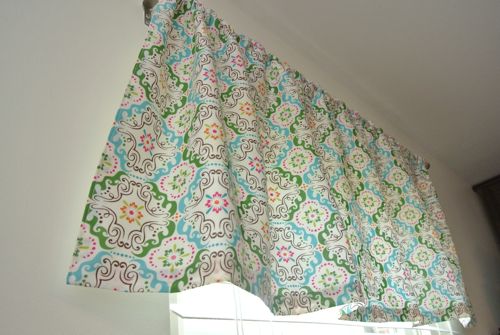
My mom was very understanding, given she had spent several hours helping me learn to sew. She (and my grandmother agreed) that it was worth the time spent in hopes that I would sew many more valances in the years to come.
For my second valence, I decided to change the look a little – I wanted cleaner, crisper lines. As usual, I saw some types of valances that I liked the look of and winged my own version.
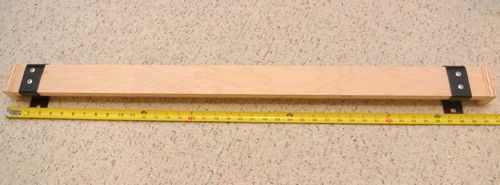
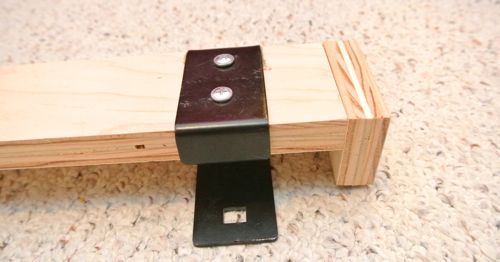
Ethan made a simple wooden frame to go around the top of the window. It was made using 3/4″ plywood, the length just wider than the actual window frame and about four inches deep. He then attached metal U brackets to each end. Super simple!
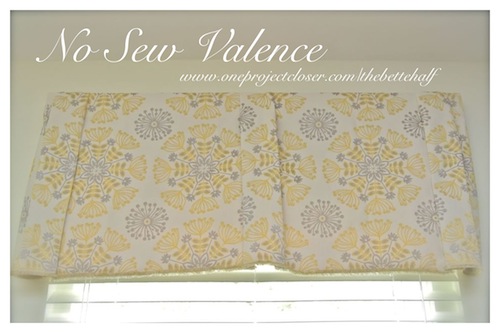
Once I picked my fabric, a beautiful cream and gold upholstery fabric, I bought one yard. Big mistake, I should have bought more, but it worked out okay.
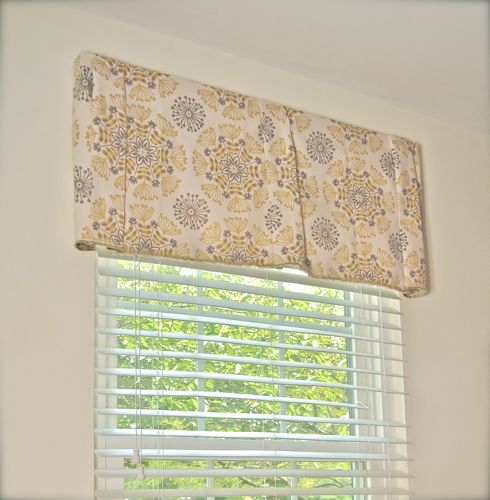
It turned out really wonderful and looks elegant and fresh!
Materials:
- plywood frame, 41 inches wide
- 1 yard of fabric
- Staple Gun and LOTS of staples
- Metal U brackets
Step 1: Measure and Cut
I doubled over the fabric and cut 14 inches up from the bottom, finished edge.
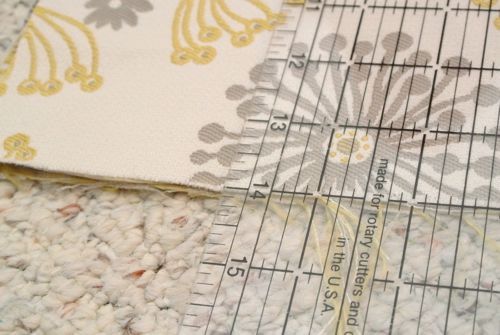
Cut one of the those two pieces in half. You should now have three pieces of fabric – (2) 14×18 and (1) 14×36.
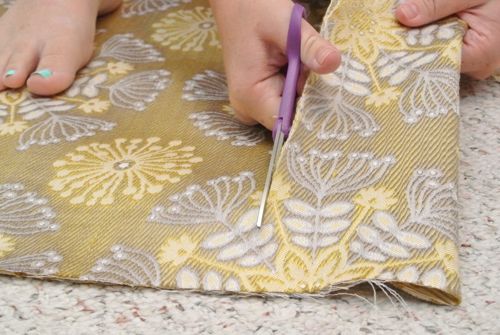
Step 2: Staple the Center
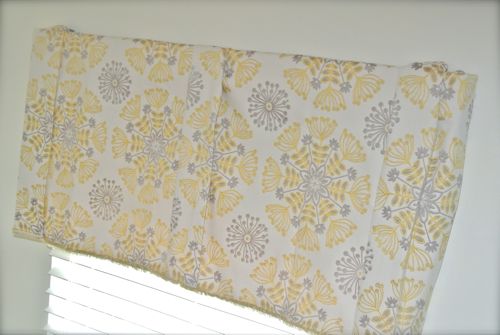
One 14×36 inch piece I placed, centered on the frame. Once you find the center of the frame and fabric, create a three-inch bubble in the center.
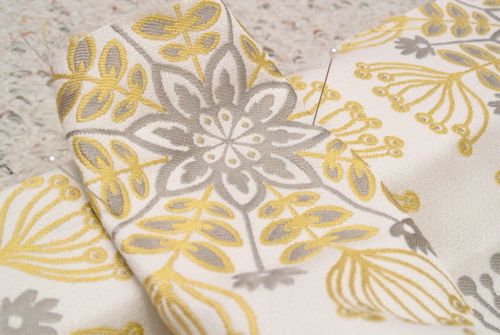
Fold the top of the fabric over frame so it just goes up around the top of the board and folds over to the other side. Staple the fabric the back of the board. I used A LOT of staples! 🙂 Be careful to keep the fabric centered and the bubble perfect.
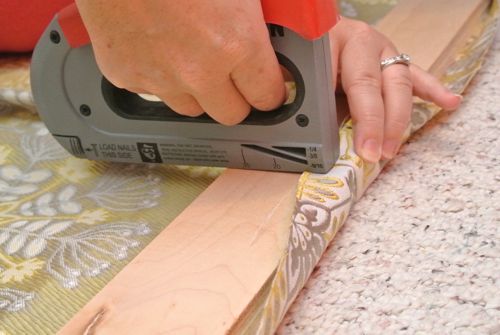
As you staple, measure the length of the fabric from the frame to the bottom edge along the entire length of the fabric to ensure that the valence will be straight.
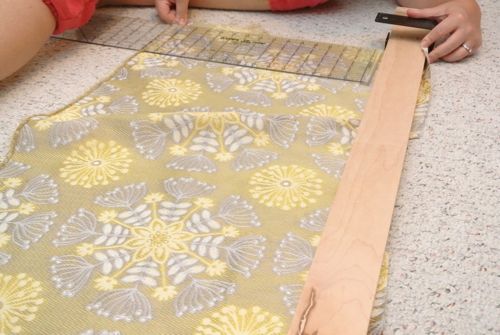
Step 3: Staple the Sides
Once the center panel is stapled, take one the 14×18″ panels and line it up on one side, face-down. Make sure the bottom edges line up with each other. Staple the inner edge of the fabric to the frame.
Create another bubble at the edge, turning the fabric over to face up.
Wrap the remainder of the fabric around the side of the frame and staple the top around the back of the frame.
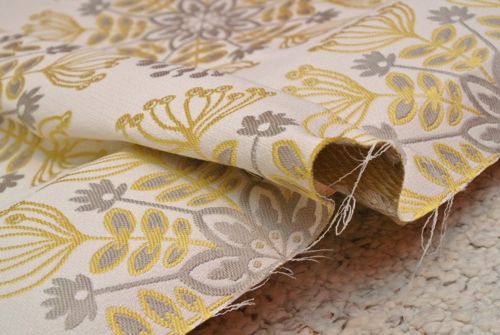
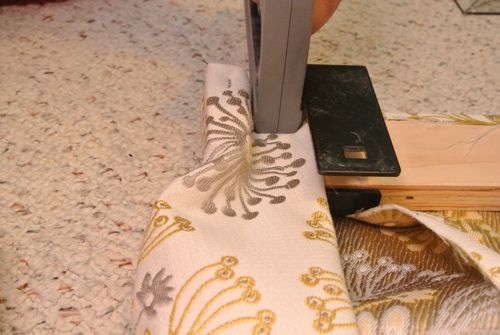
Repeat this process for the other side.
Step 4: Hang and Finish
Ethan hung the frame and valence, using the metal brackets. Because I used three separate pieces of fabric instead of one (which would have been preferable but more expensive), there was a slight separation of fabric at each of the two sides. I used straight pins to hold together the pieces of fabric and it looked perfect. If I had wanted to invest a little more time and effort, I could have sewn small darts.
Step 5: Admire!
This was a quick and relatively inexpensive valence and I really love it, especially the fabric. I am hoping to use the scraps in other ways in the kitchen too, so be on the look out!
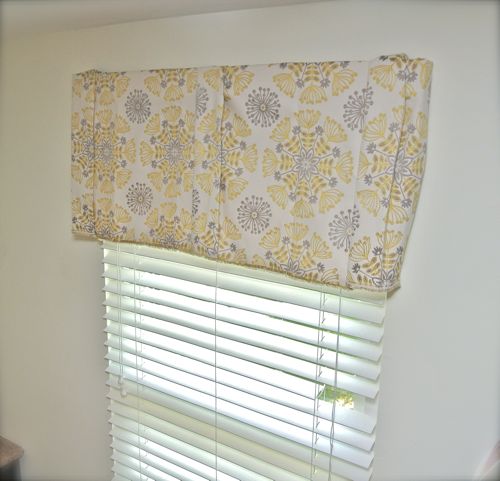
What do you think? Any tips for my next valence?
As Always, thanks for reading!


Love that fabric. The pleats are a cute addition.
Since sewing is something that I do, I really think you should have hemmed the fabric rather than rely on the selvage as the “finished” edge. But it’s a learning process.
Hey paintergal, You may be right about the non-finished edge, but i think non-sewers may not know the difference! haha i didn’t. good thing i don’t hang out with any serious crafters! lol!! 🙂
Nice work. Even I know how to not sew!
thanks, Reuben. 🙂
Makes any window look friendly!
Nice foot shot too! haha
Another no sew option for the bottom enge would have been Iron on seam tape for a cleaner bottom edge. In person I think the selvage edge looks intentional
Thanks, Erin!
This looks like something I could do. Very simple and straight forward. Thanks for posting.
It was super easy, even for me, the non-sewer! 🙂
So cute! I love the fabric and colors!
Thanks so much. Ashley!
looks super professional. I have three windows in our master that need this treatment! Pinning the idea, LOVE LOVE that it is no sew!
Jocie, I had to smile at your term “bubble”. Too cute. I would call that a pleat. Being a seamstress myself, I’m with Carol (Paintergal) and would have hemmed the bottom. With upholstery weight fabric it would cause your pleats to spread so you’d have to tack them to stay in place. All in all you and Ethan did a great job and I have to say, though I thought the other valence was cute too, I like this valence better.
I like the way the pleats look, but as a seamstress, I have to agree with the other comments about adding a hem, but you really made the selvage work for you and that’s what counts.
Yeah…you may be right. I’ll probably end up changing it again, because why not? But I’m enjoying it for now. 🙂