
Some of the oldest articles on One Project Closer focus on painting (like this paint comparison), and after publishing, we quickly learned that people have very strong feelings about paint. Brand loyalty runs deep, and just about everyone has their own opinion. Furthermore, there’s no consensus. For every recommendation, there’s a story about how that paint failed miserably. All that got me interested in finding a professional painter and learning some tricks of the trade.
Meet Keith, owner of KA Wallace. Keith is a local contractor constructing a new home here in Maryland, and Keith has over 20 years of painting experience. He jokes that he has “painted a stripe around the world… twice.” Keith is in the process of painting the interior of this house, and I jumped at the opportunity to pick his brain. Admittedly, painting new construction is different from repainting an existing room or even a remodel project. However, there is some overlap like recommended tools, materials, and workflow. Keith offered up a lot of Pro-Tips, and I hope to be back with him on another job site soon.
If you live in Maryland and are looking for a professional contractor and/or painter, consider calling Keith. He is extremely knowledgable, and he takes a lot of pride in his work. I’m in the process of getting permission to publish his contact information. In the meantime, email me, and I’ll be happy to put you in touch with Keith.
Here’s a look at the house Keith has been building.
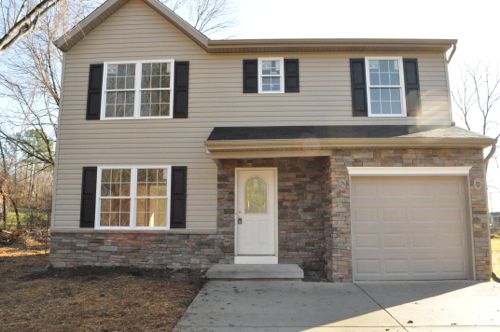
As you can see, the drywall crew has finished their work. All the doors have been installed, and just about all the trim too. Keith has a first coat of paint on most of the walls and ceilings so we’re jumping in on this project midway through.

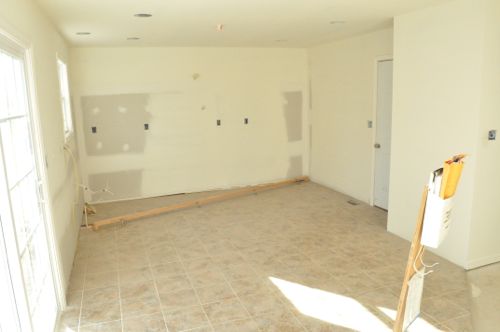
The kitchen has been tiled, and Keith will be installing the kitchen cabinets soon. He will also be starting on a deck in the near future.
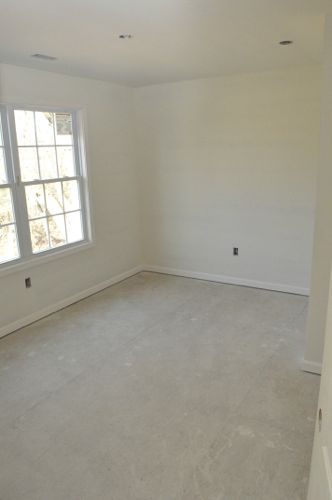
Here’s a quick look at some of the upstairs.

Workflow
It was interesting to learn the workflow Keith follows when painting because doing things in the proper order can make the job much easier and produce better results. As I mentioned already, the drywall has been hung and finished, the doors and trim have been installed, and Keith has already sprayed a first coat of paint to seal the drywall and create a baseline to work from. Next, Keith will inspect the drywall and make any necessary repairs. After sanding and cleanup, Keith will caulk all the window and door casing and the baseboards. After that comes the second and third coat of paint, followed by painting the trim. Lastly Keith will perform any touch-up.
Hang Drywall > Install Trim > First Coat > Drywall Repair > Caulk >
Second Coat > Third Coat > Paint Trim > Touch-up
Drywall Repairs
Sometimes drywall defects are barely visible, and so Keith likes to apply a first coat of paint to seal the drywall, set a baseline and better find any problems areas. A common culprit is roughed-up drywall paper from sanding which creates a different texture that is tough to spot before painting. Keith patches the drywall in the usual fashion with a speed-set compound and sanding it smooth.
Pro-Tip: Use a contractor pencil (or something similar) to indicate drywall defects. Marker will often show through multiple coats of paint.
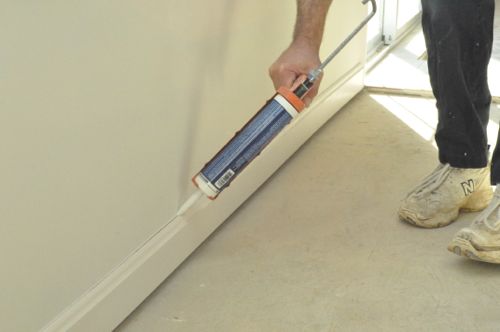
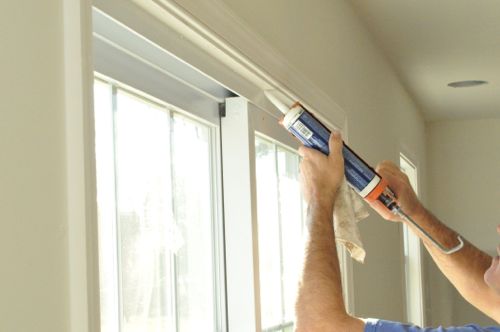
Caulk
Keith prefers to caulk after the first coat of paint because there’s less drywall dust, and he started with a quick brush-down of all the trim.
Keith uses a siliconized acrylic latex caulk. The silicone adds flexibility which is important as the wood expands and contracts with seasonal changes, and acrylic latex is paintable.
Pro-Tip: With all new construction, gaps and cracks can form as the house settles, and Keith expects to be back making repairs as that happens.
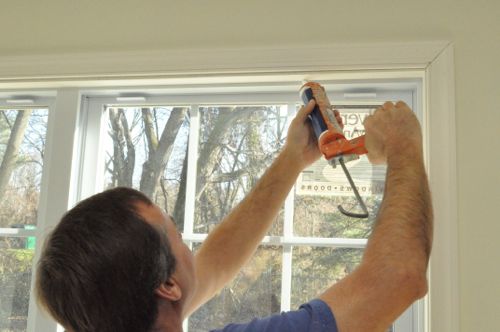
Pro-Tip: Keep your finger clean and damp when smoothing caulk. Keith says the most common DIYer mistake he sees is too much caulk which ends up on the wall and not in the joint.
Filling nail holes on trim is a common headache for painters because installers can be “over zealous” with a nail gun resulting in lots of holes to fill. There are several products used to fill holes, and the best ones result in little or no flashing, no shrinkage and easy sanding.
Pro-Talk: In the world of paint, flashing refers to an unevenness in the sheen of a finish coat, and it occurs when paint is absorbed at different rates like a primed vs. unprimed surface.
Keith likes to use Durabond setting compound to fill nail holes. He feels it makes for a quick repair that’s easy to sand, and by overfilling the holes he eliminates any dimpling.
Second & Third Coat of Paint
Before applying the second and thirds coat of paint, Keith does some cleanup to further eliminate dust especially around the perimeter of the room and inside electrical boxes. He and his helper also tape off the door hinges.

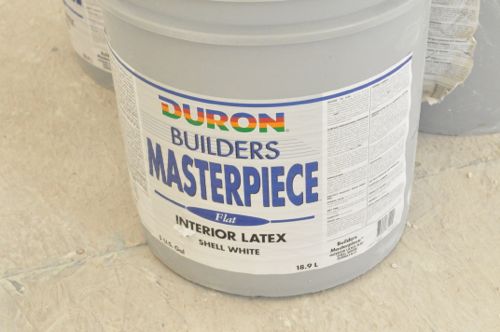
Keith uses a flat Duron contractor grade paint because it acts as a good primer, and it is great for spot touch-ups (rather than having to repaint an entire section of wall). The only downside is that it doesn’t have good hide-ability which means usually applying 3 coats.
Pro-Tip: The amount of clay determines the paint sheen, and more clay results in a flat paint. This Duron paint has lots of clay which is why it is so good for touch-up.
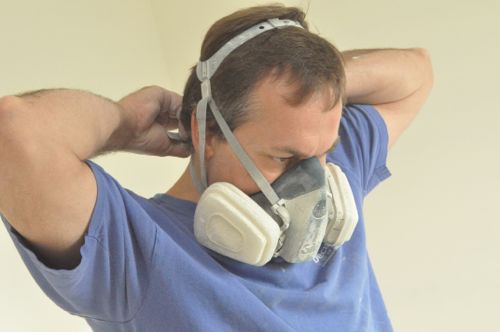
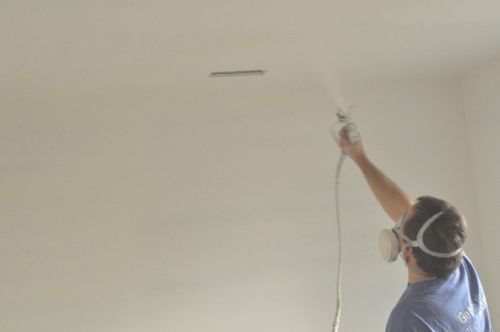
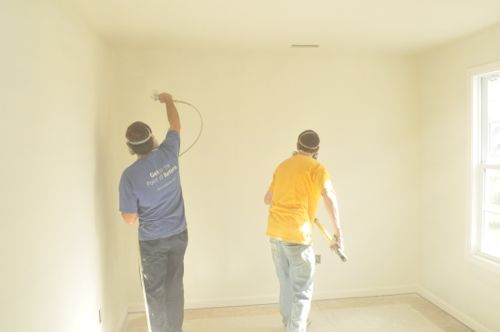
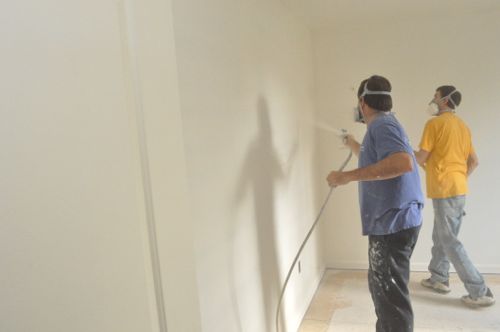
Keith uses an airless Graco sprayer to apply the paint, making long parallel passes.
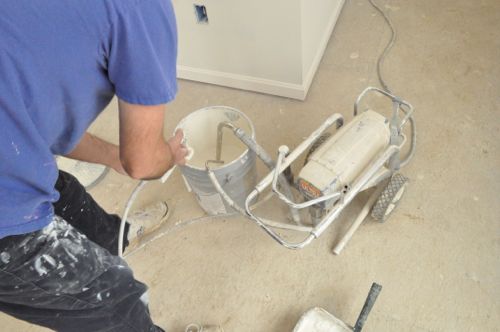
His helper “dry rolls” the freshly painted surface to add the roller texture, and in this fashion they can move through a room very quickly.
Pro-Tip: Lots of painters use a 1/2″ nap roller. Keith prefers a 3/8″ nap because otherwise there can be too much texture.
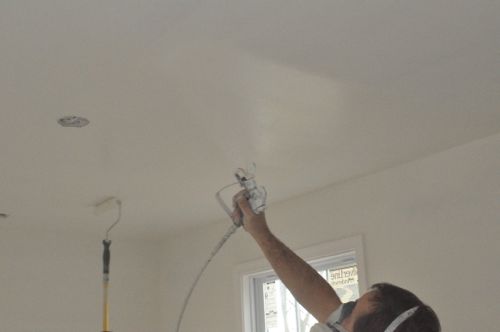
Pro-Tip: When spraying, each coat should be applied perpendicular to the last for better coverage.
Pro-Tip: It’s important not to spray too thick because excess moisture can cause drywall tape to bulge which is called ridging.
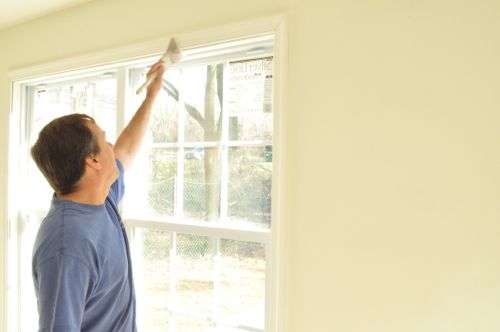
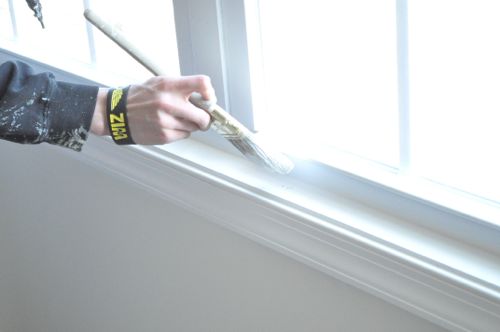
Paint Trim
The last step is to paint the trim, and Keith suggests that painting the walls and then the trim makes it easier to cut in. As you might expect, there is a little overspray on the trim after spraying the walls.
All the trim is painted by hand and Keith prefers a 2-1/2″ angled Purdy brush. The bristles on a square brush don’t spread as well, and Keith typically only uses square brushes for applying wood stain.
Pro-Tip: A Synthetic fiber brush can be used for oil or water-based paints. Natural fibers will swell and lose their shape when used with water-based products.

Nice overview of a Pro’s approach to this. is he going back with color in the future?
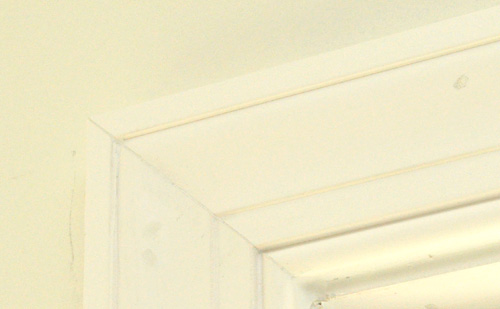
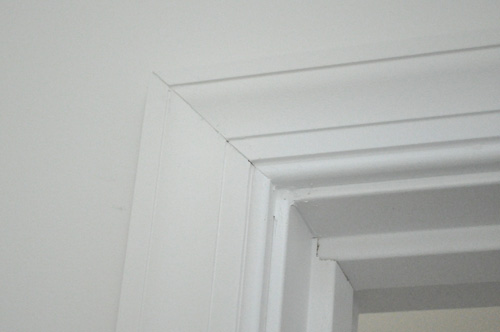
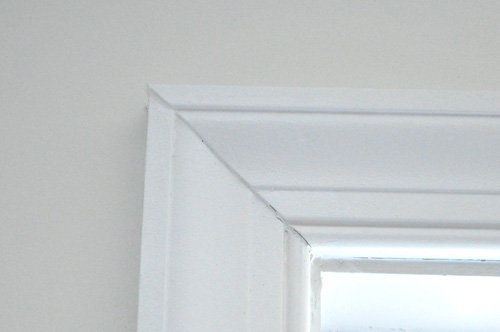
This isn’t something Keith did… but I am sure Ken over at The Joy of Moldings is cringing at that close up of the window trim.
Haha! I thought about Ken too! Or maybe for Ken it’s like the cobbler’s children who have no shoes. I think Keith keeps everything neutral because homeowners often want to change it after purchasing.
These are some good tips. I like the workflow recommendations.
Even an expert painter can’t hide poor moulding fitup. The tips are great. I’ve typically done things in the same order. It’s nice to know I did something right!
Regarding the Graco sprayer, how does it compare to an HVLP sprayer? He’s using it here on new construction where overspray is less of an issue, but how much overspray did you see? Would you recommend this type of mechanical airless sprayer for painting in a finished house? I’ve never looked into this type before but have heard that with a decent HVLP you can spray inside and not see paint on your flooring, furniture, etc.
I was wondering about that too! I love my HVLP. What is the benefit of using the Graco?
Is it just Keith and his helper to do the whole house? It seems like it would take forever to finish it all. I’m guessing they coordinate with other aspects of construction though (finish the kitchen first so cabinets, etc can be installed)?
Nice to see new pro follow material!
Keith and his helper work with various subs, but they do tackle a lot of the work. I haven’t hung out with Keith enough to know what his timetable looks like though.
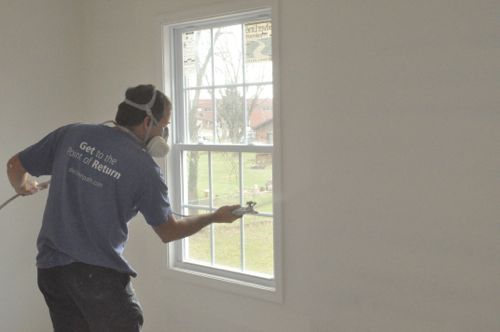
Does he have problems with overspray on the windows? They don’t look masked at all. Wondering if they just go back and scrape off any overspray on the glass.
Keith is really good with the sprayer and they don’t have any overspray on the windows. That’s why they only tape off the hinges.