
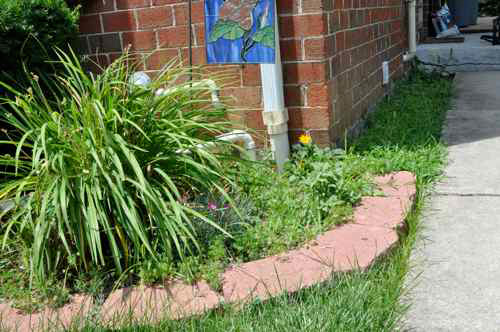
Two days ago, I was inspired by an article on Young House Love where Sherry writes about tackling some weeds around her mailbox. It was a simple story about removing some weeds, putting down landscaping fabric, planting flowers and spreading mulch. After reading it, I thought to myself, “I have weeds and landscaping fabric. I should do this. Right now.”
A quick trip to Home Depot and I had everything I needed:
- Mulch ✔
- Flowers ✔
- Landscaping fabric ✔
- Fabric achors ✔

Step 1: Weed and Turn Over the Dirt
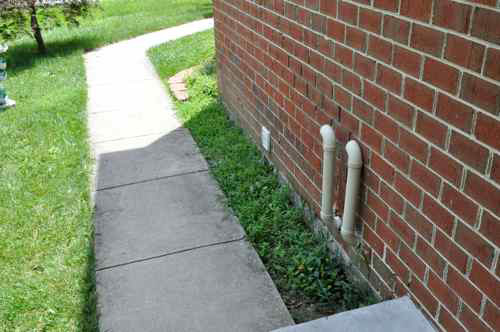
Weeding is one of my least favorite projects. I hate weeding more than painting, which is why it happens about once every two years. These weeds don’t look so bad because the neighbor kid was kind enough to mow them last week.
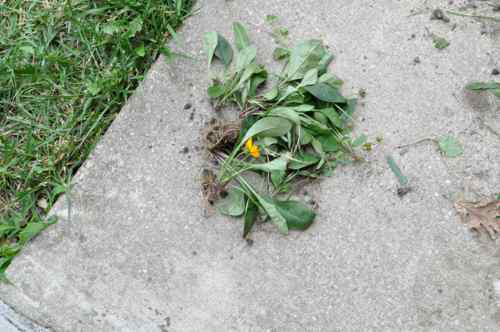
I was amazed at the diversity of weeds growing alongside my house. There was Crabgrass, White Clover, Bermuda Buttercup, Broadleaf Plantain and others I couldn’t identify. I used the cultivator to loosen the soil a few inches deep, and began the process of sifting through the dirt to remove all plant-life.
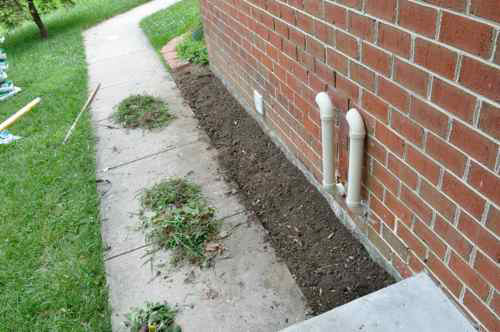
This approach was oddly satisfying because it didn’t involve any herbicide, and I’m confident that all (or most) of the weeds have no chance of coming back. You can see in the pictures, a lot of weeds died that day. The picture below shows what we in the biz call a tap root. The rest of the world also calls it a tap root, and I’m not actually in the business of pulling weeds.
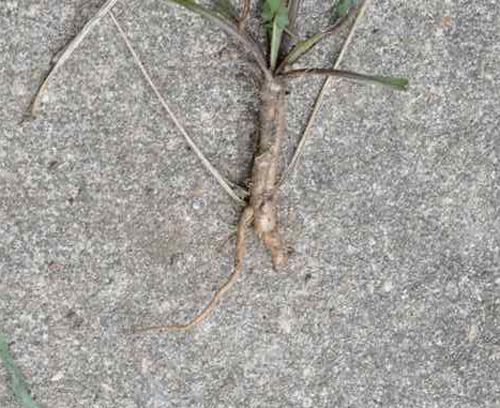
This project didn’t go without some casualties. There was a lone perennial that still clung to life even with the brutal weeds closing in around it. Unfortunately, it would have been the odd man, out and so it was pulled with everything else.
Step 2: Install Landscaping Fabric and Anchor In Place
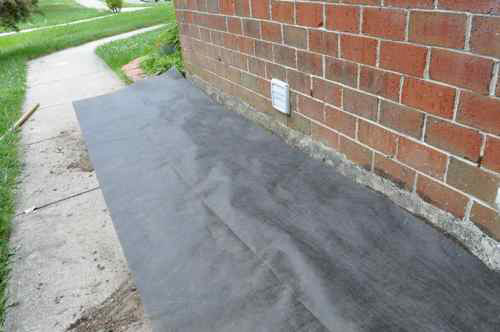
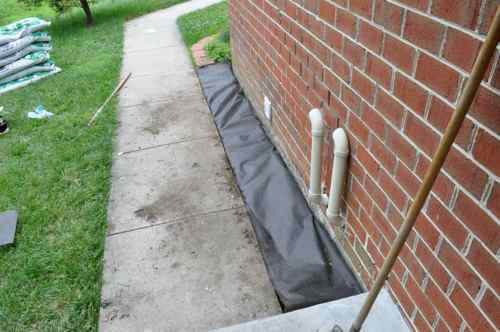
The landscaping fabric was DuPont Premium, and boasts 15 years of protection when properly installed! This “spun-bonded polypropylene” creates a barrier that allows water, air and nutrients to enter the ground while blocking weeds. I went about unrolling a section and cutting it to size leaving extra to tuck in the front and back. I placed the anchor pins every few feet to secure the fabric in place.
Step 3: Plant Flowers, Carefully Cutting the Fabric Barrier
I purchased four, white New Guinea Impatiens. A cool side note- Home Depot includes a QR code that provides details about the flowers, light requirements, watering instructions and more. By scanning that with my phone, I learned that New Guinea Impatiens require 4-6 hours of sunlight and daily watering. Apparently, they also attract butterflies.

I spaced out the plants and cut X’s in the landscaping fabric, digging a hole for the flowers.

Step 4: Mulch the Garden for a Great Finished Look
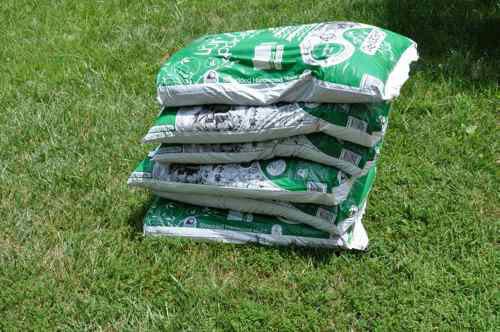
The final step was spreading 2-3 inches of mulch throughout the flower bed. Mulch has the added benefit of trapping moisture and helping to control weeds. Plus, it makes flower beds look nice!
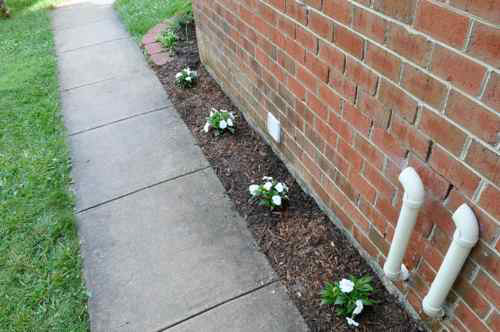

Step 5: Water Immediately
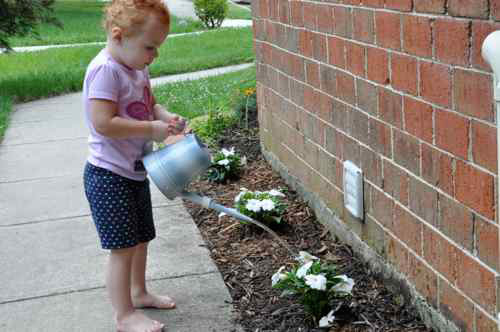
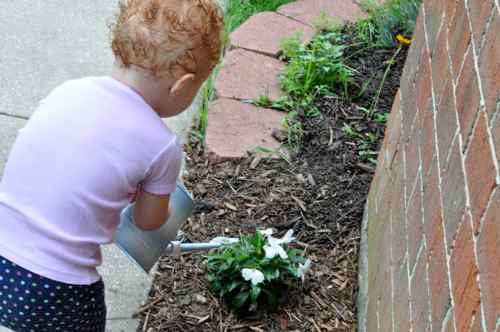
The cashier at Home Depot let me know that these flowers need a lot of water so my wife and I decided that could be a fun “chore” for Izzie. She’s actually very excited about watering the plants, and I hope that means they’ll stay alive longer!
Have you been inspired recently? What gardening projects have you tackled this year?


Very nice! You’ve inspired me to tackle a similar strip in the back of our house.
Hey Deborah, Glad you liked it! Weeding really is one of my least favorite things so I’m hopeful that this landscaping fabric will do the trick. Thanks for commenting.
Such a nice finished look – I really love it.
Oh my look at those precious locks of hair. She is so adorable and what a little helper. Oh ya I’m suppose to be commenting on the DIY You did a great job Ethan it looks so much better. I’ve been slacking with yard work this year and I guess if you can do it and you hate weeding I guess I can too. So as soon as this rain
stops ,,,rake, weeds,flowers and mulch here I come. Thanks for posting and getting me out of this rut I have been in.
She is adorable isn’t she? Super-cute in person too. We had rain for what seems like all of April… then it got so hot we couldn’t stand it. Now the grass is starting to turn brown! We’re planning a much larger project with the landscaping fabric as soon as we can.
She’s a cutie! So far, she’s asked to go water her flowers every morning. I’m glad she’s so excited about it. This is the first assigned “chore” we’ve given her.
That really made an improvement in that small spot. Hard to grow grass there so this looks like a good solution. I have a few places I should try this on.
Cute little water girl you have too I’m sure the plants will never be parched!
We’ve used landscape fabric like this for a medium- sized vegetable garden for several years. If you’re careful, you can roll it up each season, put it down the next after working the soil. Even with some overlapping of fabric, SOME weeds still find their way through. We didn’t mulch much- that might have helped. For gardeners out there with their own ” Izzie”s, you might want to plant two 40′ rows of green beans and have them harvest them for you. Years ago, as an inexperienced gardener, that’s what I planted. When the little kids saw me out gardening, they wanted to help. It was great having them find beans- even if they were pulling the whole plant out!