

So you’re already thinking what a silly post this is, right? Why refresh an old door mat when you can just go buy a new one? Well, we’re trying to save on money these days AND honestly, I really loved my old door mat. I bought it last year when we first moved into our new house. It was a fabulous Target find, because where else do you buy wonderful things you don’t need? haha
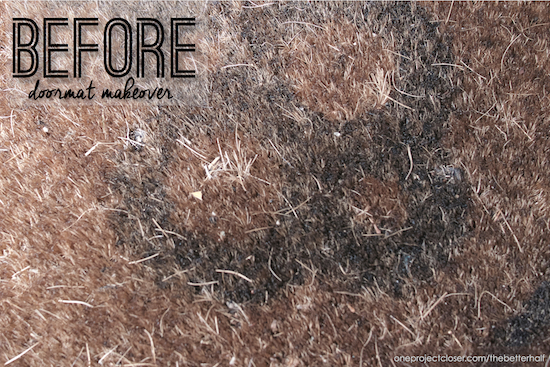
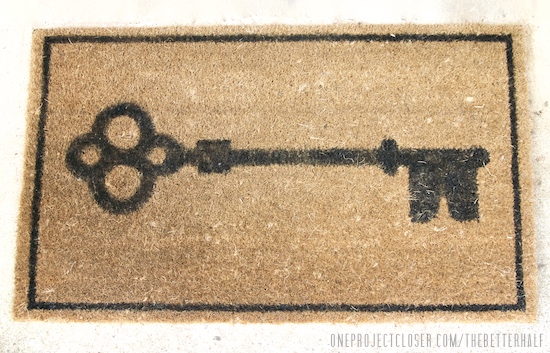
Anyway….I bought this super cute door mat last year and, now, a year later, it was completely faded and worn! No more key, or even the outline around the mat.
Like any good DIY-er, I decided I could refresh this old door mat and make it like new! Obviously it wasn’t a #diyfail since I’m writing this post. In fact, I was shockingly surprised at just how good it looks.
Clean the Old Door Mat
First off, I shook out the door mat, then swept it with the broom. Seems like a simple step, but I didn’t realize just how dirty my mat was. Plus, some of the door mat had started fraying and pieces of the straw-like material were sorta half pulled out or completely out on top. Sweeping helped pull them loose and clean up the overall look.
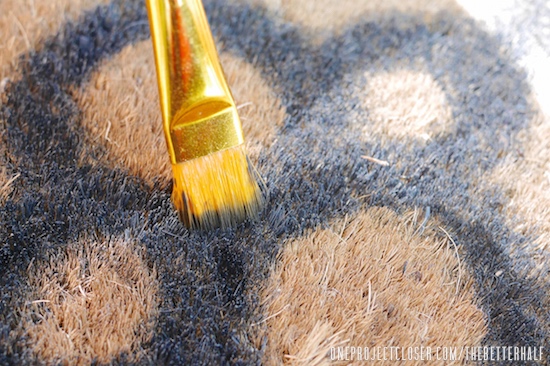
Paint!
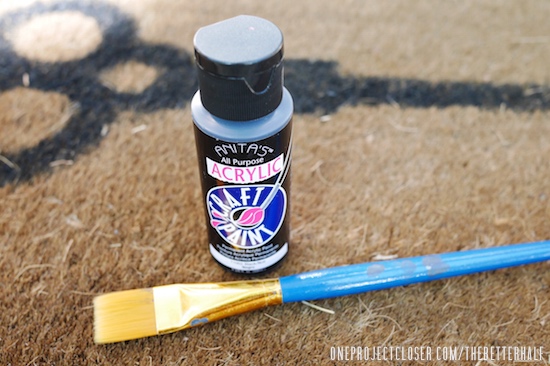
I grabbed a 3/4″ flat brush and black acrylic paint and got to work. And, by the way, while I am a decent painter, this project involves no special skill or artistry AT ALL! 🙂
I basically just followed the faint lines of the existing pattern, brushing generous amounts of paint across the door mat.
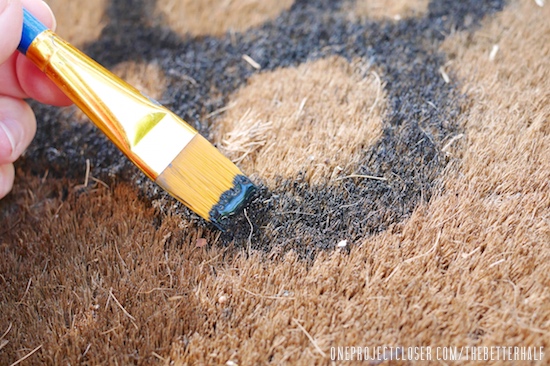
Then, I pushed the paint down into the mat by dabbing the brush up and down, working it in. In some spots, the paint sorta sat on top of the mat without soaking in. As it dried, it settled and looked seamless.
After it dried, it looked great!! But some spots needed some touch up, so I went back and did a light second coat. The lines were very forgiving and the paint dried really well. We’ve been using it about 10 days now and it wears well without flaking or tracking into the house.
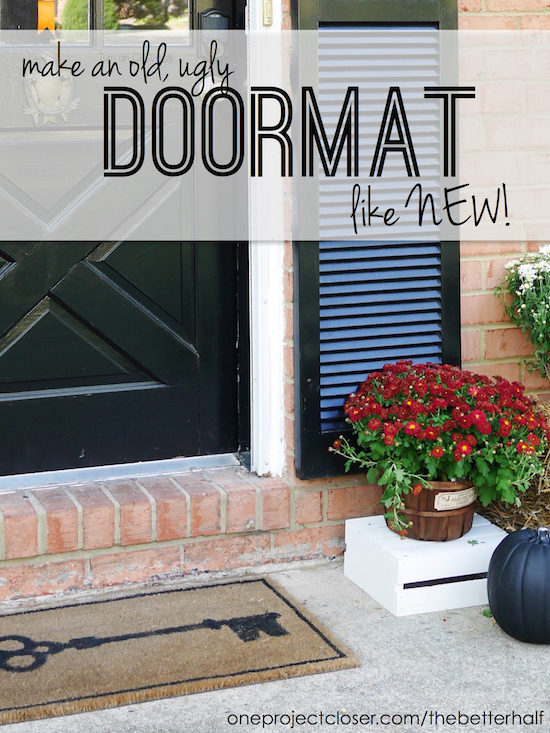
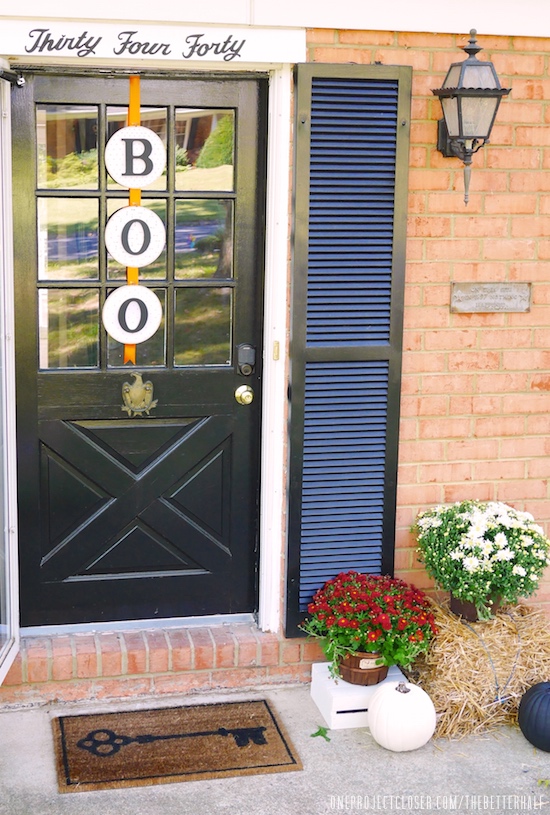
My Like-New Door Mat
So my kinda lame, almost free door mat turned out kinda great! Not the most amazing project ever, but certainly functional, useful and saved me $25!
As Always, thanks for reading!

Don’t forget to check us out on Facebook , Instagram, & Pinterest!

This is a great idea – I would much rather save $25 and have a great looking door mat! We have a similar style mat so I am totally giving it a paint makeover when it’s a little worse for the wear!
Thanks Keri!! can’t wait to see what you’ll do – I’m sure it will put mine to shame! 🙂
What a great idea Jocie! Keeps another worn mat out of the landfill. I have one that could use a refresh – thank you for the inspiration! Pinning.
Thanks Marie! I appreciate the love!
Thank you for this post! I’ve been wanting to make my own doormat that says something specific but I had no idea what type of paint to use….this was helpful! Now i just have to find a plain doormat haha
Love this idea! Gives me lots of ideas for creating my own design on a solid mat. (Monogram!)
Question – did the paint not smear or track into your home?
Thanks for creativity. You are the best!
Cary
no, it didn’t smear or track, thankfully! haha
Thank you for posting this! It’s not lame at all! I have a mat I love and all kinds of acrylic paint, so this is totally happening.
Thank you for sharing this great DIY project. Even 4 years later lol. I’ve been looking for inspiration on how to revive my door mat that’s faded but still in great shape.