
I recently wrote about the new R-410A freon, cleaning your outdoor air-conditioning coil, and water leaking from my indoor HVAC. These recent posts were spurred on by the fact that my indoor AC coil was rusted. Condensation built up around my indoor coil because it wasn’t draining properly. Well, this past week a good buddy and another friend came over to replace my indoor AC coil. I was able to observe a good bit and take a few photos along the way.
Let me start by saying, this project is not for DIYers. There’s a lot of specialty equipment and specific know-how for properly managing freon. I know this task was beyond me, and recommend you find a reliable HVAC contractor for this job. If you’re looking for a contractor in the Baltimore area, I can pass along a name and number.
Installing a New Indoor AC Coil
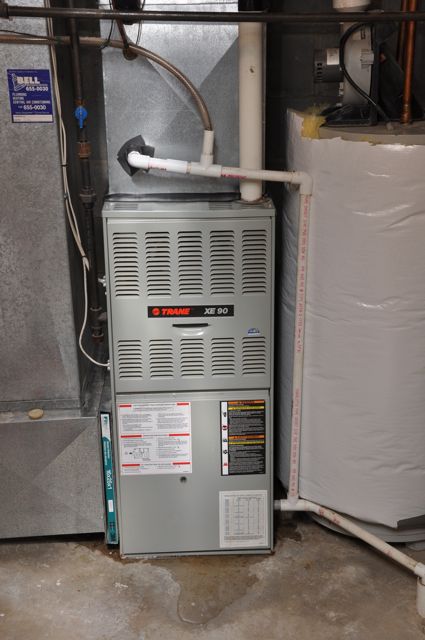
The install began by trapping all the freon in my outside unit. Next came the demolition. Here’s a picture of my old HVAC setup.
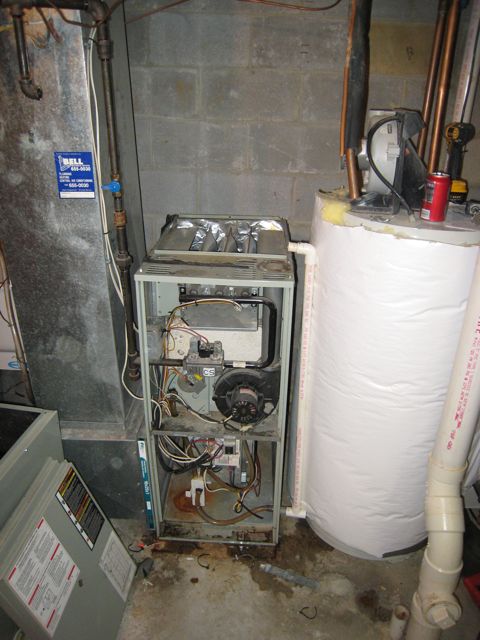
This picture shows the front panels removed from the furnace and the old coil removed.
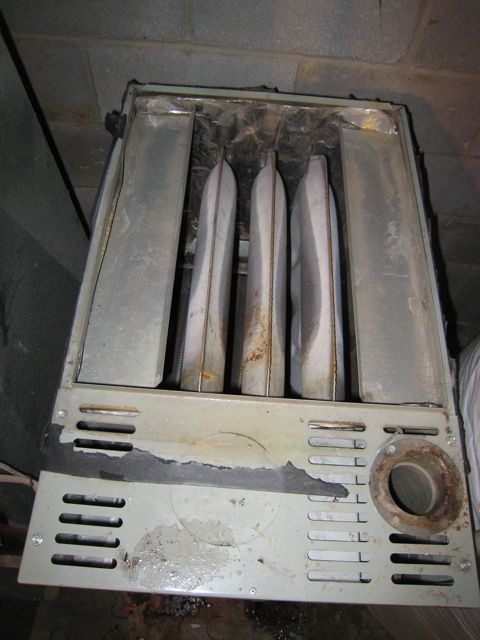
Here’s a picture looking down into the furnace.
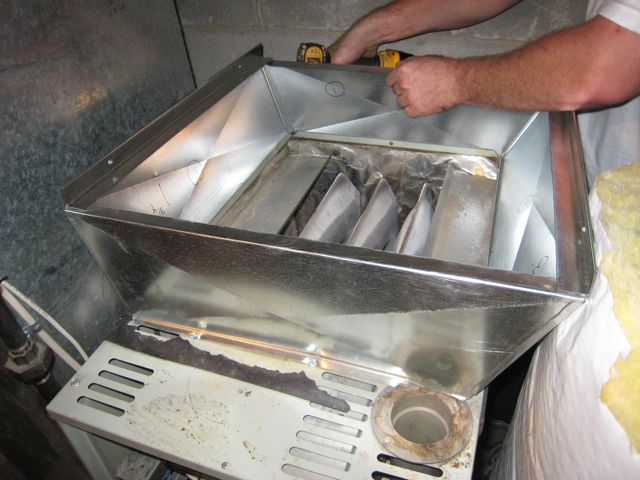
The new coil was a different size, so they had to construct a ductwork seat that would account for the change. This picture shows them installing the ductwork reducer.
And here’s the new coil seated on top of the ductwork. Just about everything was secured with self-tapping sheet metal screws. An impact driver makes it easy to screw into sheet metal.
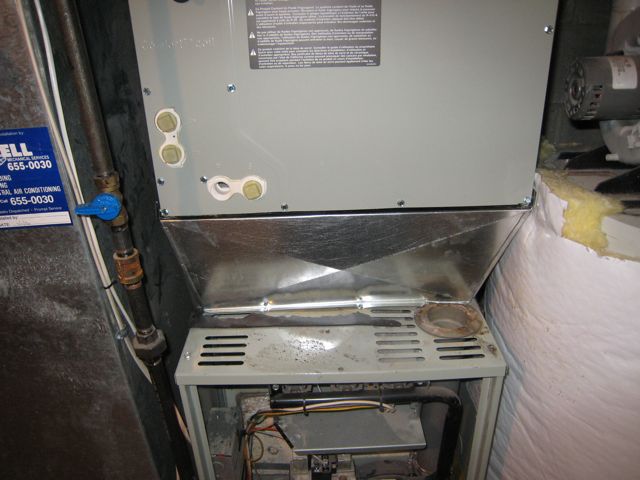
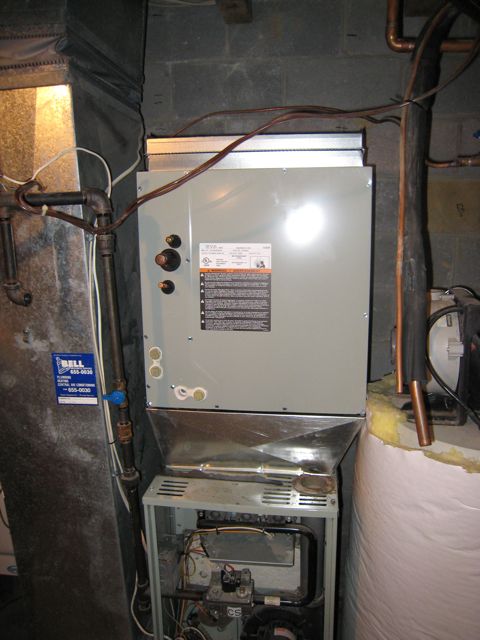
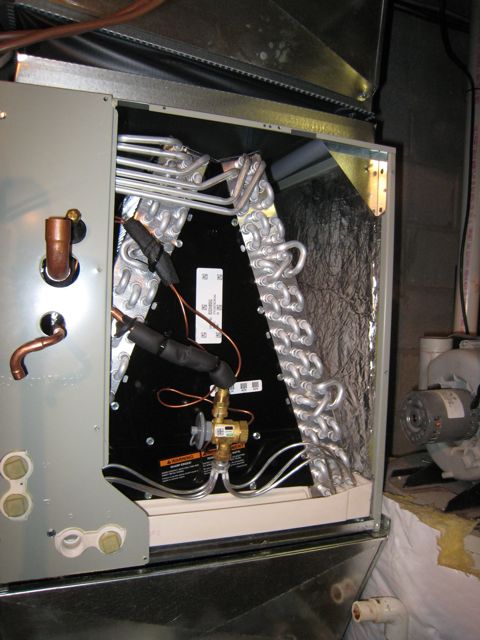
The new coil also features a front access panel. I was excited to learn that if I’m ever suspicious of my indoor coil, I can remove a few screws and take a look. You may not be able to see it very well, but the new coil also has a plastic drain pan (meaning it won’t rust). The new coil is seated level on the ductwork as the drain pan is already sloped to direct water toward the drain.
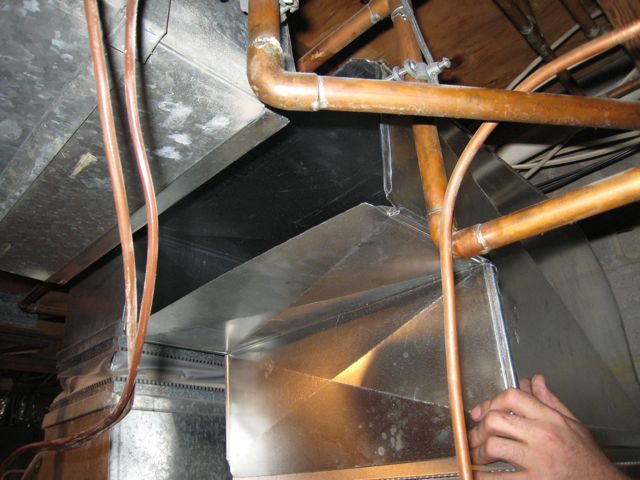
This picture shows the ductwork elbow that is installed above the new coil. This elbow is curved, rather than a sharp 90° angle. That’s beneficial because it helps keep air moving in the right direction.
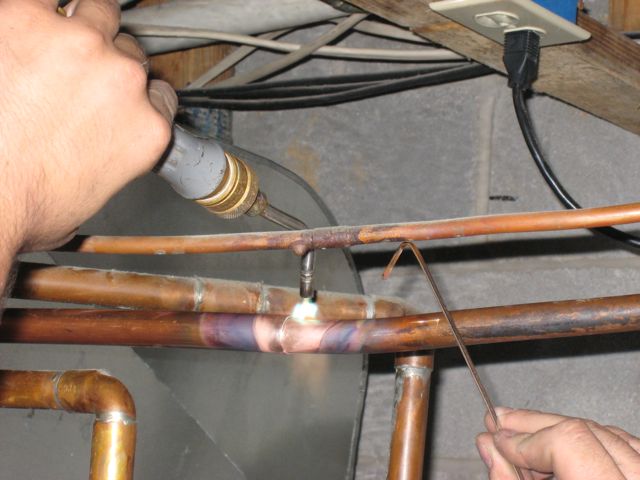
Freon lines are flexible copper. This picture shows the new line connecting to the existing copper freon return.
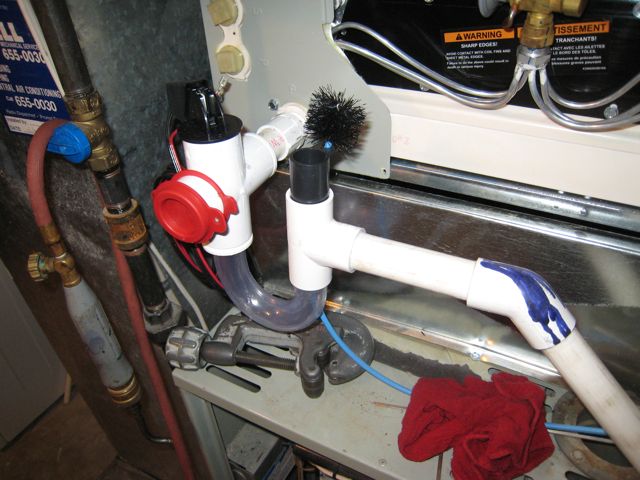
Here’s another feature I was excited about. It’s a clear drain trap. Not only can I see if water is moving through it, but I can also use the brush to remove any clogs.
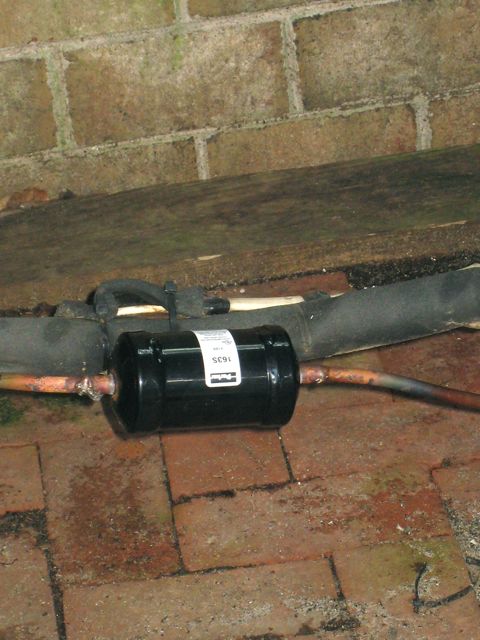
This is a picture of a freon filter. Whenever you cut freon lines, a filter should be installed to remove particulates.
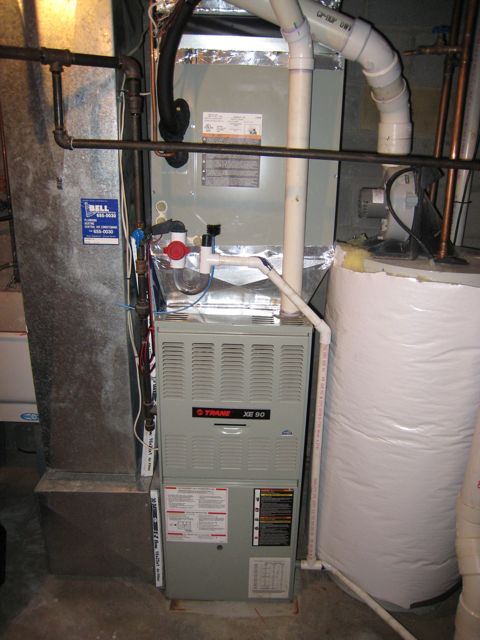
And here’s a picture of the new indoor AC coil installed. Notice all the foil tape to help prevent air loss.
What do you think? Ever replace your indoor AC coil?


How much were parts for this replacement, roughly?
Who was your contractor?
Of all the web sites that help you do it your self I find this one to be the best one , each article is very informative , down to details and explanations and pics keep up the good work