
We call our blog One Project Closer, but like everyone else, our houses suffer wear and tear over time, and sometimes we’d be more aptly named One Project OVER. Into that category fell my most recent job here at our house: repainting the twins’ bedroom after four years of ravages occupancy by our little men.
Upon their request, we changed the room from orange to a bright and cheery green.
Fortuitously, just as I was moving their furniture out of the room and coaxing Fred into helping sand down the ceiling stipple, I was offered a HANDy Paint Kit (TM) to review for this project.
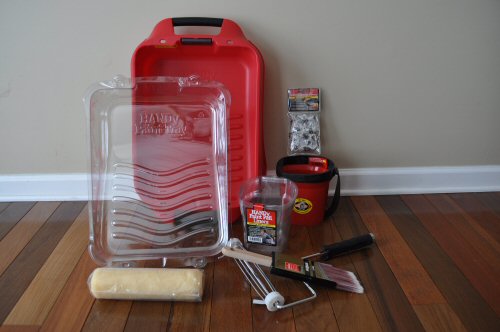
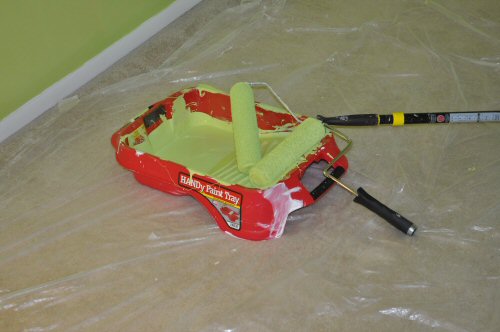
Sold by Bercom via most major home improvement retailers, the HANDy Paint Kit starts you off with most of the basic items needed to complete a painting project. Included in this kit are:
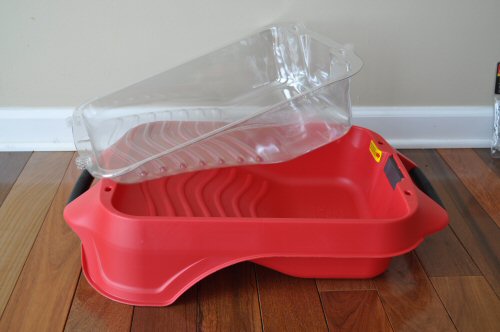
A paint tray& 2 tray liners;
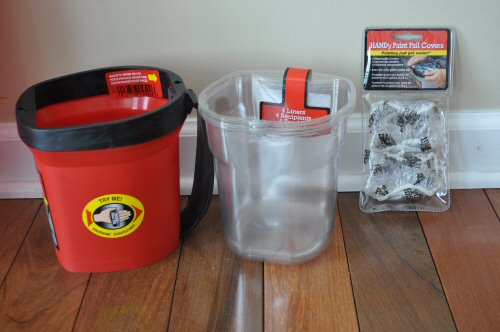
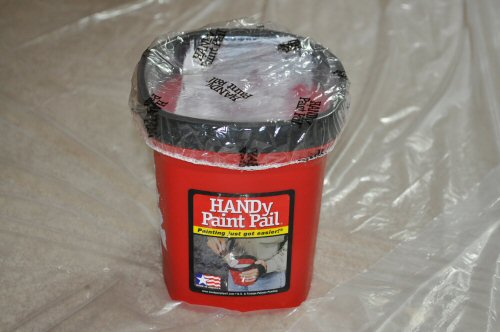
A hand pail, 4 pail liners & 3 pail covers;
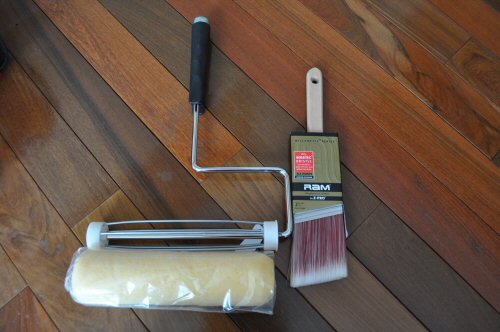
And a 2 1/2 ” brush, a roller & one roller nap.
The Best Feature of This Kit
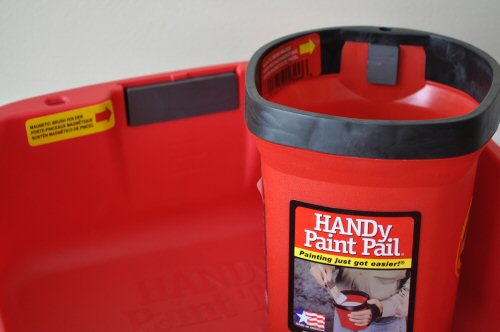
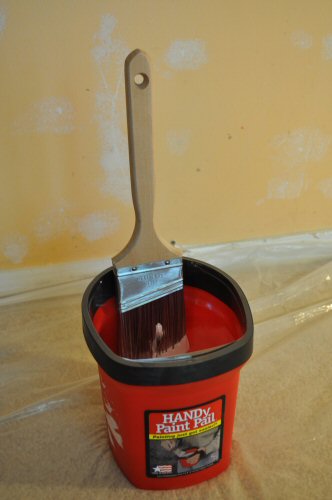
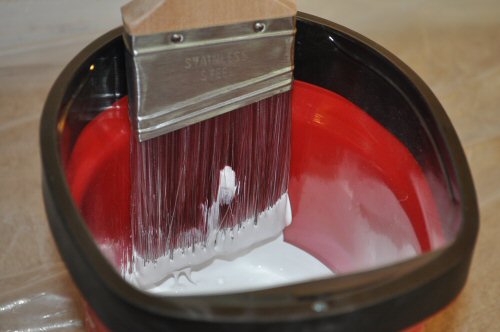
Without question, the best innovation on both the HANDy Paint Tray and the HANDy Paint Pail is the magnetic brush holder on the side of each. Gone are the days of having to find a place to lay the brush temporarily (often resulting in the paint wicking its way to the top of the bristles, causing mess or brush stiffness, later) while you roll or pause for a break. The magnets hold the brush upright, keeping the paint only at the tip where you want it.
Other Great Kit Features
Paint Tray Handles and Deeper-than-Average Basin – Located at both ends of the tray, the handles serve both for ease of portability and for stability (no question that you’re setting the tray down level, preventing sloshing or spills). Meanwhile, the tray itself has a greater volume capacity than many of the other trays on the market.
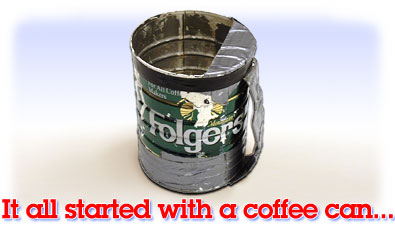
Paint Pail Handle – According to Bercom’s website, the concept of the paint pail was born out of the need to have something to carry around with a small amount of paint, and it originated with a coffee can with an improvised duct-tape-handle, like this one from HANDy Paint’s web site.
photo credit: HANDy Paint
For myself, I can attest to using our porcelain coffee mugs for the same purpose. It’s nice to have something you can slip your whole hand into, to hold the side of the container itself and avoid spilling (no handles) or hand cramps (from gripping a small handle).
The HANDy Paint Pail has a black strap handle on the side, so it holds onto your hand as you hold onto it. Especially great for those times you’re climbing up and down a step stool, cutting in around the ceiling!
Covers for the pail – Like tiny shower caps for the paint pail, the covers keep your paint from drying out when you’re taking a break. Without intending too, I tested my cover for three days. Just didn’t get back to the work over the course of a weekend. And from Friday to Monday, my paint didn’t dry out!
Solid Construction – The tray, pail, brush, and roller are sturdier than many products of their kind on the market. Even the brush, though more of a disposable item, will be around for a while. The tray, pail and roller will most likely last us for the rest of our lives.
100% Recycled Liners – I’m not always inclined to buy liners for my tray, since I feel bad using something plastic once and then throwing it away. So I appreciate that HANDy tray and pail liners are made of 100% recycled (and recyclable) materials. They are certainly convenient at clean-up time, and I like knowing they won’t be swirling out in the ocean or something when I’m done with them.
Not Covered By the Kit
While a good start for a painting project, the HANDy Paint Kit does not include the following items commonly used in a painting project, so you’ll need to pick them up separately:
- Tape
- Drop Clothes
- Extension pole for the roller (for ceiling work or if, like me, you rope in some really short painters to help out)
- Additional brush and nap for roller – Assuming you swing right from one color (like ceiling white) into the other, you’re probably not going to wash out and then immediately reuse the same brush and roller cover (does anyone besides my parents actually re-use roller naps, anyway?!). So you’re going to need to grab a second one of each at the store before you begin.
- Replacement liners for future projects – In praise and fairness of the HANDy Kit, it does include enough liners to cover you for the typical project: two liners for the tray (ceiling color and wall color), and three liners for the pail (ceiling cut-in, wall cut-in, and trim semi-gloss). But when you begin your next project, you’ll need to buy new tray liners and pail liners (a little over $1.00 apiece if you stick with the biodegradable, environmentally-friendly type). Of course, if you don’t mind the cleanup, you can also skip the liners and just wash out the tray and pail themselves after each use.
Overall Impression; It’s a Great Starter Kit!
At a retail price of $40 for the whole kit, the HANDy Paint Kit is a good value over purchasing every item separately, since you would spend:
- Paint tray with magnet – $15
- Paint pail with magnet – $10
- tray liners (come in a pack 3-pack) – $9
- pail liners (come in a 6-pack) – $8
- 4 pail covers – $4
- Roller Frame – $5
- Roller Cover (Nap) – $2-3 apiece
- Brush – $5-15
[$58 + Total]
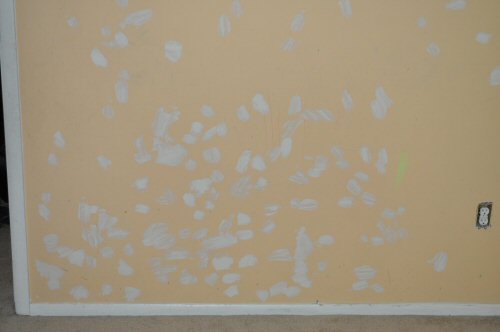
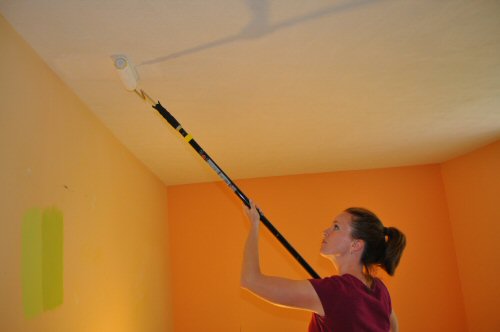
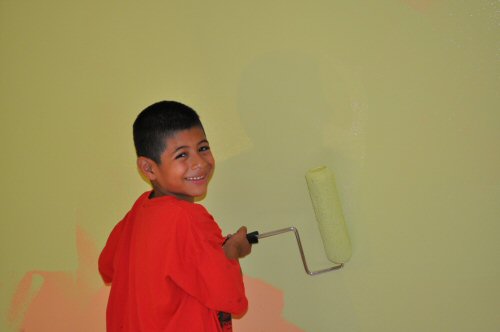
As for the results, you can see the Before and After for yourself!








Gosh, you guys ROCK!
The room don’t look the same. What a great job!
BTW: Cute Little Man too:)
Hehe … Actually, that’s TWO little men. They’re twins, and they are our best little helpers on these projects.
Looks great love all that patch work reminds me of the time I painted my room when I was a kid myself. Always good to get extra hands helping while painting.
Yep, ’cause it keeps them from doing something else WHILE you’re painting… all part of the keep-’em-where-I-can-see-what-they’re-up-to plan. 🙂
Love the colors
Thanks for the review. I have seen the paint pail at the store, but hadn’t tried it out. I liked the idea of the handle but the magnet “takes it to a whole ‘nother level” (read in an Emeril Legassie accent!) I have always just borrowed my FIL’s paint trays so now I can get one of my very own!
Another way to “recycle” liners is to use two plastic grocery bags turned inside out and taped to the tray. Two fit perfectly on traditional trays, so not sure about the deep HANDy tray. When you are done with the color just untape, turn right-side-out, and discard.
Disclaimer: This can be a little messy to remove, but who doesn’t have a “bag of bags” in their kitchen or pantry? Make sure you turn them inside out or the store printing on the bags will end up in your paint and on your walls!
“Word.” on the bag of bags. I try to recycle them at Giant when my bag fills up, but this is a great idea, too! Thanks for the tip!