
Thank you so much for joining us at One Project Closer for this post on DIY Modern Dining Table Plans and Tutorial. This post is sponsored by the Home Depot Prospective Campaign. Post may also contain affiliate links. Opinions (and typos) are 100% our own, and we appreciate you supporting our site in order to continue to provide free content to our readers.
I told Jocie that if love were measured in dining room tables, she should feel the abundance. This is, in fact, the second dining room table that I’ve built, and the first one turned out great (IMO). So why build another? The first table missed the mark in that Jocie’s vision and my execution didn’t quite coincide. That probably never happens to you, right? This time around we made sure to better communicate, and I’m pleased to say, the table is absolutely amazing.
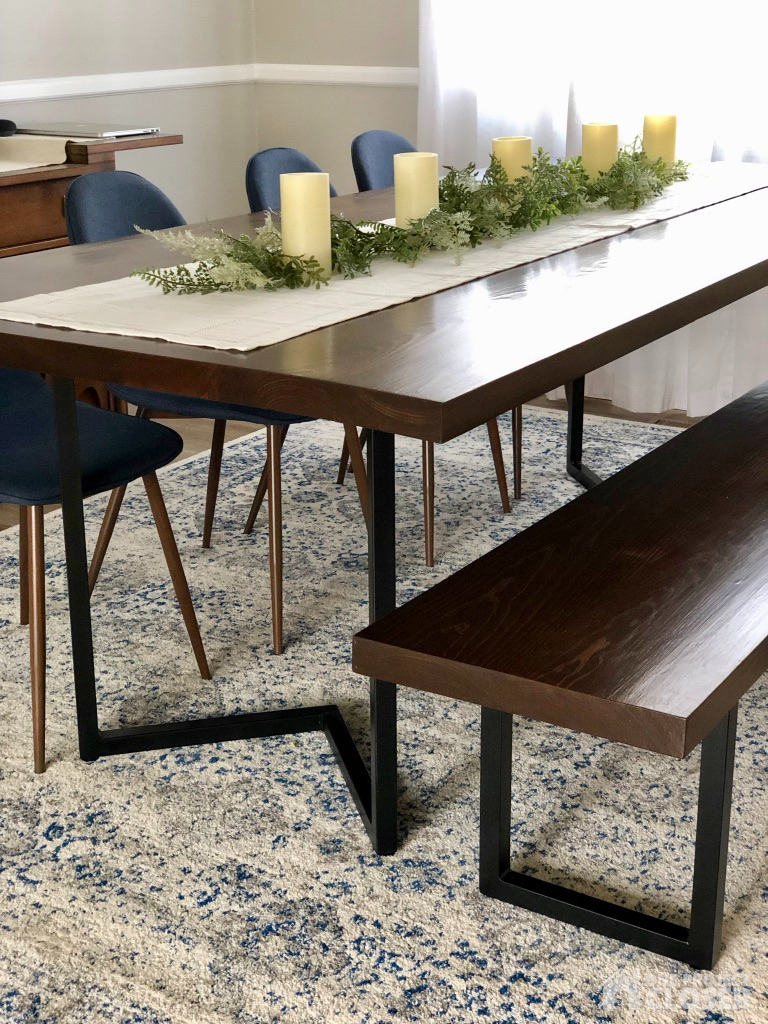
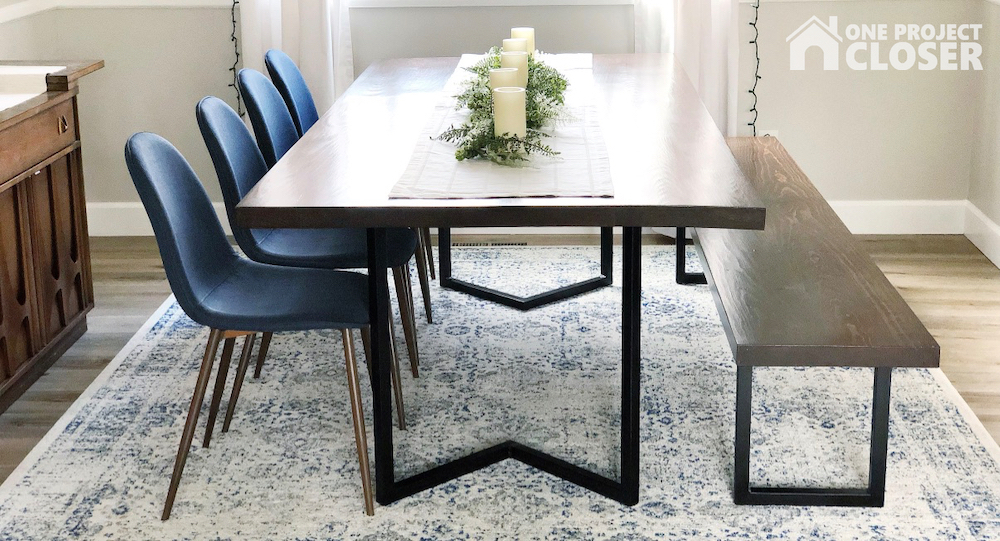
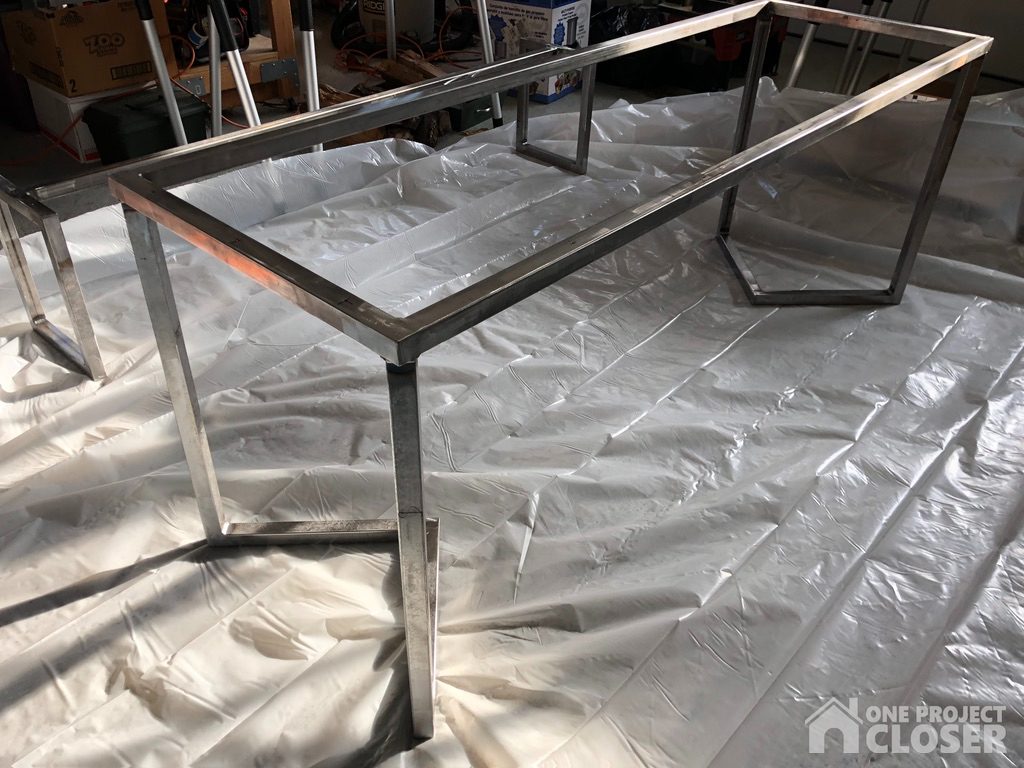
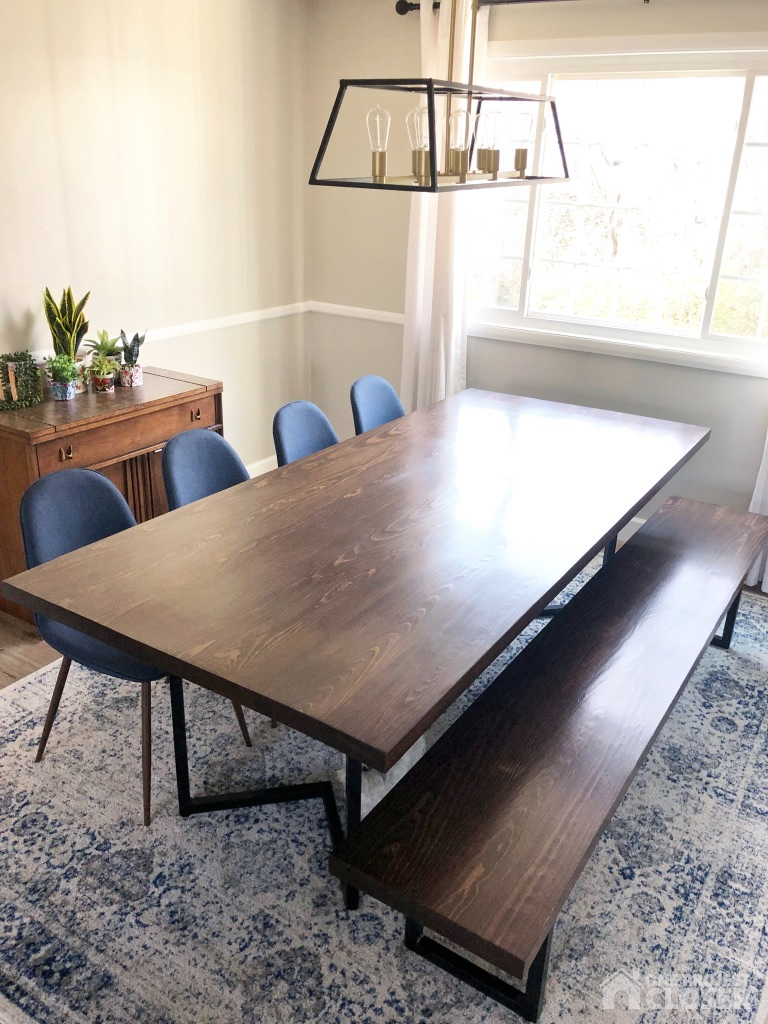
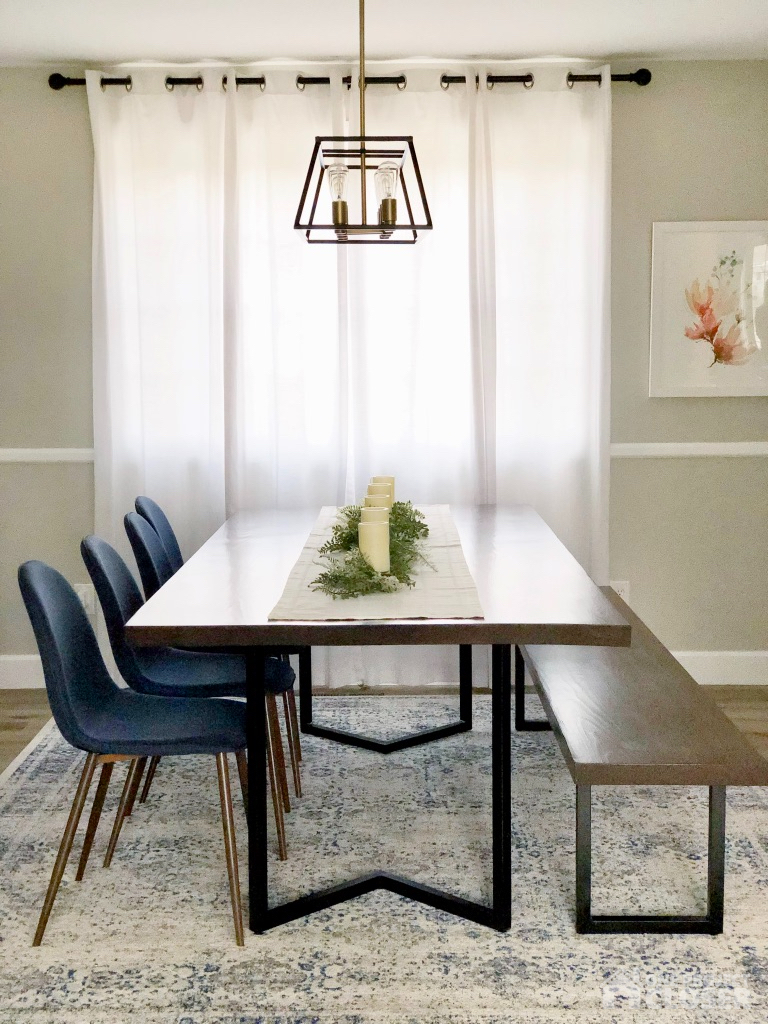
You can see from the pictures that the table is a bit more modern with a black metal frame and a much thicker top. We opted for a bench along one side and four chairs on the other. This dining table is also a good bit bigger. We were able to host family over Christmas, and we really packed a lot of people at the table.
Now building this table isn’t for everyone. It requires a good bit of skill and some tools that not everyone will have on hand. I tagged my brother-in-law for the welding, and I had the shop at the lumber yard do a bit of work to make my life easier. Read on to learn how we put this table together.
How to Build a Wood + Steel Modern Dining Table
Make Time: A week plus finish time
Cost: $800
Difficulty Level: Advanced
Materials Needed:
- 8/4 x 8′ pine boards for the tabletop and bench
- 1-1/4″ square steel tube
- Threaded feet (sometimes called elevator bolts), corresponding nuts
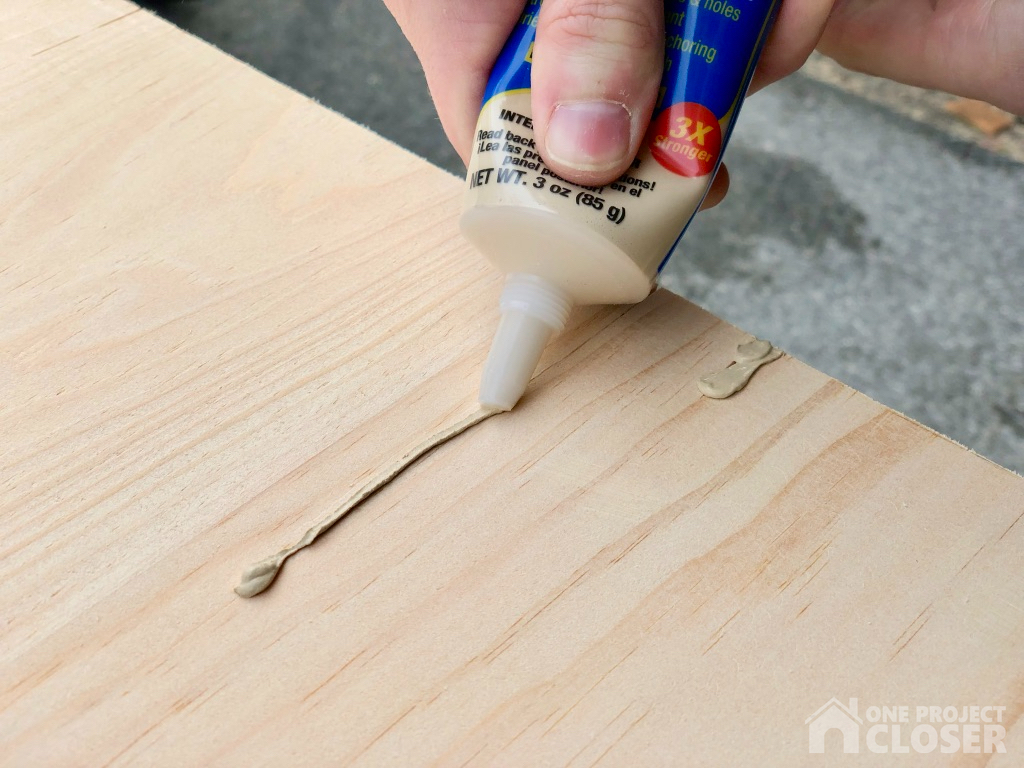
- Wood biscuits
- Wood glue
- 2″ wood screws
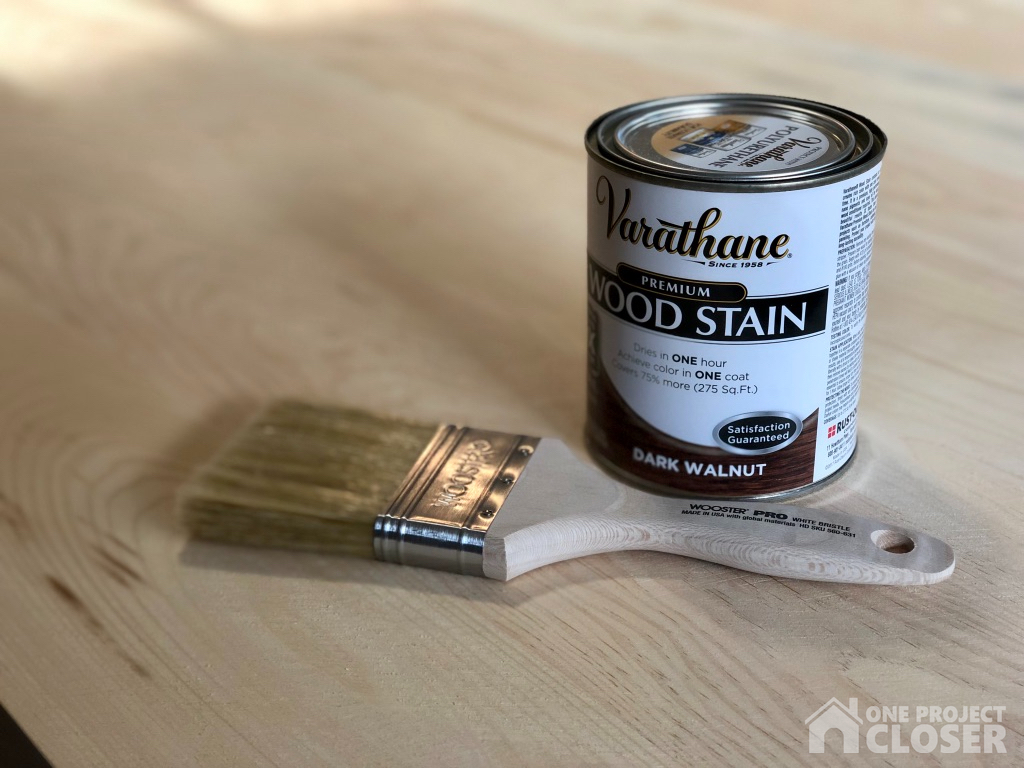
- Stain and polyurethane
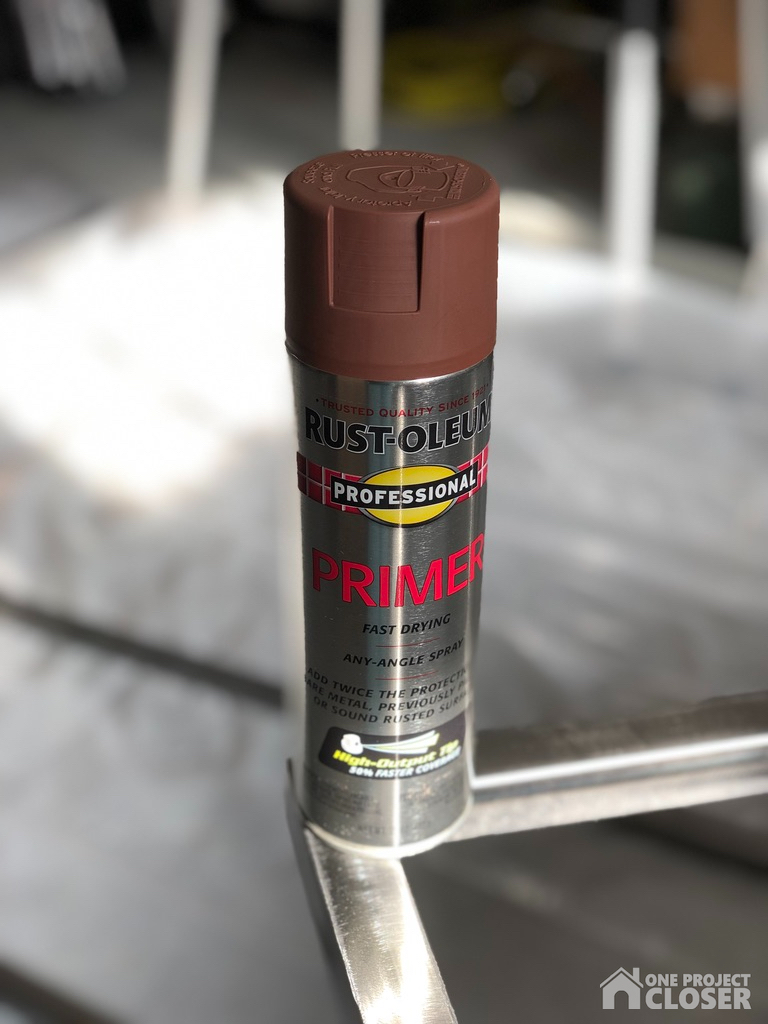
- Metal primer and paint
Be sure to check out our amazing Home Depot Coupons before you buy to save yourself some money!
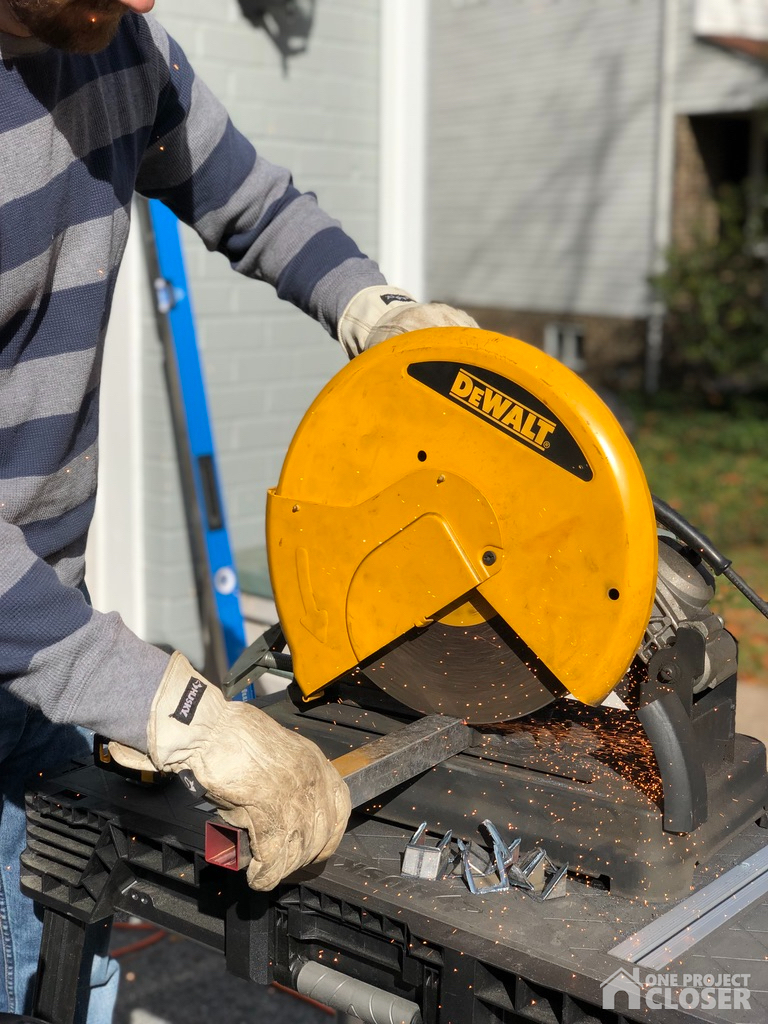
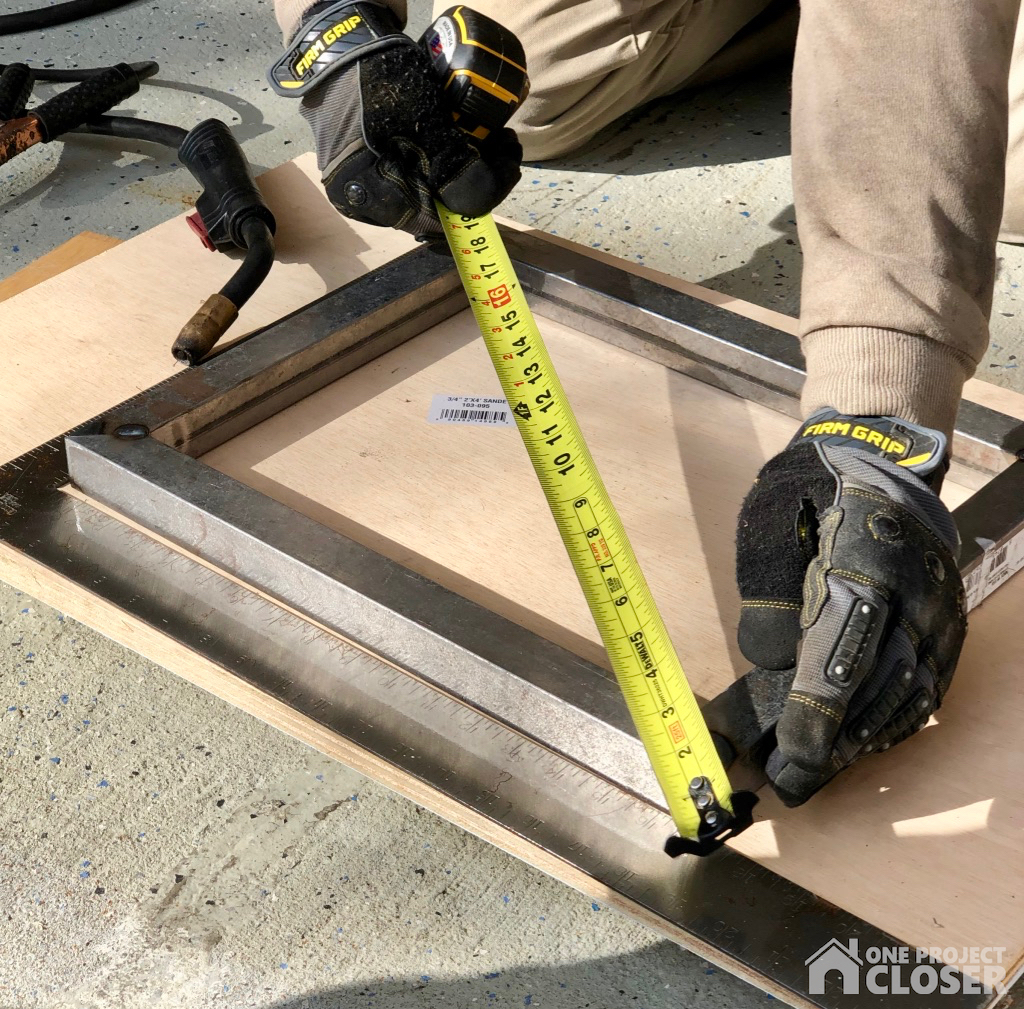
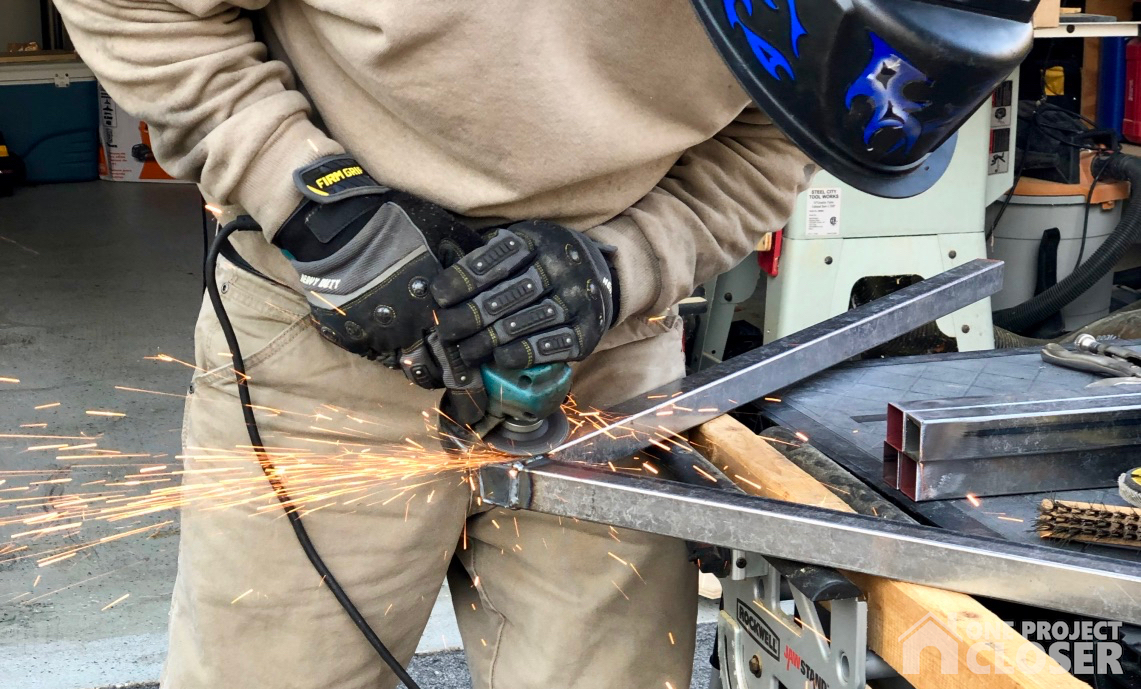
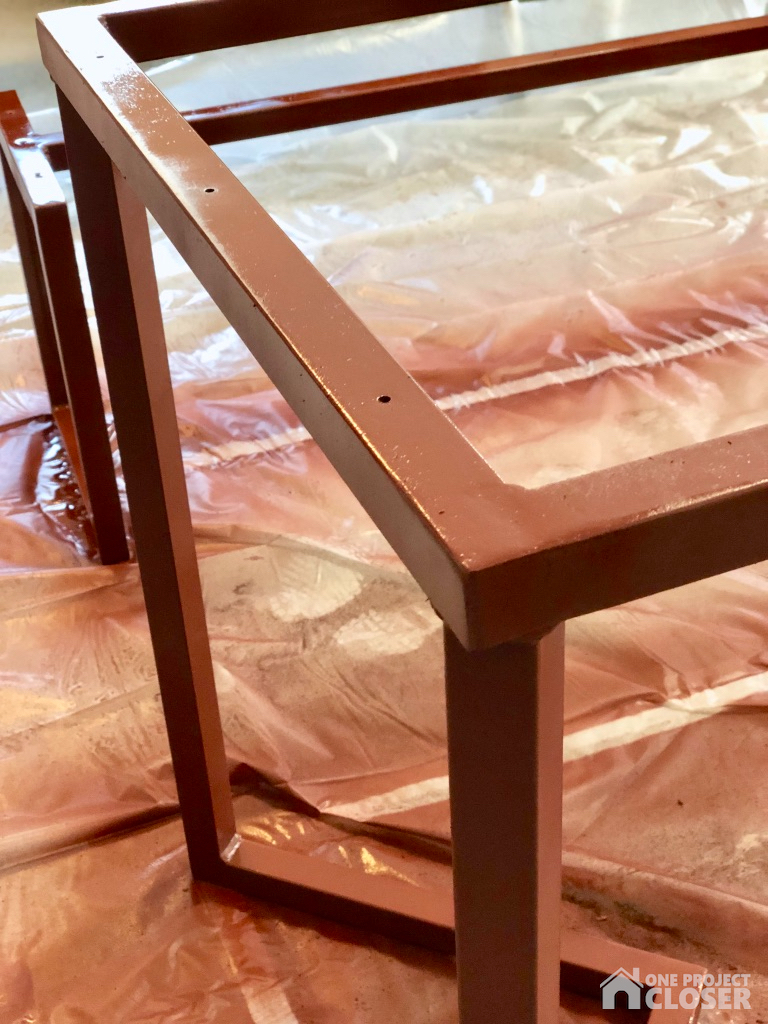
STEP ONE – Building the metal frame
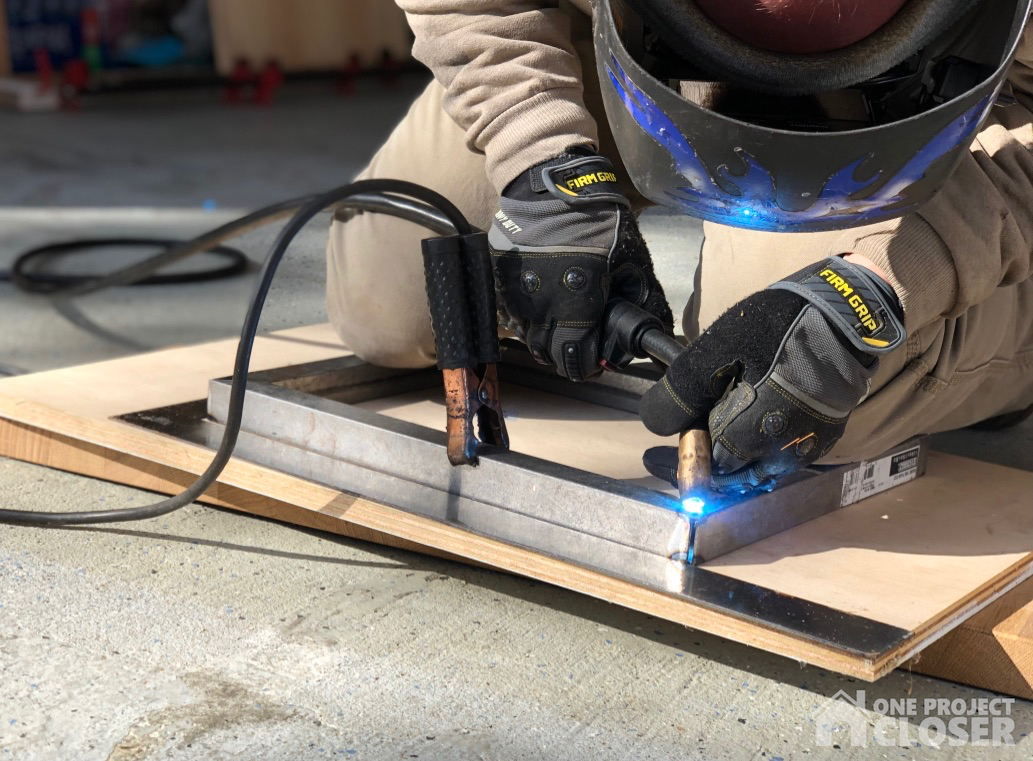
The table and bench frame are made with 1-1/4″ square steel tube. My brother-in-law is awesome, and he brought over an arc welder, chop saw, grinder and all the necessary safety gear. It took us a solid day to weld all the joints. We would often setup the joint, tack it in place, and recheck all our angles before actually welding the joint. After that, we would clean up the weld with a cut-off wheel and flap disc.

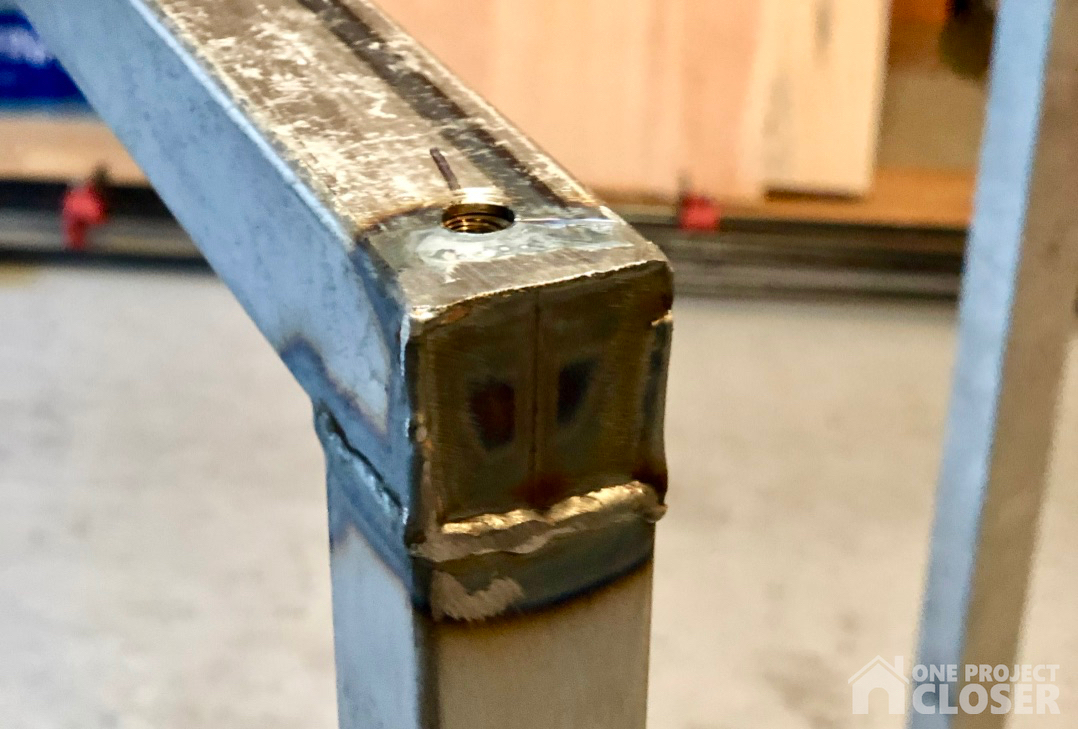
For the feet of the table and bench, we added a nut inside the tube for the adjustable feet. This is great because the floor may not be perfectly flat. I also predrilled holes for later to secure the wood to the frame.
STEP TWO – Cutting biscuits and glue up
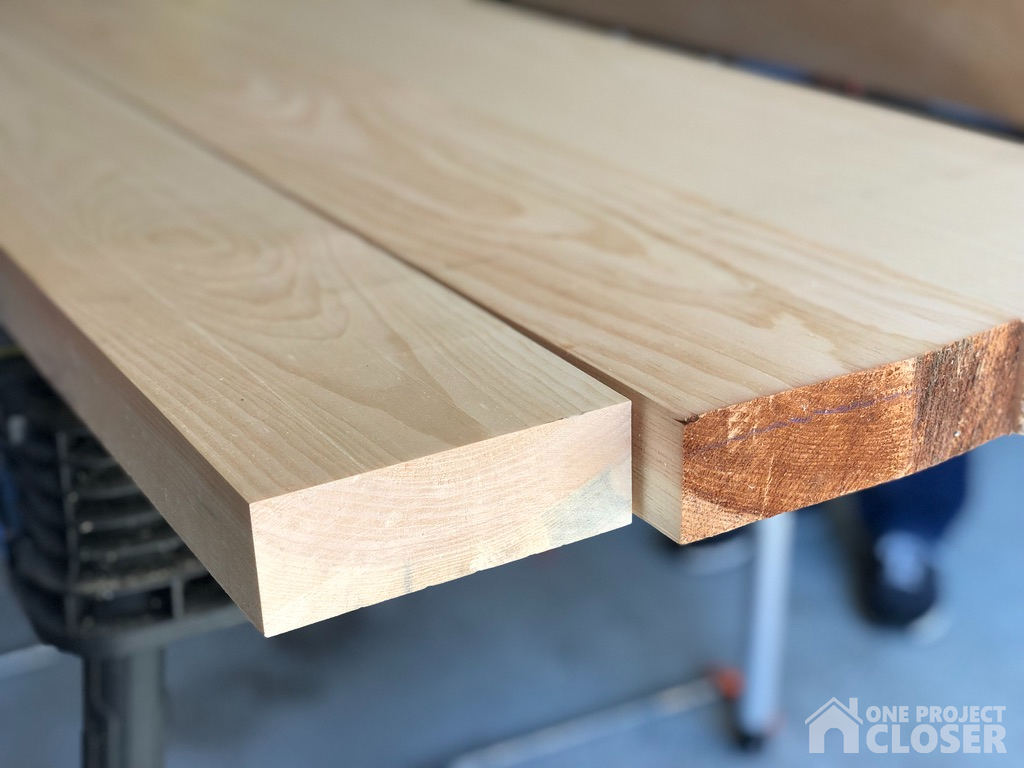
For this project, Jocie wanted the top about 2″ thick, and you won’t find boards that thick at the local big box store. I headed over to a local lumber yard and the selection was amazing. The mahogany was especially beautiful, and it was especially expensive. I wasn’t prepared to fork over $1400 just for the lumber so I went with white pine. It’s much softer but also cheaper. I did splurge by having the lumber yard run the boards through a drum sander and a joiner which made the glue up a lot easier.
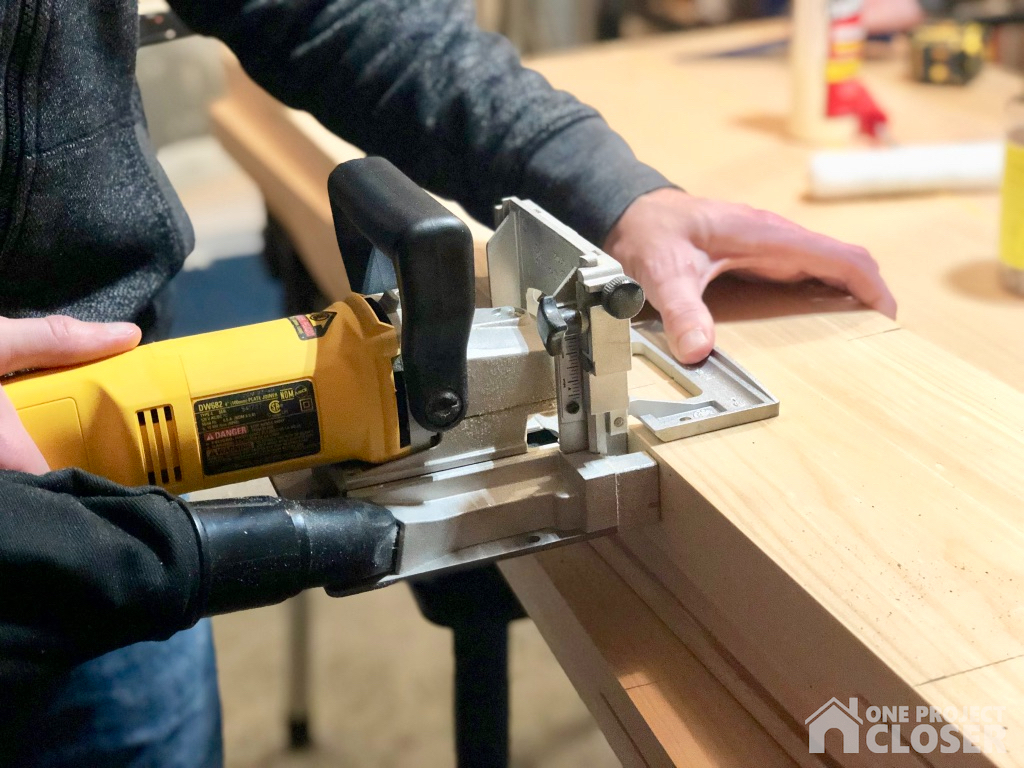
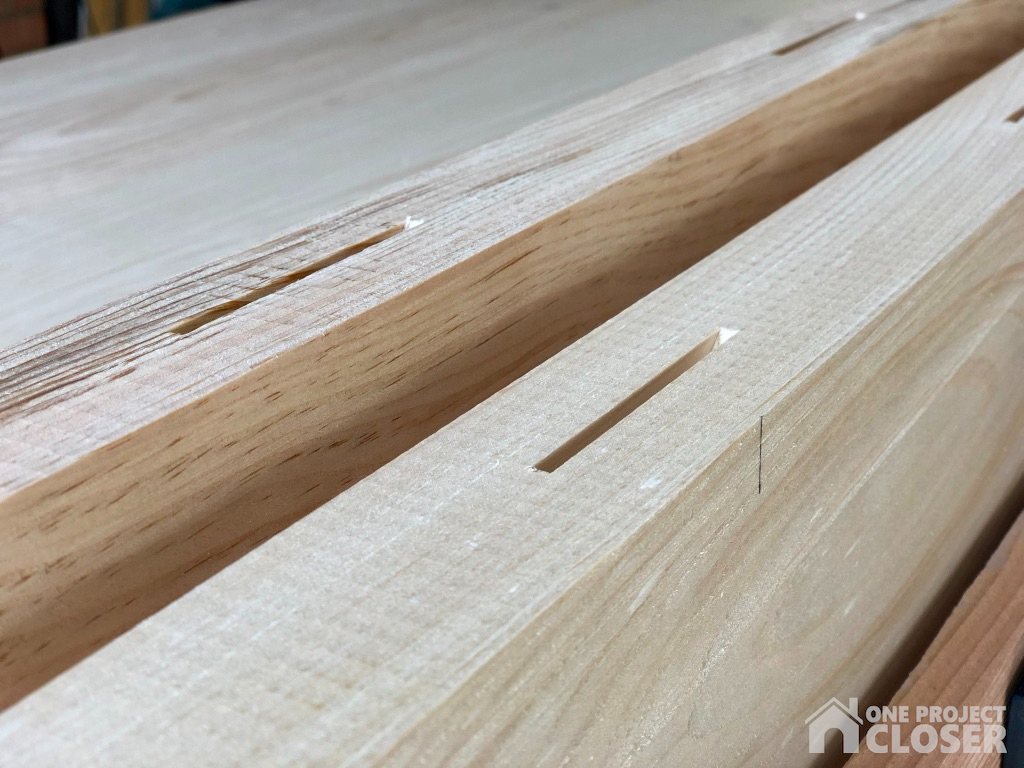
I used my DeWalt biscuit jointer to cut #20 sized biscuits on all the boards including the benchtop.
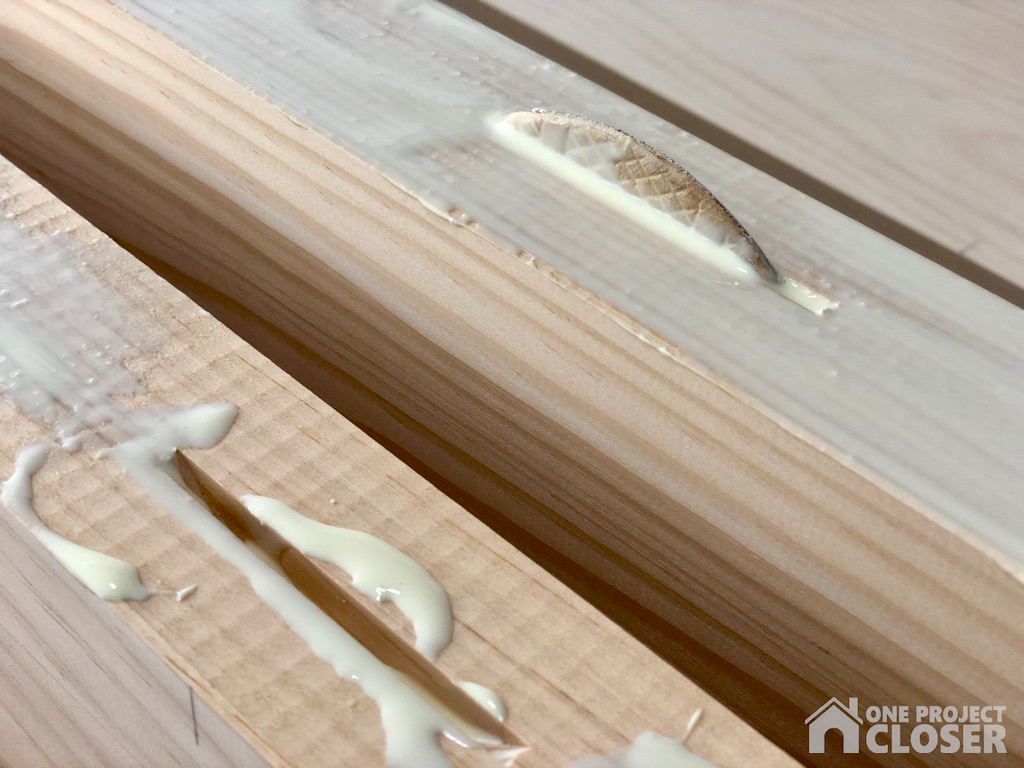
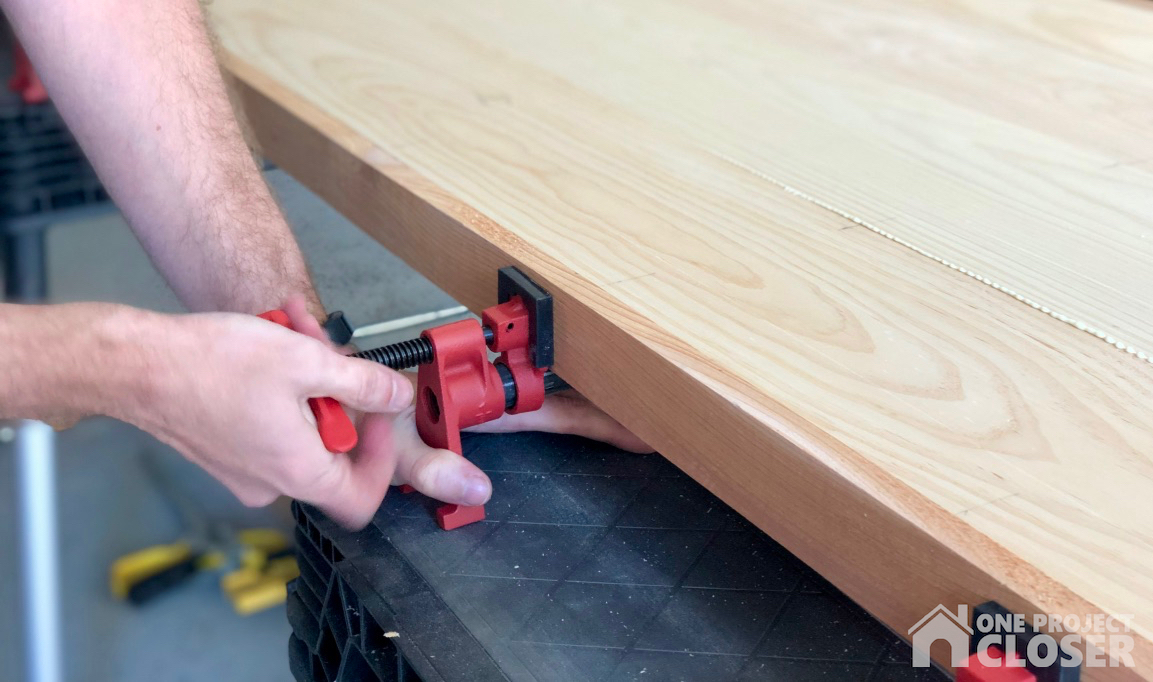
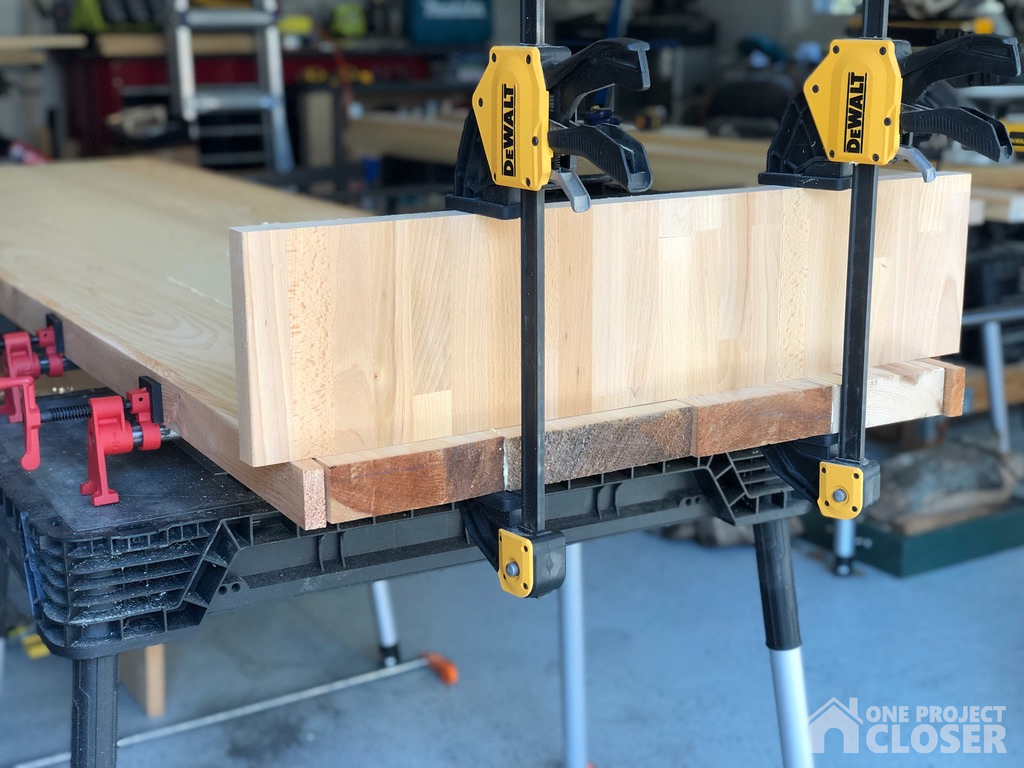
I opted to glue a few boards at a time to make better use of some of my shorter clamps. And I always used some scrap wood to protect the edges. I also used some other scrap to make sure the boards stayed flat.
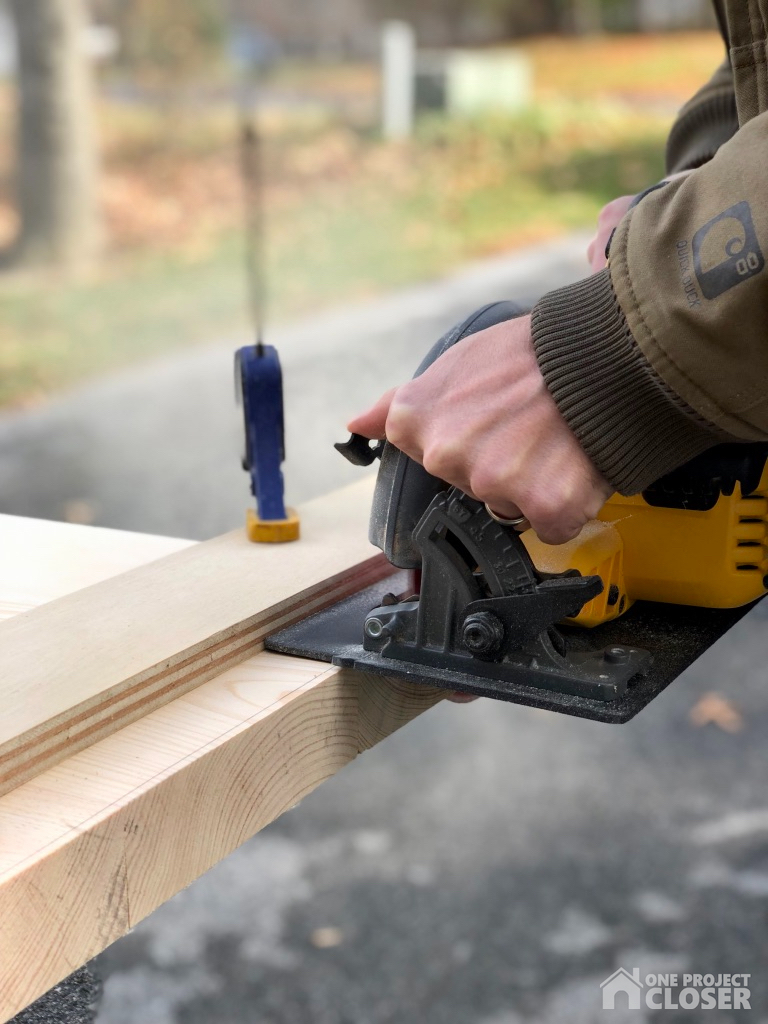
After the gluing was completed, I trimmed off the ends with a circular saw.
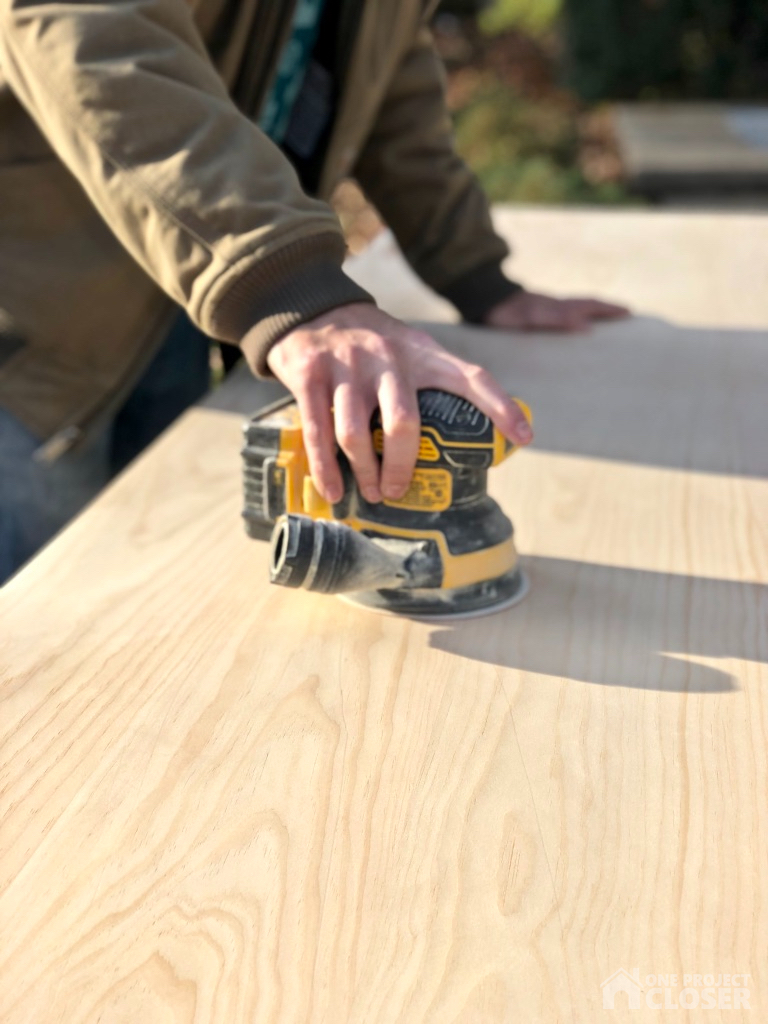
STEP THREE – Sanding
It took a lot of sanding before I was happy with the face of the tabletop and benchtop. I started with an aggressive belt sanding to remove dried glue. After that, I used my orbital sander working through 80, 100, and 150 grit sanding discs.
It was about this time that I realized there was a crack in one of the boards, and I’m not sure how it got there. Regardless, I used a bow tie on the underside and a little touch up with wood filler.
STEP FOUR – Staining and Painting
Jocie handled most of the staining, painting the metal frame and even sealing the wood. She started with a metal primer spray paint and followed that up with a oil-based paint in our sprayer.

Before staining, it’s important that the wood is clean and completely free of dust. I broke out the new NXT shop vac from Ridgid.

This vac is great. It’s a 16 gallon, wet/dry shop vac. The large wheels and handle make it easy to maneuver, and Ridgid includes all the accessories you’d expect with on-board storage. Combined with a 6.5 peak HP motor, this shop vac delivers rugged construction and lasting durability.
Jocie used a dark walnut stain, and the pine soaked it up. After it dried, she applied about 6 coats of polyeurethane to seal and protect the wood.

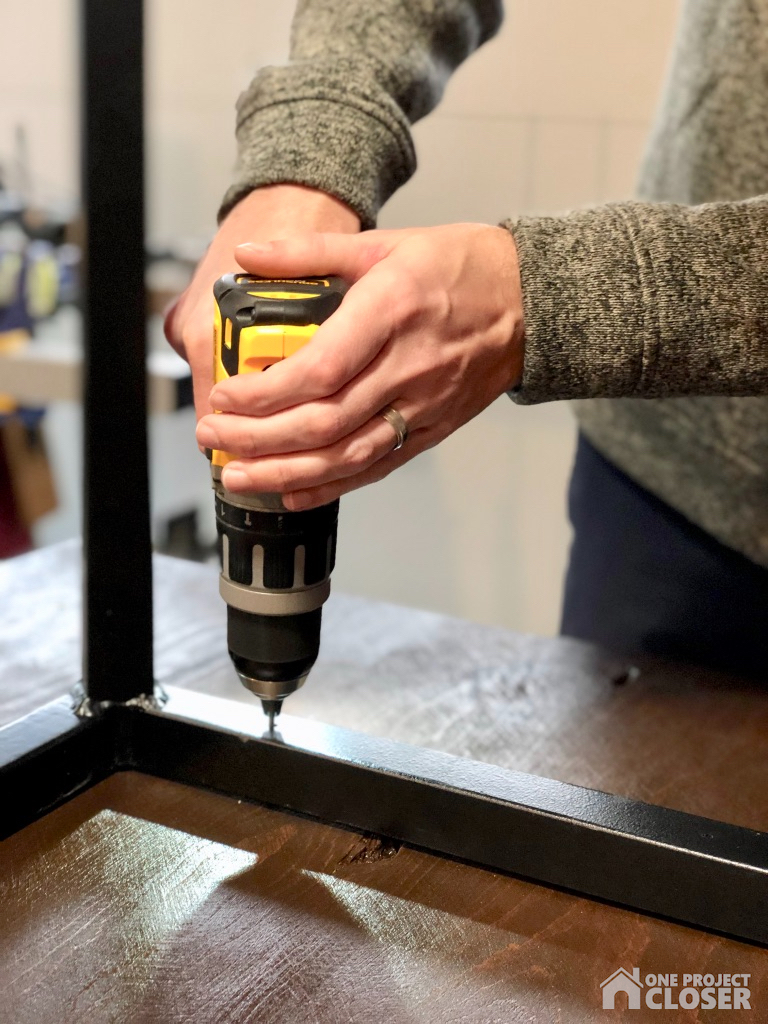
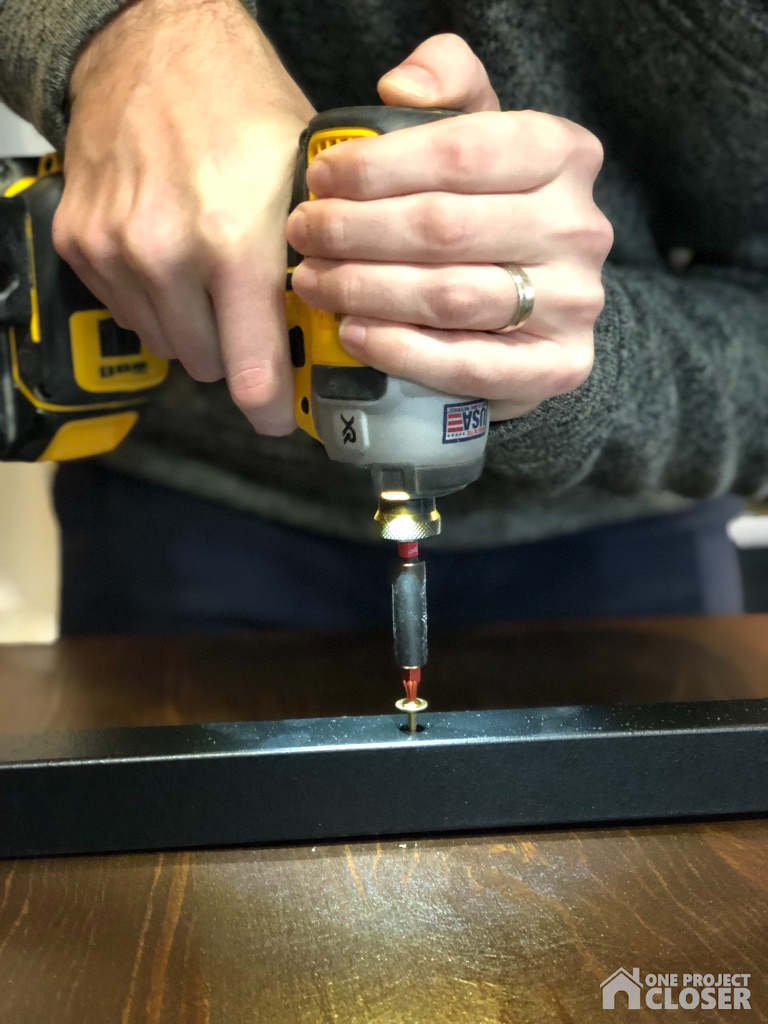
STEP FIVE – Assembly
At this point, all that was left was attaching the tops to the frames. I used long wood screws with a wide head. Hats off to Jocie who helped me carry this beast inside (without dropping it!).
I love the way the table looks, and I love how many people can sit together. We’ve already had a blast hosting and playing board games. Fingers-crossed this is the last table I build for some time. 🙂

This is absolutely beautiful! Your hard work shows. When you make your next table, I would be happy to take this as a hand-me-down!
Wow! This is gorgeous! What a great idea! You have a lot of skill to build it
Do you happen to have the dimensions for your frame? Wife really likes this design. Great work Bud!