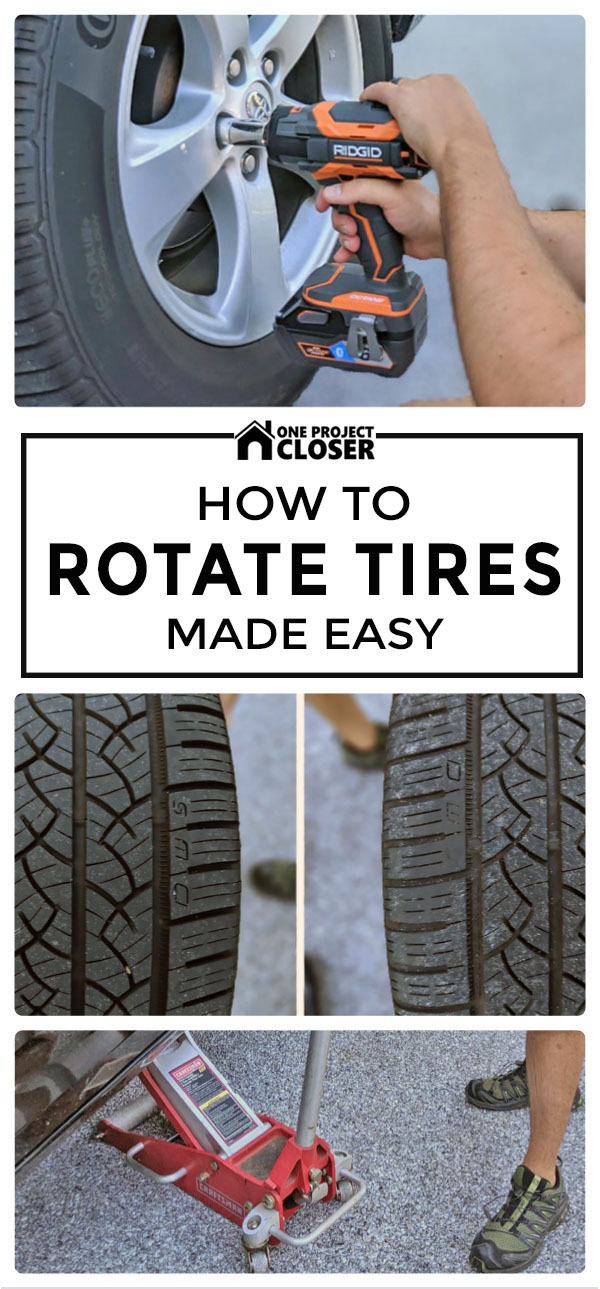
DIY Tire Rotation Made Easy: Featuring Ridgid’s Octane Brushless 1/2″ Impact Wrench
July 31, 2019 | by Aaron (email) |Thank you so much for joining us at One Project Closer for this tutorial on DIY Tire Rotation Made Easy. This post is sponsored by the Home Depot Prospective Campaign. Post may also contain affiliate links. Opinions (and typos) are 100% our own, and we appreciate you supporting our site in order to continue to provide free content to our readers.
Tire rotation is among the many regularly scheduled maintenance tasks that accompany vehicle ownership and is made easier with the use of an impact wrench. While not particularly expensive to have done by an auto shop, knowing how to rotate your own tires is a valuable skill that also translates into knowing how to change a flat tire should you ever be stranded. Tires should be rotated every 6 months or roughly every 5,000 to 8,000 miles, whichever comes first. Refer to your owner’s manual for a more specific number tailored to your car.
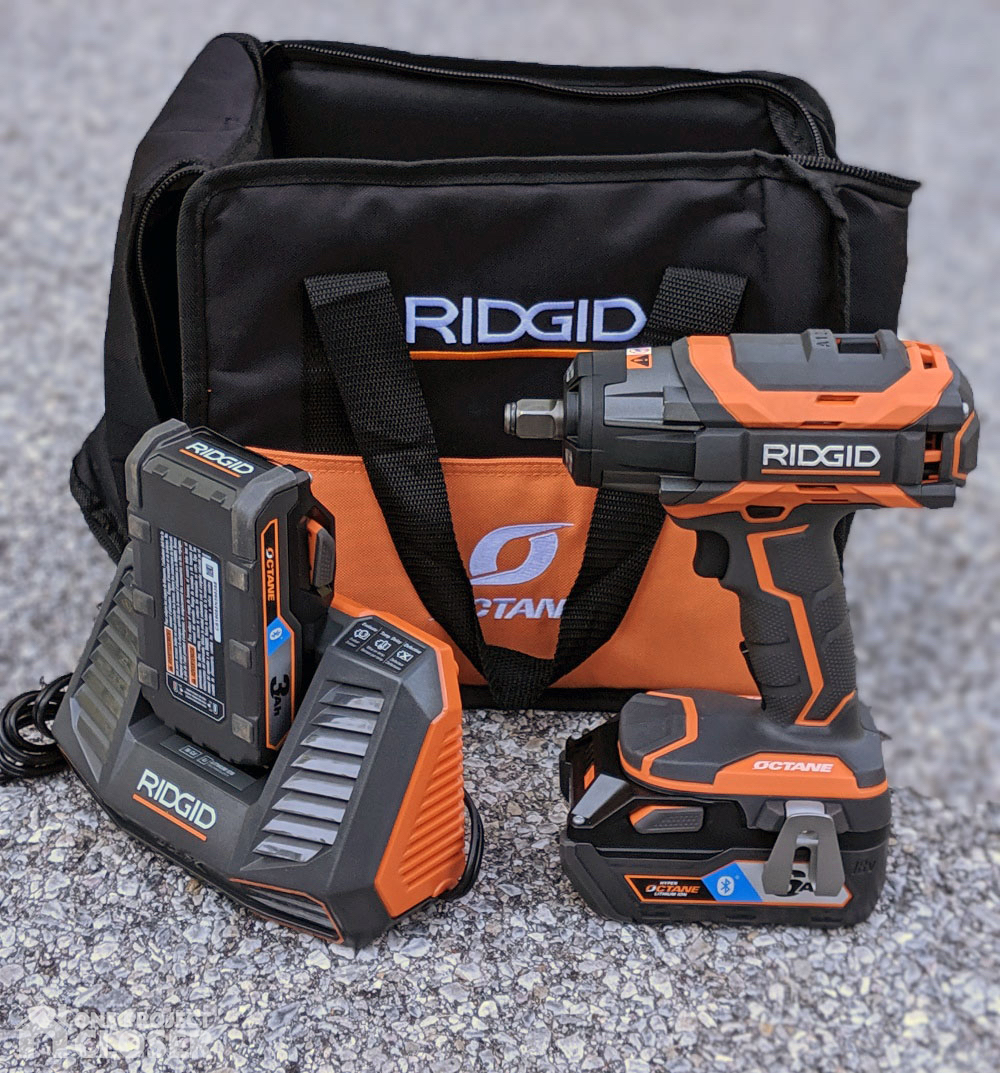
The idea of not having to drag out the air compressor and air hose to power a pneumatic impact wrench is highly appealing to anyone who regularly works on cars. When the Home Depot sent me to my local store to check out their BOGO promotion on their new Ridgid Octane batteries I snagged their new Ridgid Octane Brushless 1/2″ Impact Wrench as my free tool option.
Tools Needed
- Ridgid Octane Brushless 1/2″ Impact Wrench
- Heavy Duty Floor Jack
- Jack Stands
- Torque Wrench
- 21mm 1/2″ drive socket (your vehicle will vary)
- Wheel Lock Key (included with your vehicle and usually stored near the onboard emergency jack)
Step 1: Rotation Pattern
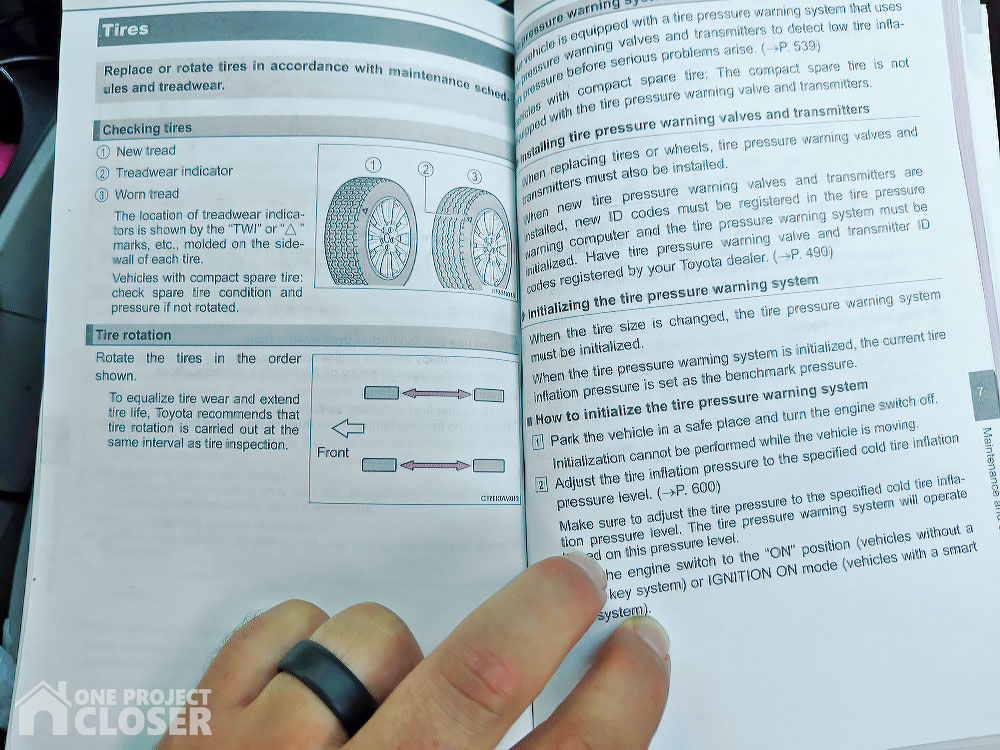
The first step in changing or rotating tires is to check the recommended tire rotation pattern in your owner’s manual. Most cars will rotate front to back.
Step 2: Jack Up the Vehicle
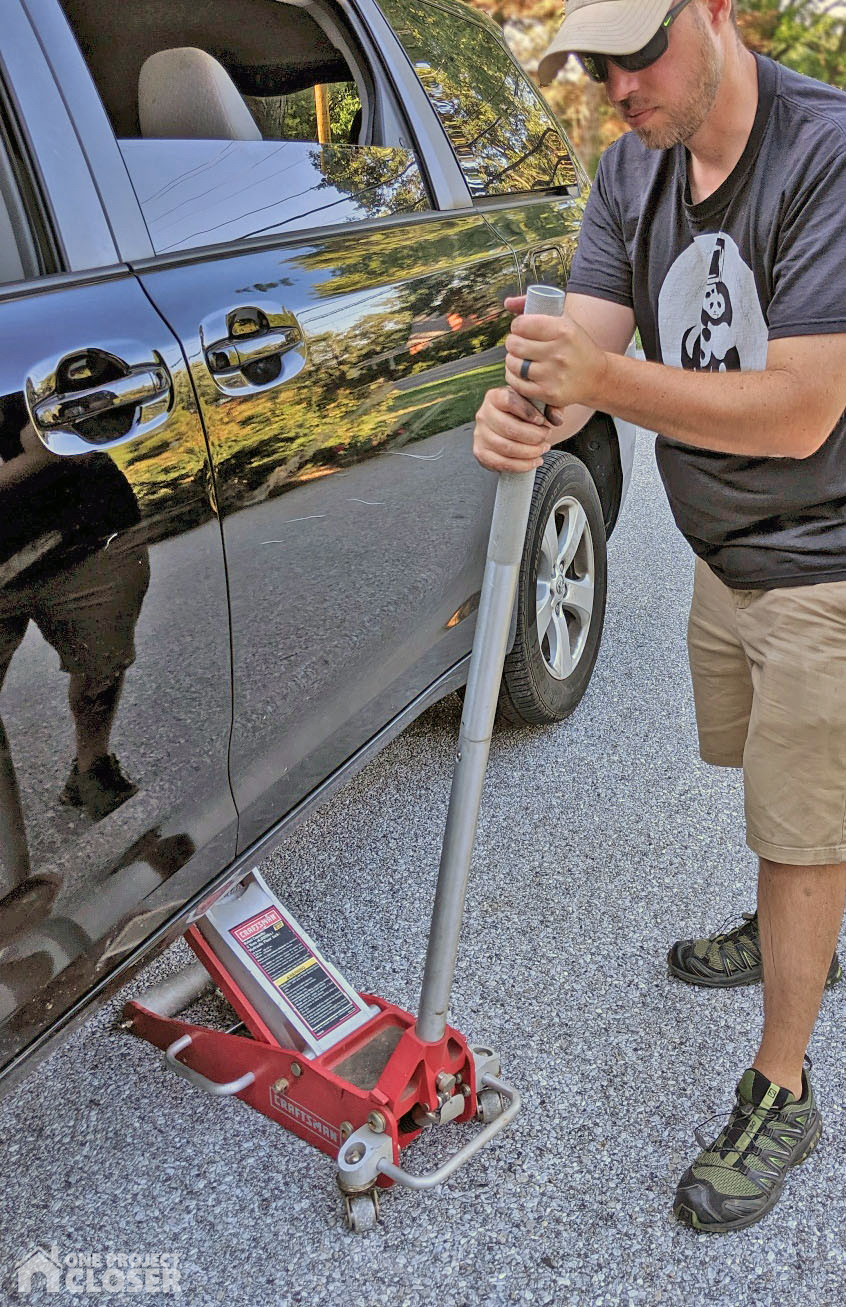
Safely jack up the car enough so the wheels are slightly off of the ground. If you peek under the side of your vehicle you will find designated spots where the chassis is reinforced to accept the pad of a jack. If you have trouble locating them refer to your owner’s manual under changing a spare tire. They will look something like the picture below. Make sure to put your vehicle’s emergency brake on and chock the wheels (I use an old brick) on the opposite side of the car. In this case, my tires rotate front to back so I will be jacking up one side of the van at a time. Once you’ve achieved a good jacked height, make sure to put a pair of jack stands under at least one other jack point as a safety precaution should the jack fail.

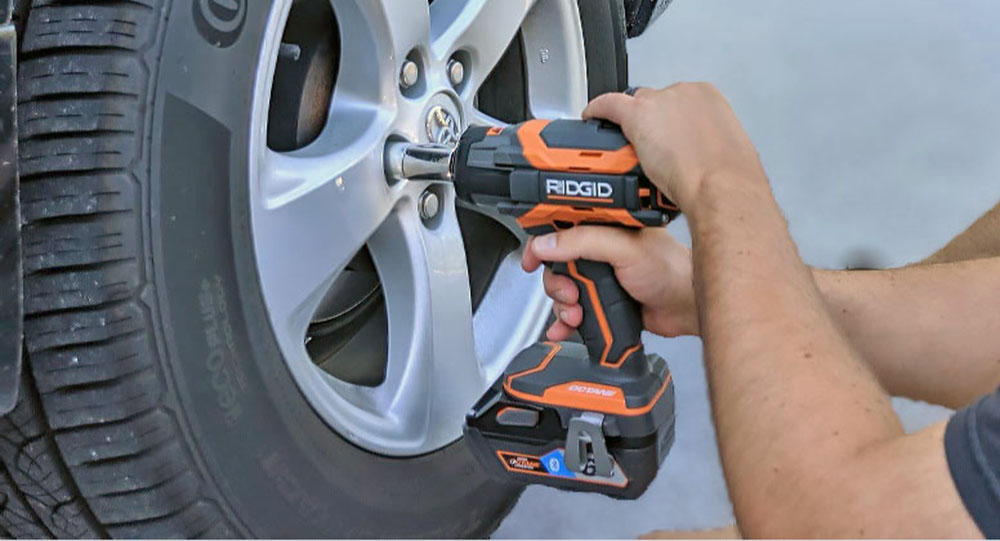
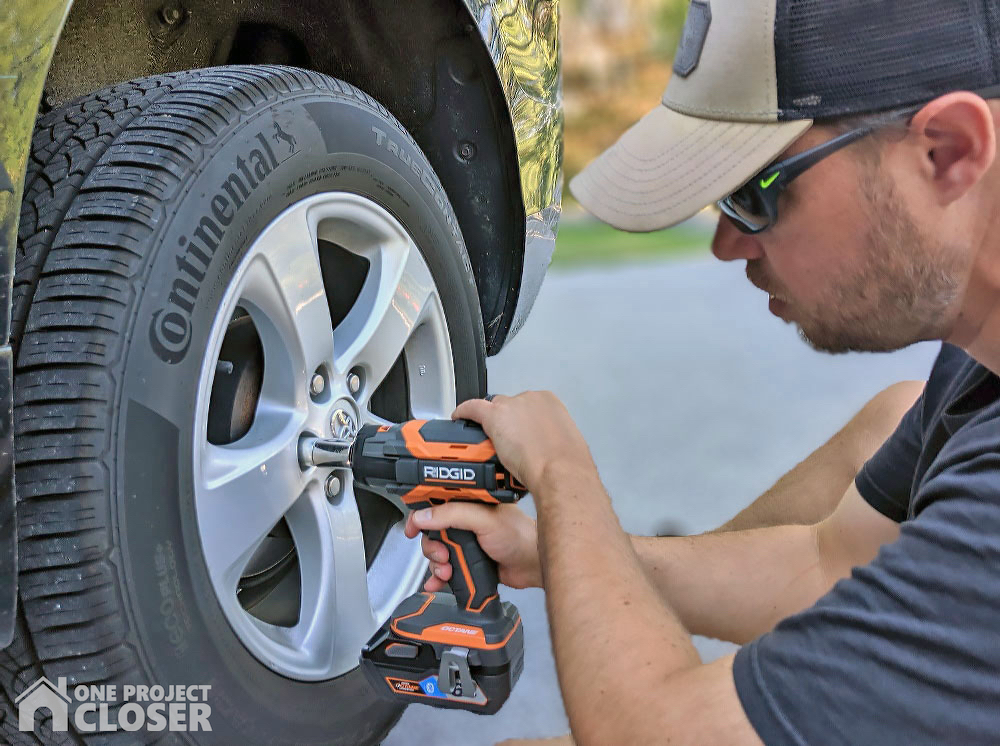
Step 3: Remove the Lug Nuts
This is where my new Ridgid Octane Impact Wrench is a real game-changer. It certainly makes this a DIY Tire Rotation Made Easy!Previously, I had to either first loosen the lug nuts slightly before jacking up the van, then remove them by hand with a wrench, or drag out a huge air compressor and air hose to use a pneumatic impact wrench. The new Ridgid Octane cordless tools and batteries from Home Depot are smart and “talk” to each other so the battery delivers the correct power to whatever tool it’s plugged into. This powerful combination results in a maximum of 620 ft./lbs. of reverse torque and 485 ft./lbs. of forward torque. The Octane tools will still work with the old-style batteries, but will not be quite as powerful or long-lasting.
*This is where the wheel lock key is needed. One of the lug nuts will have a special head that the key fits into that you can then use the socket on to remove it.
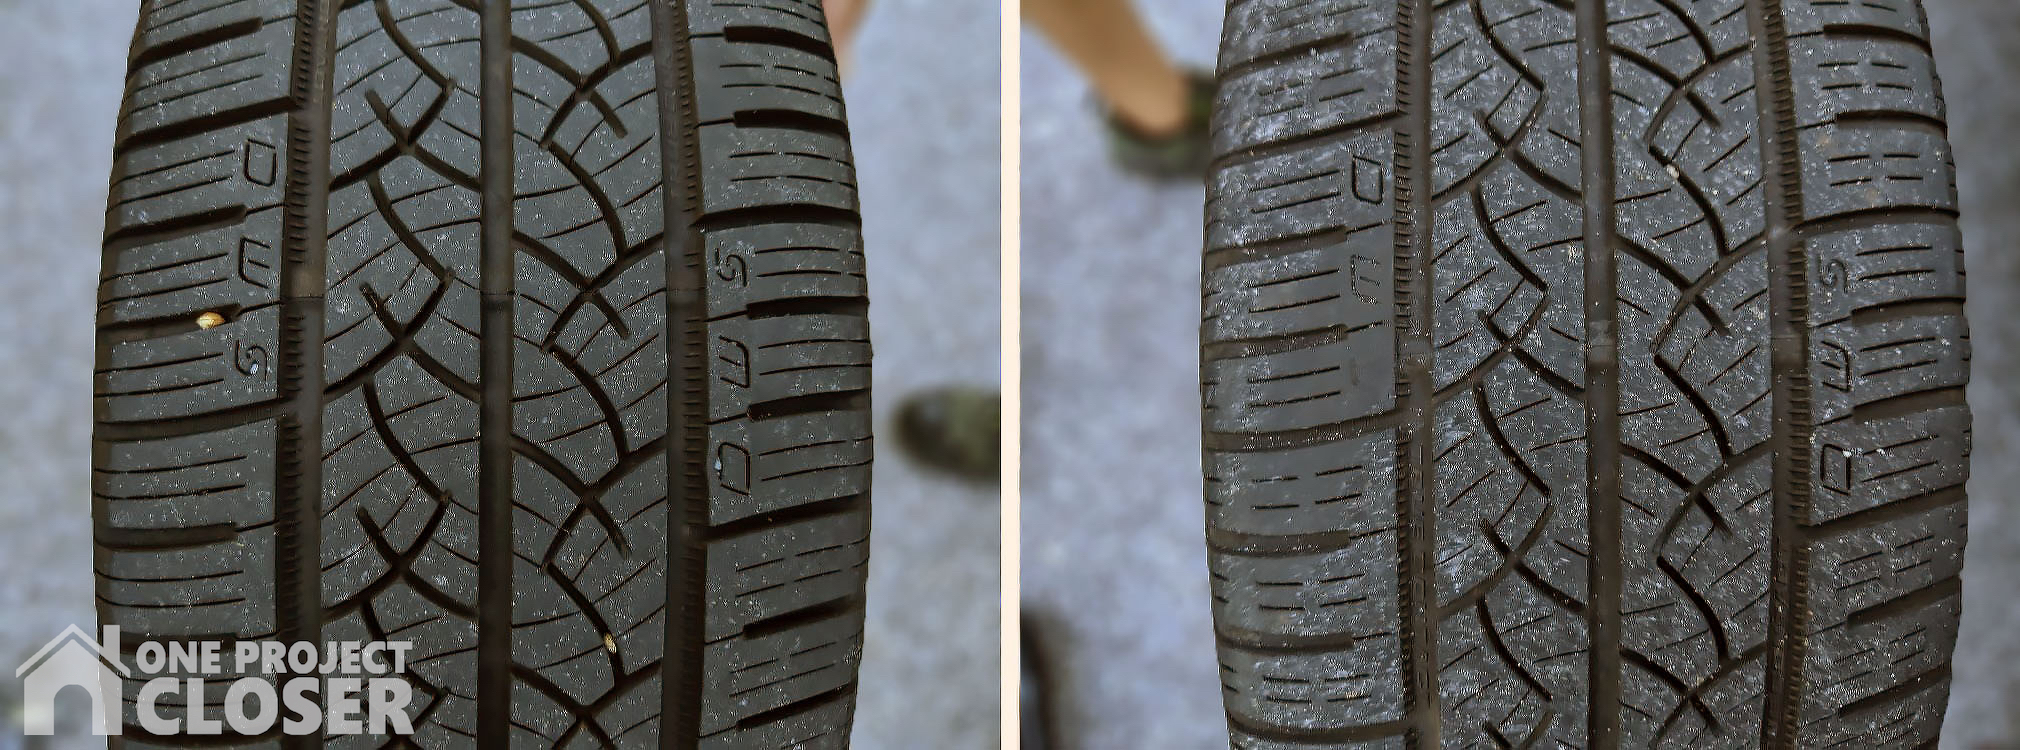
Here you can see the difference in the wear on the tires. I actually waited a little longer than I should have to do this so the difference is starker than it might be otherwise. Rotating the tires regularly will distribute this wear evenly and extend the life of your tires.
*Check the tire pressure too. Running incorrect tire pressure can lead to increased tread wear and loss of fuel economy. The correct tire pressure is easily located on the pillar inside the driver’s side door.
Step 4: Reinstall the Wheels
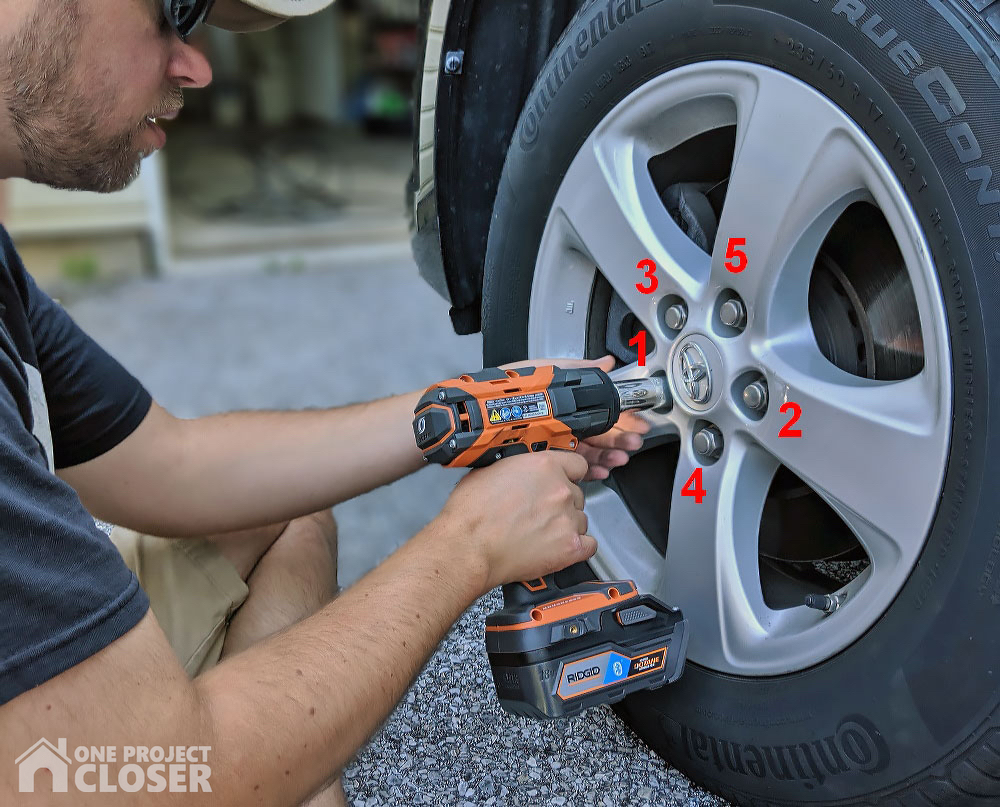
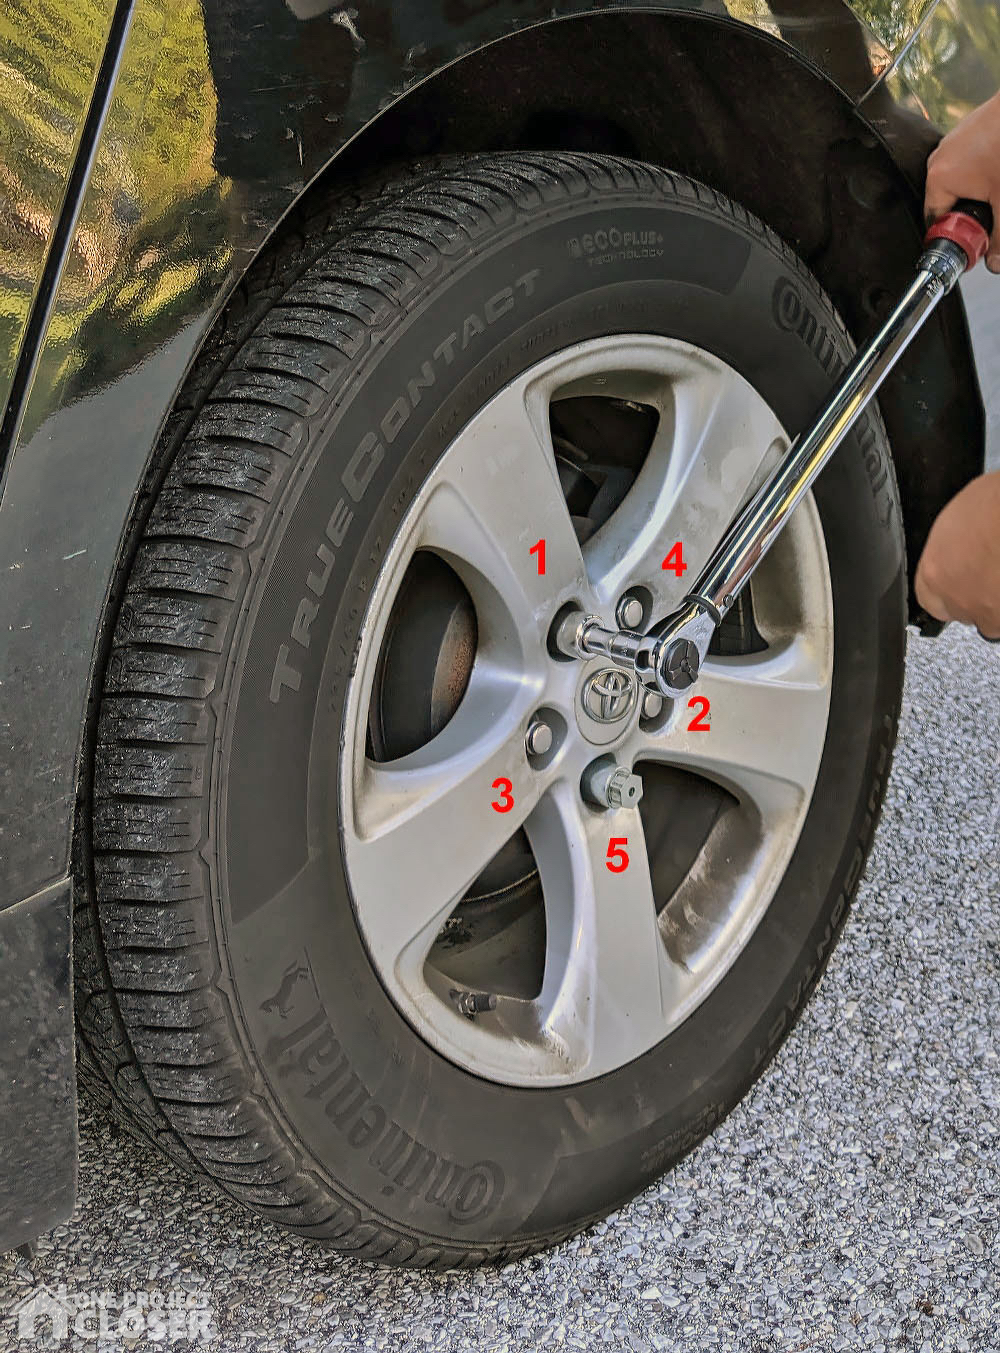
Before reinstalling the wheels it’s a good idea to peek at the brake wear as well. I’m glad I did this go around as after almost 50k miles our van is in need of some front brakes soon. Begin by aligning the holes and placing the wheel on the lug nuts. Then one by one, hand tighten all of the lug nuts as far as you can get them on. Make sure to revisit them all once as the first few will usually go on a little further once they are all on. Next, switch to the impact wrench at the lowest speed. Gently feather the trigger until the lug nuts are just snug and no further. This is to avoid over-torquing (tightening) the lug nuts. It’s also VERY important to tighten the lug nuts in a star pattern to assure even distribution of force so the wheel sits perfectly on the hub. You can see the numbered order in the picture below. It doesn’t matter where you start and stop, so long as you follow a star pattern.
Step 5: Lower the Vehicle and Torque the Lug Nuts
Once both wheels are reinstalled with the lug nuts gently snugged, the jack stands can be removed the vehicle slowly lowered from the jack. Now you will need to set a 1/2″ impact wrench to roughly 80-90 ft./lbs. of torque. Again, your owner’s manual will give you an exact number if you prefer. It’s important to apply Following the same star pattern as before tighten the lug nuts on both wheels until the dialed torque is achieved. Make sure to double-check all of the lug nuts a second time. Repeat steps 1-5 on the other side and you’re all done!
Where To Buy?
The Ridgid Octane Brushless 1/2″ Drive Torque Wrench is available exclusively at the Home Depot for $149 as a bare tool. I snagged mine as a part of their current BOGO promotion where if you purchase an Octane Battery Starter Kit (charger, 3 Ah, and 6Ah batteries) for $179 and you can pick from a variety of free Octane bare tools. Be sure to check out our amazing Home Depot Coupons before you buy to save yourself some money!
Pin For Later
Appreciate this tutorial on DIY Tire Rotation Made Easy and want to save it for later or share with your friends? Pin it!