
Months before we started putting together our workshop, I came across a very simple idea for making a wooden beer tote. I’ve never delved deeply into woodworking, and this tote seemed like a great place to start. Now that our shop is up and running, I decided to try my hand at building one.
If you’re looking for a great beginner’s woodworking project, this tote is a great place to start. It’s simple, can be completed in just a few hours, and can add a rustic look to any space.
The original concept for this tote came from a user at LumberJocks; you can see the details he provided here. The tote consists of four sides, a bottom, and a rope handle. I deviated from the original template a little bit because I couldn’t find some materials, and I think my design is simpler.
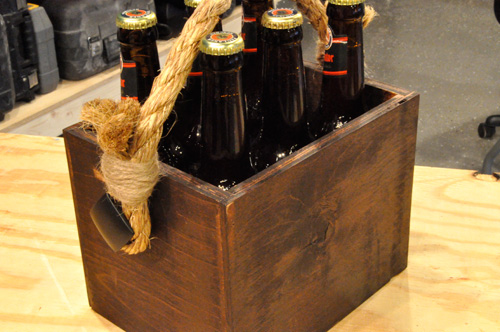
Step 1: Purchase All Required Materials
I went to my local Lowe’s and picked up all the materials for this project except for the spare Romex. Altogether the tote cost about $25 to build. If you’re interested in building multiple totes, the cost per unit can be decreased by buying full sheets of plywood, which are less expensive per square foot than the 2×2 sheets I purchased.
- Wood glue
- Twine
- 2′ Manilla rope
- Cabinet door knobs
- 1/2″ Birch Plywood (sides – 2×2 sheet)
- 1/4″ Birch Plywood (bottom – 2×2 sheet)
- Minwax stain
- Spare Romex

Step 2: Cut the Plywood for the Sides and Bottom
Both pieces of Birch plywood came in 2 foot square sections, and I needed to cut them down to size with my table saw (for longer cuts) and miter saw (for shorter cuts). Here are the dimensions:
1/2″ Birch
- (2) 6-1/8″ X 6-1/2″ for the short sides
- (2) 8-5/8″ X 6-1/2″ for the long sides
1/4″ Birch
- (1) 6-1/8″ X 8-1/8″ for the bottom
My numbers differ from the LumberJock template, because I used 1/2″ plywood instead of the suggested 3/4,” and because I chose not to add the divider insert.
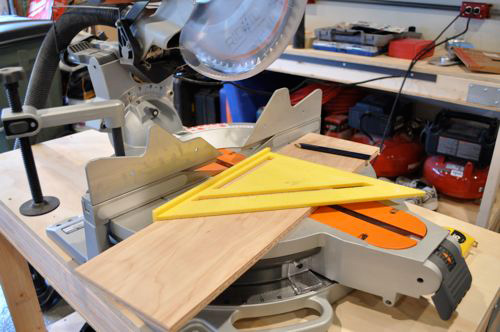
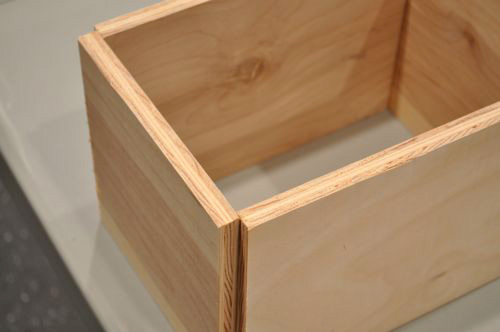
Step 3: Route the Rabbet and Dadoes
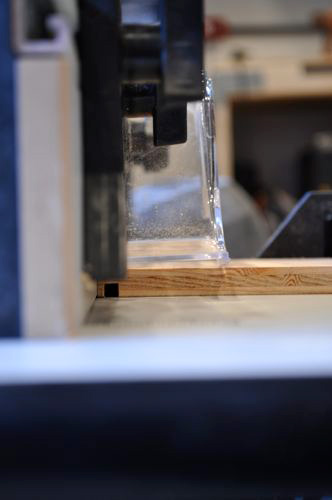
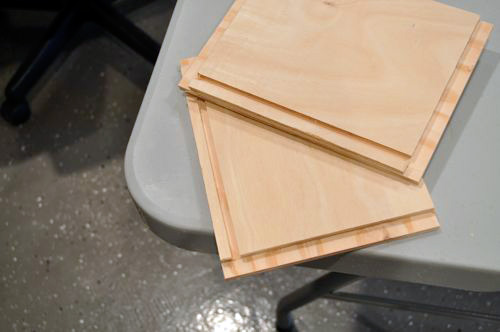
There are many different ways to form wood joints. For this tote, I used rabbet joints at the corners and a groove joint to secure the bottom. Both of these can be made using a router with a straight bit or a table saw using the appropriate dado blades. Either way, the result is a moderately strong joint.
I used our SKIL RAS900 Router Table with a 1/2″ straight flute bit for the rabbets, and a 1/4″ straight flute bit for the grooves. These bits route a flat groove out of the surface of the wood. After setting up the router, I tested everything on a piece of scrap wood to make minor tweaks and ensure I would achieve the expected cut.
Tip: Routing is somewhat of a trial-and-error science. If you can, always use a spare piece of wood to test the router setup after each bit or height change prior to using it on your final pieces.
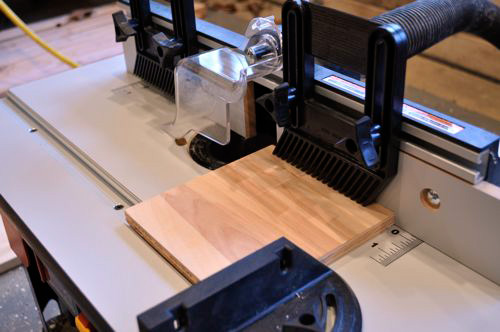
The bottom groove is located 1/2″ away from the bottom on each piece.
Step 4: Glue and Clamp the Sides and Bottom
After making all the necessary cuts, I put the pieces together to see how they fit, and I ended up shaving off a blade’s width from the bottom piece.
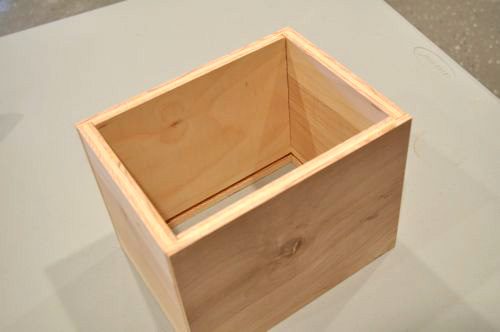
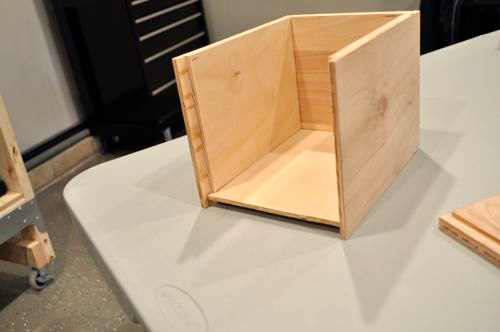
Next, I glued everything together and clamped it all in place, wiping away excess with a damp paper towel.
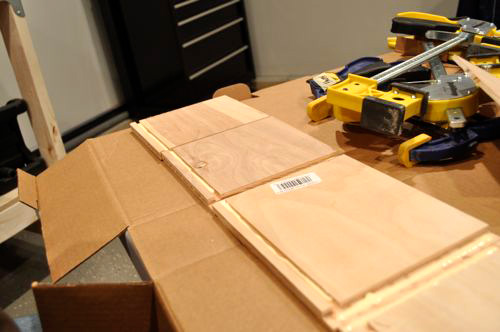
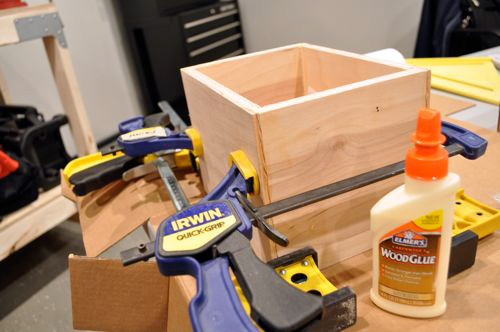
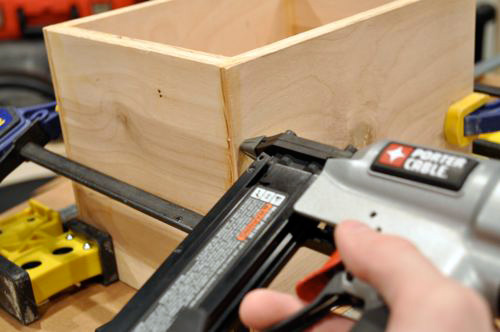
While it was drying, I put in a few pin nails at the corners for good measure.
Step 5: Sand, Prepare Knob Holes, and Stain the Tote (If Desired)
The next day, I took off all the clamps and was pleased to find that everything felt solid. My tote had very slight gaps at two of the corners, and I believe they would have been avoided if I used a few more clamps.
I used our Rockwell Sonicrafter to sand everything until it was nice and smooth. Sanding also eliminated any slight misalignment/imperfections at the corners.

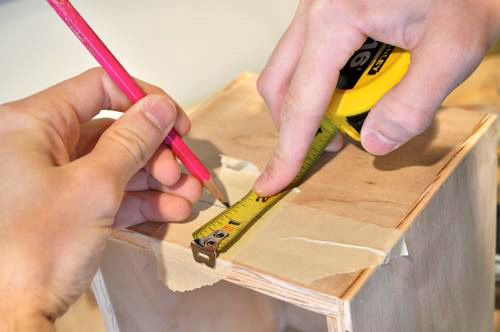
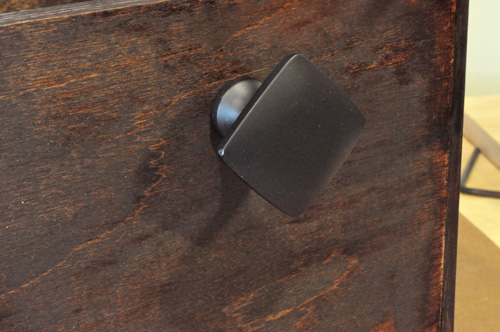
At this point, I marked and drilled the holes for the knobs using masking tape to protect the wood and help prevent tear-out.
The stain I chose was Minwax Red Mahogany 225, and I let it dry overnight.
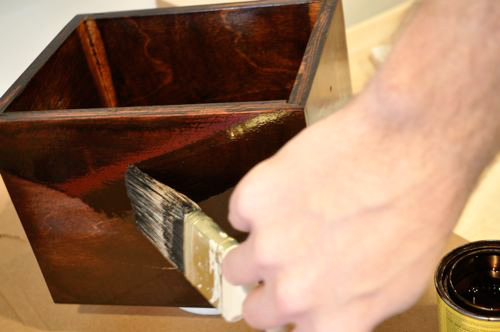
Step 6: Install The Rope Handle
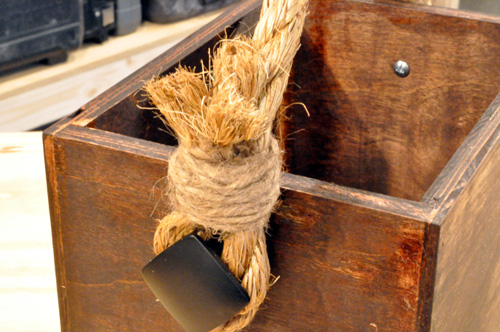
The thing that really gives this tote some character is the manilla rope handle. My original plan was to use the eye splice knots like the guy from LumberJocks. I abandoned this idea after finding out how intricate those knots are, and eventually decided to secure the manilla rope with black wire from some spare Romex.
The knob is what you’d expect to see on a kitchen cabinet, and I actually needed to use my linemen’s to cut the screw length down a little.
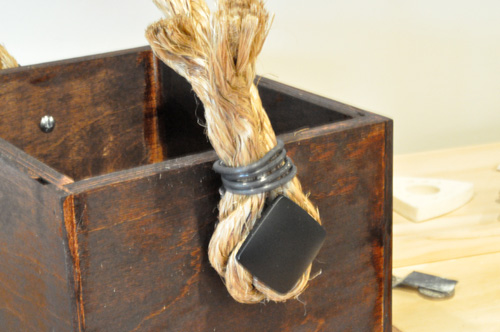
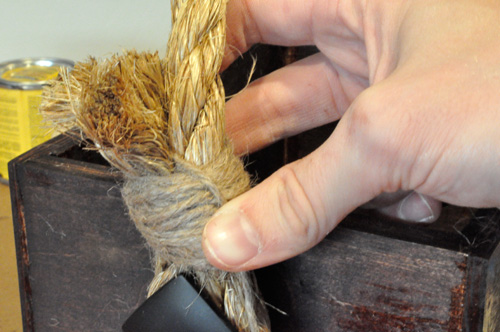
I concealed the wire by wrapping twine around it and tucking the end underneath.
Final Pictures
I think this was a successful venture into woodworking. The tote looks good and a six-pack of beer fits very snugly. What do you think?


Shared on the following cool sites & parties:


Nice job! I love woodworking – it can be a great creative outlet, and I agree that starting with a simple project is a good way to begin. Besides that, one needs to learn the safe use of tools, which is part of the learning for a beginner.
Mary
Looks like a great way to use up some junk in the scrap bin. Any excuse to make a fun and easy project while using a bit of scrap is time well spent.
Could be a good project to introduce older kids to some of the tools in the shop. All of the operations you did were pretty safe. Just tell them it’s for soda. One of the first projects I built with my dad was a tool box using very similar methods. Still one of my favorite memories.
Great new picture buddy! Looks like you’re doing some woodworking in it?
I like the suggestion of doing this one with the kids. I’m also thinking that it could be easily modified to be half-height and include a lid, which would make it a good pencil/pen box for their desks…
Very nice. Alternatively, you could have bored some holes in the sides and just run the rope through it.
looks like a nice project, though the stain is somewhat uneven, did the glue spill over a bit? I also agree that tieing it to the box itself would look cleaner (especially with the eye splice). I have always enjoyed tying knots, so I probably would have done the eye splice.
MMM Paulaner.
You’re right about the stain. I must have missed some glue and the stain took differently at those places. I gotta disagree with you and Icarus about tying the rope to the box. I think the knobs make it look a little different.
I’m always looking for a good excuse to buy Paulaner… 🙂
aesthetics are always an opinion, so go with what you like 🙂
I also see there is a dark line where it looks like there is a piece of one of the middle layers missing, sorry to be so critical, but I just notice this stuff.
About the glue… from what I understand (and reading a little bit of Stephen’s rantings over at full chisel) hide glue is better, and takes stain very well. its also reversible/repairable.
It’s true. Ethan noticed that and pointed it out to me before assembly. Unfortunately, our birch plywood had that fault running all the way through it. In the interest of time (and because this is supposed to have a “rustic” look), we decided not to worry about it. Unfortunately, the glue actually prevents the stain from taking and leaves it sticky on the surface as well, a good afterthought that I’m going to update in the post itself. I haven’t seen the hide glue you mentioned – got a specific link?
Hide glue is basically what everyone called glue for the first few thousand years of recorded history, its made from animal hide (hence the name).
I am just going to link you to Stephen’s site… because the guy literally wrote a book about the stuff!
Here is a link to a full chisel post where he is talking about hide glue, and also gives some recommendations.
http://www.fullchisel.com/blog/?p=2105
here is a bigger rant about modern glue
http://www.fullchisel.com/blog/?p=2095
here is a good explanation.
http://wpatrickedwards.blogspot.com/2012/01/why-use-reversible-glue.html
I’ve seen a version of this a while back from somewhere that was made a bit bigger and used hardboard for dividers. I like that your version is easier to make 😉
Way cute! I would like a liner in it especially for the summer since once you take those ice cold brews outside they will sweat. Not sure they will stay long in there so it shouldn’t matter then right?
Great beginner project and you get to keep enjoying it (along with some of your favorite brew) for many years after.
I like like uneven staining look. Almost makes it look like its been buried in the back of someone’s barn for the last 100 years.
Jtitus,
Welcome to OPC! This is the first time I’ve seen you here, so welcome! Hope you’ve joined our project rewards program so you can earn points for visiting and commenting! If you haven’t, see the links at the top of the screen.
Welcome!
Fred
Thanks! Found the site a couple weeks ago and have made it one of my daily readers. Lots of great stuff! I Look forward to being a part of the community.
this is a pretty cool beer tote. i will have to make one these. now i have a good reason to go buy a router table lol … only thing missing would be a cool vintage logo of your favorite beer made to look weathered and rustic. Thanks for sharing this.
Ooo I like this idea. Router Tables are a lot of fun – one of the more fun woodworking tools in my opinion. Right up there with the fun of a lathe, but more broadly applicable!
I like the beer logo idea. Never tried something like that but perhaps I’ll look into it. Thanks for suggesting it.
You are awesome so I featured you at my Hookin Up with HoH Party!
Feel free to stop by for a button if you’d like. 🙂
xoxo
Allison @ House of Hepworths
Thanks for the feature Allison!
I just saw your feature at HoH. Congrats! What a cute project. I guess just double the measurements for a 12 pack. 🙂
Cool idea…I’d have to use it for soda bottles though. 🙂 Glad to have you at Things I’ve Done Thursday!
http://www.bearrabitbear.com
haha same here
Super charming-Thanks for linking up at Feathered Nest Friday!
This is going on my list for tailgating essentials!
Mmm… Salvators
Hiding the wire was a nice touch.
The only thing I don’t like is that you can see the screw head on the inside.
awesome! I think I’m going to do this this weekend
This was awesome! I did the project over the weekend and I love it. It will be perfect to use for the 4th.
Glad you enjoyed the project, and I hope your tote gets some good use!
Great post! Any project that combines woodworking and beer (although not simultaneously, and not using beer as a wood stain) is right up my alley. I actually like your handles better than the LumberJocks, although I must admit I am partial to his leather shoelaces over your twine finishing. Thanks so much for sharing, and I may have to make my own now! Also, what beer is being proudly displayed in your first picture?
Hey poiboybyf, I’m glad you liked the project. It was a fun one to put together. And the beer is Paulaner Salvator. It’s a great brew (if you like dark beer).
I’m going back over some old bookmarks I had and this is the one that got me hooked on OPC! Can’t wait to make this someday. What a perfect gift idea
Figure its probably better to drink the beers AFTER using the saws and power tools. Cool project for sure.
Hahah! Exactly right Tommyo.
I really like the knobs you used to attach the handle. Megan
This is a “Beginner’s Woodworking Project” that seemingly requires the use of:
1. Ridgid Mitre Saw
2. SKIL Router table
3. Porter Cable nail gun
4. Rockwell Sander
Do you expected a beginner to actually invest in all these tools when starting to build small wooden artifacts like this beer tote (which is a great idea actually)? Since you have listed this as a beginner project, it would be nice to see instructions on how it can be done by using hand tools maybe? Or just say it is too difficult for a beginner to do this by hand, so investing in these power tools is a requirement.
This is like saying that it’s ridiculous for a “Beginner’s Computer Programming Project” to require an actual computer, complete with keyboard, mouse, and monitor. Even beginner’s projects require tools – many of which can be purchased second-hand if needed. The idea is to get decent tools and grow your capability. This project would be much harder to complete all with hand tools.