
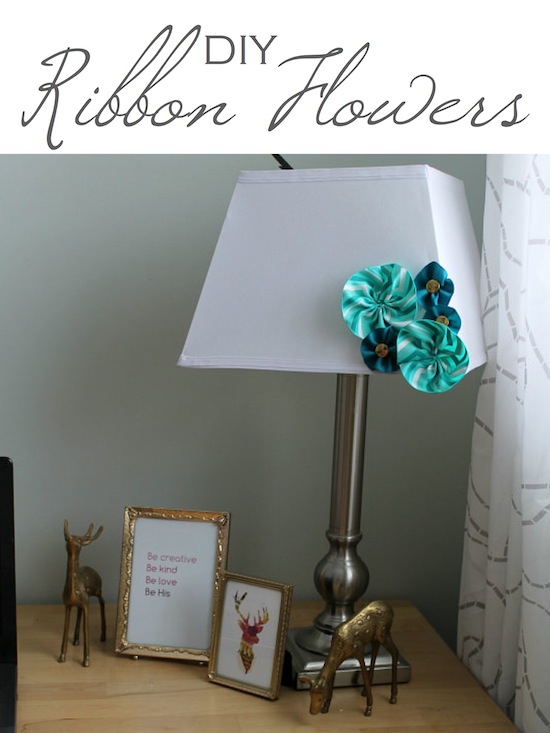
I like change. Not big life altering changes, but little changes. Changes that other people may not notice, but that make me smile all the same.
Take for instance the lamp in my new office. There’s nothing wrong with it except that it’s a little blah.
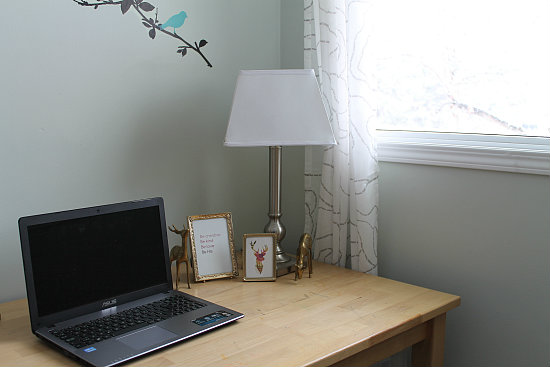
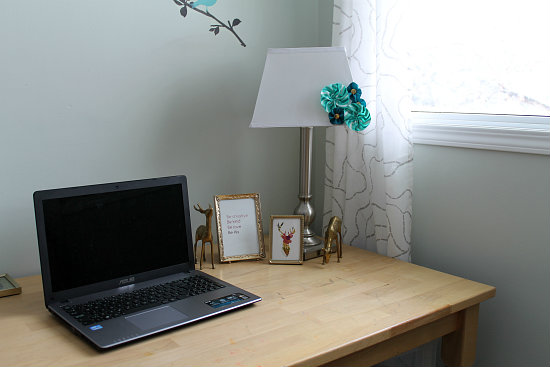
So one day, I thought I would dress it up a little with some DIY ribbon flowers, using simple ribbon and gold buttons (of course)!
If you’re looking for more DIY fabric flowers, check out Jocie’s tutorial too.
If you’ve never made a ribbon flower, then now’s the time. They are so simple. Each flower takes about 3 minutes and a little bit of ribbon and string!
Here’s how!
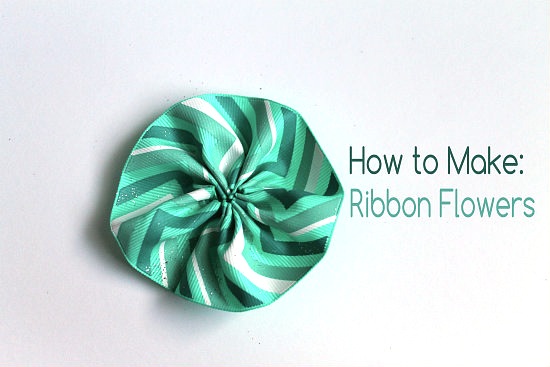
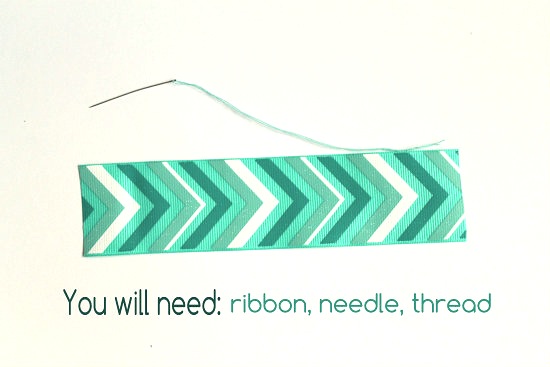
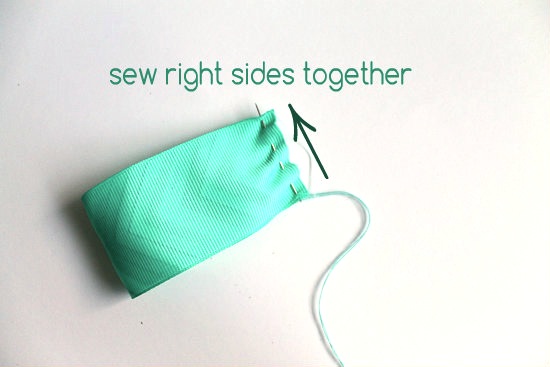
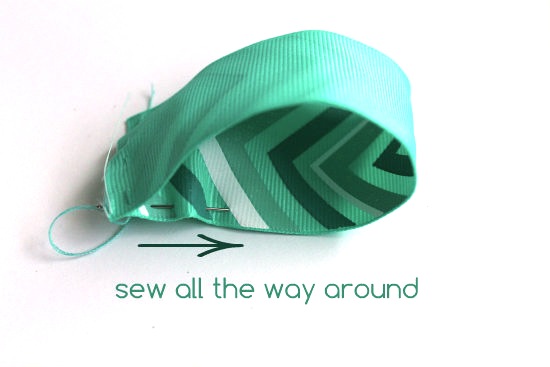
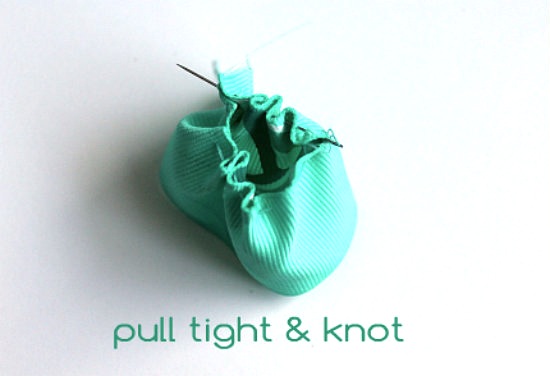
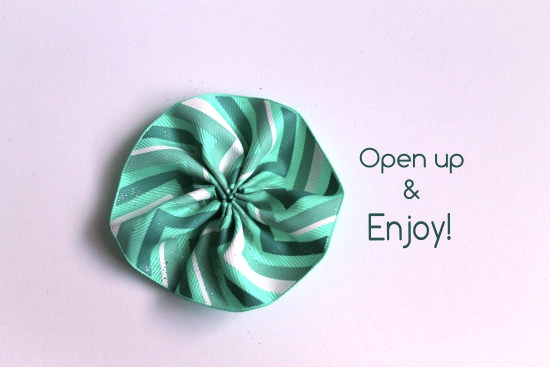
Depending on the width of your ribbon, you will need to cut your ribbon shorter or longer. This may take a little bit of trial and error. (It’s better to err on the longer side than the shorter).
Now it’s time to decorate with them.
Because I wanted the lampshade redo to be temporary, I just pinned the flowers on and then hot glued some gold buttons onto it.
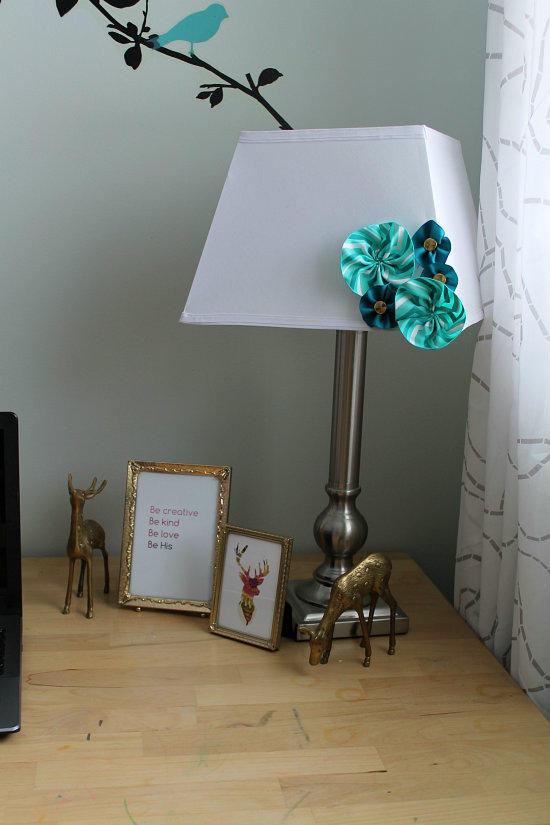
There you have it.
These ribbon flowers are also great on a wreath, as picture frames, or to dress up a gift.
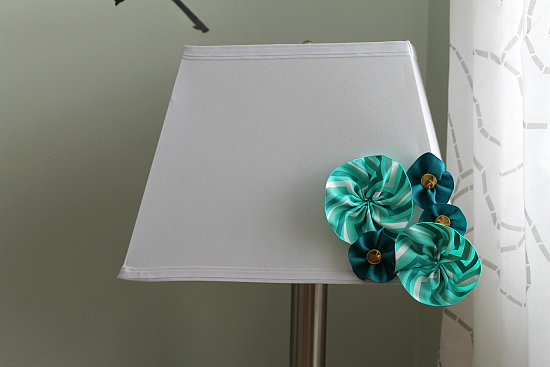
As Si Robertson from Duck Dynasty would say, these DIY ribbon flowers are , “Happy, Happy, Happy”.
Enjoy!
Love,

*We are excited to have Kat as a contributing author to OPC’s The Better Half. Be sure to also check out her DIY Holiday napkin rings and napkins from last month’s contributing article.

I love Christmas. I love the glitz and glamour, the twinkling lights, the presents, Christmas services, Christmas music and the true joy of Christmas, Christ. I can’t wait to entertain company during Christmas. There’s something about a decorated house, with a beautiful table, the smell of delicious food and the company of friends and family to warm my heart.
Today I want to share with you some simple DIY holiday napkin rings and pains that I made to dress up the table a little.
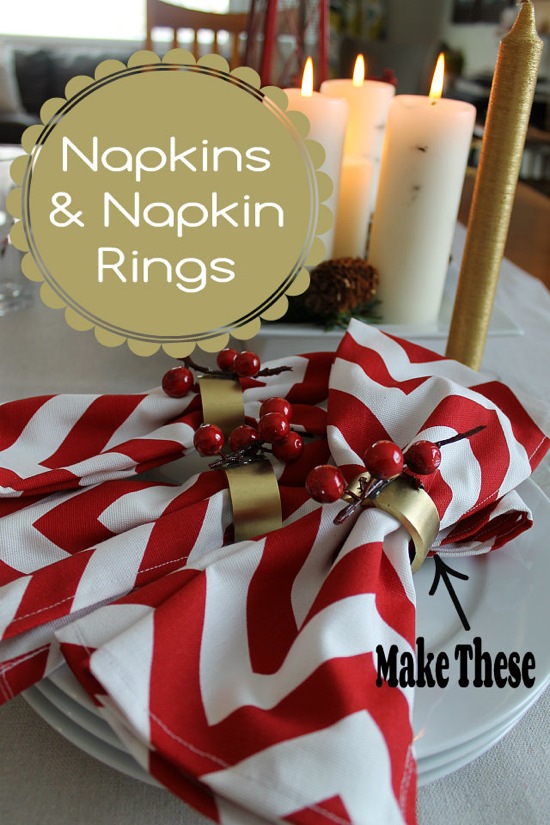
We use these napkins for our Sunday advent candle lighting dinners with the kids but these would be excellent for a Christmas dinner, New Year’s party or just to funk up an ordinary meal.
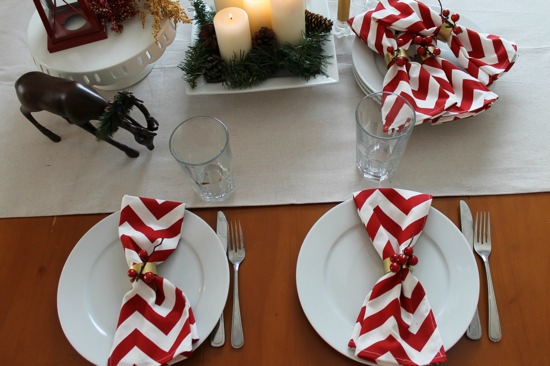
How to Make Cloth Napkins
I don’t know about you, but I am always shocked by how expensive napkins can be. To spend $5-10 on a napkin makes me want to run into the woods and hide from the madness! And then there are the napkin rings which can cost more than the napkins. You may as well forget about it! It’s madness…pure madness I say!
So when I was at a local fabric store the other day, I saw some fun red chevron fabric and Fell. In. Love. After stroking the fabric for a few minutes, I actually left the store the first time telling myself I didn’t need it but then the next day I found myself drifting into the parking space and throwing that fabric on the table and asking for 1/2 a yard (well .4 meters up here in Canada).
I just knew they’d be perfect for napkins, so I ran from the department store’s napkin madness and made my own.
Each napkin and ring together cost about $2.
Here’s what you need.
- 1/2 yard of 56 inch wide fabric (to make 4-5 napkins)
- sewing machine
- iron and board
- scissors
Step 1: Cut Your Fabric
I cut my fabric into 5 – 11 inch strips. My finished napkins are smaller than most napkins, measuring at 10 x 21 inches. But for me and my family these are fine. (You could cut your fabric into 4 sections measuring 13 x 21 inches instead to have more square ones.)
Step 2: Press the Seams
Then, I just did a rolled seam of about 1/4 inch wide and pressed it down.
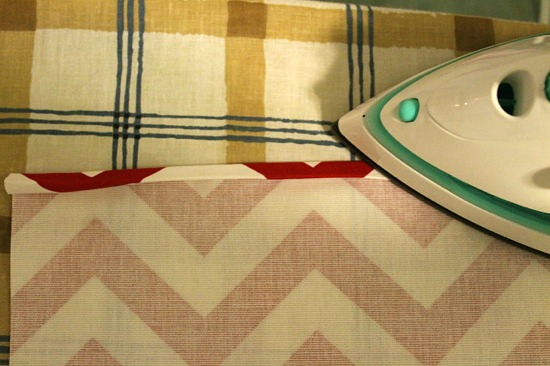
Step 3: Sew
Then I took that freshly pressed hem and whipped it through the sewing machine.
I pressed and sewed each edge of the fabric separately. It went really fast.
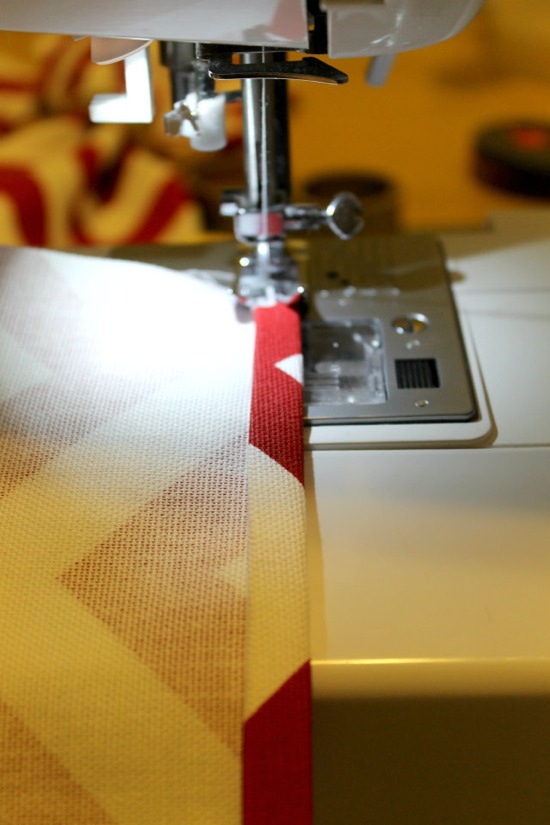
Making the Rings
For these you will need:
- a foot of 1 1/2 inch PVC pipe
- chop saw
- sand paper
- spray paint
- garnishes
Step 1: Cut
Cut your PVC pipe into 3/4 inch pieces. PVC splinters as it cuts so make sure you wear safety goggles and you will have to sand the edges if they are too jagged.
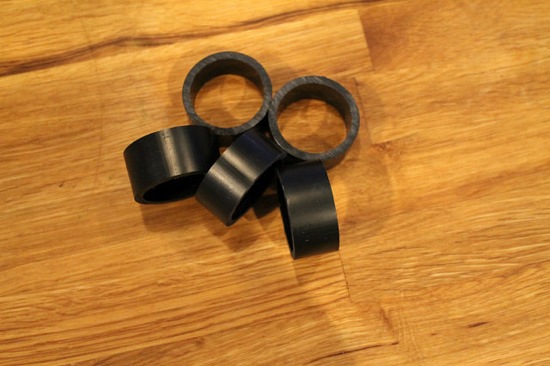
Step 2: Spray paint
I’m in love with Krylon’s Short Cuts in gold. It’s a beautiful colour and dries super quickly.
Step 3: Garnish
Add a little garnish to your napkin ring. I had a berry wreath that I knew wouldn’t be too sad if I cut a few berries off of her. You could take a few sprigs off your own wreath or grab some greenery off of a bush outside or I’m sure they have cute things at your local hobby store.
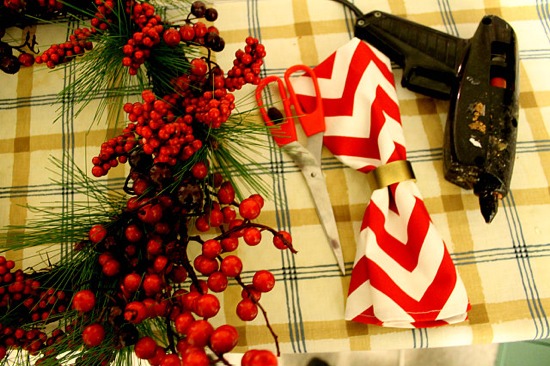
See how much a little garnish adds to the ring!
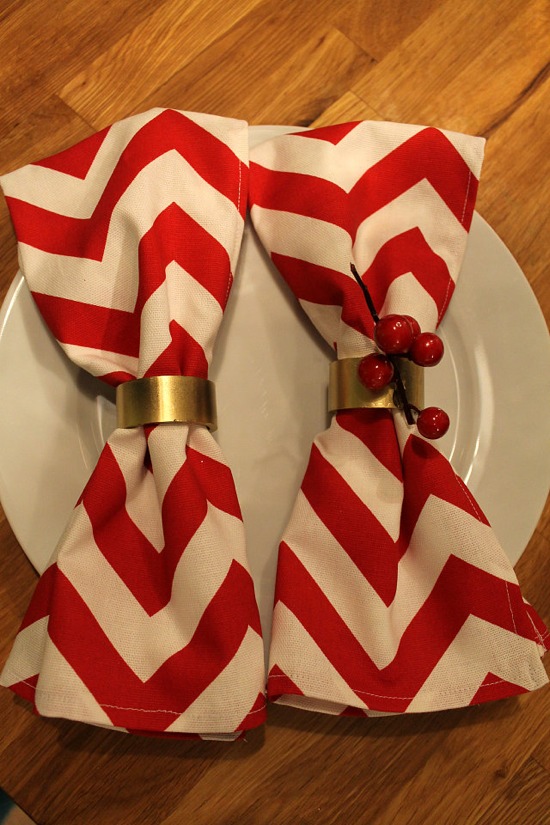
Once the rings are ready, then you are ready to party.
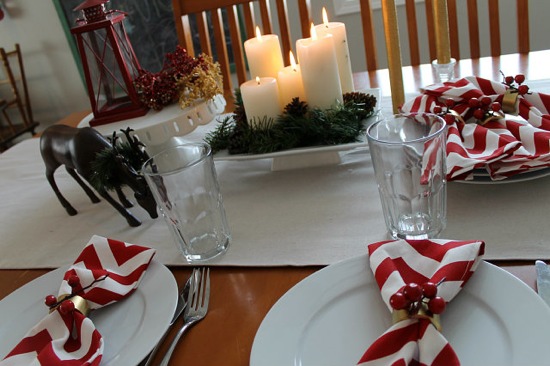
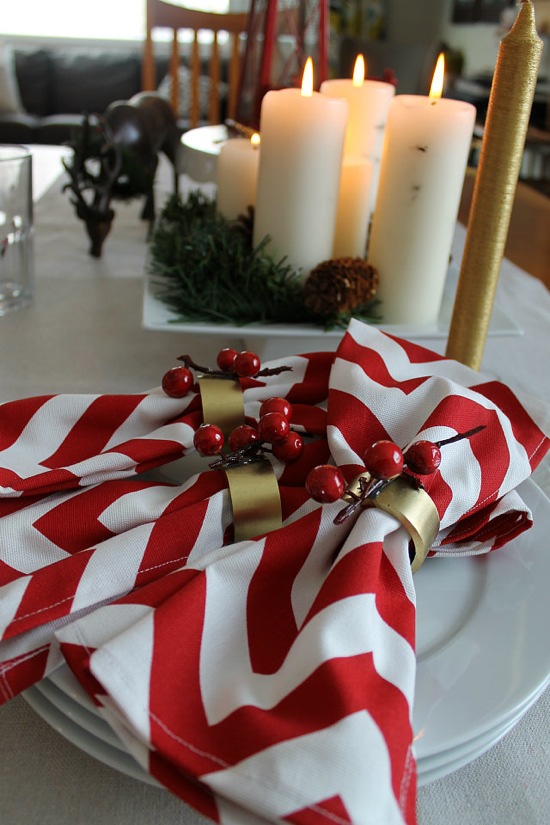
Even when they are not being used, these napkins and rings can add such life to your Christmas decor.
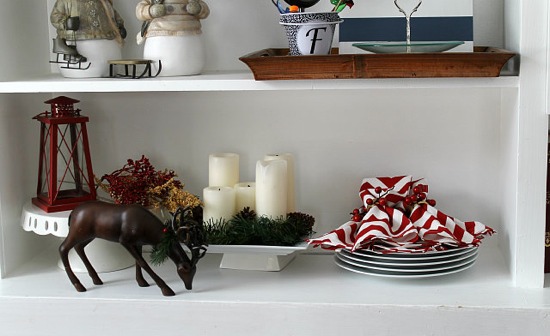
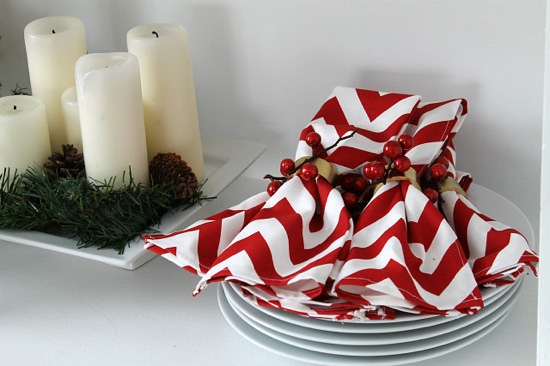
I hope you feel inspired to go out and make your own napkins and rings for a fraction of the cost of buying them.
Have a blessed Christmas.
Love,

Kat from Blessed Life Atop a Cake Stand is one of our new OPC Contributors.


