
Sometimes the fun and messy world of creative projects means needing to remove my wedding ring. In fact I once left my ring on underneath my gloves while staining some wood, but when I went to clean the brush I was no longer wearing the gloves, and the stain sorta dripped down onto my ring. Yikes! I nearly had a heart attack, but luckily it was nothing a little vinegar and a baking soda couldn’t fix up.

I wanted a special place to store my rings and being that I’m all about rustic decor, I decided a birch branch jewelry box would do the trick. I already had some birch branches leftover from my Wood Slice Christmas Ornaments so I decided to use that. I wanted my jewelry box to be just a few inches tall since it was only going to hold my wedding ring and band, but you can make yours as tall as you want. Using a pencil, I marked off where I wanted it cut.

Being that Eric {the hubs} likes any excuse to use our new miter saw he jumped at the opportunity to slice the wood for me. We decided to pick up a pack of spade bits to make it easier to create the center hole, plus we figured they would come in handy for future projects.

I have seen people hold their project while drilling into it with these bits, but we decided to clamp the branch down. I had marked where I wanted the hole with an X and then we used the 1 inch spade bit to create the hole, which Eric drilled about 1/3 of the way down. We also made sure there would be enough space on the side of the hole to drill a spot for the wooden dowel that would hold the lid.

Here is a photo of the hole drilled into the bottom of the birch branch. I was going to use a pre-cut wooden dowel to hold the lid in place {you’ll see what I mean a little later}, but wound up cutting off a small piece of a wooden dowel we had leftover from our DIY wedding wands project.


I marked the spot to place the wooden dowel and then afterwards placed a small, sharpened piece of chalk inside and put the top on it to mark where to drill on the lid. I hope this makes sense. I’m sure we could have measured it out on both, but the chalk method worked pretty well.


Here is a photo showing the bottom and lid of the jewelry box with the holes drilled in for the wooden dowel to go into.

I used some 220 grit sandpaper to sand around the edges of the inside as well as on the top of the lid.


Once the lid of my birch jewelry box was sanded, I printed out a design of our initials that I wanted to go on top {in reverse!}. You could also use a word burning tool, but I really like how the wood transfer comes out and it’s super easy too! All you need is an ink jet printer and some regular copy paper, but make sure to print your design in REVERSE so that when you “burn” it into the wood it comes out correctly. I have used this technique several times, including on my “Love you to the Moon & Back” and family established wood signs.

Once you have your design printed you can cut it out, place it design side down onto the wood and then dip a small paintbrush into some water. Don’t get your paintbrush too wet and don’t let it drip either.

Holding your design into place with one hand, use your other hand to brush the water over the design. As the water seeps in you will start to see the image come through. Then you can take the other end of the paintbrush to “burn” the image into the wood. Basically rub over the design {careful not to move the paper or smear the design!} and make sure you cover it completely so it transfers all the way over.

Here is what mine looked like afterwards. The wood was a little wet so I then went over it with a blow dryer because I’m impatient 🙂

Once my design was dry I sprayed the entire branch with a clear sealer. You could also go over yours with beeswax or danish oil, but I didn’t have any on hand.

I then put a couple drops of super glue into the hole we had drilled into the lid and set the wooden dowel inside for a few minutes to make sure it was dry.


I must have gotten a little glue happy and used a bit more than was necessary, woops.

After that I simply placed the other end of my wooden dowel into the bottom of the birch jewelry box and it was good to go, yay! The lid now spins off so I can open or close it, and can even take the lid off completely if I wanted too.

Here are some more of the after photos:


What’s so great about this branch jewelry box is no two will be exactly the same, you can personalize it, and it would even make for a unique gift or ring bearer box. I think it’s adorable and just love the way it came out! What do you think?

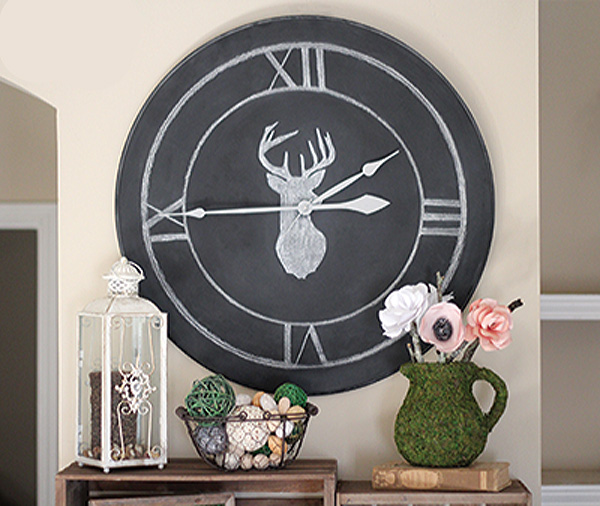
Hi there OPC Readers! It’s Katie from Upcycled Treasures and today I will be sharing how I upcycled an old side table into a chalkboard clock DIY style.

A clock wasn’t my first intention for this $4 thrift store find I purchased nearly a year ago.

However, being that only parts of the table were made of real wood, I decided to paint it with primer, followed by paint, not realizing that the primer needed more time to cure. The end result? Paint that peeled right off. Woops. At least it stuck to the table top.
I also later realized that there was damage to the bottom of the table. So I moved the table onto it’s side to see if I could fix it, only when I looked straight at the table top I saw something else… a clock! I immediately dismantled the table with a screwdriver and set the top aside.

Of course I went back and forth as to what kind of clock I wanted before I did anything to it. French, nautical, vintage? Being indecisive actually led me to my final decision, to make it a chalkboard clock! This way I can change it whenever I want.
After I had removed the top from the table there were holes in the back where the screws were. No one will see the back since it will be facing the wall, but I filled those in with putty and then sanded over them anyway.
I already had a small clock kit on hand, but purchased a high torque clock kit from Hobby Lobby since I wanted larger clock hands. I did end up using the “second” hand from my smaller clock kit though, since the larger one didn’t come with it.

I painted the clock with 3 coats of chalkboard spray paint, letting it dry in between coats.

Afterwards I measured out the center point and drilled a hole for the clock kit to go through. However, drilling first would be much smarter and you won’t have to worry about touch-ups 🙂

I then added a frame hanger to the back, which I already had on hand.

The clock kit tells you what size your clock needs to be for it to fit through. I realized I needed to sand the back of the table top down a bit to make the clock kit fit properly.

Afterwards, I painted one more coat of chalkboard paint to the front of the clock to clean it up a bit.

Once it was dry, I seasoned it with chalk to avoid “ghost marks”. So I essentially rubbed chalk all over the clock, and then wiped it off with a rag.

While working on this project I actually came across this Pottery Barn Clock which instantly inspired me. I wanted to embrace the indent circle that goes around the entire table top, and felt that double circles would do the trick. To create the inner circle I used a lamp shade {thrift store find for a future project and I already removed the “shade” part}, placed it in the center and traced around it with chalk.

I then went over the indented circle with chalk.

Since I needed more contrast with my clock hands I painted them with some Paris Grey chalk paint.


I then measured out and marked where to place my numbers. You could simply draw your numbers on with chalk, but I decided to use the chalk transfer method, which you can read more about here. I used a small, dry paintbrush to clean up the chalk a bit.

I then re-traced my circles.


I knew I wanted to add something to the center of the clock, so I went with a deer silhouette using the chalkboard transfer method again.

This is what it looked like before I cleaned it up with a small, dry paintbrush.

To avoid the chalk smearing once I was all finished I sprayed it with a couple light coats of Aqua-net hairspray. I originally tested out some other hairspray I had but it came out in spritz and left marks on the chalkboard. So be sure to test your hairspray first! I stood about 12-15 inches away from the clock and sprayed a couple very light coats.
And here she is all finished and hung up, woo-hoo!

Here is the before and after:

So what do you think?
Thanks so much for reading along on this Chalkboard Clock DIY,


Hi there! I’m Katie from Upcycled Treasures, and I am so excited to be a new contributor for OPC! Today I am sharing a super simple DIY Twig Wreath that will cost you next to nothing to make.
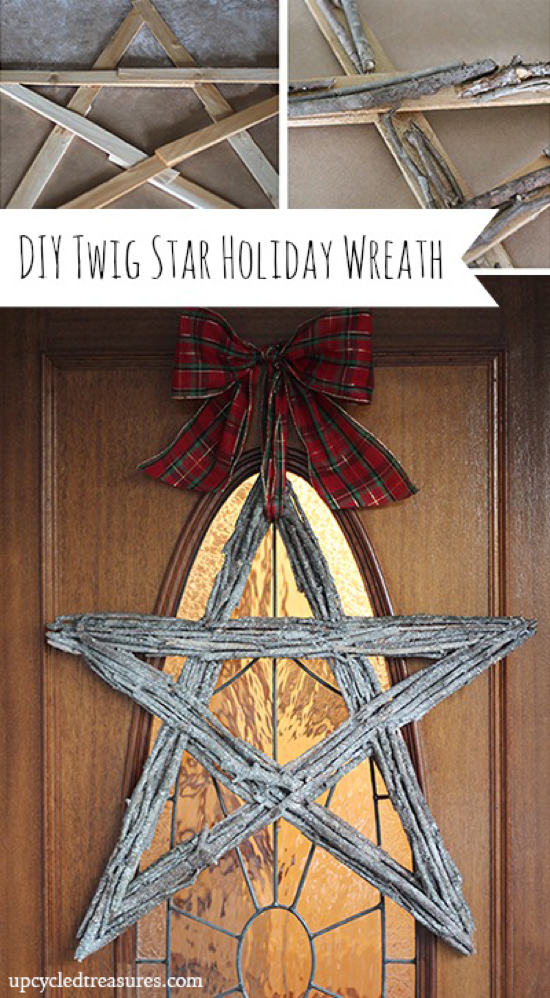
Being a fan of the great outdoors, it’s no wonder I am slightly obsessed with incorporating natural elements and rustic design into our home. This project is easy peasy and just takes a bit of patience. So grab some hot chocolate, put on your favorite holiday movie, and you will be done in no time!
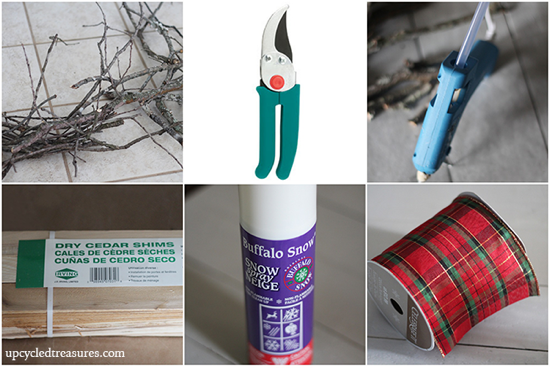
Here is what you will need:
- Wood Shims {paint sticks will also do}
- Twigs/branches
- Glue Gun/Glue Sticks
- Gardening Shears {optional}
- Fake Snow Spray
- Ribbon
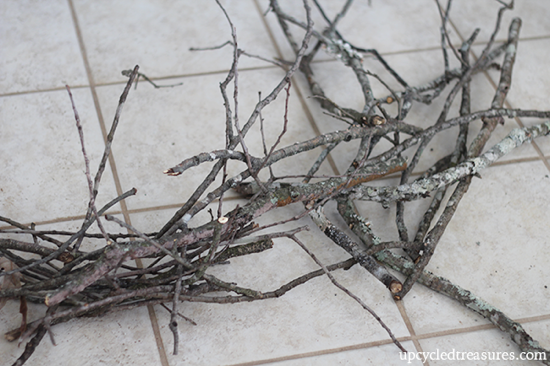
The first thing you will want to do is collect some branches/twigs from the ground in your yard. I actually had some leftover from my DIY Twig Tree Ornament. Side note: the photo below is just a small portion of the twigs I had collected.
I like to “bake” my sticks in the oven before using them for projects. You can simply place them on a foil lined baking sheet on low {or 250 degrees} for about 30 minutes. This ensures the twigs are nice and dry, and it kills off any bugs that may be on them {eek!}.
Once the sticks were cooled off I broke them into different sizes and moved them off to the side. You could also use gardening shears for this part if you would like, especially for thicker branches/twigs.
I then took 10 Wood Shims, which were leftover from my wood shim artwork, and made a star shape by overlapping the ends. I did this project on top of kraft paper which had some “fake snow” left on it from when when I sprayed my nautical Christmas wreath.
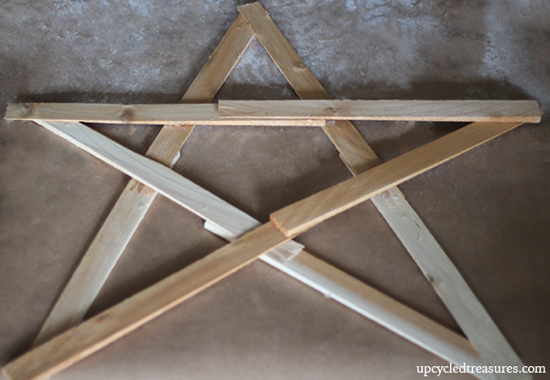
Once I had the star shape I liked, I used my glue gun to glue all of the ends together and hold the star shape in place.
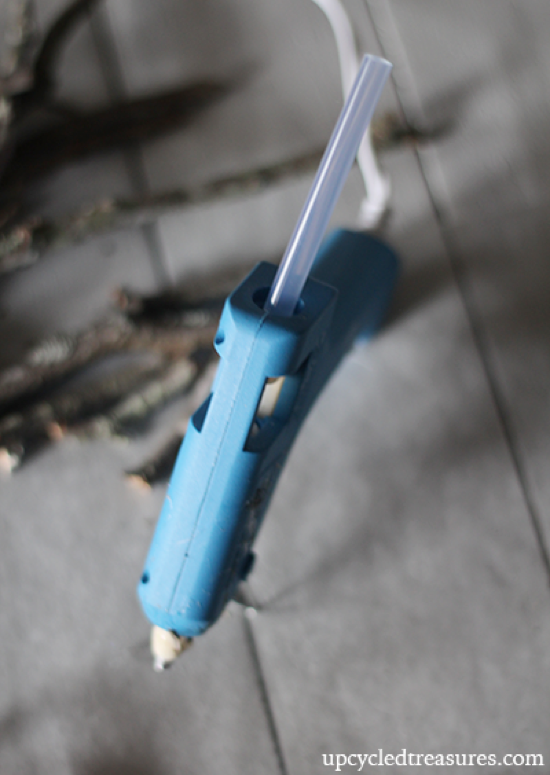
Afterwards it was time to start gluing on the twigs, yay!
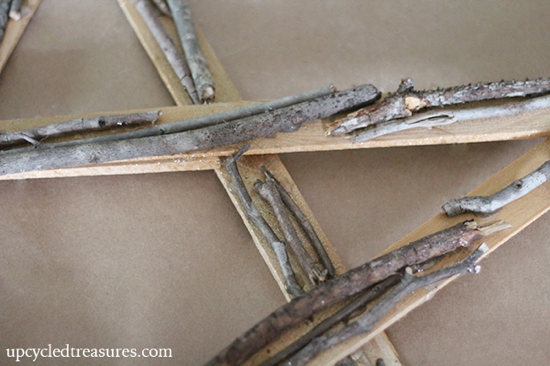
I simply started gluing twigs on top of the wood shims and overlapping one another. I used different sizes to create even more texture and interest. Once I filled the top of the wood shims, I went along the edges as well.
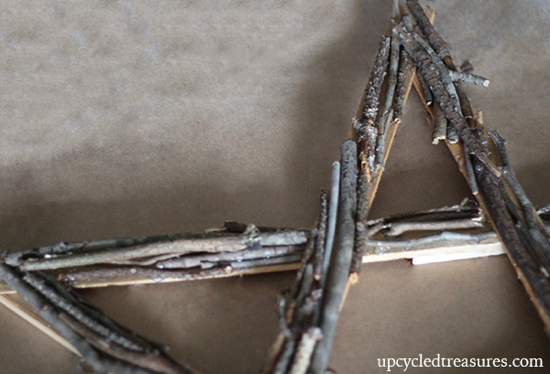
Here is what my star looked like several twigs and glue sticks later..
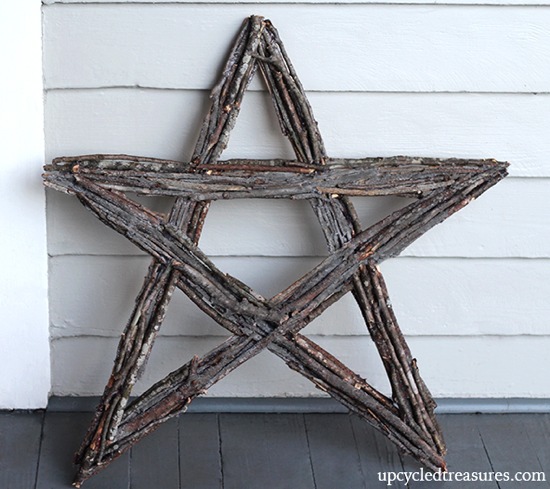
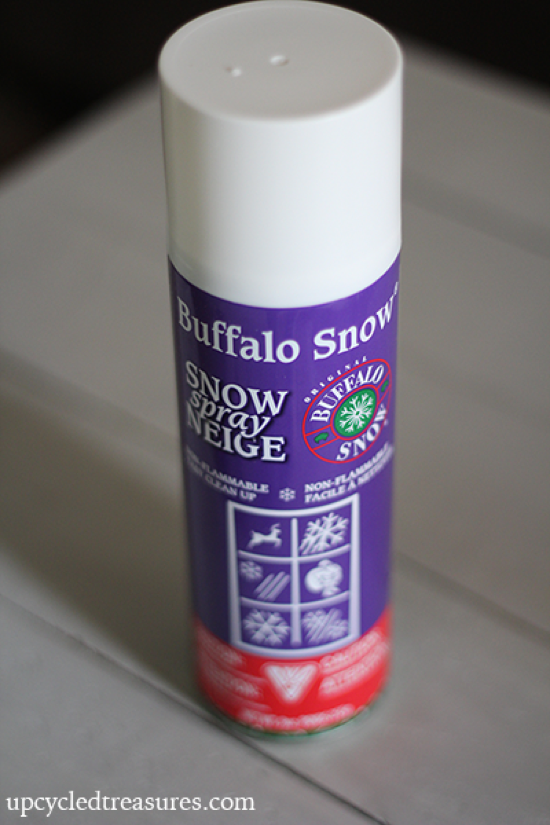
I then sprayed it with some “fake snow”.
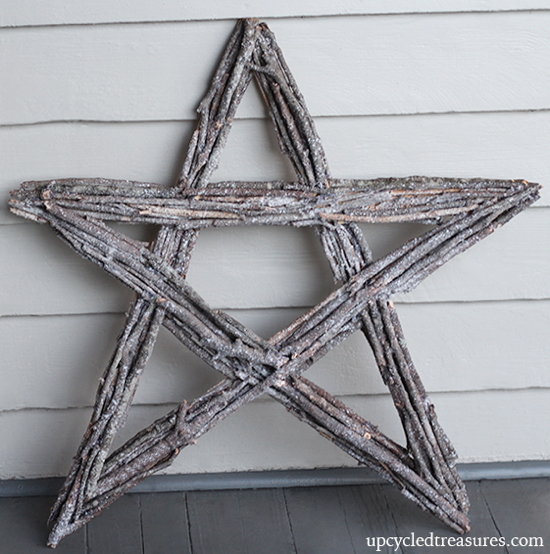
Rather than use a wreath holder, I attached some ribbon, a pretty bow and hung it from a nail on the door. Here is what she looked like all finished:

So if you are looking for a fun and affordable holiday wreath then this is a great option! Plus you can follow the same guidelines and make any other shape, a monogrammed letter, a snowflake, etc. The possibilities are endless!
My sister liked this one so much I let her keep it. What do you think?


