

Thank you so much for joining us at One Project Closer for this tutorial on How to Build a DIY Outdoor Table from woodworker and guest writer, Beth. This post is sponsored by the Home Depot Prospective Campaign. Post may also contain affiliate links. Opinions (and typos) are 100% our own, and we appreciate you supporting our site in order to continue to provide free content to our readers.
This easy DIY Outdoor Table tutorial will take an experienced DIYer about an hour to complete and possibly a few extra minutes for those just starting out on their DIY journey. However, no matter if you’re a pro or novice DIYer, this table is very straight forward and will have you sitting on the porch sipping margaritas in no time.
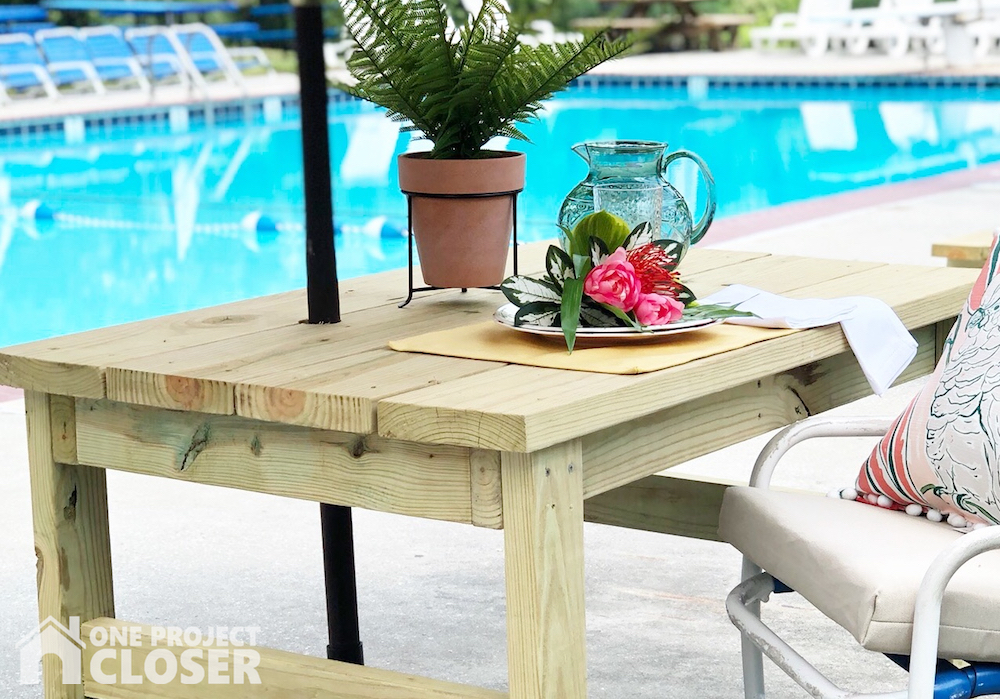
DIY Small Outdoor Table
Make Time: approx. 1 hour
Cost: $50
Woodworking Difficulty Level: Easy to Moderate
Materials Needed:
- 2 – 2×8 @ 8 feet long pressure treated boards
- 4 – 2×4 @ 8 feet long pressure treated boards
- 3” exterior wood screws (box of 100)
- Wood glue
*Pressure treated boards are rot/decay resistant. Non-treated wood is okay but will need to be sealed before being exposed to the elements.
Cut List:
- 4 – 2×8 @ 48” (Tabletop Boards)
- 4 – 2×4 @ 27” (Legs)
- 2 – 2×4 @ 46” (Apron Sides)
- 4 – 2×4 @ 25” (Apron Ends and Tabletop Supports)
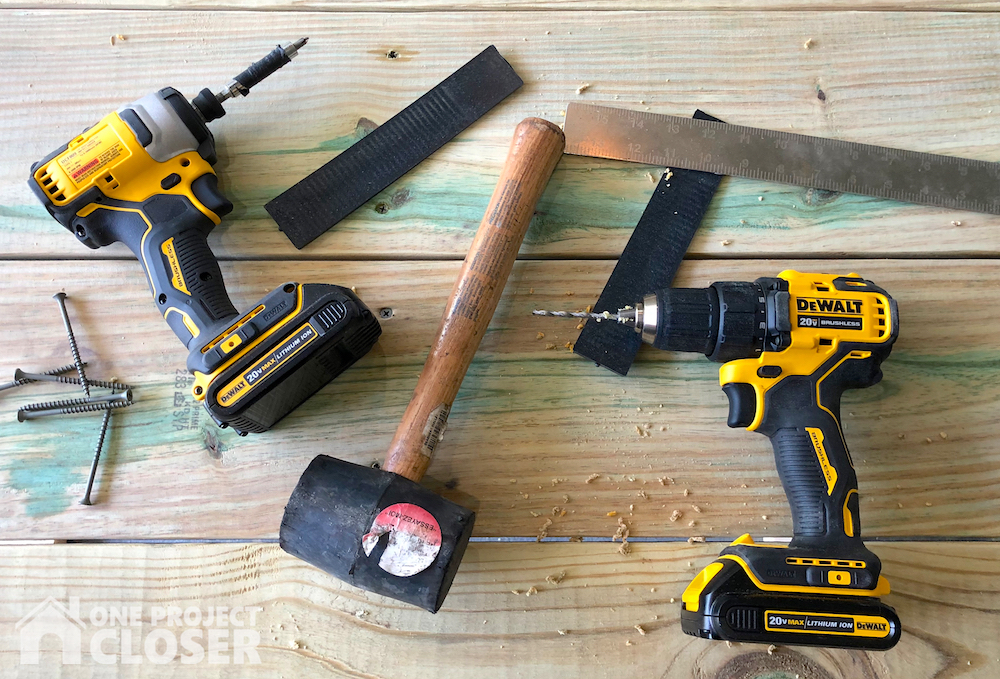
Tools Needed:
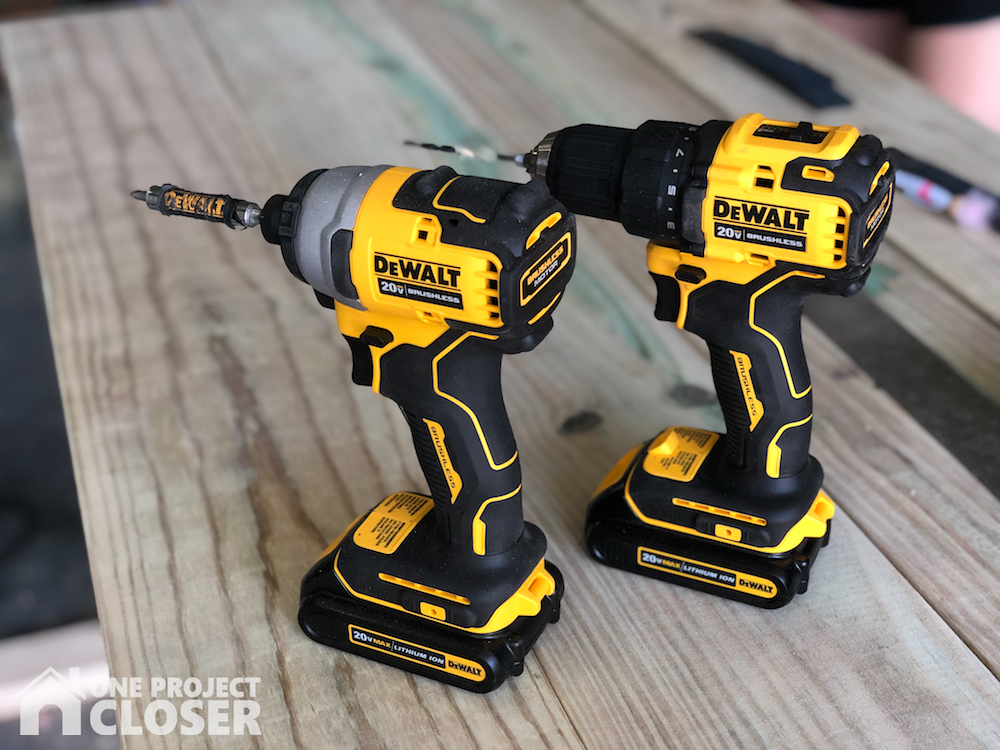
- Dewalt ATOMIC 20-Volt MAX Lithium-Ion Brushless Cordless Compact Drill/Impact Combo Kit
- Miter Saw
- Tape Measure
- Speed Square
- Pencil
- Cordless Circular Saw
- Sander
- Level
- Safety Glasses
- Wood Clamps
Be sure to check out our amazing Home Depot Coupons before you buy to save yourself some money!
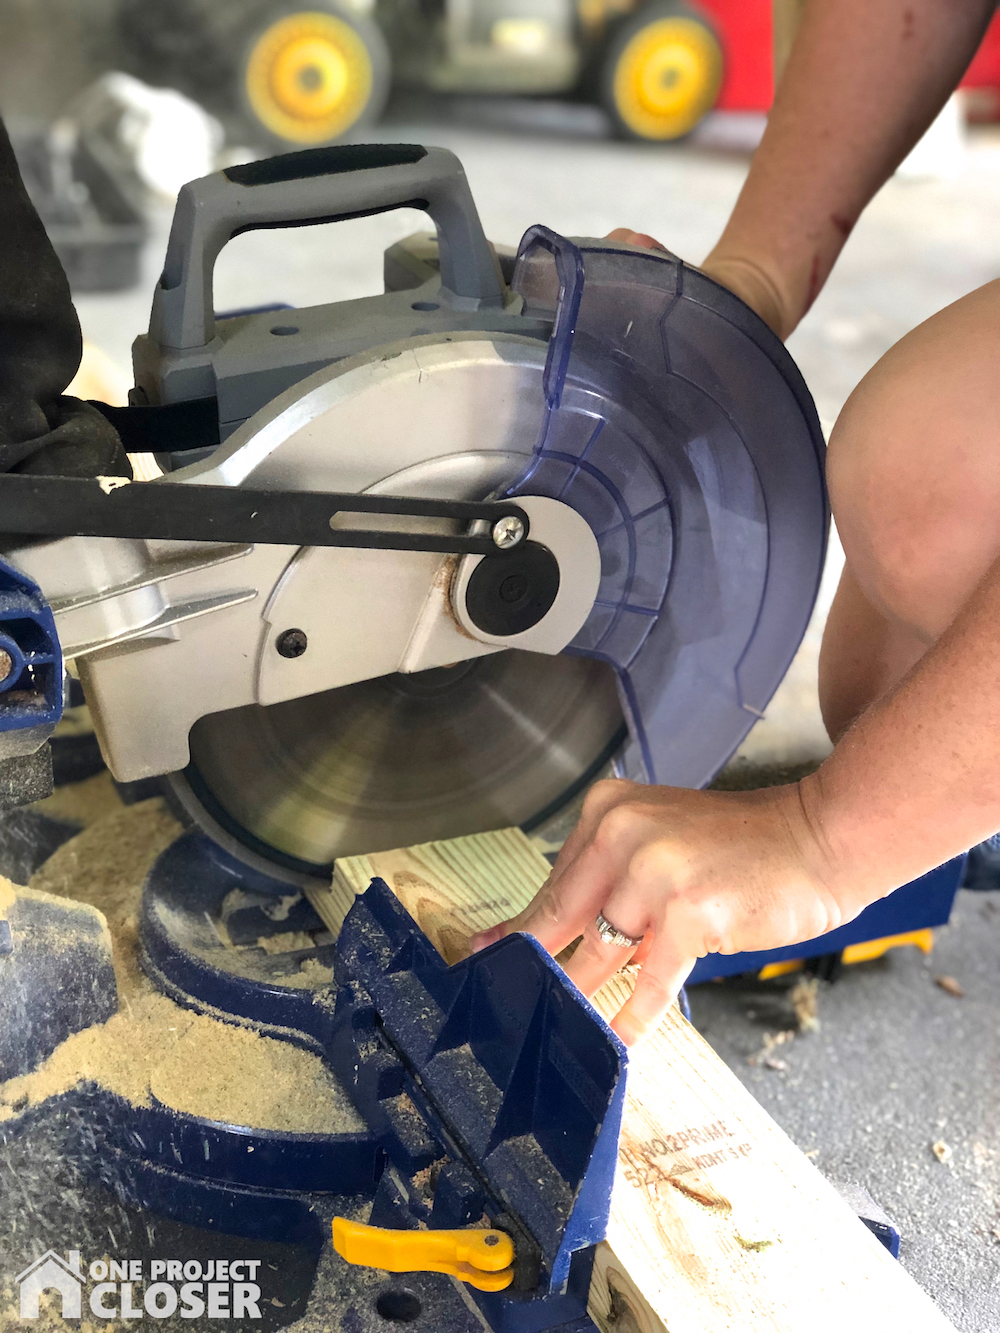
STEP ONE
Make sure you are working on a clean level surface, then make all your cuts from the cut list above using a miter or circular saw. Make sure the legs are the exact same length—this will make the finished table level.
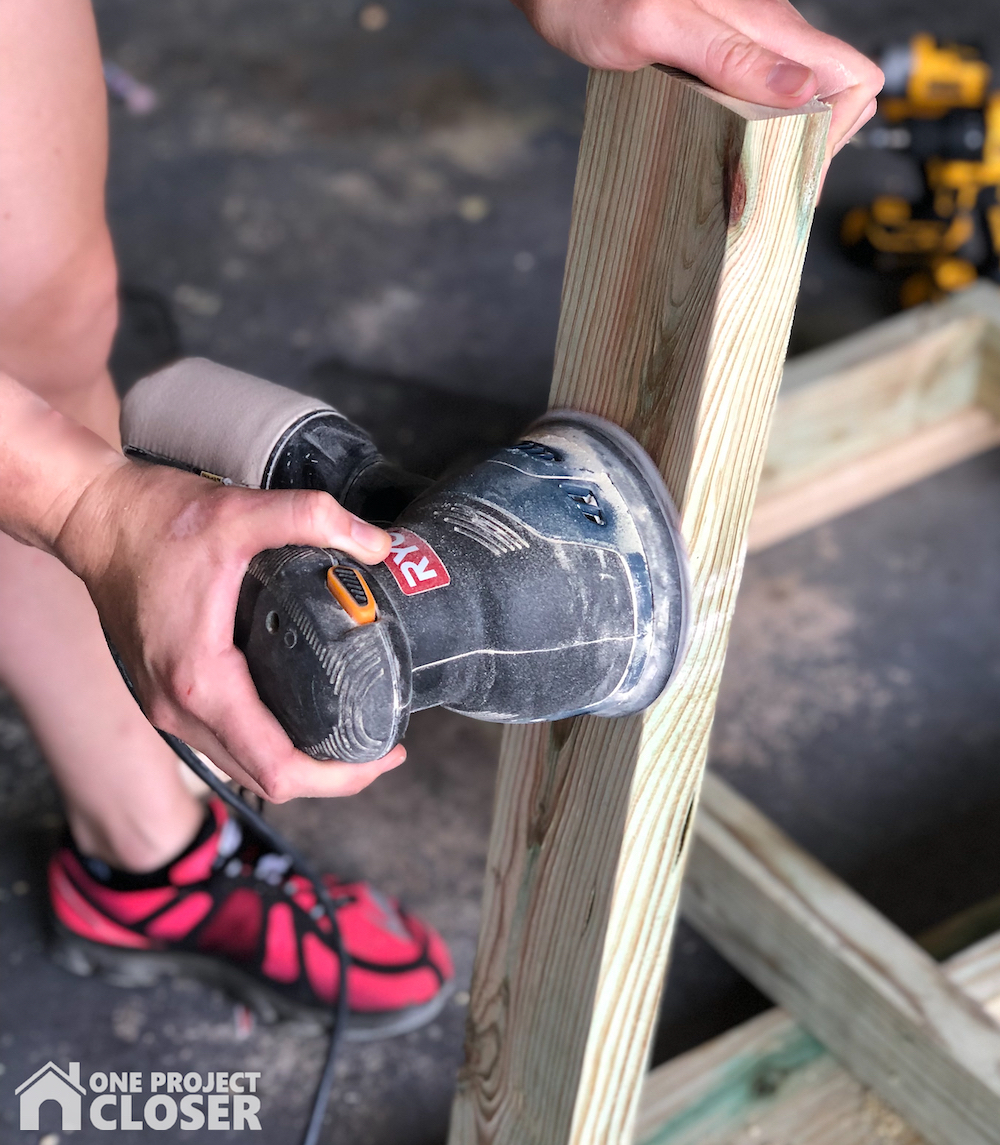
STEP TWO
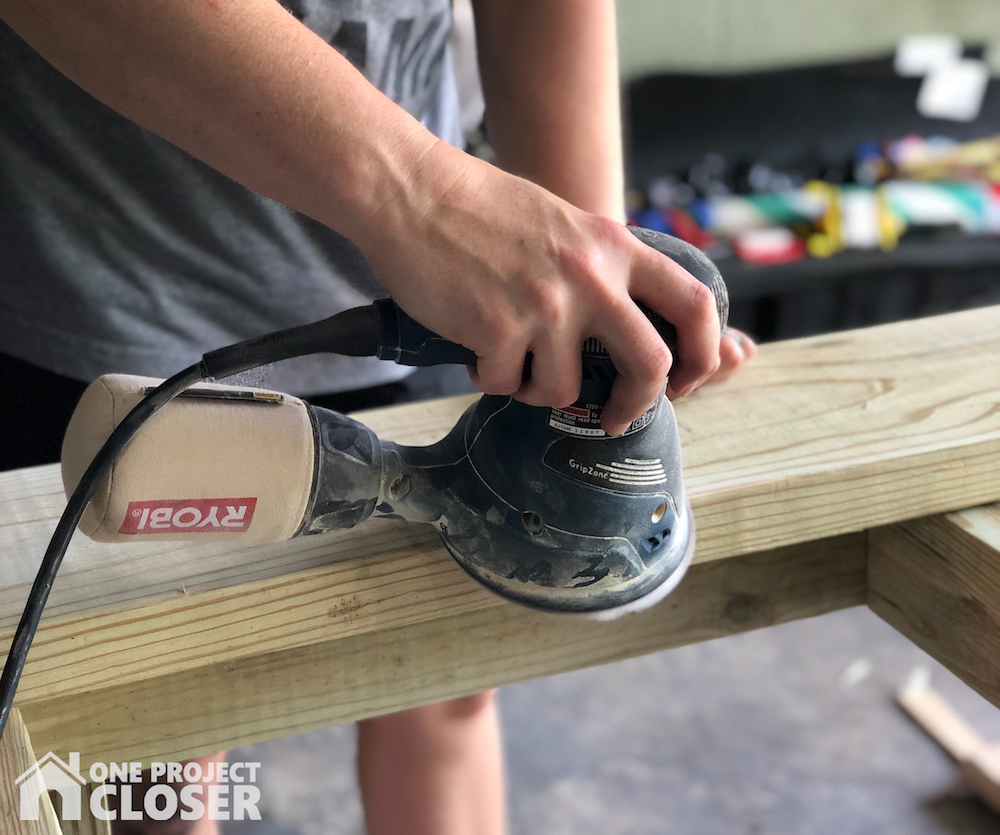
Sand all the pieces for the legs, aprons and supports until no rough edges are left and you are satisfied with the level of smoothness.
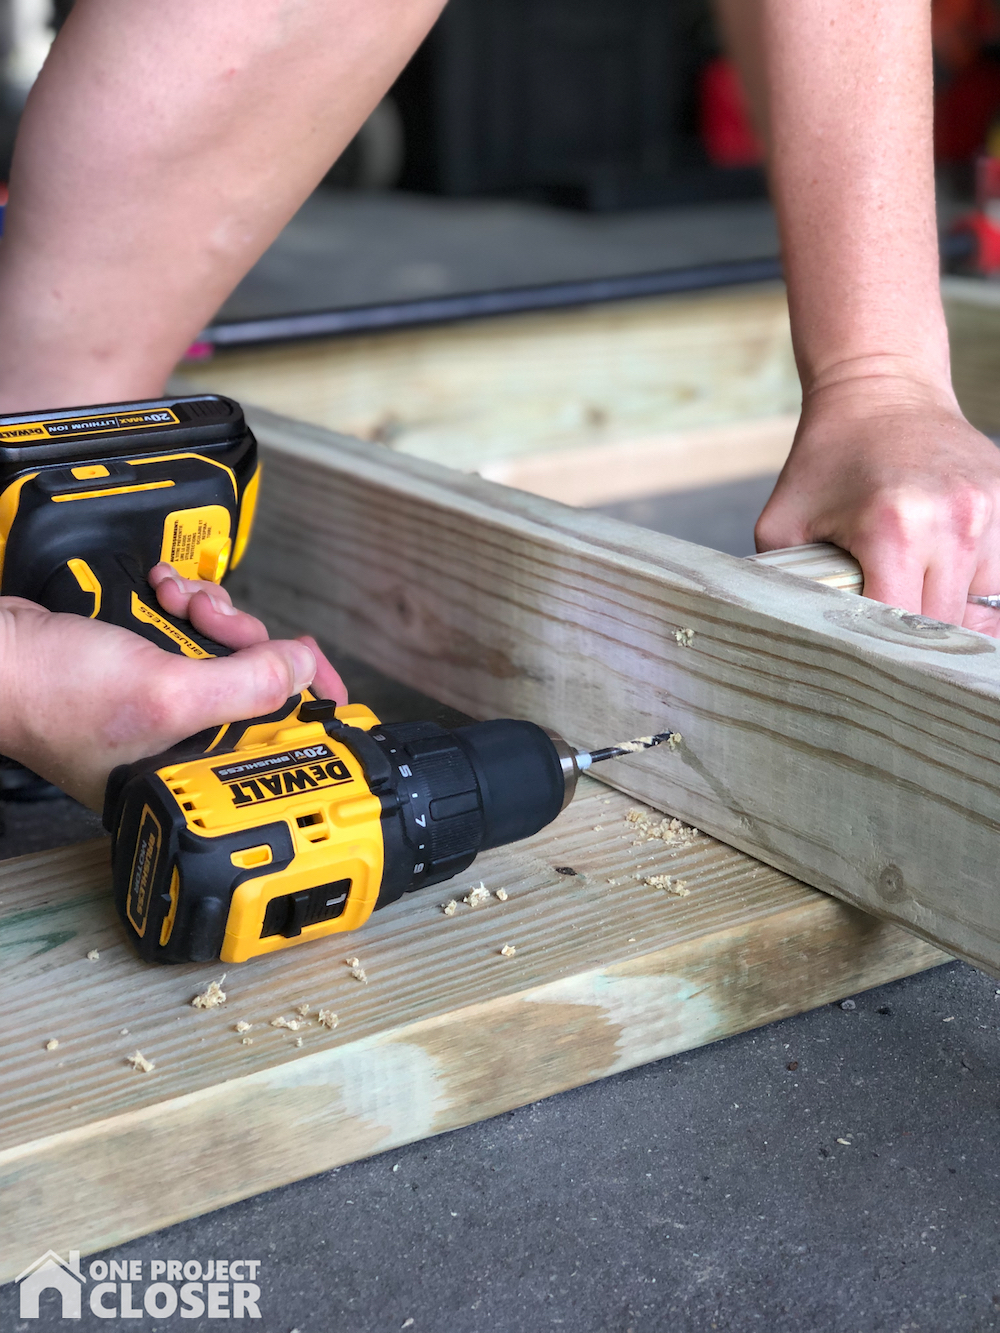
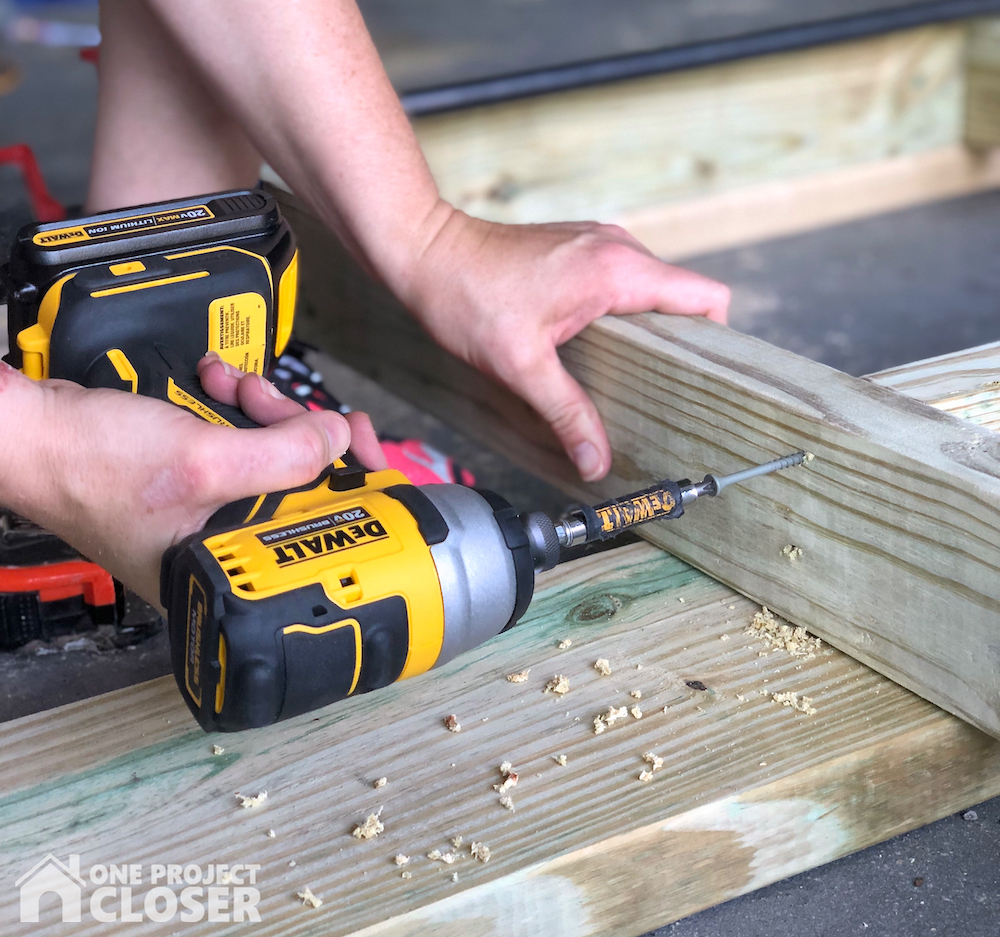
STEP THREE
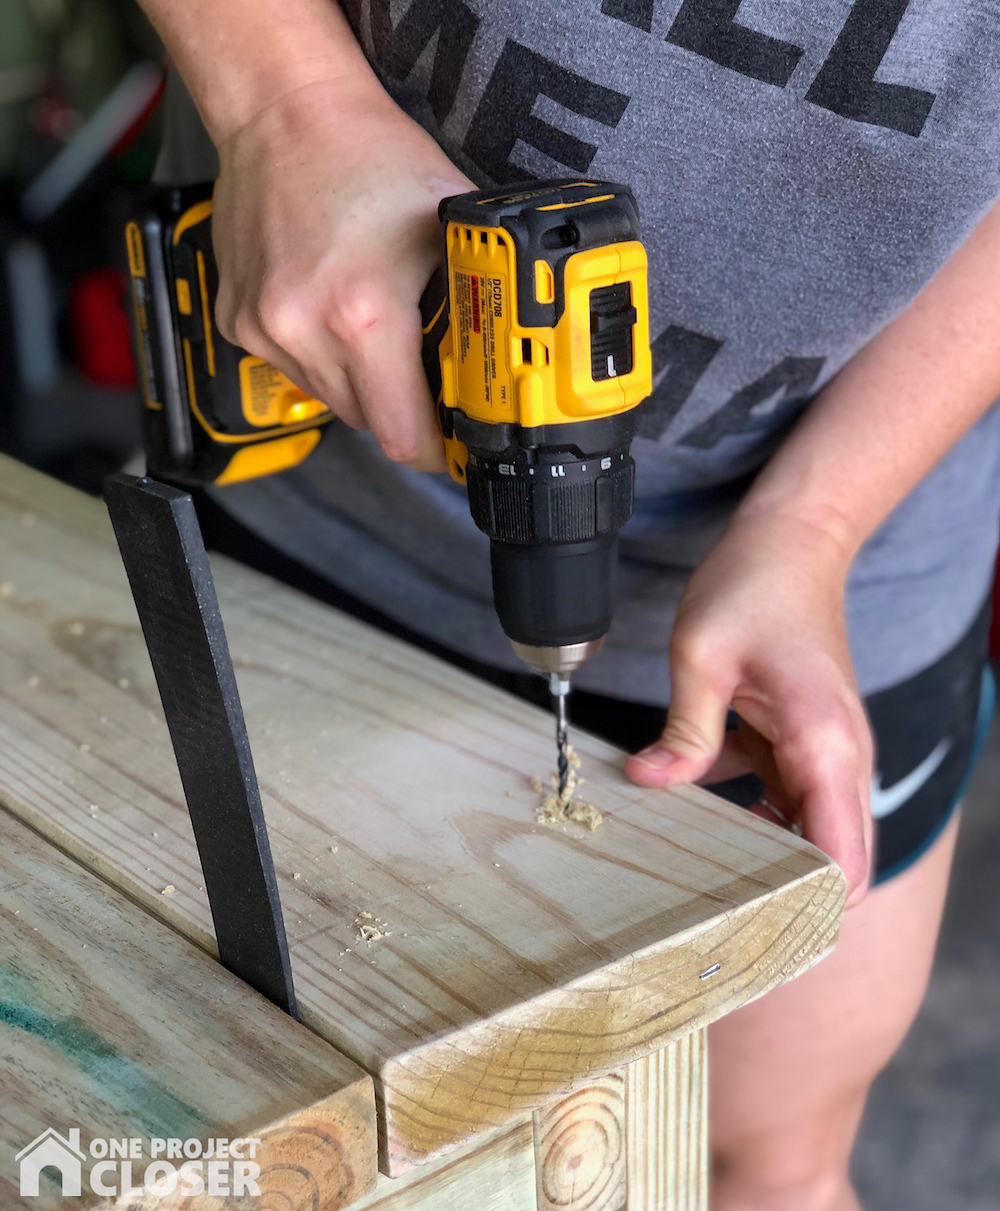
Build the apron (the rectangle box holding the tabletop) by forming a rectangle with the 46” boards on each side and the 25” boards on each end. Make sure each corner is square before drilling two holes per joint. Use wood glue between all joints before setting the screws.
I love the Dewalt ATOMIC 20-Volt MAX Lithium-Ion Brushless Cordless Compact Drill/Impact Combo Kit for projects like this; the drill for pre-drilling holes, and the driver for setting the long 3” screws with ease. I’m a big fan of the 2 batteries that complete the combo–I never stopped to swap out batteries or bits.
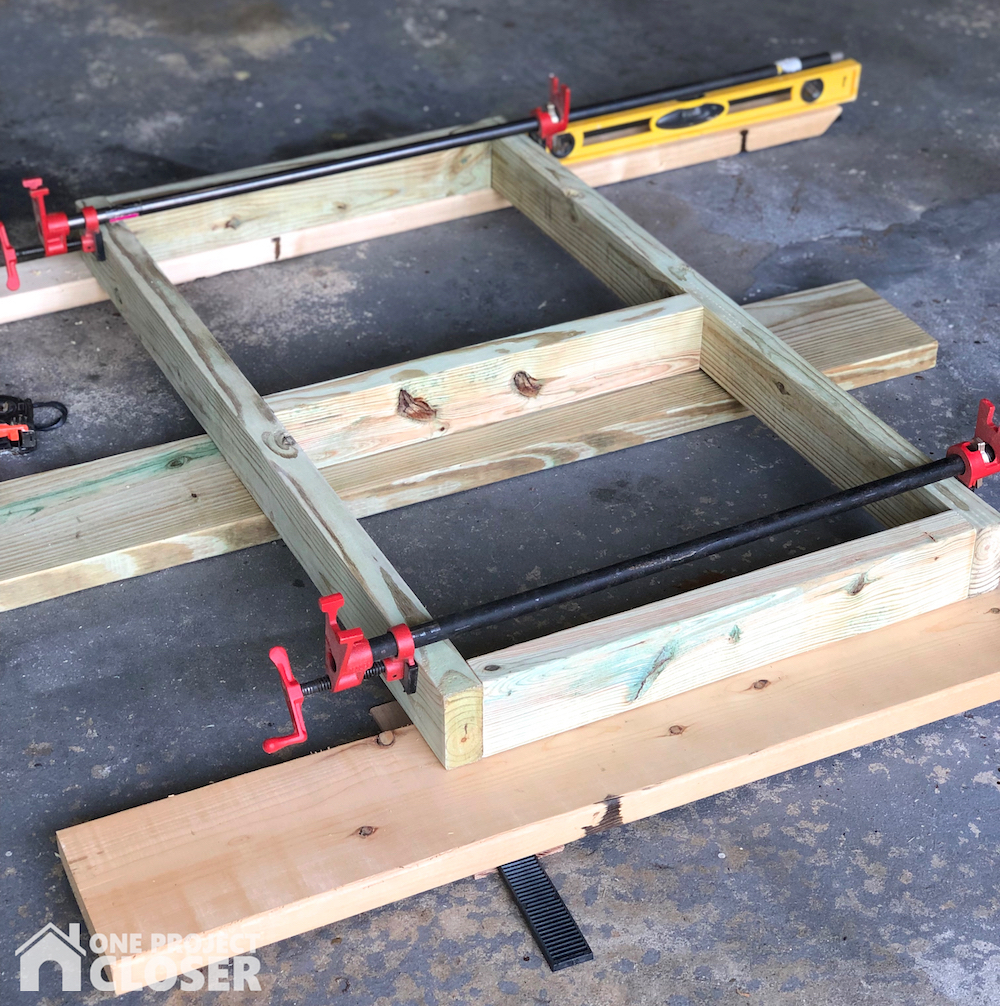
Note: if your work area is not level like mine, you can use extra pieces of wood and shims to make a level surface to build the apron on.
STEP FOUR
Add support for the tabletop by placing the two remaining 25” boards across the center of the apron at equal distances. Again, use wood glue and pre-drill holes before setting the screws.
STEP FIVE
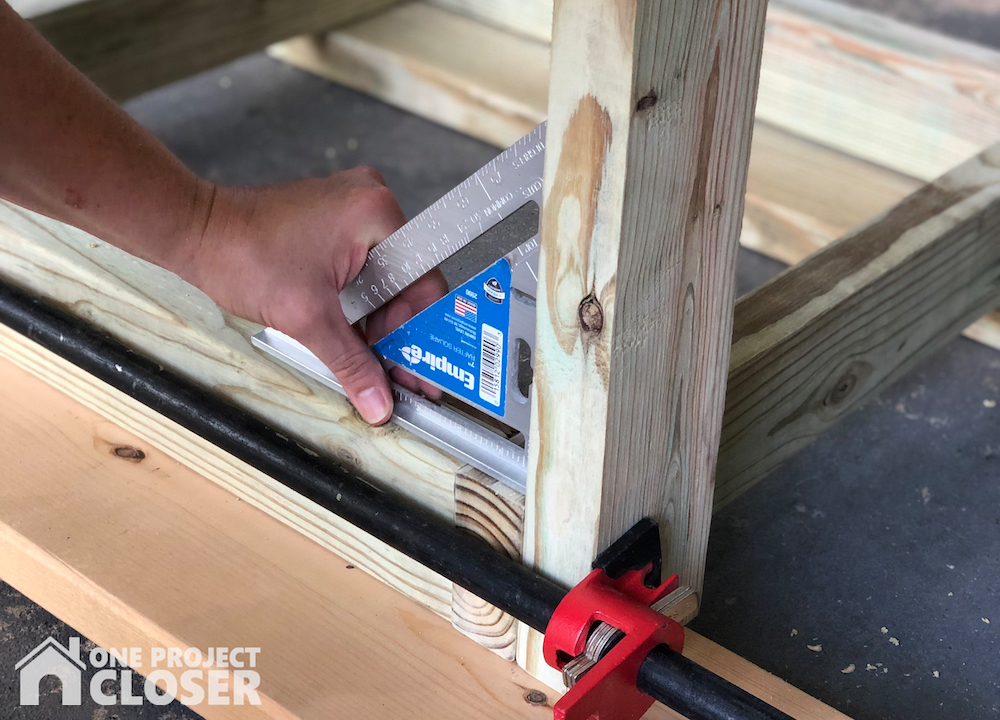
Attach the legs to the longer sides of the apron using wood glue and 4 screws on each leg. It’s easiest to have another person help you hold the leg square while you drill the holes and set the screws. Having a speed square made this much easier to ensure that the legs were square to the frame. If no one is around, you can use wood clamps to hold the legs in place while you drill. (Another option for attaching legs is to use 3 ½ “ lag bolts so that the legs can be removed in the future.)
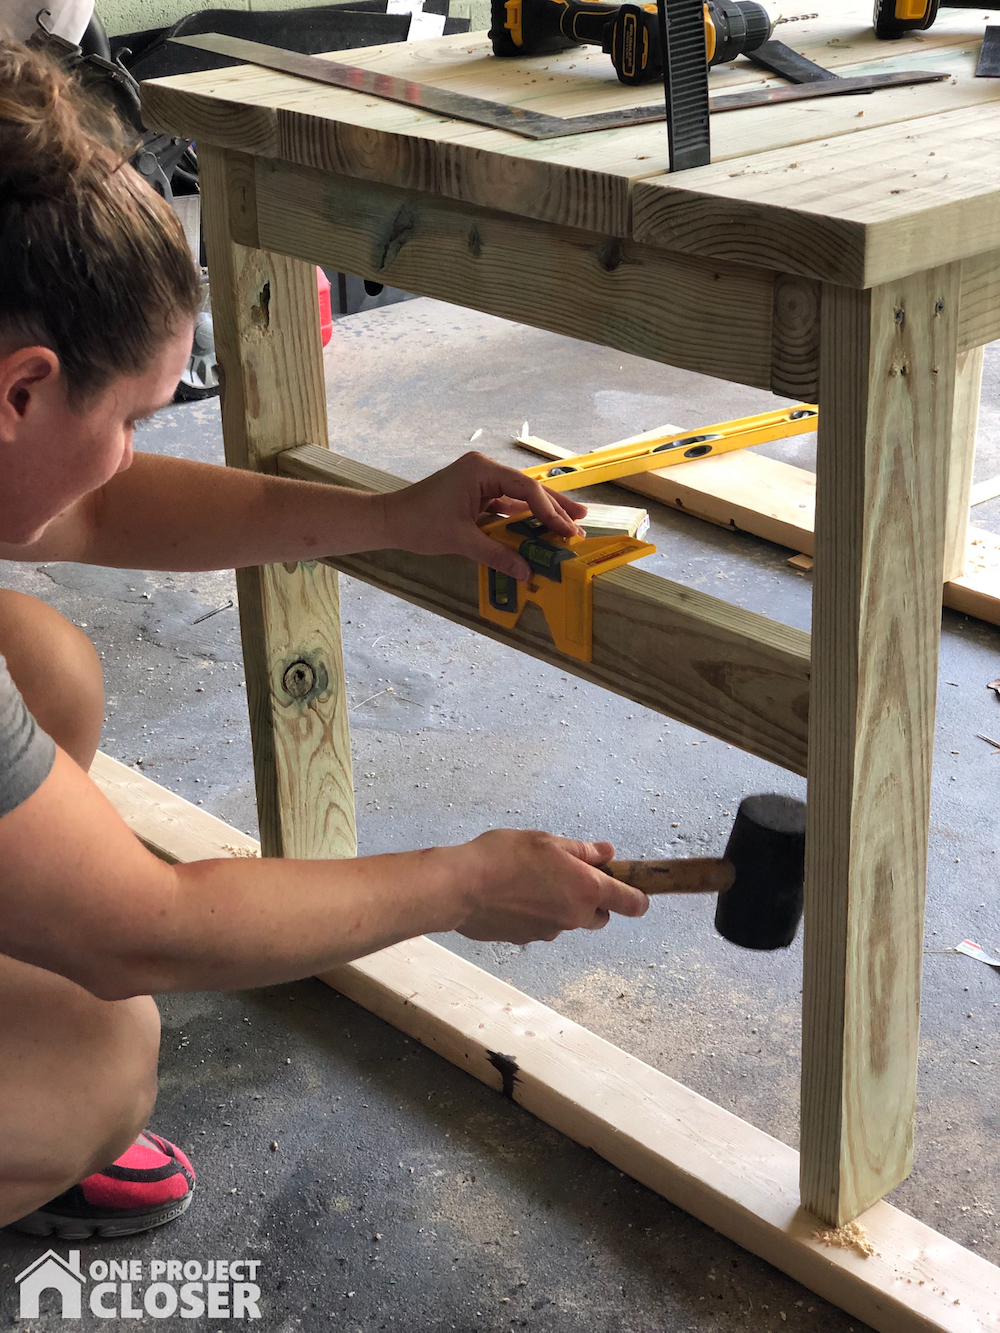
Finish this step by attaching the side stretchers for extra support between the legs; 2 screws and glue per joint. Make sure the stretchers are level before attaching.
STEP SIX
Build the tabletop. Once all the legs are attached, flip the table over and start attaching the tabletop boards. Before you start, examine your boards and face them with the best side up and sand off any rough edges.
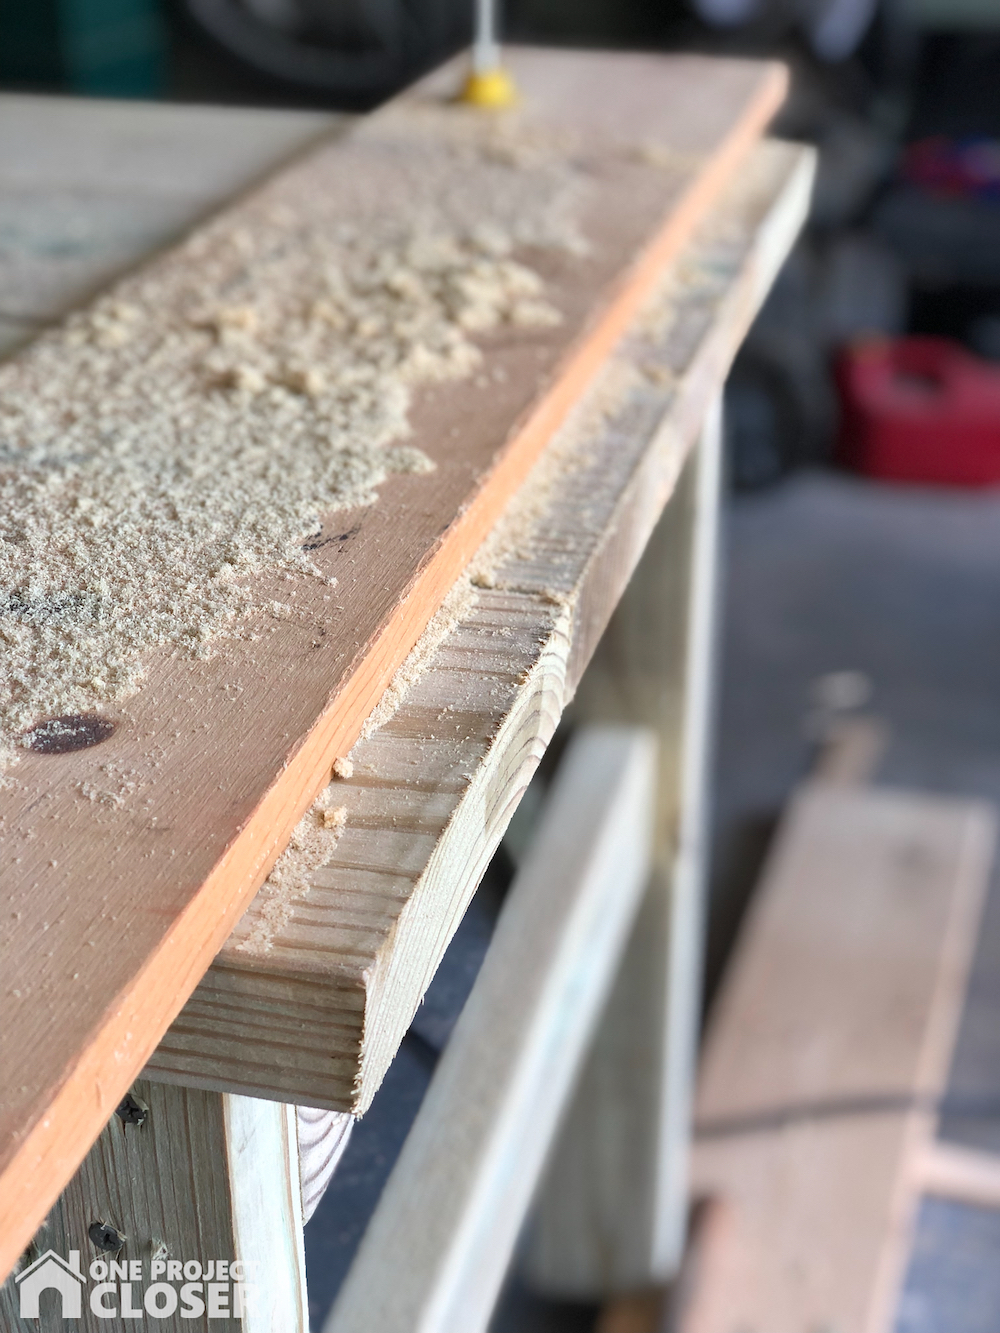
Also, in case your cuts were not perfectly even, place the boards so that one side is even—this way, you only have to rip one side when you’re done.
Use the screws and glue to fasten the tabletop pieces to the aprons and supports. Use spacers to leave about a ½” gap between boards while you attach them. (I like to use plastic shims or wooden paint stirrers as spacers).

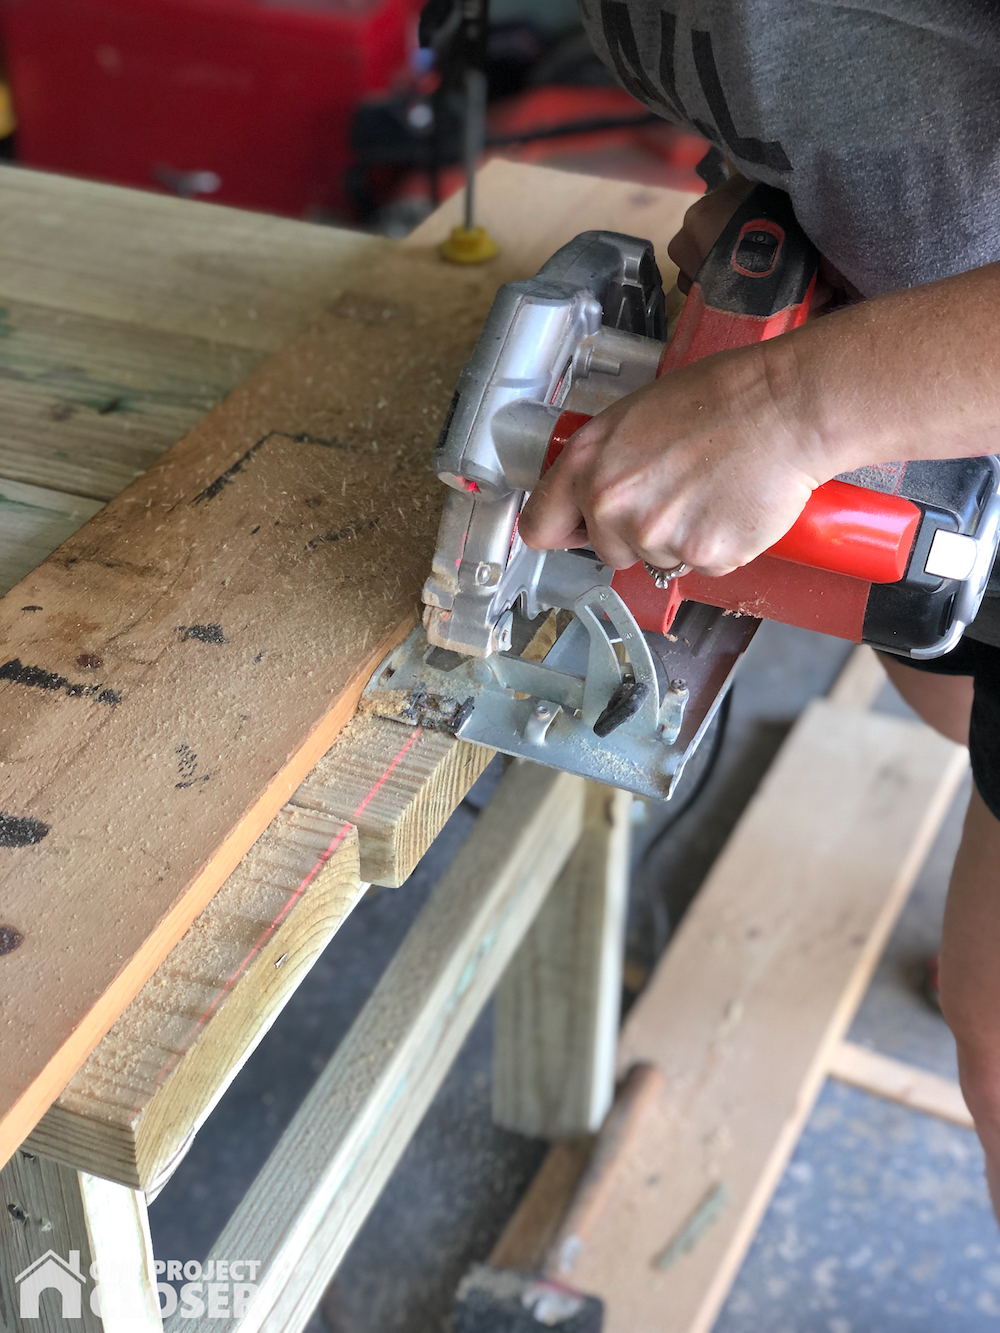
STEP SEVEN
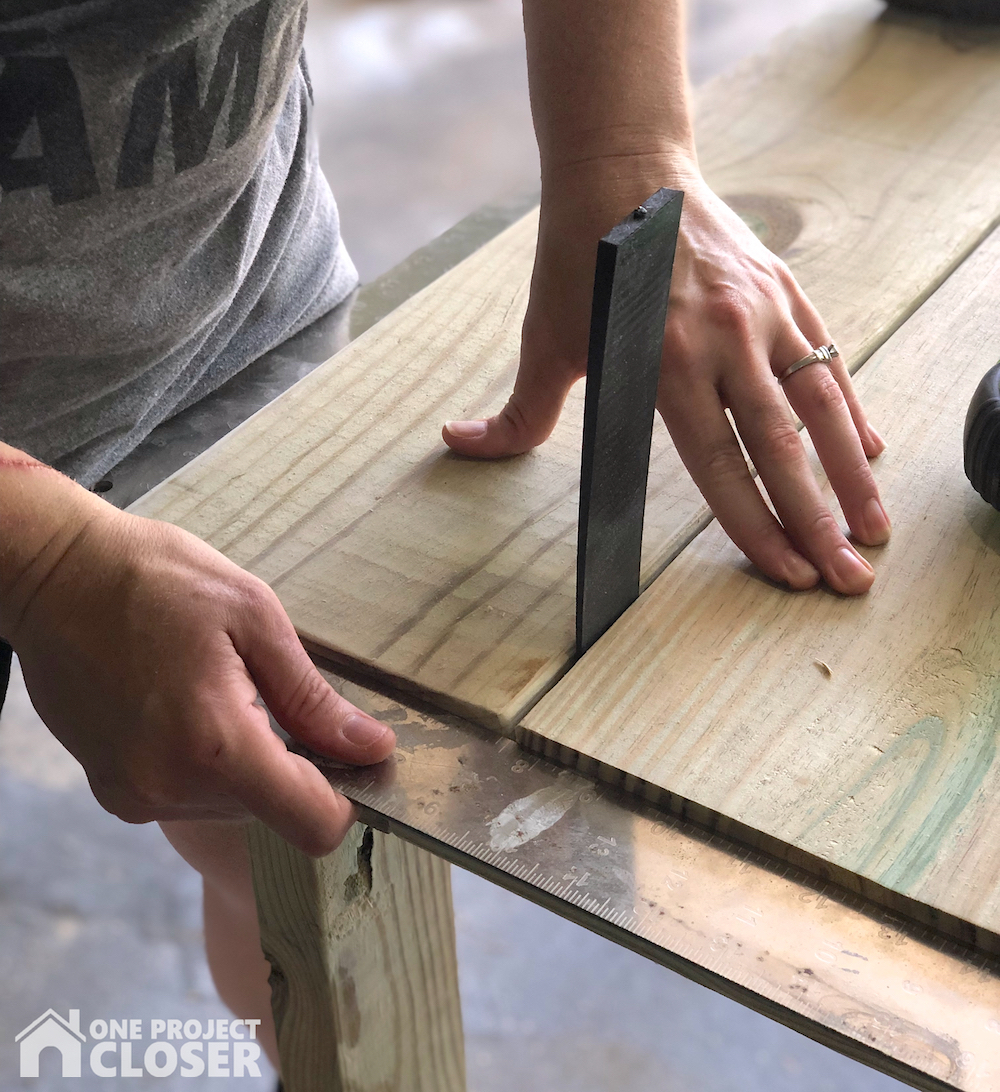
Even it up. If needed, use an extra board or long level as a guide for the circular saw, and rip the side of the tabletop that was uneven.
STEP EIGHT
Finish by sanding the tabletop and any other areas that need to be sanded.
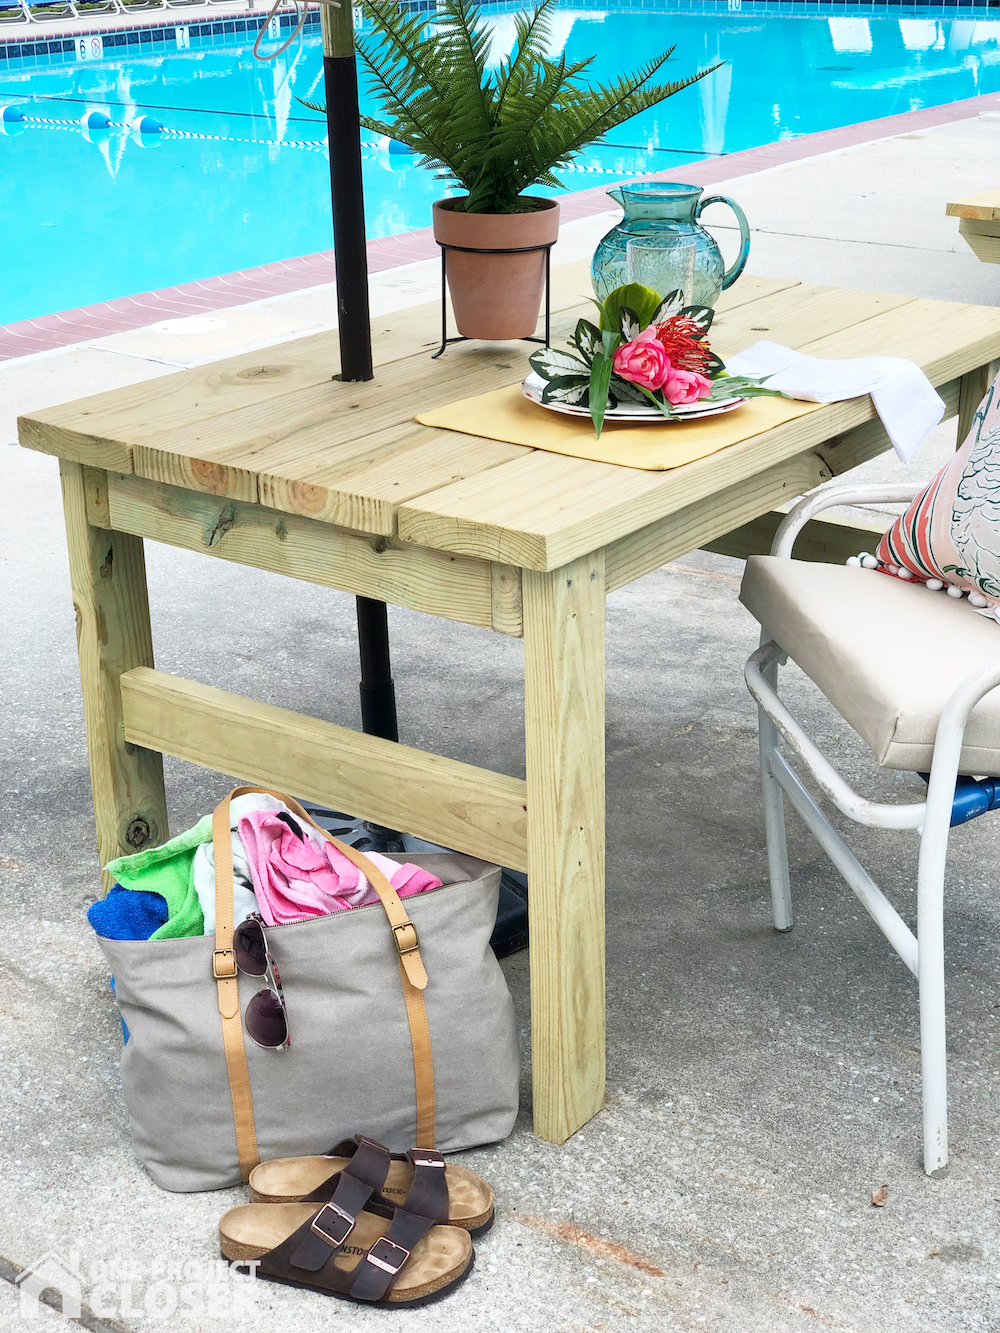
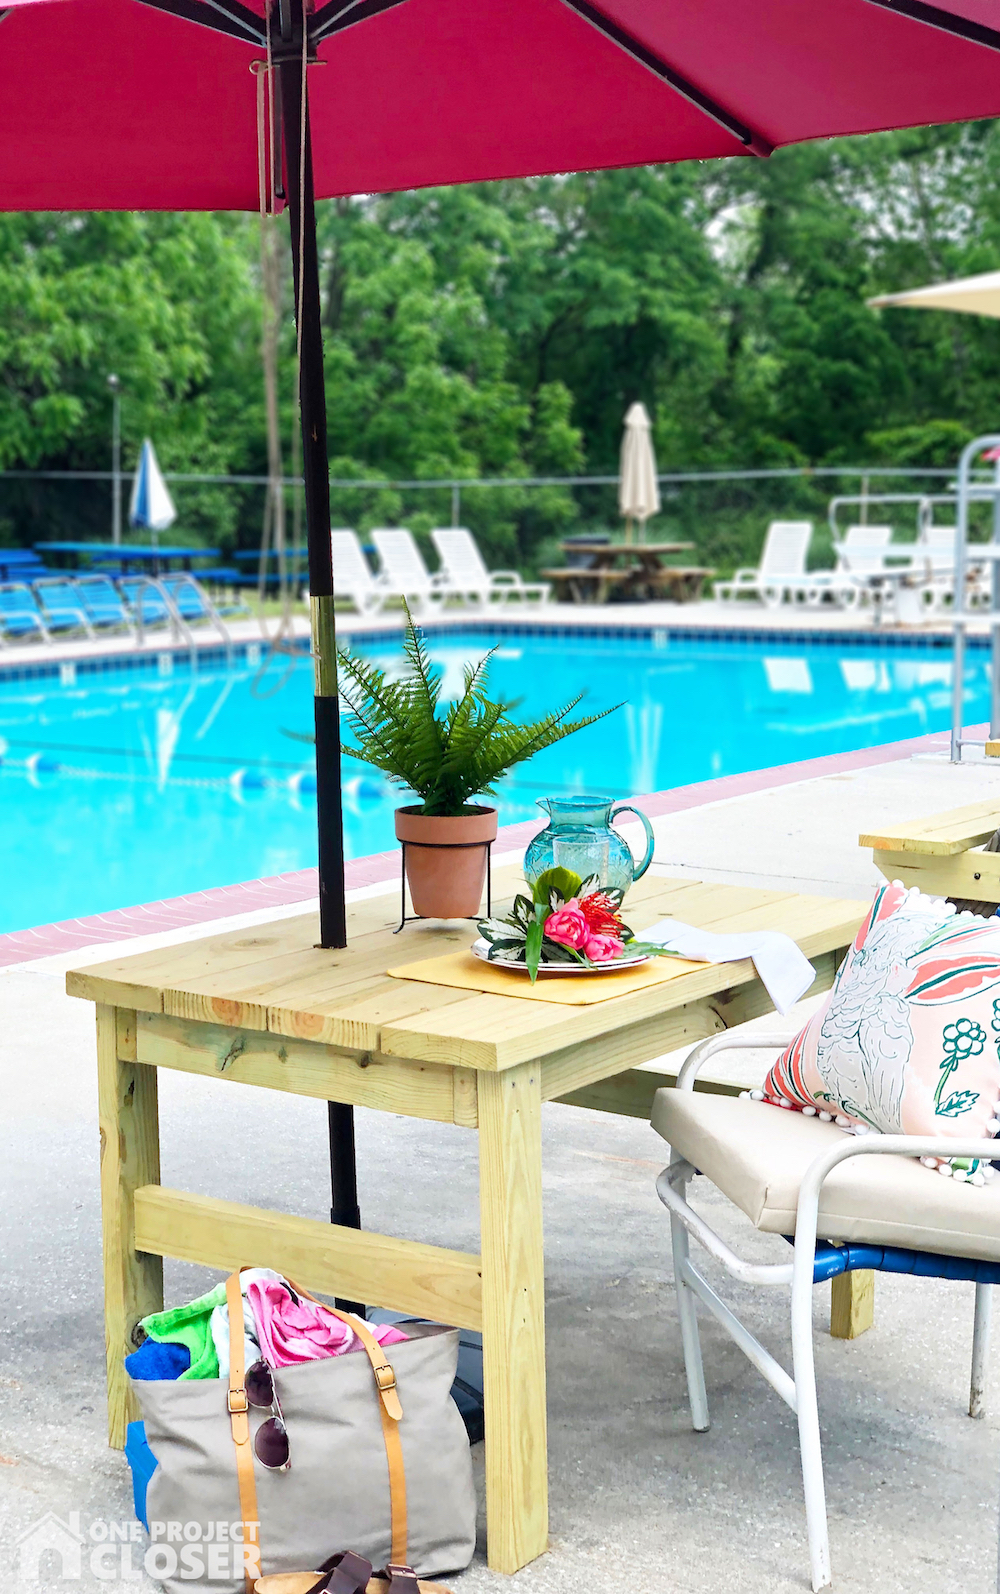
Most pressure treated wood needs to dry out before any stain or paint is added to it, so for now enjoy your table and those margaritas! In about 6 months to a year, apply an exterior grade stain or sealer to the table to make sure it will continue to look beautiful for years to come.
ENJOY!

Hi there, I’m Beth. I love power tools, getting my hands dirty and building beautiful things with them.
I’m a self-taught DIYer who appreciates simple design and classic style.

Do you have a plan for chairs
Are the stretchers in the cut list?
Just an FYI for anyone coming through this DYI that the pertinent stretchers are NOT included in the cut list!
[…] your outdoor space by building a DIY table with this straightforward guide from One Project Closer. Perfect for both seasoned DIYers and those new to woodworking, this project is achievable in about […]