
Thank you so much for joining us at One Project Closer for this tutorial on How Build a Regulation Cornhole Set. This post is sponsored by the Home Depot Prospective Campaign. Post may also contain affiliate links. Opinions (and typos) are 100% our own, and we appreciate you supporting our site in order to continue to provide free content to our readers.
If you know me, you know I love fun, semi-competative yard games. I enjoy playing kan-jam, boccee, and kubb. And of course, cornhole is right at the top of the list.
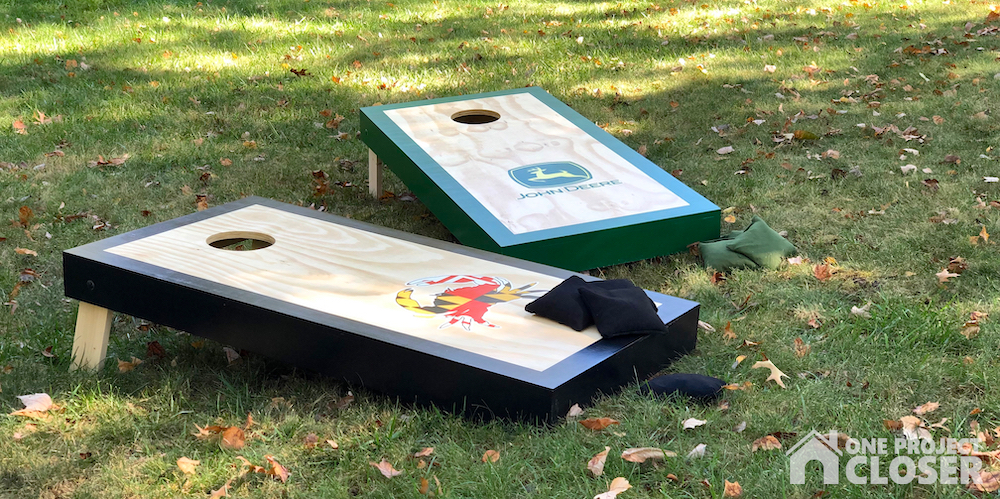
I’ve made several cornhole sets over the past few years, and each set gets a little bit better. Read on to learn what I recommend for materials, joinery and finishing.
DIY Cornhole Boards
Project Time: 5hrs plus dry time
Cost: About $80 depending on what decals and bags you buy
Difficulty Level: Moderate
Materials Needed:
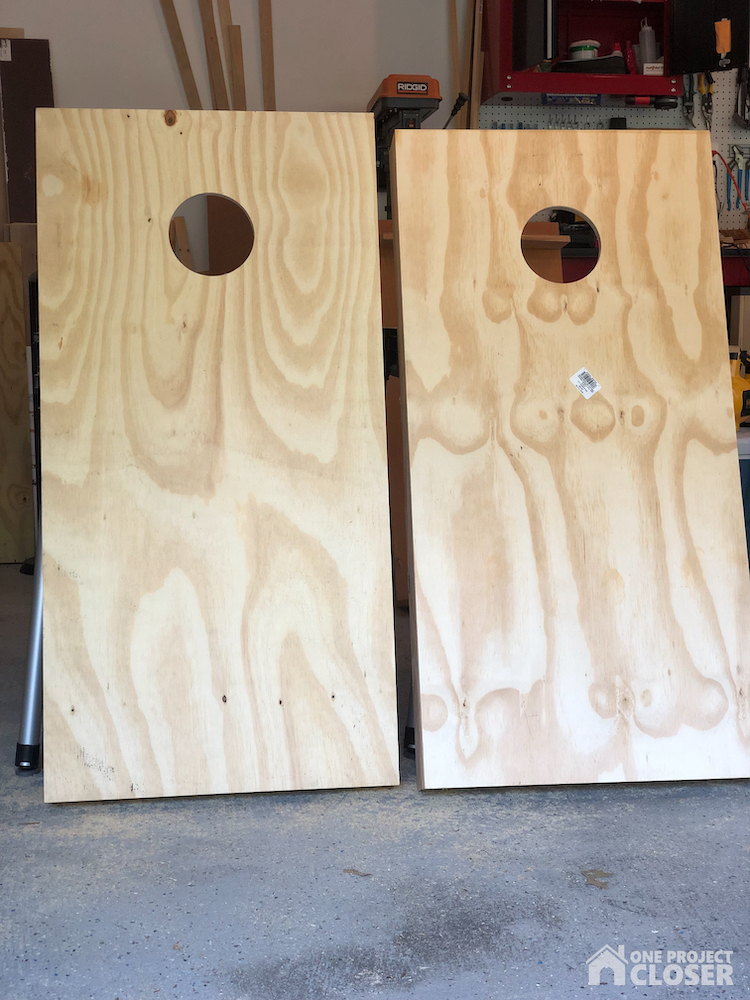
You can make cornhole boards out of a variety of materials. What I’ve found works best is 3/4″ plywood. 2x4s or 2x3s for the frame will often warp causing the boards to lay uneven. Thinner plywood is lighter, and that’s a good thing when you’re lugging the boards around. However, 1/2″ plywood will bounce a bit when you’re playing.
- (3) sheets of 2×4′ 3/4″ plywood
- Pocket-hole screws
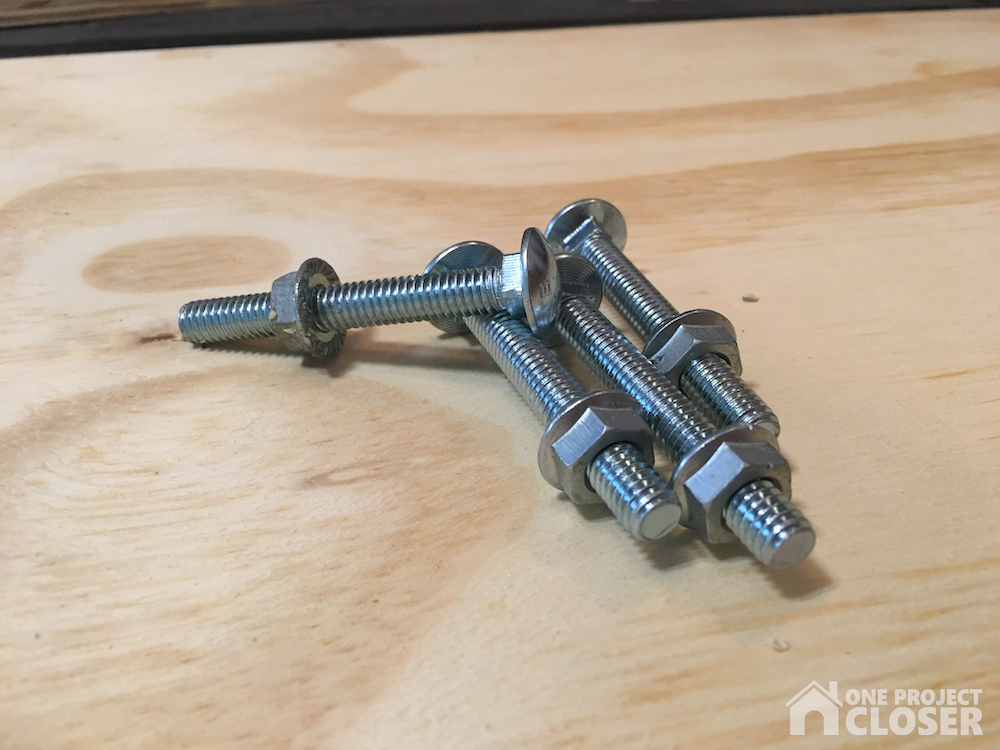
- (4) carriage bolts
- (8) nuts and washers
- Scrap wood for the legs
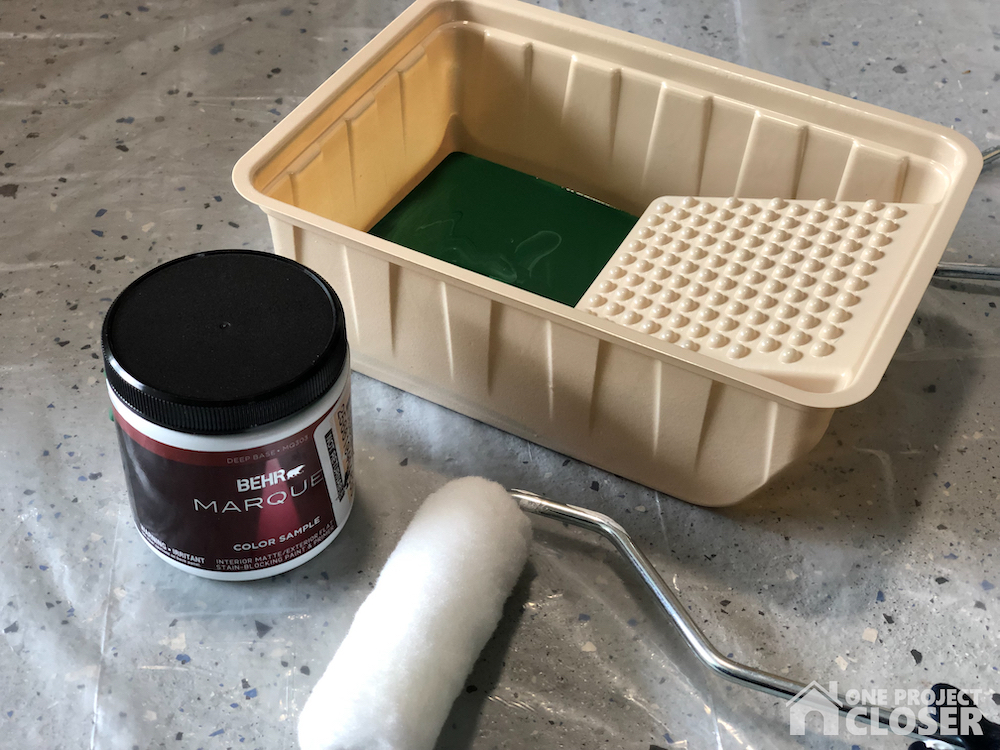
- Two paint samples (to coordinate with your cornhole bags and design)
- Two foam rollers + foam brush
- Blue tape
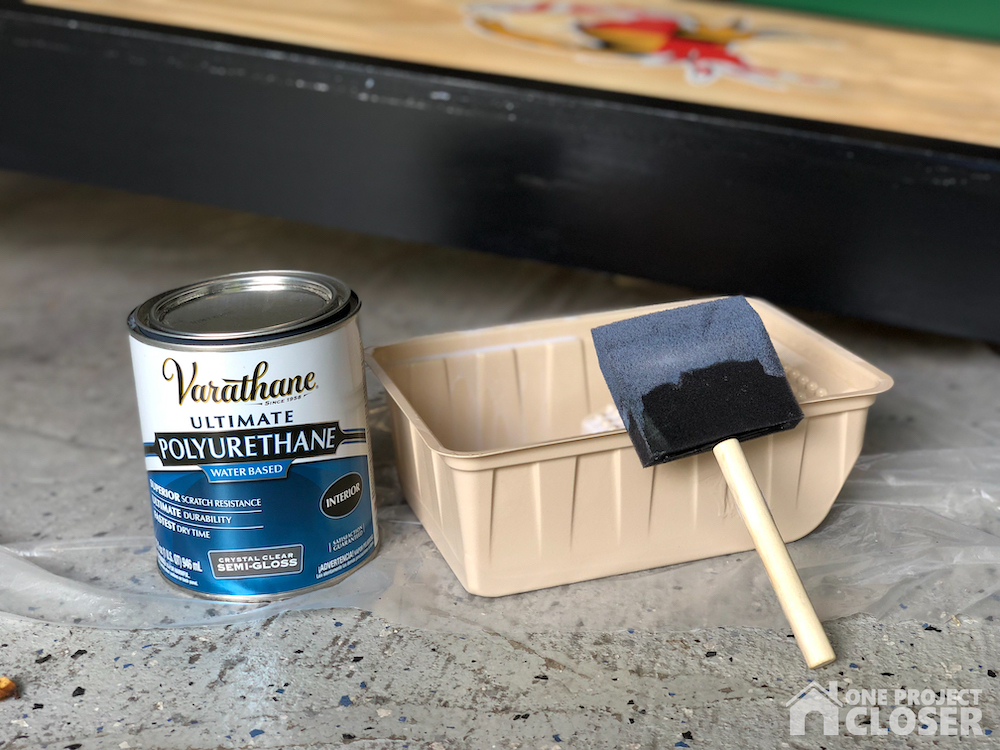
- Polycrylic or polyurthane
Tools Needed:
- Impact driver
- Drill
- Clamps
- Pocket-hole jig
- Sander
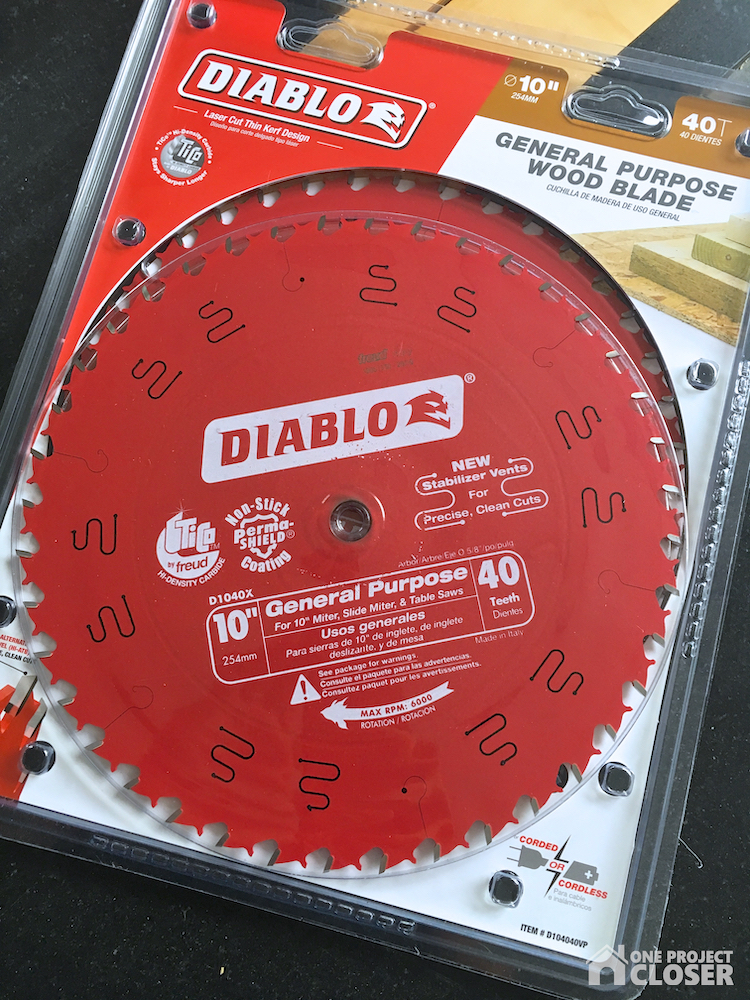
- Table saw with Diablo 10 in. x 40-Tooth General Purpose Saw Blade
- Hole saw, router or jigsaw
Be sure to check out our amazing Home Depot Coupons before you buy to save yourself some money!
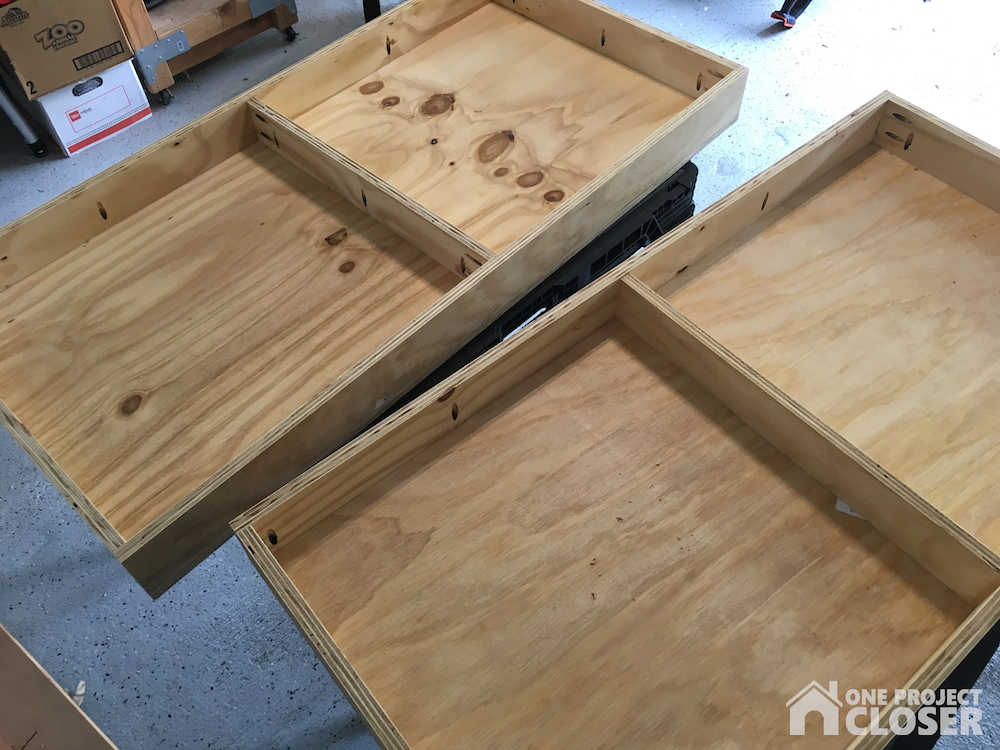
STEP 1: Build the sides
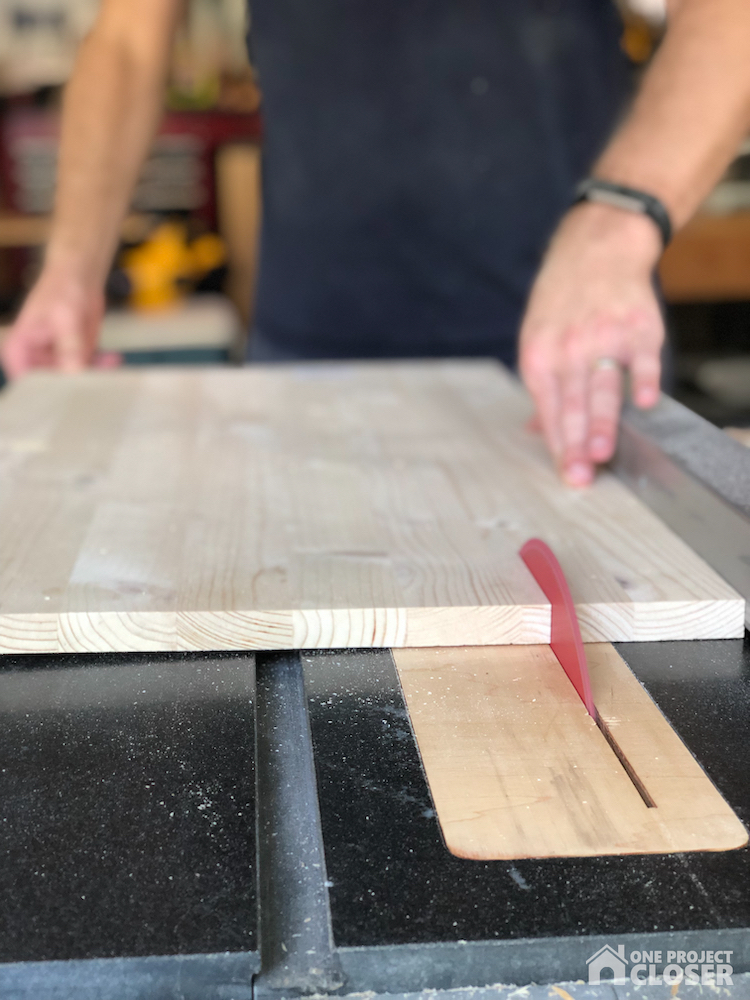
Grab one sheet of plywood, and start by cutting all your side pieces. Regulation cornhole boards are 2-1/2″ to 4″ tall at the front edge. Pick a height for all your side pieces, and don’t forget to account for the thickness of the plywood face. You will be able to cut all side pieces plus two cross supports from one sheet of 2×4′ plywood.
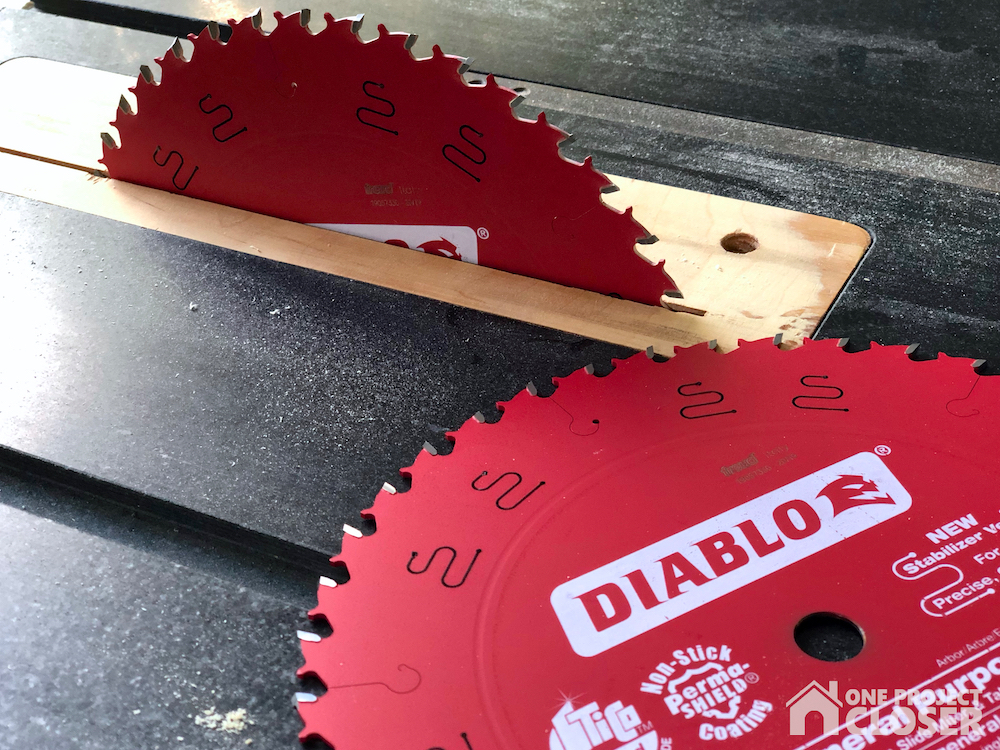
I used a 10′ Diablo blade on my tablesaw, and I was really pleased with the results. You can pick up a two-pack of these blades for about $30 from Home Depot, and they cut a variety of materials – plywood, OSB, pressure-treated, and more.
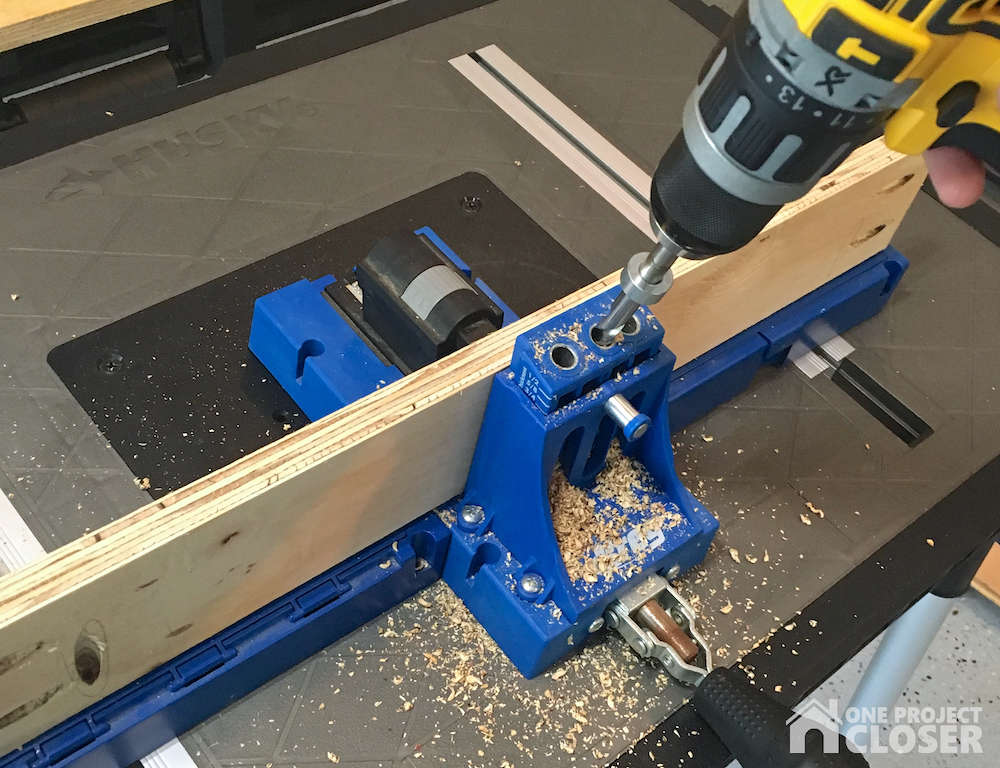
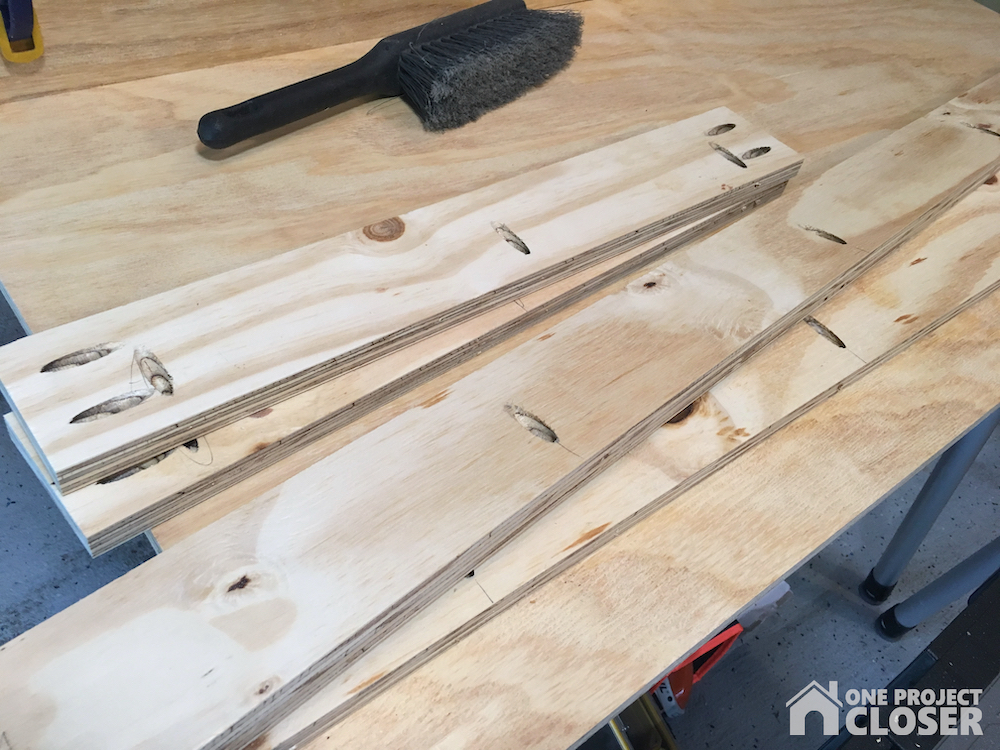
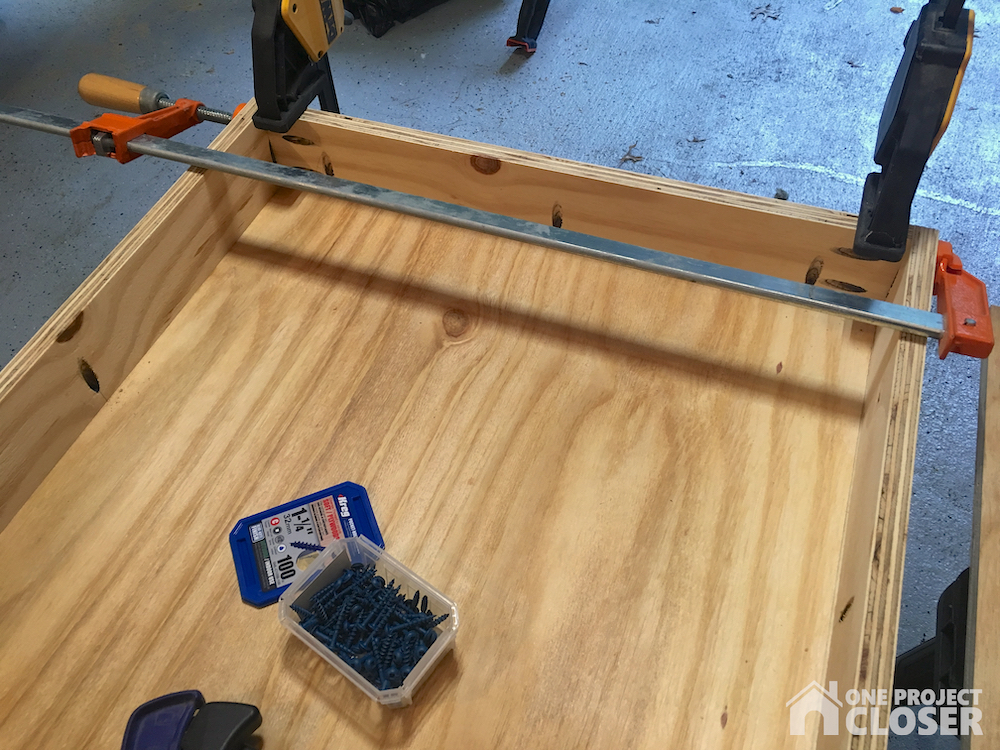
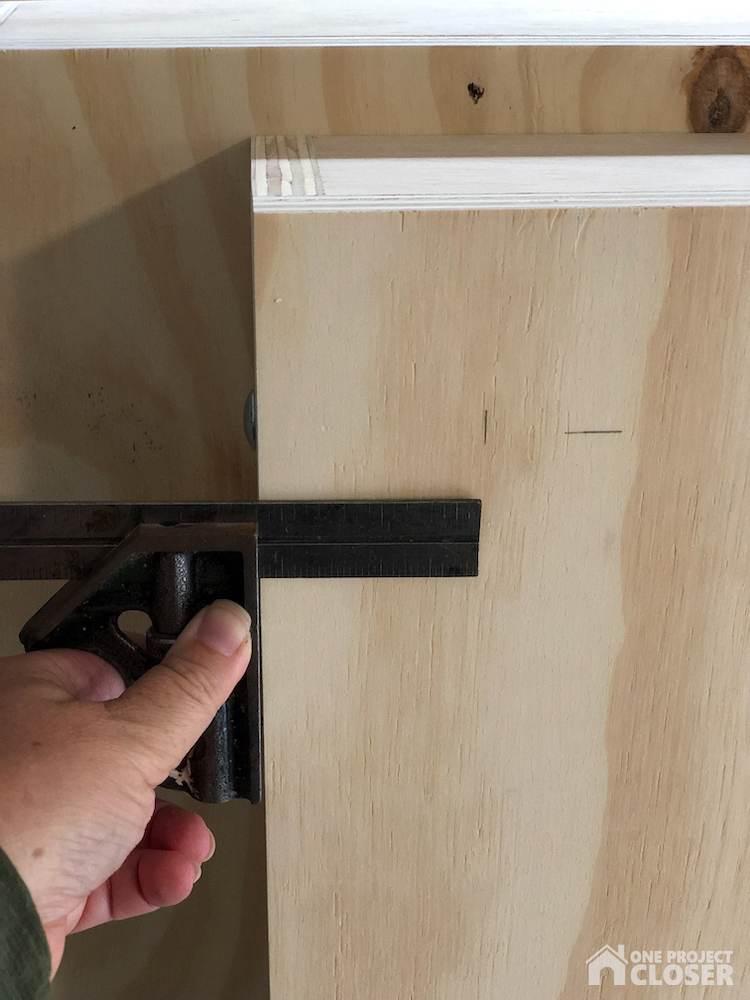
STEP 2: Attach sides and cross supports
Drill pocket-holes into the side pieces and cross support. I used 5 screws on each of the long sides and 7 on each of the short sides and cross supports (4 going into the adjacent side pieces).
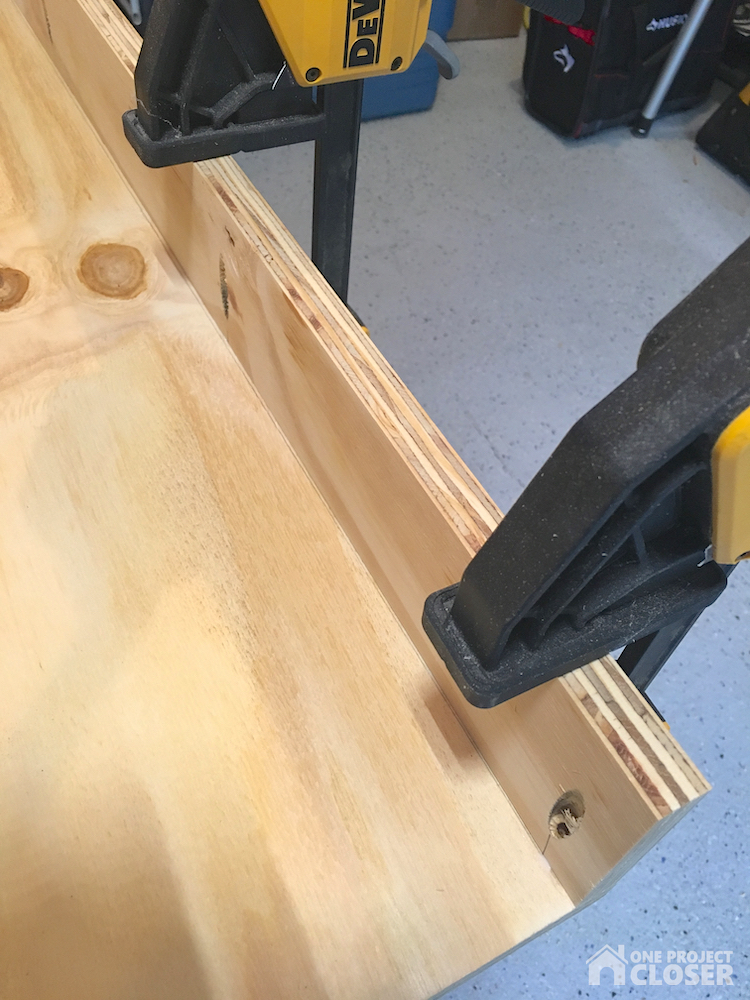
I like to securely clamp all my workpieces before screwing them in place. It helps keep surfaces flush. You can use wood glue if you want but it’s not necessary.
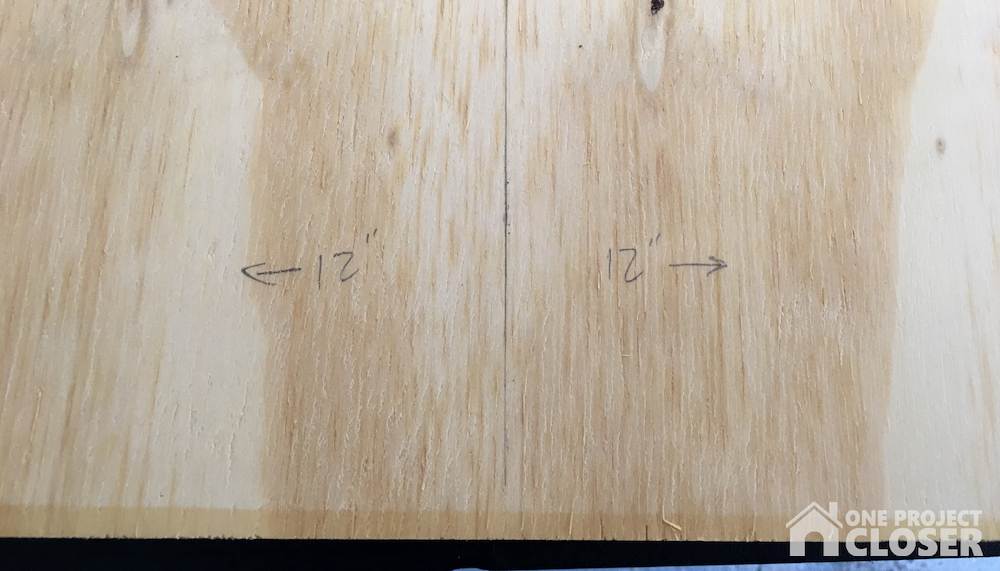
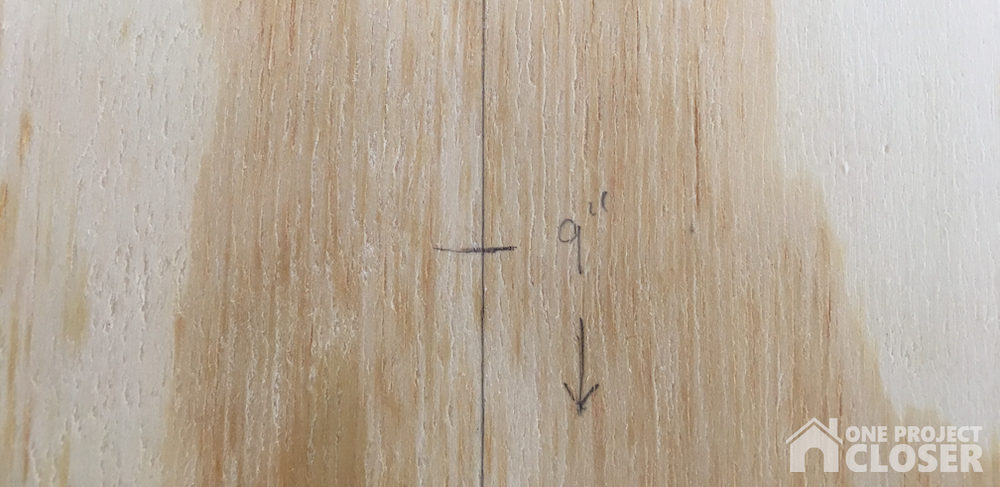
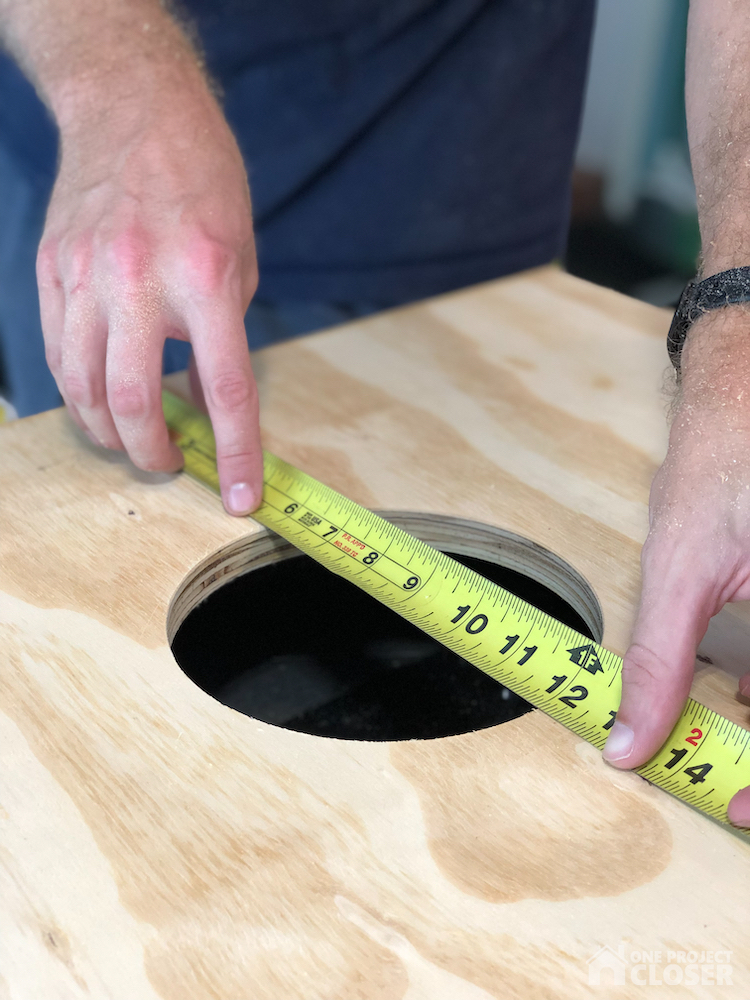
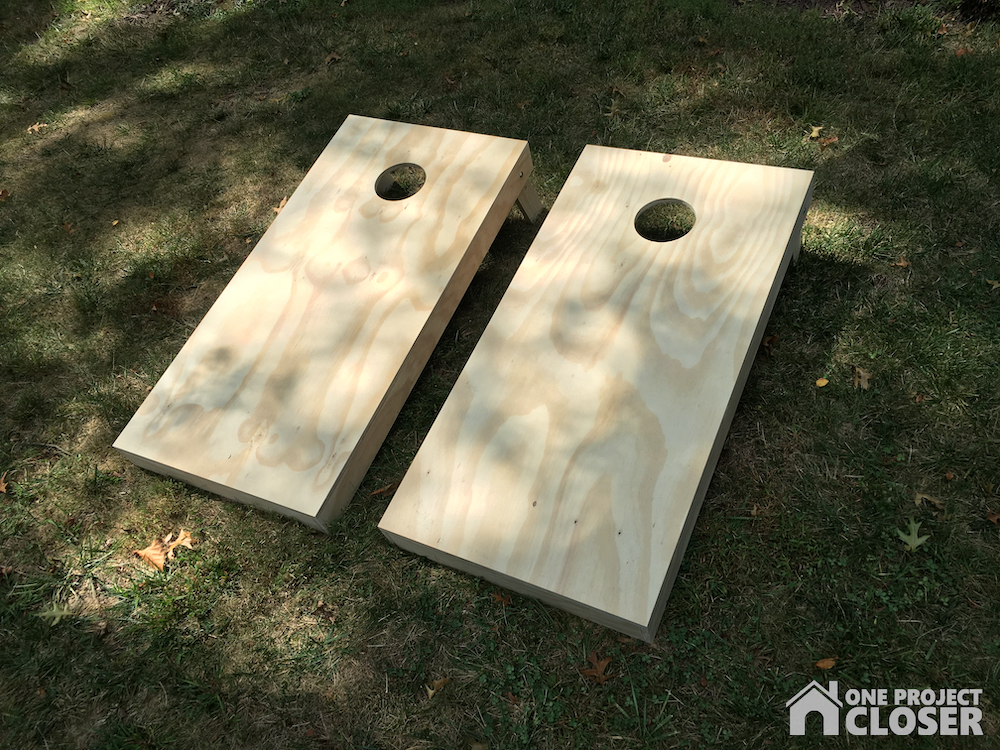
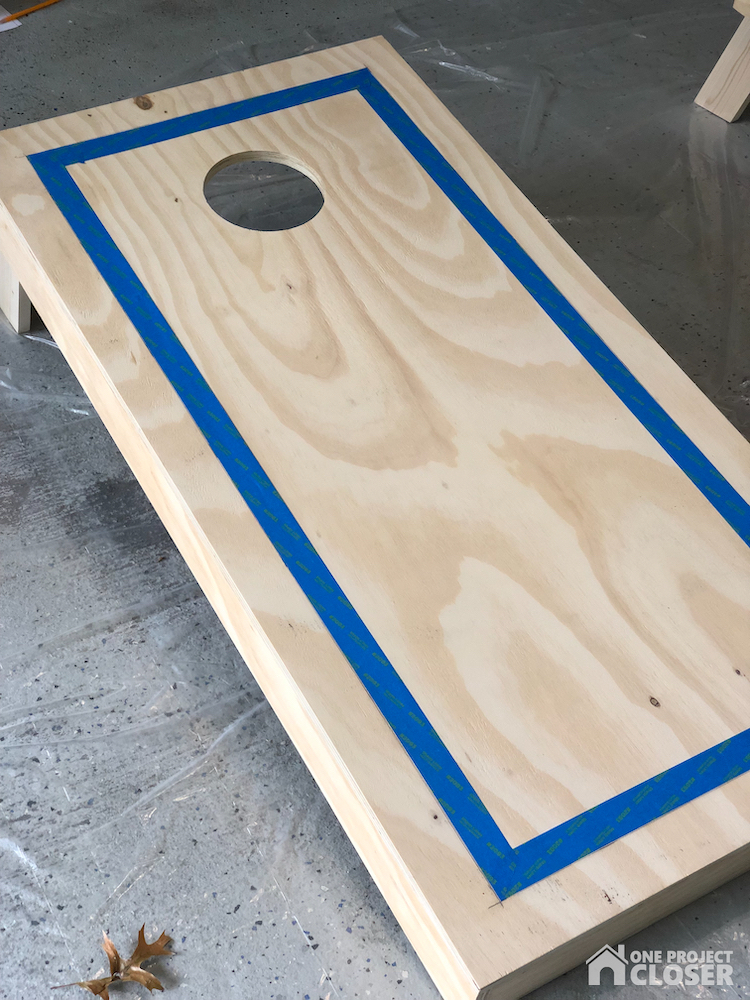
STEP 3: Cut the hole
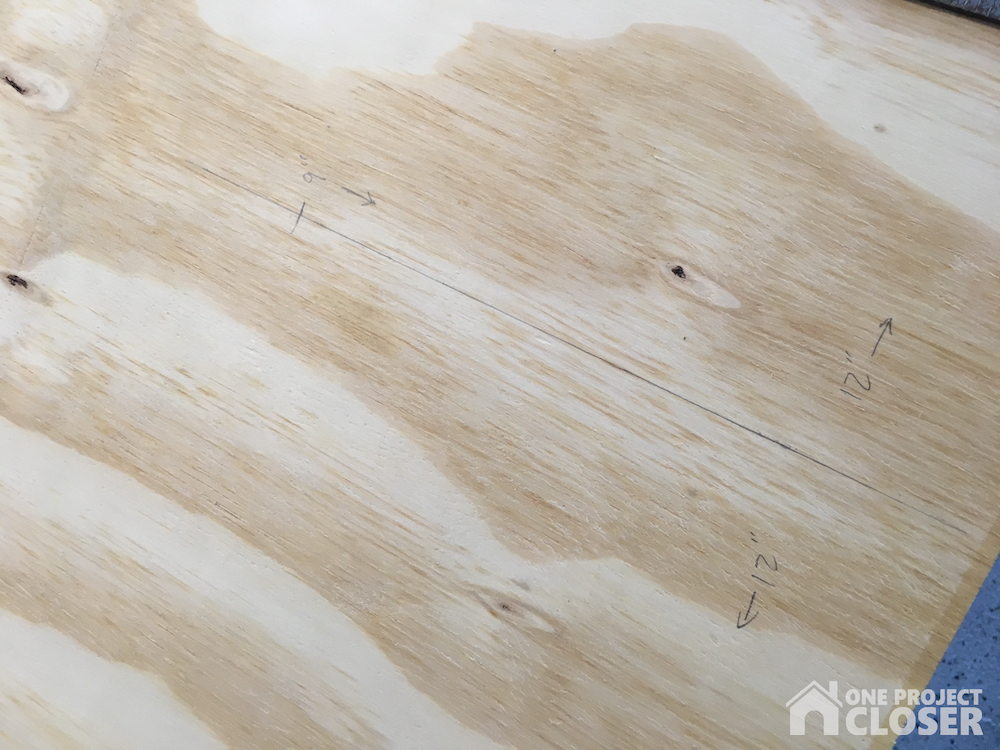
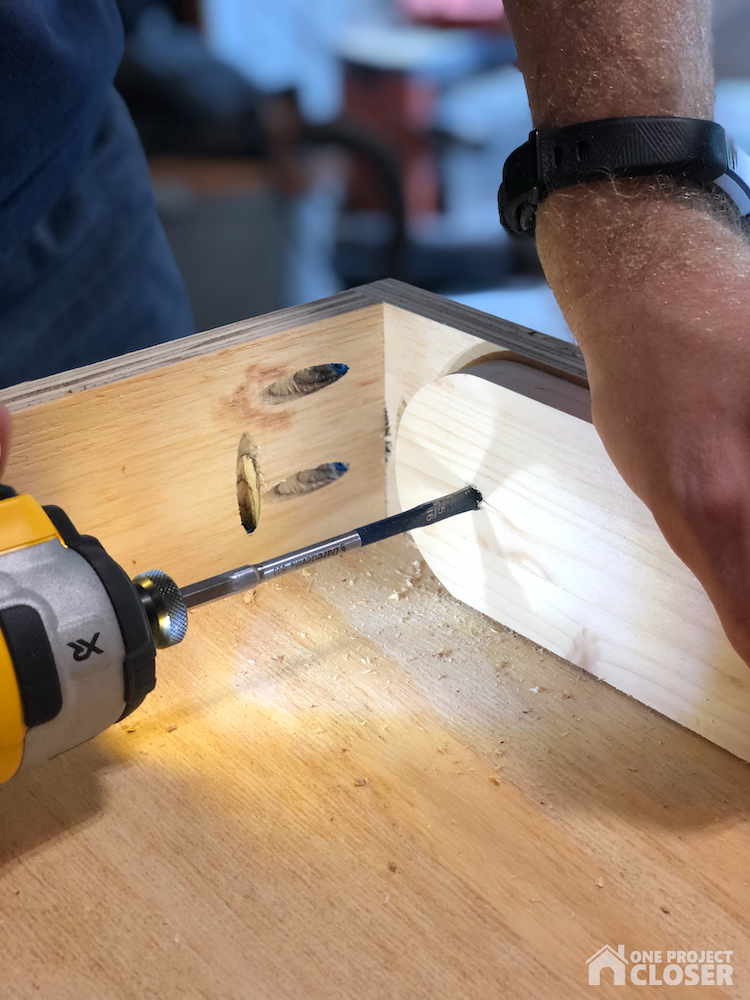
You need to cut a 6″ diameter hole in the boards. This hole will be evenly spaced left-to-right and the center of the hole will be 9″ from the back edge. The easiest way to cut the hole is with a 6″ hole saw. I don’t have one, and none of my friends do either (I checked!). You can cut the hole with a jigsaw, and if you do this, I recommend cutting a little smaller and then sanding.
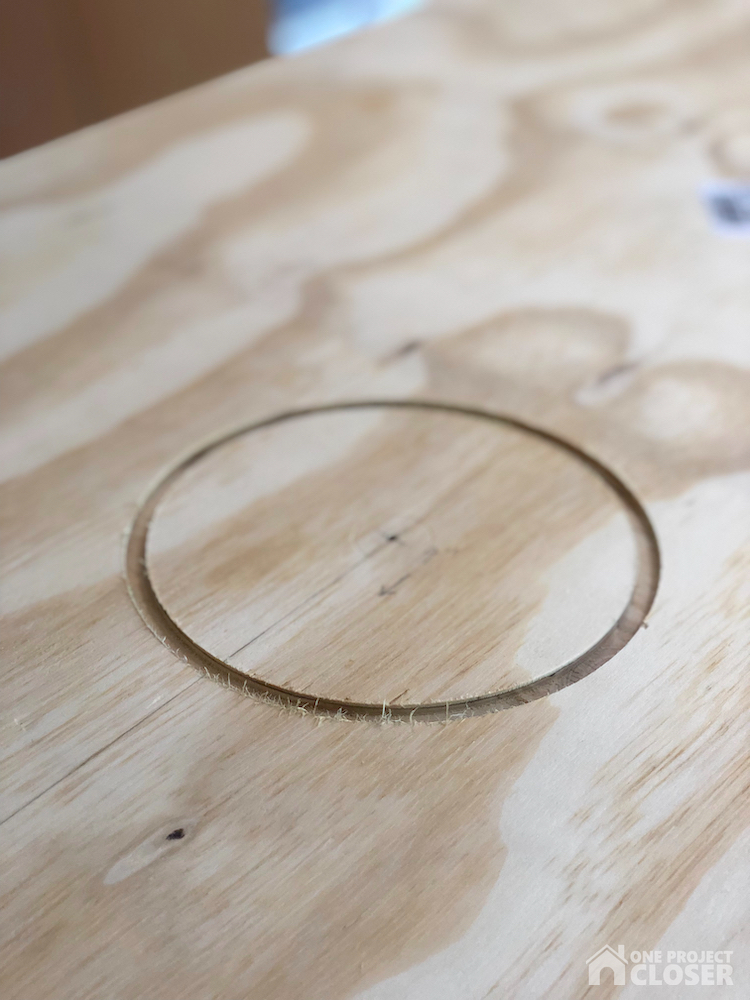
I built a quick circle jig for my palm router.
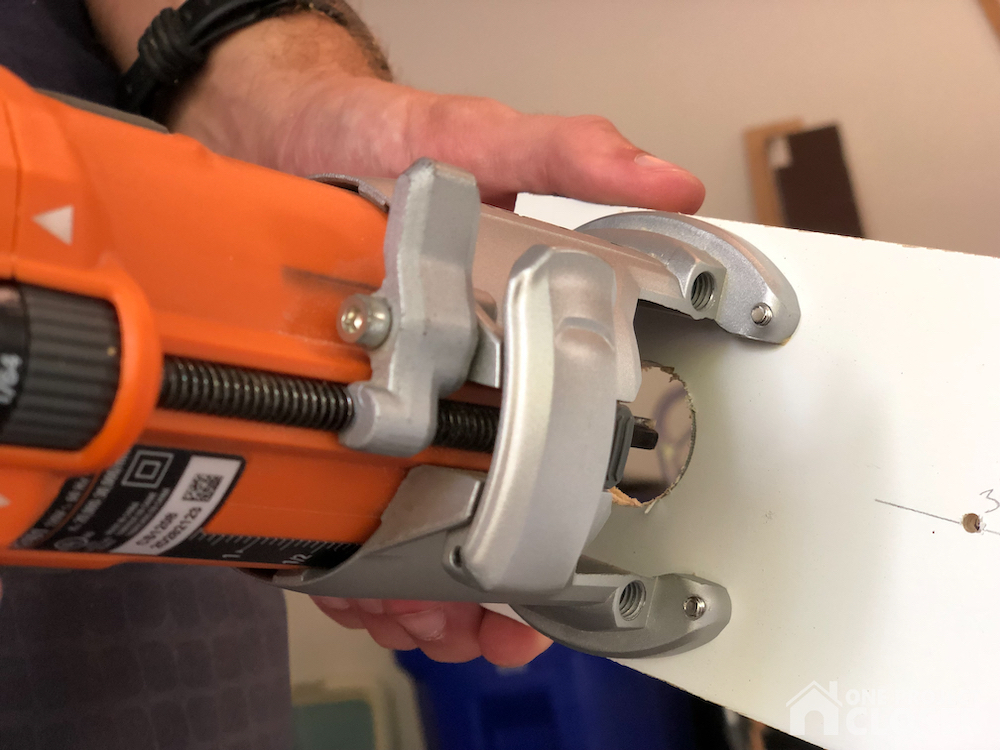
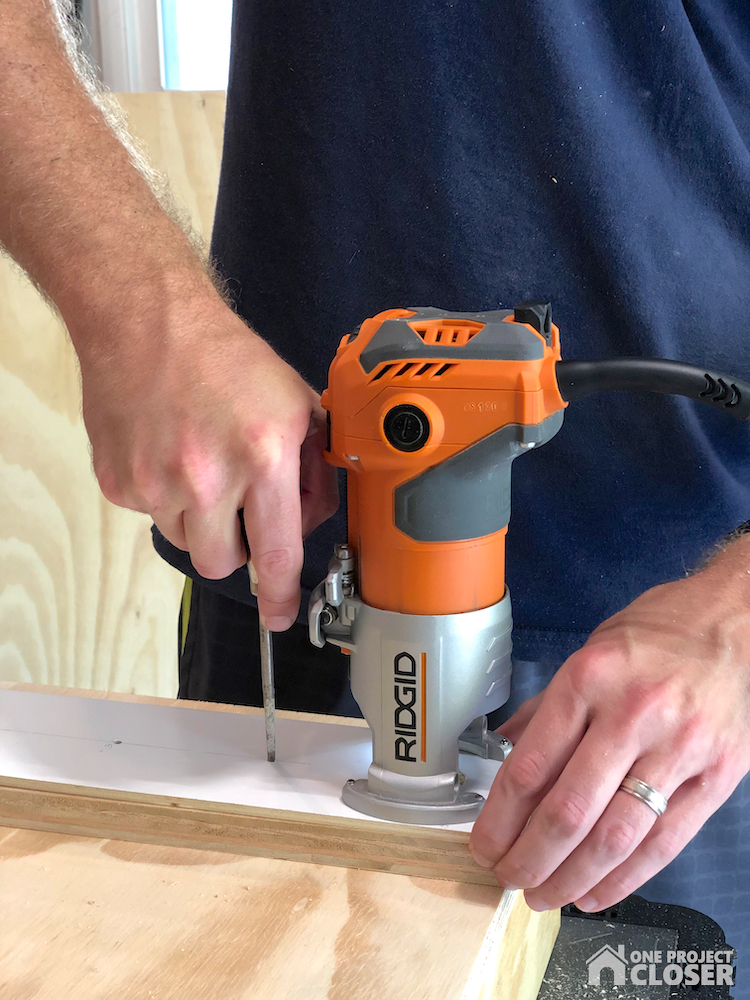
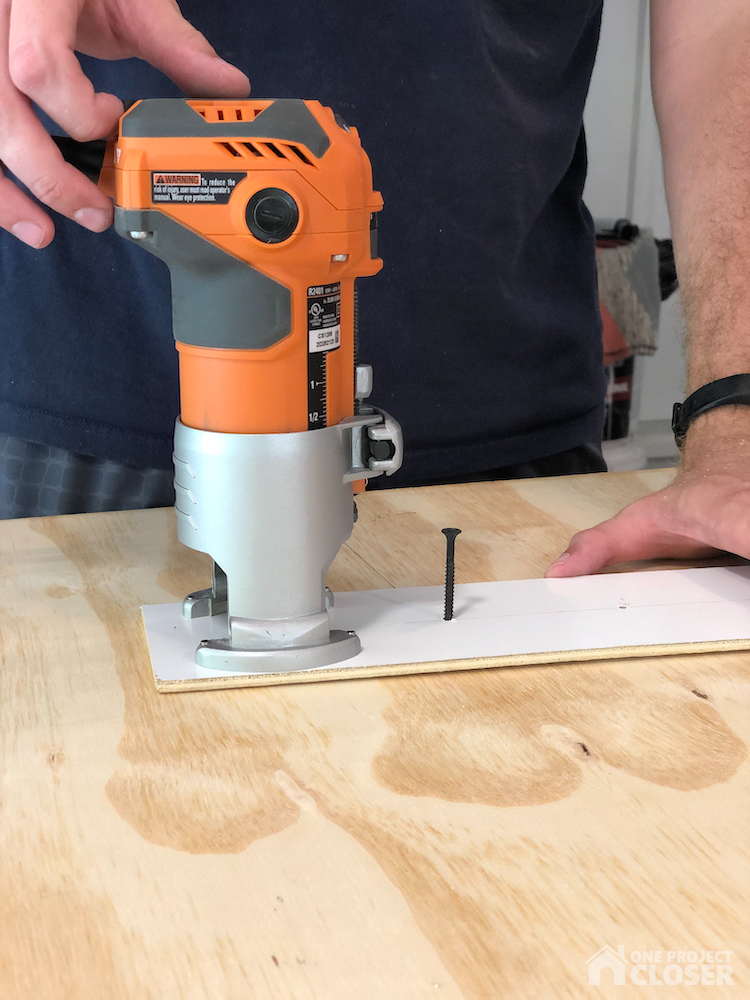
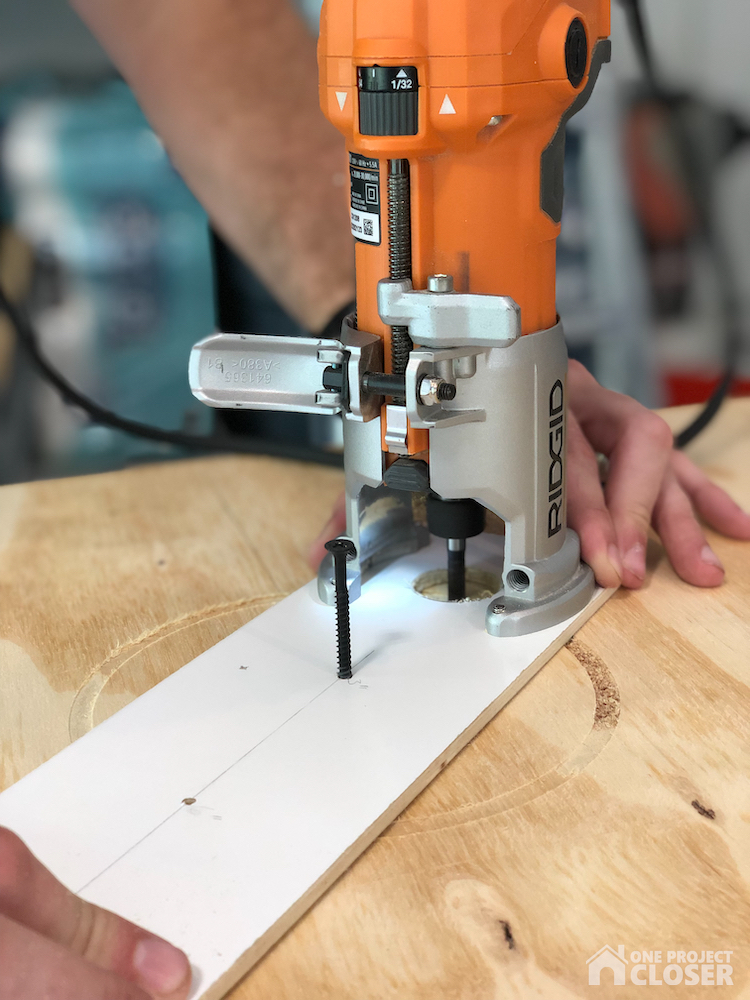
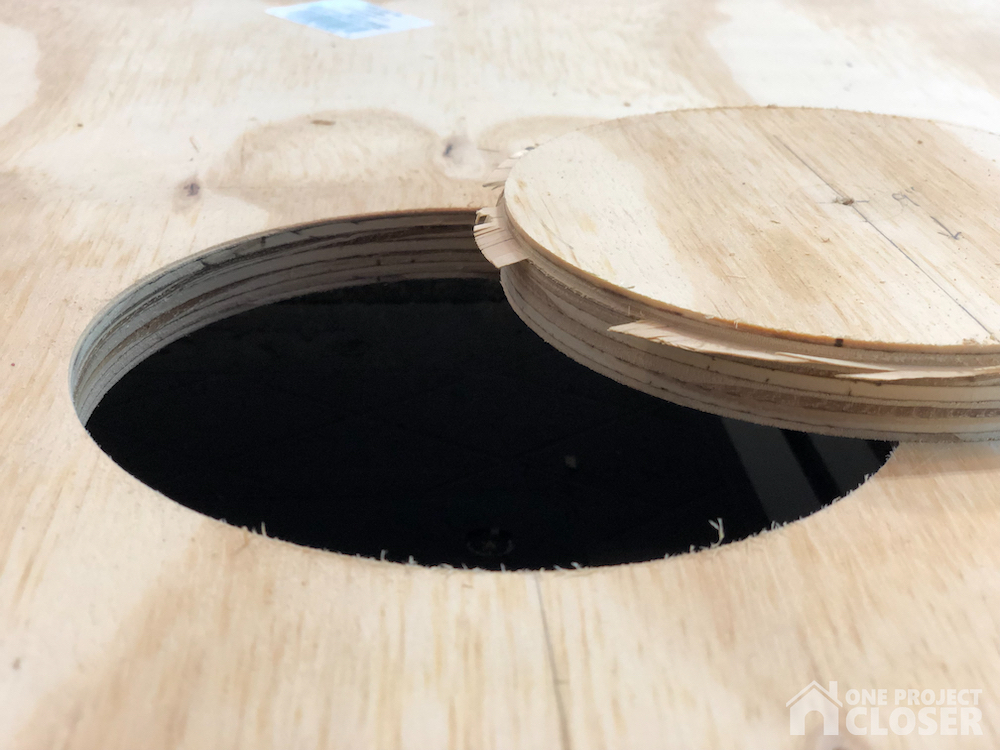
I made a few passes on the face of the cornhole boards and then completed the cut from the backside. Make shallow passes for a nice cut.
STEP 4: Build the legs
Building the legs may be the trickiest part of the whole process because you want the back edge right at 12″ off the ground. Here’s how I tackle this part.
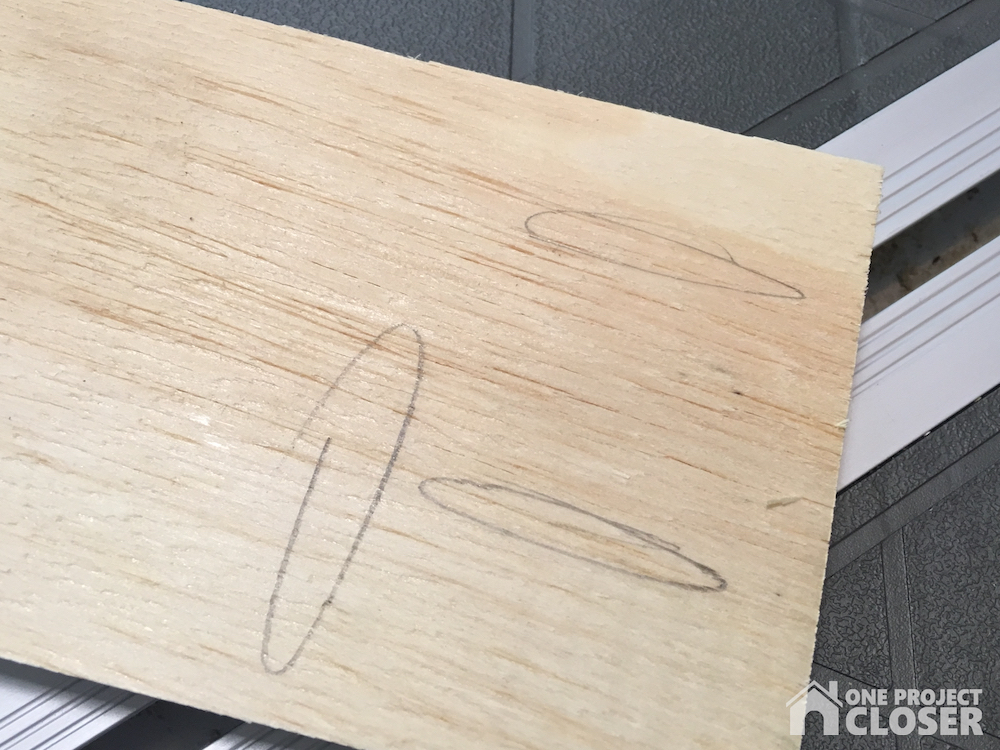
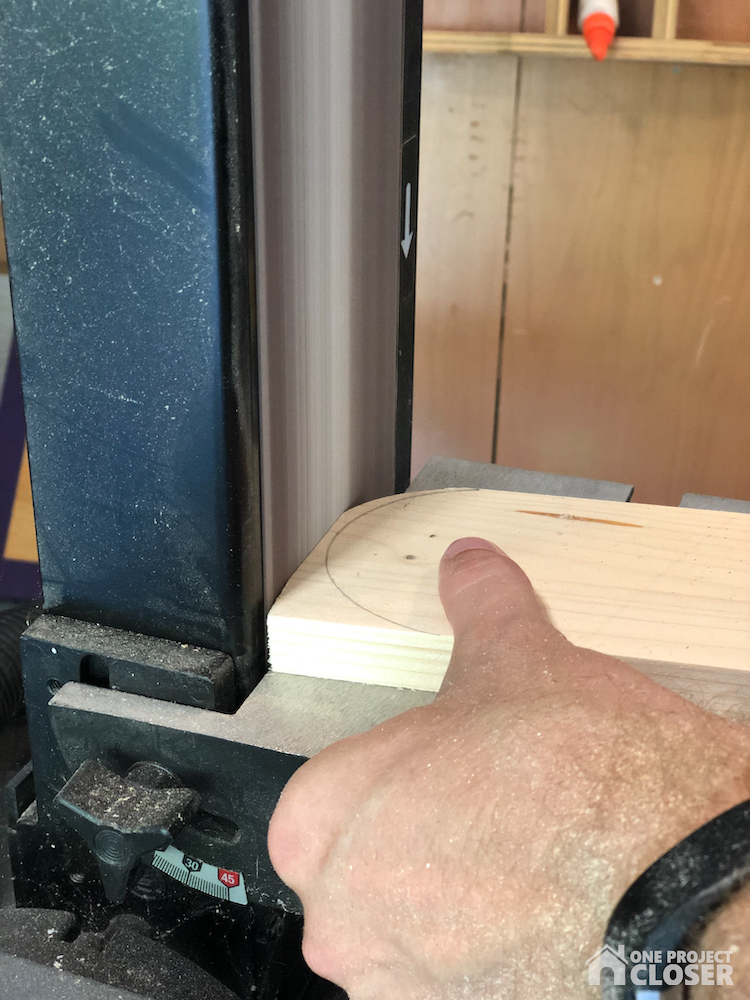
Start by cutting the 4 legs to width so they will fit neatly inside the boards. I had some scrap laminated spruce that was suitable for the job. Leave the length extra long.
Find the center of the board and cut / sand a nice semi-circle.
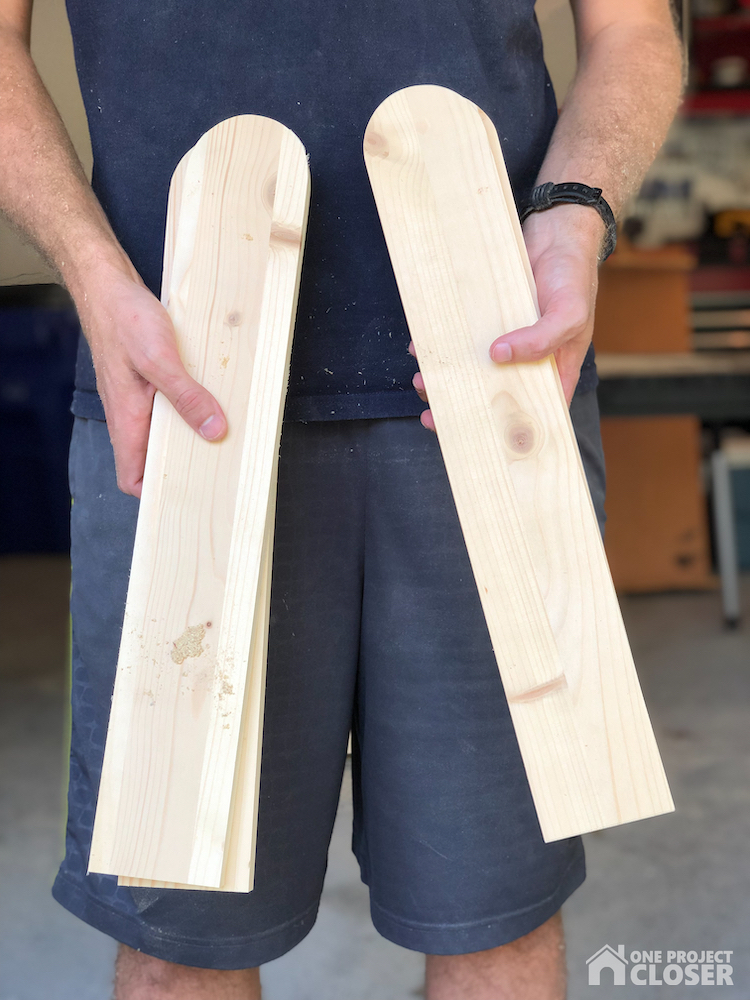
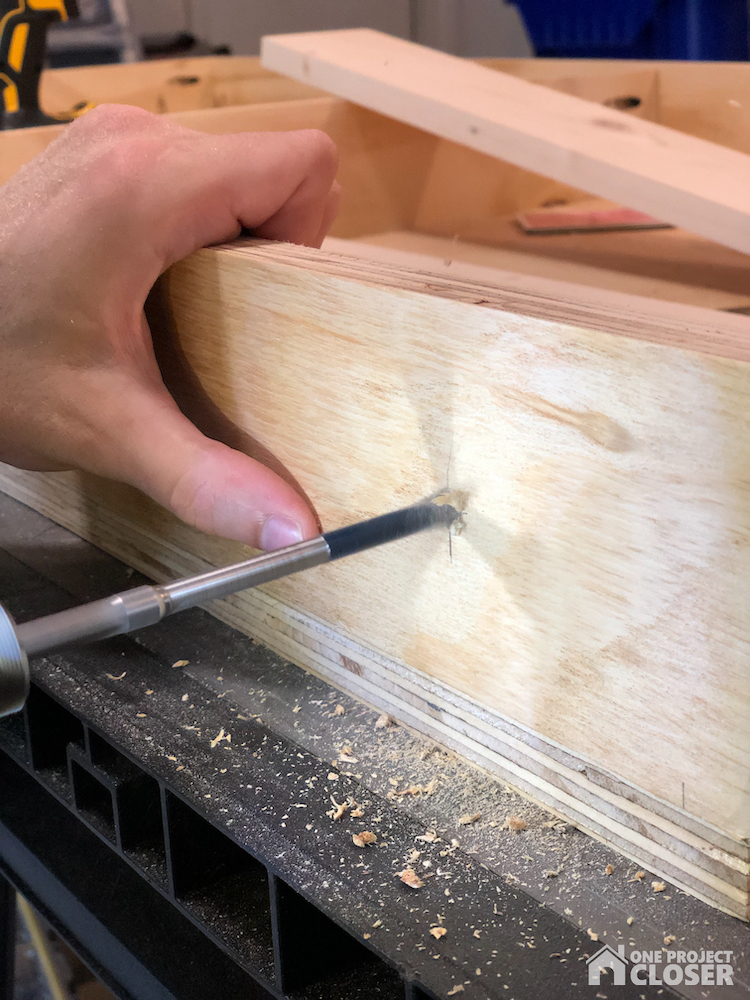
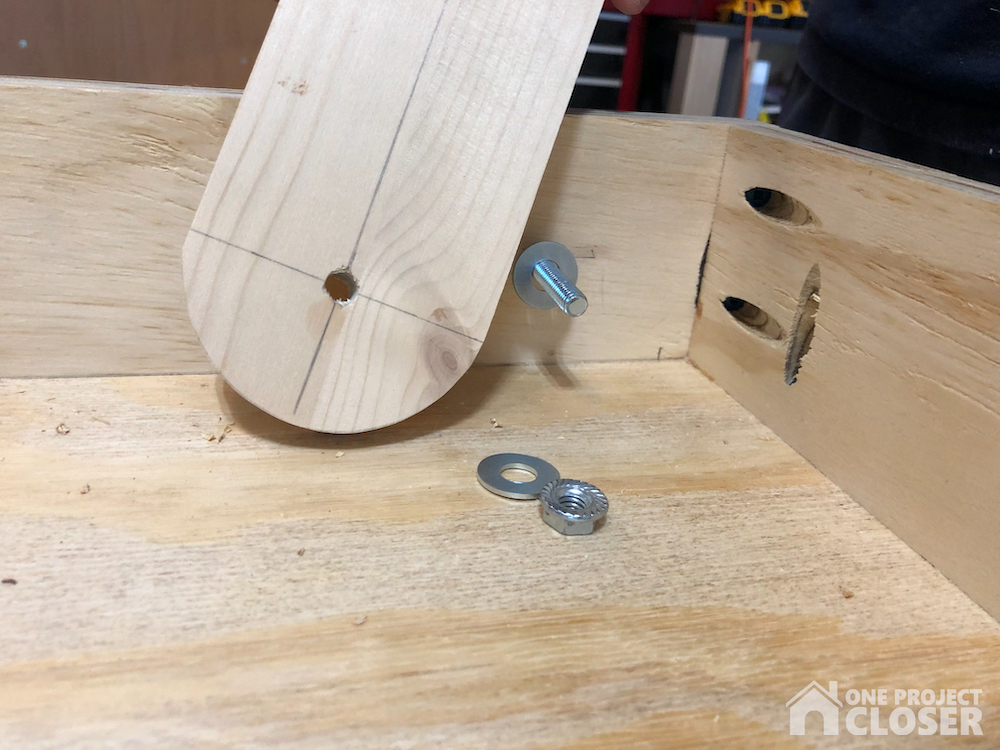
Position the leg a few inches from the back edge and drill a hole through the center mark. I like to start drilling from the inside and then switch to the outside to prevent tear-out.
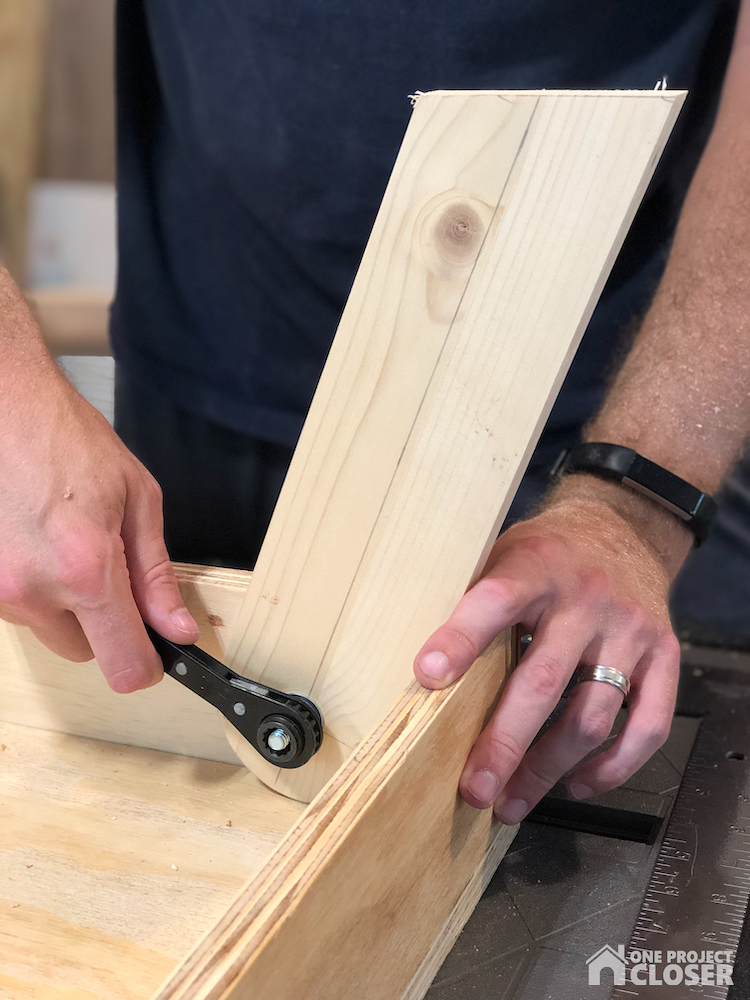
At this point, you can slide a carriage bolt into place and check that the leg can pivot smoothly. If not, take it off and sand anywhere it’s too tight.
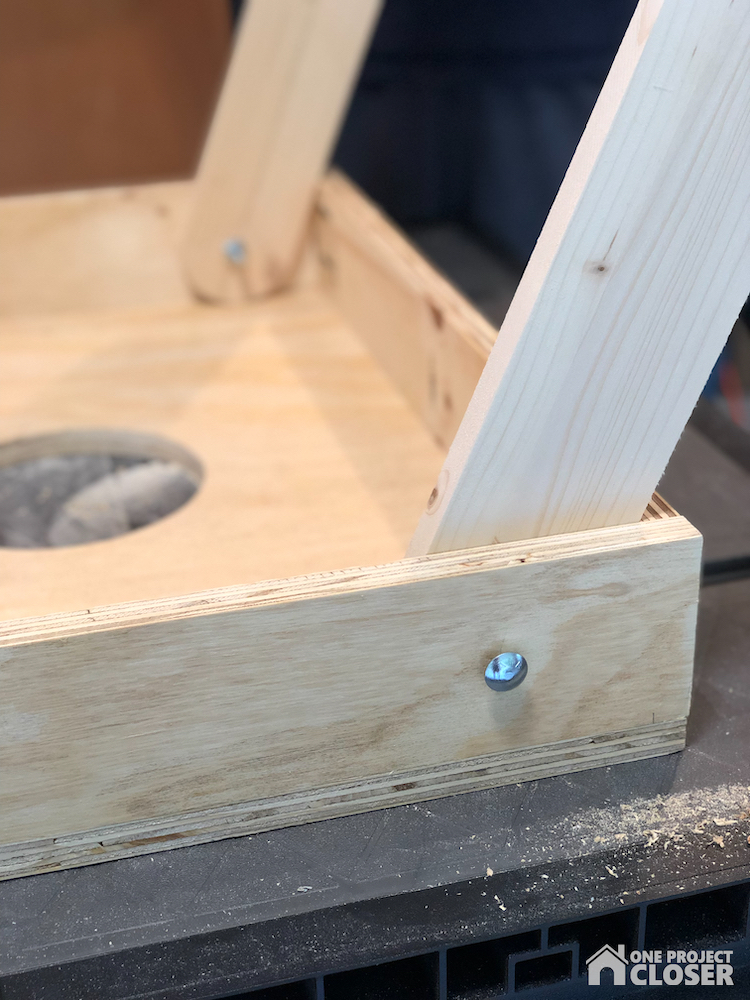
If you’re satisfied with how the legs unfold, flip the boards right-side-up, and use a box or clamp of whatever to prop the back edge at the correct height with the legs extended (but hanging free).
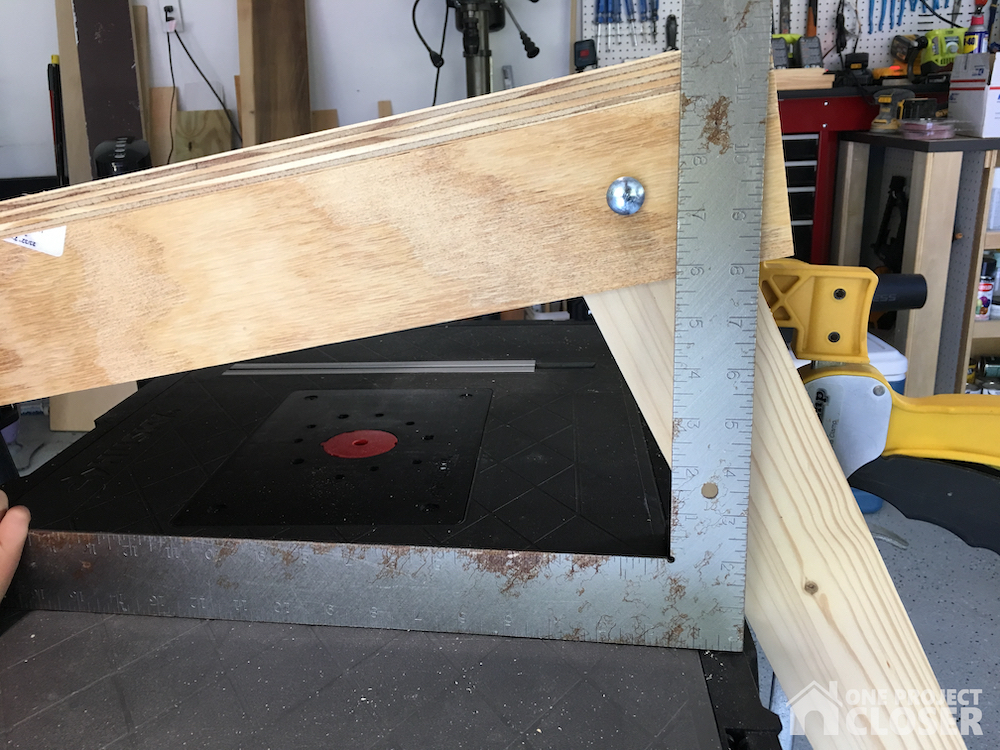
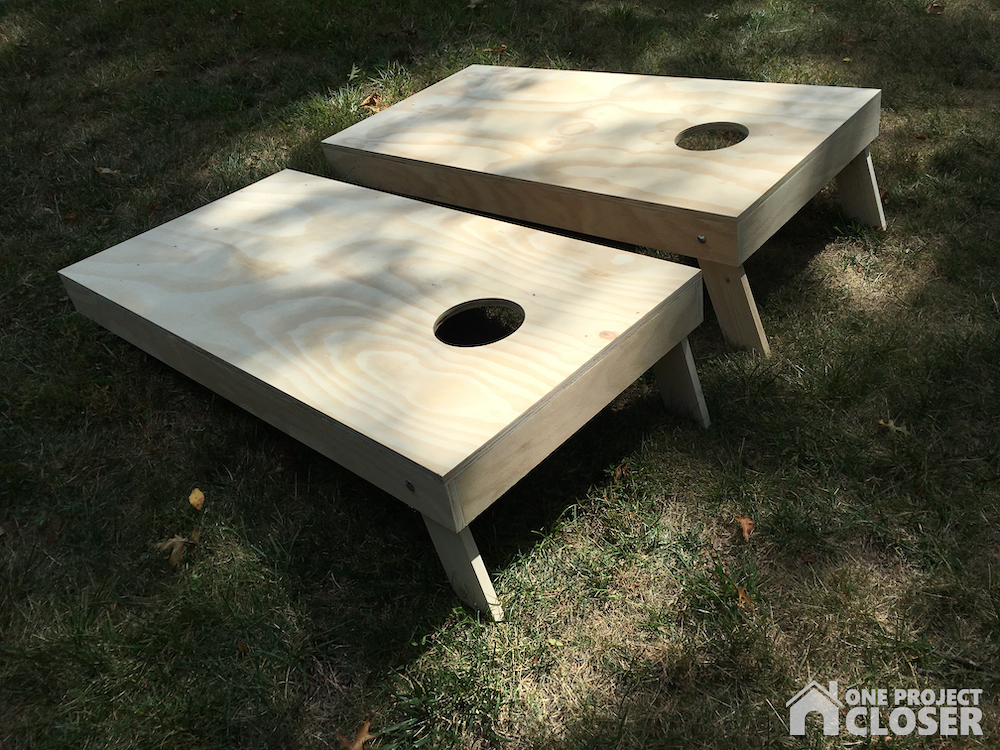
Mark a straight line to cut the leg. This will determine the angle and length you need so the back edge sits at 12″ off the ground. Attach the legs with a washer between the leg and side and another washer before the nut. Lastly, use the second nut to put tension on the first so it won’t loosen over time.
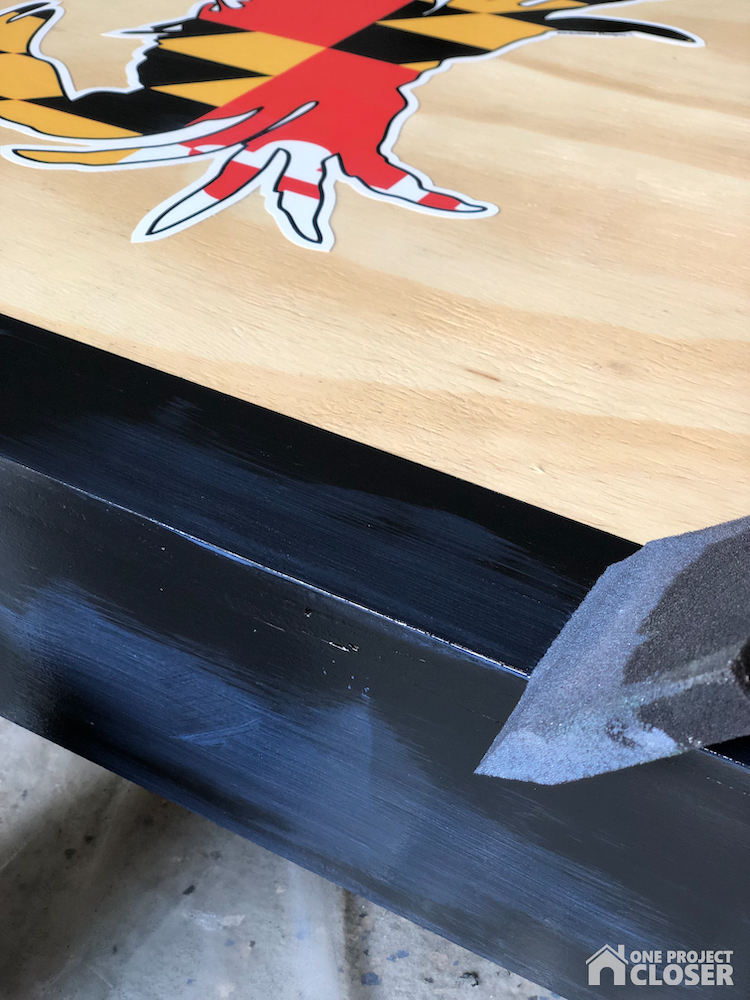
STEP 5: Sand… but not too much
I’ve made the mistake of sanding cornhole boards too much. The result is a super-smooth finish, and it’s really difficult for the bags to land. It makes the game a lot more challenging! Instead, sand the boards with the purpose to flush up any edges, remove tear-out, erase stickers, etc.
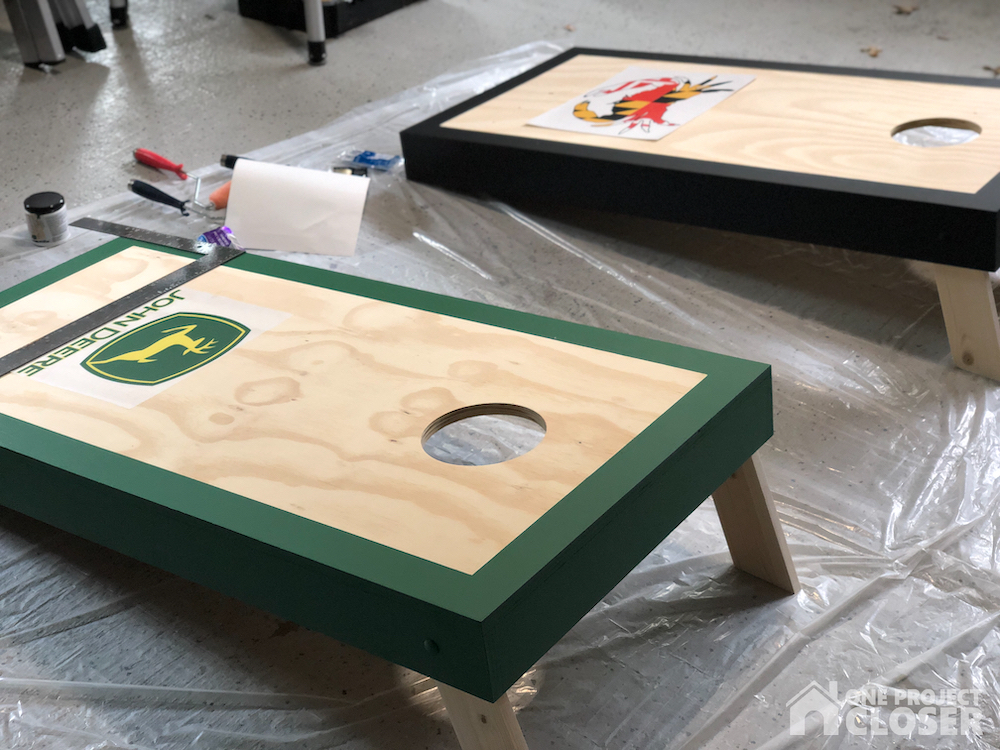
STEP 6: Time for paint
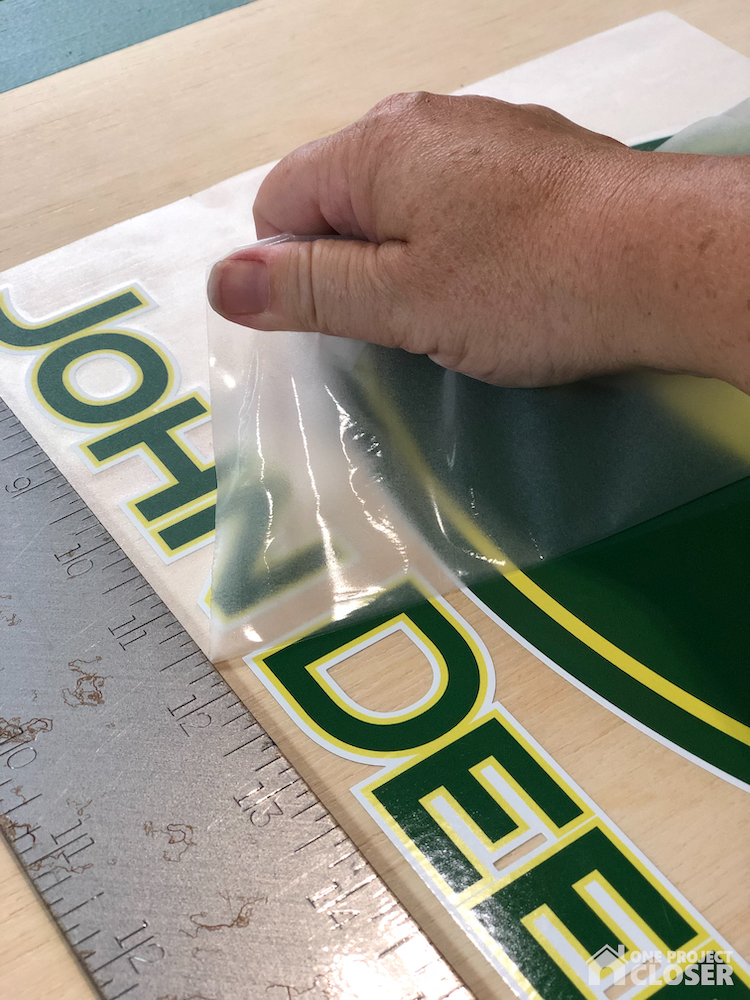
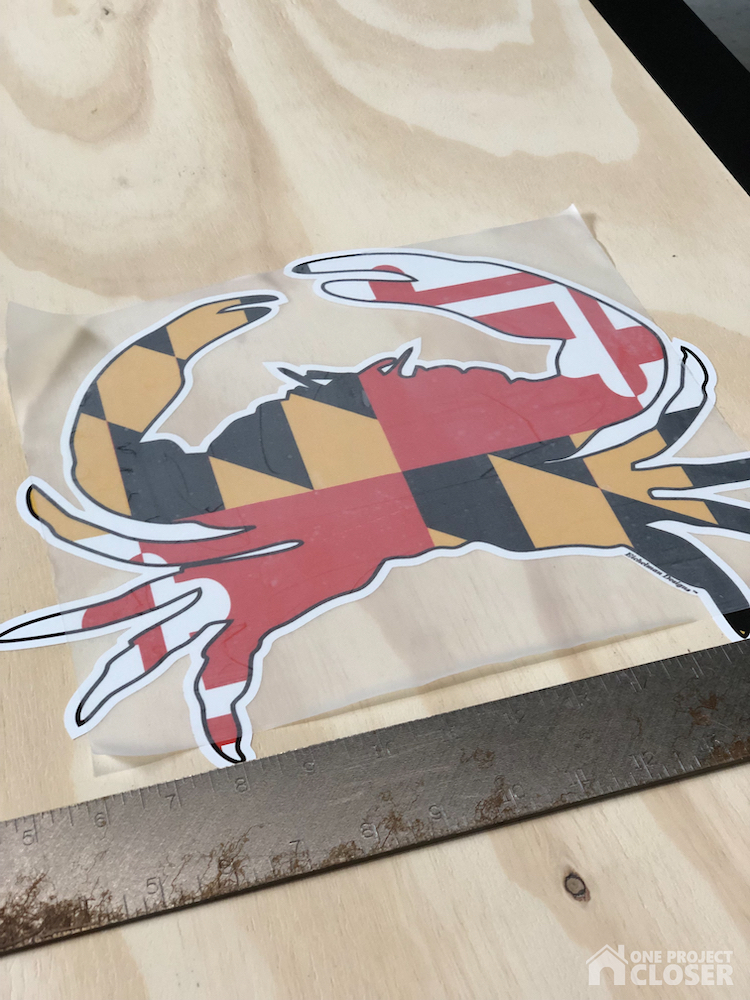
Clean up the boards, eliminating any dust from sanding. If you purchased a decal (we got ours of Amazon), now is the time to add it. Tape off a border with painters tape and roll it on. Be sure to get the underside edge of the plywood sides to better seal them off from moisture.
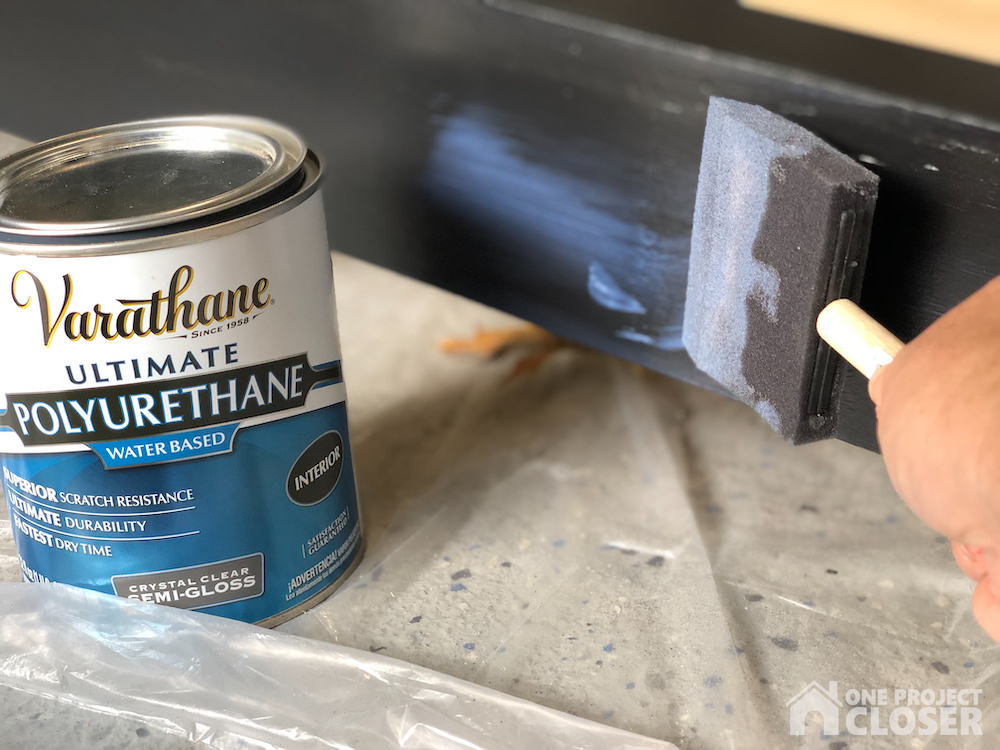
STEP 7: Seal the wood
Finish off with at least three coats of polyeurethane. Be sure to cover the decal to better seal it in, and get the inside edge of the hole. I like to use a bit of steel wool after the last coat to remove any rough spots.
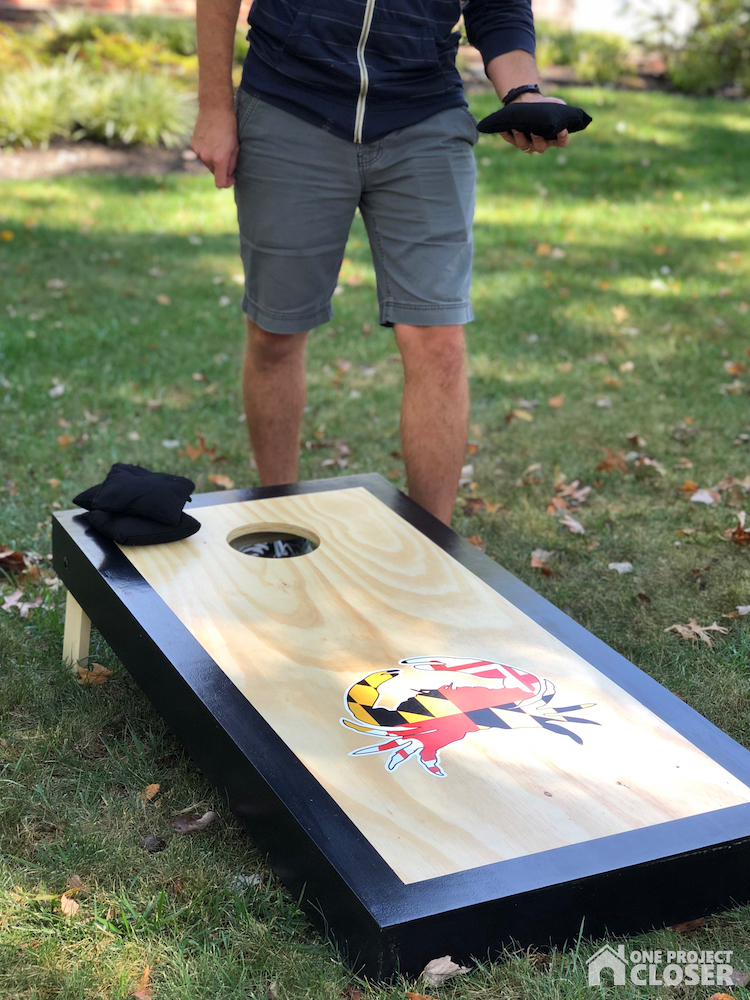
Jocie purchased some bags off Amazon. You can make your own bags, and if you do, use a durable fabric like duck cloth. Usually the local farm supply has cheap corn to fill ’em. Bags are 6″ square and weigh 16 ounces (without being overly filled). We opted for poly pellets and steel bbs for a set that I built for the local pool. Corn doesn’t do well when it gets wet!

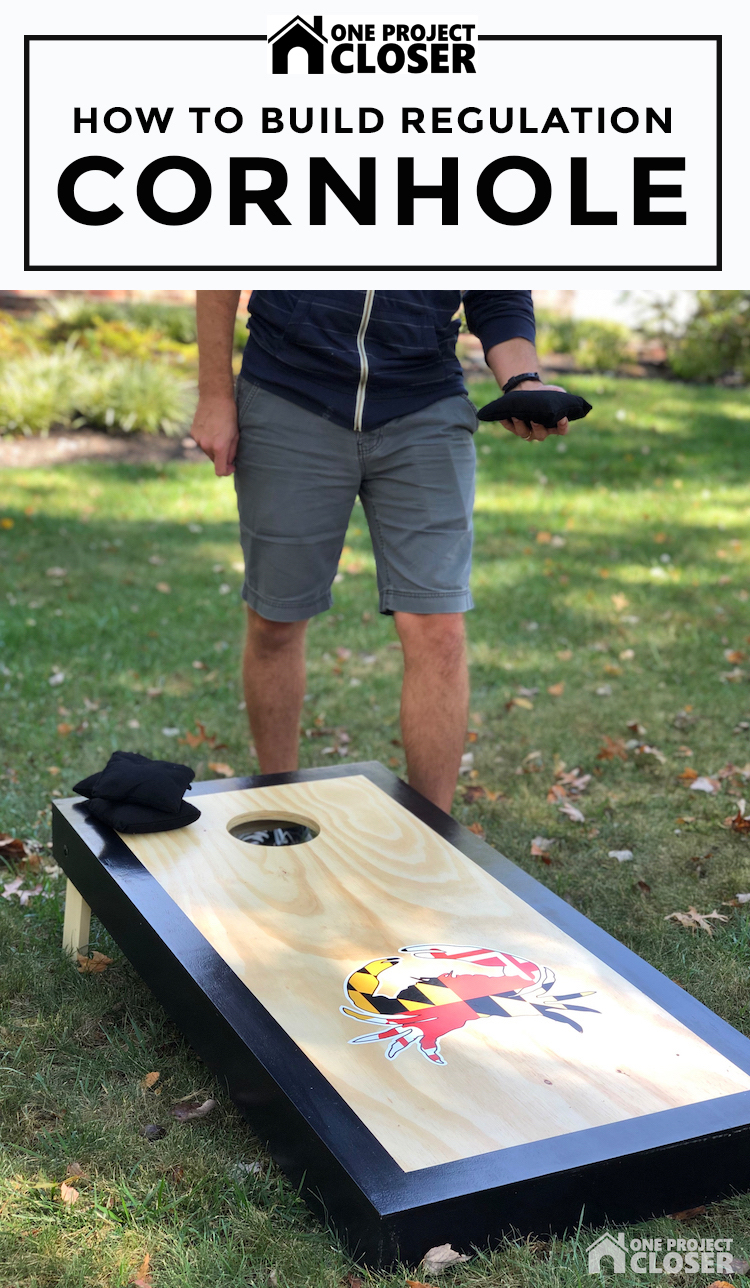
Pin for Later
Love this project tutorial on How to Build a Regulation Cornhole Set but don’t have time to build it today? Or love it and want to share it with friends? We’d love for you to pin it!

As someone who owns a tournament ACO set and played a LOT of tournaments, there are a couple things I would recommend. I would add one more brace to really make the board solid. Tournament boards also have a roundover on the hole so that bags that are just hanging have a chance to fall in when you or your competitor hit the board. Makes for some different shot choices. Otherwise these are some really solid and good looking boards.
Hey Dan – thanks for the comment! That’s a good tip about the roundover. Maybe I’ll have to incorporate that into the next set I build.
I’ve also heard that tournament bags have a different texture on one side – it’s more grippy. Is that true?
Pros use the “stick and slick” bags, where each side is made of a different cloth. One side is suede and the other is canvas. Great bags for any player.