Categories
Recipes
Essential Oils
DIY
Link Party
Hand Lettering
Deals / Coupons
Home Depot Coupons
Lowes Coupons
AJ Madison Coupons
Sears Coupons
Target Coupons
Main Project Site
Search
Get The Latest News and Printables!
Sign up for our mailing list and receive exclusive printables only for email subscribers. Plus we'll keep you up to date on the latest hand lettering, DIY projects, recipes and more!
Our Latest Blog Posts
Black Friday Giveaway + Holiday Decorating with the Home Depot!
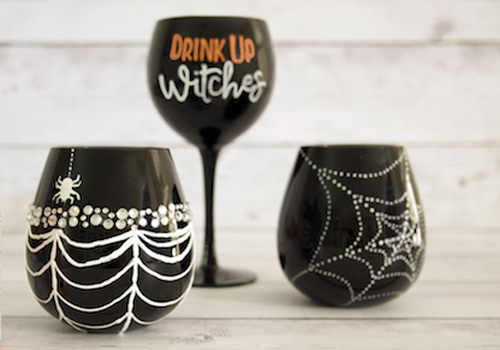
DIY Halloween Wine Glasses – The Perfect Girl’s Night!
You’ve Been Boo-zed! Wine Tag Printable
Hand Lettering
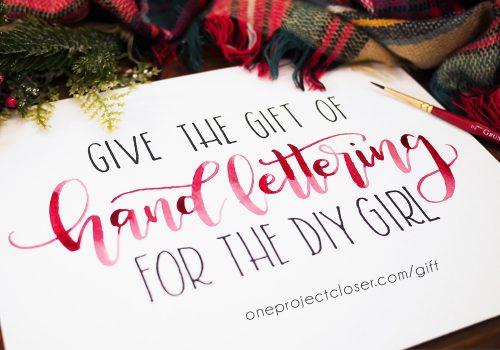
Online Hand Lettering Course for the DIY Girl
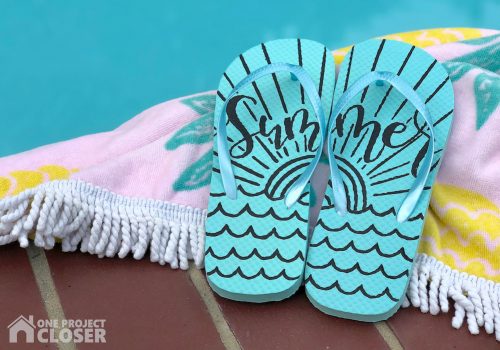
DIY Hand Lettered Flip Flops
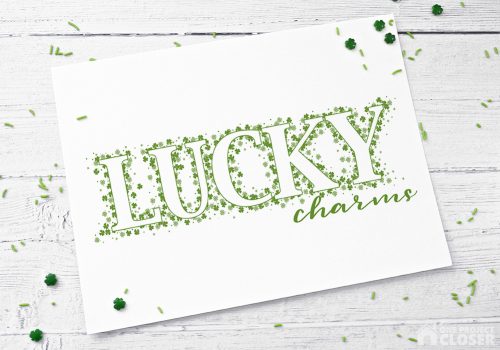
6 Free Procreate Brush Stamps for St. Patrick’s Day + free printable
LOVE Hop: Netflix and Chill Printable + SVG
Printables
You’ve Been Boo-zed! Wine Tag Printable
6 Free Procreate Brush Stamps for St. Patrick’s Day + free printable
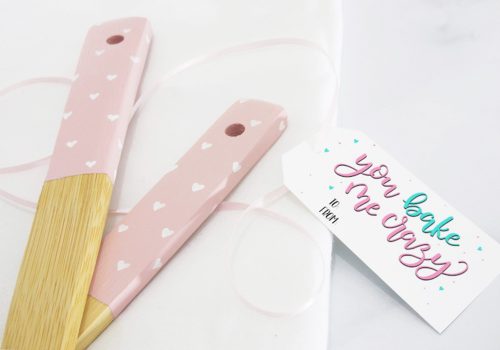
Dollar Store DIY Paint-Dipped Wooden Utensils + Free Printable Tag
LOVE Hop: Netflix and Chill Printable + SVG
Do-It-Yourself
DIY Halloween Wine Glasses – The Perfect Girl’s Night!
DIY Dollar Store Halloween Wreath
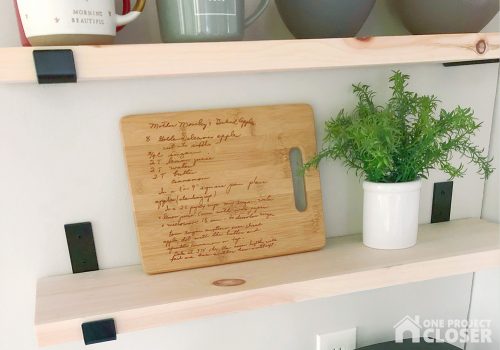
Kitchen Remodel: Coffee Bar DIY and Fridge Cutout
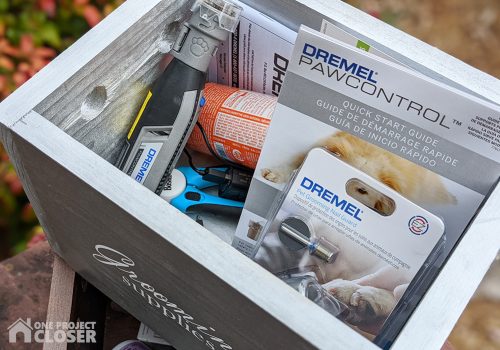
DIY Storage Box for Dog Grooming Supplies
Recipes
Easy Orange Creme Brulee Dessert
Raspberry Limoncello Mimosas
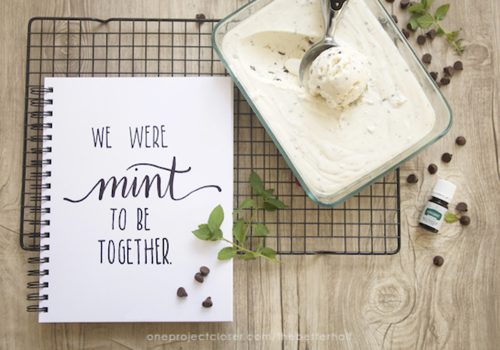
No Churn Mint Chocolate Chip Ice Cream Recipe + Free Printable
Crock Pot Pumpkin Spice Apple Sauce
Popular Store Coupons
Home Depot Coupons, Coupon Codes, 10% Off Sales – FALL/WINTER 2020-2021
AJ Madison Coupons, Sales, Coupon Codes, 40+% Off – FALL/WINTER 2020-2021
Lowes Coupons, Sales, Coupon Codes, 10% Off
Target Coupons, Sales, Coupon Codes, 10%-60% Off – FALL/WINTER 2020-2021
Sears Coupons, Sales, Coupon Codes, 10% Off – FALL 2020/WINTER 2021