

These Pine Cone Place card holders are part of “5 Minutes or Less,” an ongoing series dedicated to quick and fun crafts and DIY projects that you can do in five minutes or less. This segment came to being because in our busy life it was difficult making the time for the involved and time-consuming projects that I love. We would love to feature your ideas too, so don’t forget to take lots of pictures of your next “5 Minutes or Less” DIY and send ‘em our way!
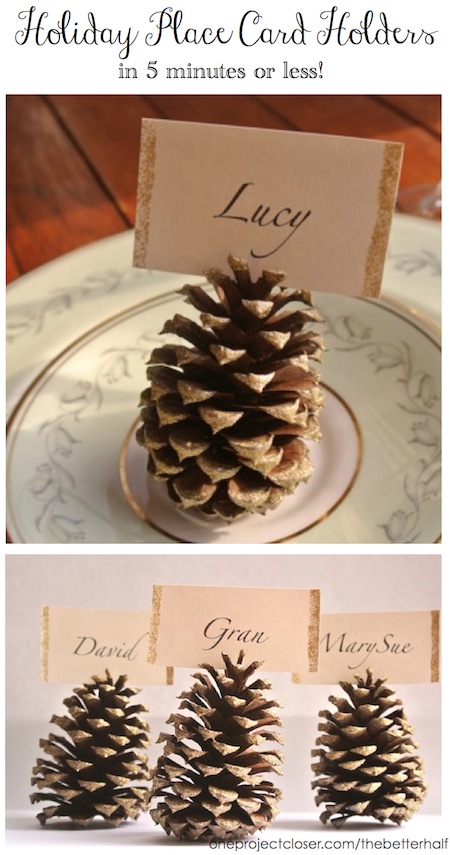
This was one of my favorite Thanksgiving crafts last year, but it is great for really any fall/winter event or holiday, like Christmas. But, Thanksgiving is this week and, if you’re like me, maybe some of your Thanksgiving planning has been put off until the last minute. Oh, and if you need more ideas, check out these 5 easy and last minute Thanksgiving decor ideas!
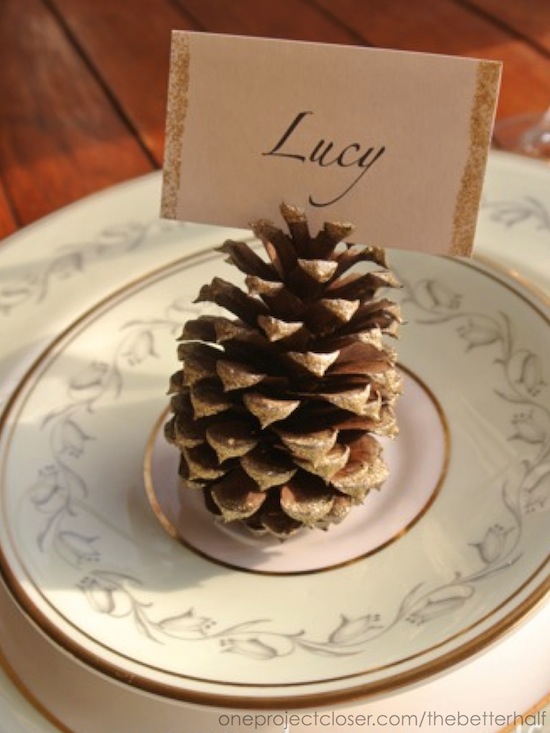
As I was thinking of creative but inexpensive ways to glam up our Thanksgiving table, I came across these neon pine cone place card holders on Pinterest. The idea came from Camille Styles, who used neon acrylic paint with paint brush onto pine cones. My table setting doesn’t jive well with neon colors, but I do LOVE glitter!
Pine Cone Place Holders
This was a SUPER quick and easy project, and used only materials I had here on hand.
Materials:
- Elmer’s Glue
- Glitter
- Pine Cones
- Cardstock

First, I drove around our neighborhood in search of pine cones, getting an insider tip from Kim about where I might find them. Then, with the car still running, I hopped out and grabbed as many pine cones as I could before the cops showed up. 😉
Once home to safety, I poured a bunch of glue in a bowl,

then a bunch of glitter,

and MIX, MIX, MIX!

Next step was a glitter messy. I rolled each pine cone, of course getting glue ALL over. 🙂


*I have also rolled pine comes in glue first and then glitter, but chose not to do it this way so that people wouldn’t end up eating glitter! lol.
I placed the wet pine cones on the wax paper and let them dry.

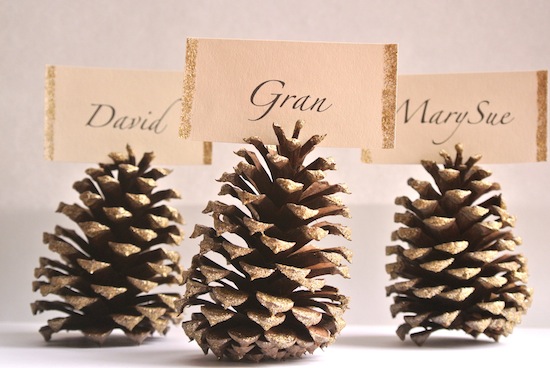
While they dried, I typed up the names of all our guests and printed it on off-white cardstock. After I cut out the names, I used a small sponge brush to lightly dab the outer edges of each name card with glue and glitter.

Once the place cards and pine cones were dry, I put the place card in the top and the pine cone and DONE!
Easiest. Project. Ever!
What do you think? What do you for place card holders?
As Always, thanks for reading!

Don’t forget to check us out on Facebook and Pinterest!
*This post originally ran on OPC The Better Half in November 2013.

These are beautiful!!! Thank you so much for sharing, Happy Thanksgiving 🙂
xoxo, Tanya
twelveOeight
Thanks so much Tanya, hope you had a great thanksgiving!
Cute. For our table, I’m taking mini white pumpkins and writing our names on them with a Sharpie.
I was one pumpkin short and couldn’t find another mini white pumpkin so I bought an orange mini and spray painted it.
Such a cute idea! Would love to see a pic! Hope you had a wonderful Thanksgiving!
Very cute! Where’s mine?
Great idea! I definitely need to try these out! I can definitely pass them off as Christmas decorations 😉
I was planning the same thing, Ashley! Don’t be surprised if you see mine again. 🙂
I have a ton of pine cones my mom brought over from her farm, and I’ve been trying to decide how to use them…problem solved!!! Thanks and Happy Thanksgiving!
Hope you had a great Thanksgiving!!!
So cute and easy!!!
What a great way to use pine cones and super cute!
Never thought of that before. They look perfect!
Mix in some red and green and use them for Christmas too!
Happy Thanksgiving!!
I was totally planning the same thing! Happy Thanksgiving to you too!
These look great and will be great for us to make as a family.
So classy! Now if I could just get my family to drive 15 hours and come visit me…
And I just so happen to have a ton of pinecones that need to be picked up in our front yard!
Love these! Perfect for Thanksgiving!
These are so cute! What a great idea!
[…] Make a place card holder out of a pine cone for a rustic look. See how here. […]
[…] cut them into small strips, and place them inside the top of the pinecone. If you’d like to dress the pinecones up slightly, mix glue and glitter, then roll them in the […]
[…] cut them into small strips, and place them inside the top of the pinecone. If you’d like to dress the pinecones up slightly, mix glue and glitter, then roll them in the […]
Trying to see if she cut the bottom of the pine cone so it sits on an angle like her photo.