
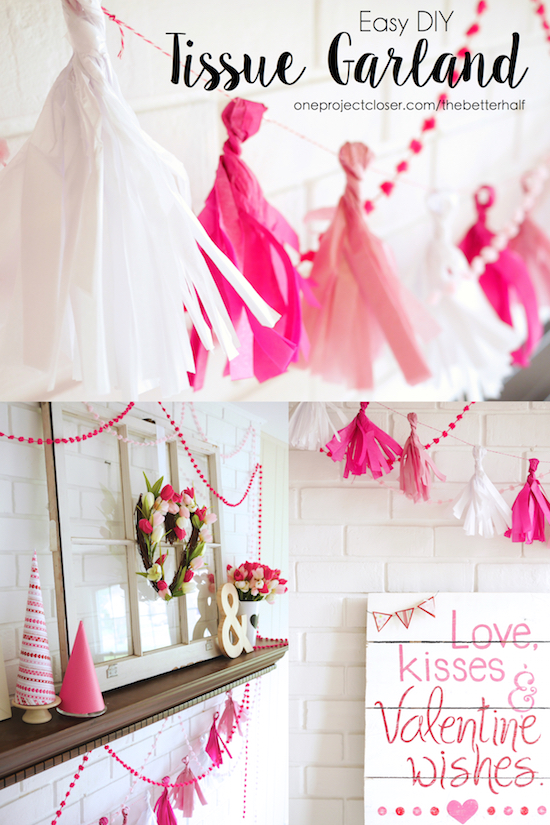
This year I committed to not going overboard on Valentine’s Day decorations. In fact, I tried to only use what I already had on hand. But when I saw some super cute Tissue Tassel Garland at Target, I was seriously tempted. But for $10, it just didn’t seem worth it. Like a good DIY girl, I instead decided to make my own DIY Tissue Garland for less than $3!
I should also tell you that I plan to use all these decorations for Lucy’s upcoming 5th birthday party at the end of January, so it’s a win-win!
DIY Tissue Garland
Like I said, this is an inexpensive project and it only took me about 5 minutes (okay, a little longer because I was taking pictures), but seriously easy. I bought my supplies at Target and spent less than $3.
Supplies needed:
- A package of Tissue Paper (I bought the multi-color pink pack, but you can use any color)
- String
- Scissors
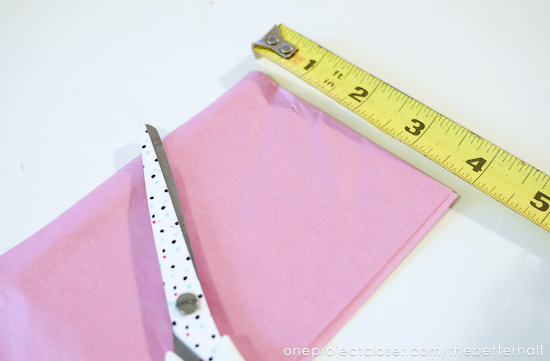
Step 1: Cut the Tissue in sections
With the tissue paper folded in half at the top of the section, cut approximately 4 inch sections. I didn’t measure, I just sorta cut what looked right. haha I’m and “ish” kinda girl.
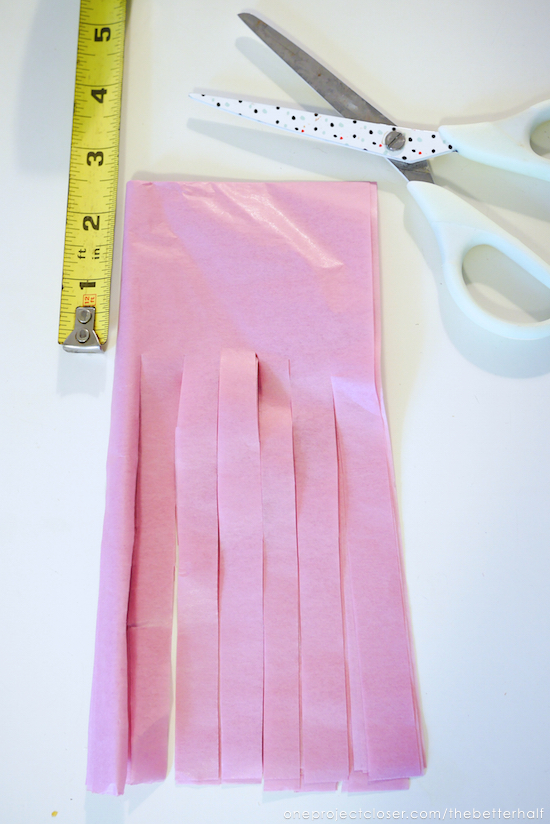
Step 2: Cut strips
Starting at the bottom, the opposite end of the folded top, cut strips, stopping about 2.5 inches from the top. Again, don’t worry about perfection!
Step 3: Twist
Put your finger in the fold at the top, and bunch the tissue together.
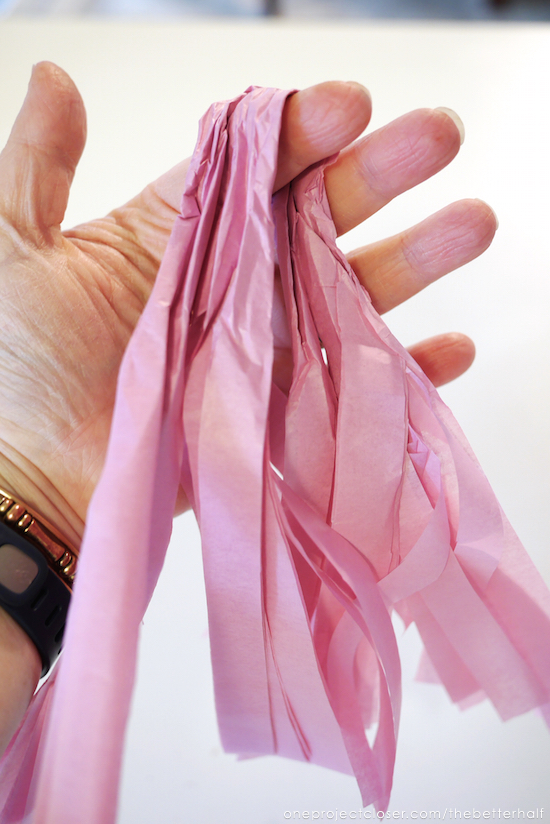
Then, twist the tissue around, with your finger still in the fold. If you find that the twist is coming undone, you may have too many sheets of tissue. Just remove one or two and twist again! With the small multi-color pack of tissue from target, I found it was the perfect amount and size.
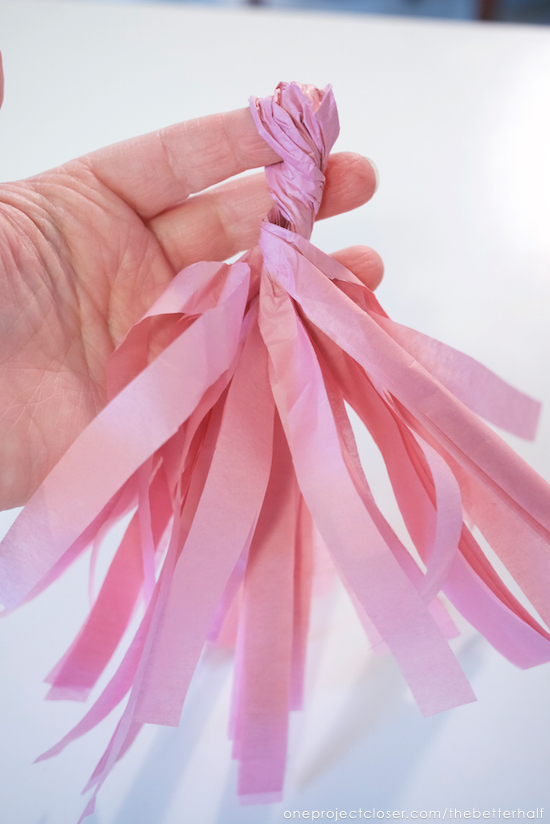
Step 4: String the Garland
BOOM! You have yourself some easy DIY tissue garland. I strung it using baker’s twine, but you can use any kind of string. The colors and style options are endless!
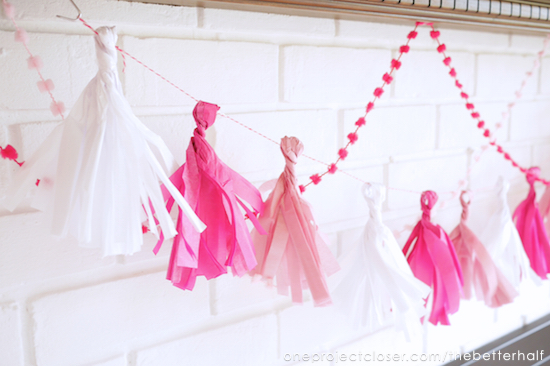
Valentine’s Day Mantel
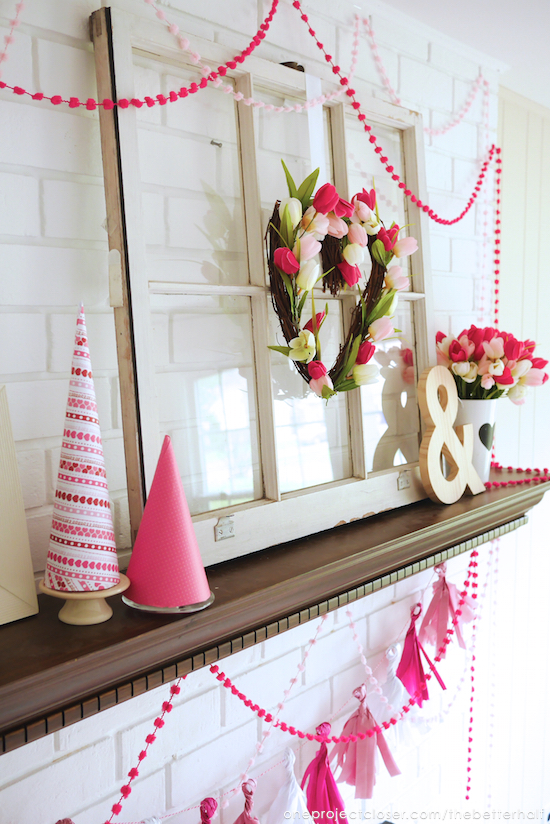
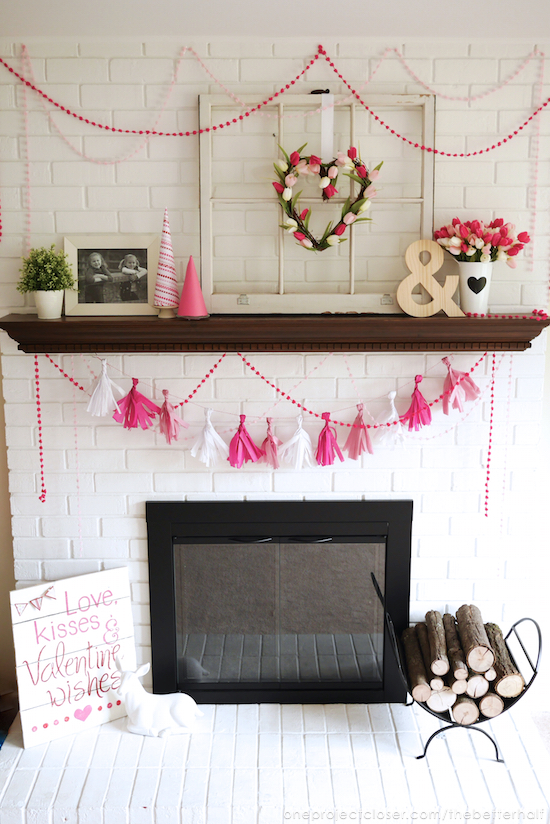
Here she is, my thrifty “use what you got” Valentine’s Day Mantel! Do you recognize that Heart Tulip Wreath DIY from a couple years ago?
I couldn’t resist including my sweet Lulu in on this one!

Here’s one of my all-time favorite pallets – Love Kisses & Valentine Wishes!

What do you think? What are your tips for making a DIY Tissue Garland?
As Always, thanks for reading!

Don’t forget to check us out on Facebook , Instagram, & Pinterest!


Very festive and cute idea!
Thanks!!! xoxo
This is an amazing idea! Thanks for sharing. Hi, I’m Anita visiting from Creativity Unleashed.
[…] 5 Minute Tissue Paper Garland from OPC’s The Better Half […]
This is so pretty, Jocie! The garland, the wreath, the entire mantel… Love the colors!
[…] 🎀 Twisted Tissue Garland […]