
“5 Minutes or Less” is an on-going series dedicated to quick and fun crafts and DIY projects that you can do in five minutes or less. This segment came to being because in our busy life it was difficult making the time for the involved and time-consuming projects that I love. We would love to feature your ideas too, so don’t forget to take lots of pictures of your next “5 Minutes or Less” DIY and send ‘em our way!
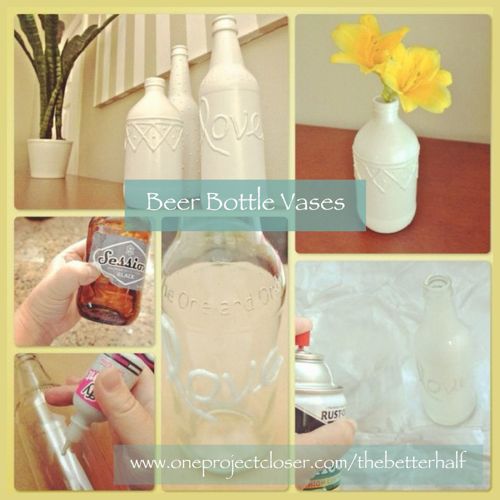
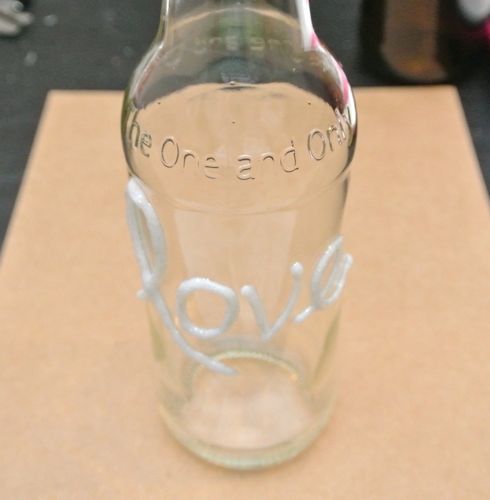
We had some friends over Saturday night and the boys had bought beer, a couple different kinds. As I was gathering the recycling today, I noticed how cute some of the bottles were. I mean, manly, if Ethan is reading this, of course the beer bottles are manly. I loved the shape, especially the short, stocky one (if I were a bottle, that would be me except paler). One of the bottles even says, “The One and Only.” I don’t feel that way about beer, but definitely a nice saying for a vase.
I decided to paint the beer bottles white. I saw a tutorial recently, putting paint on the inside of the bottles to give color, but I also wanted to add designs. So I opted for spray painting the outside instead. Next, I brainstormed how to add designs to the outside. I saw another tutorial awhile ago using Elmer’s Glue but didn’t have any on hand because I used it all up making a batch of Mod Podge. Then I considered using hot glue, which I think would work but my hot glue gun is big and I wasn’t sure I would have the control to make finer, detailed designs. I finally settled on puffy paint because I had some on hand and why not?
In all, it was very quick, especially for clear bottles because it requires less coats of spray paint. Each bottle took less than 5 minutes work, but including dry time maybe done over two days. Another big plus to this project – its cheap! Plus you get to drink the beer (okay, Ethan drinks the beer, but its still a win!).
Materials:
- Beer bottle(s)
- Spray paint
- Puffy paint
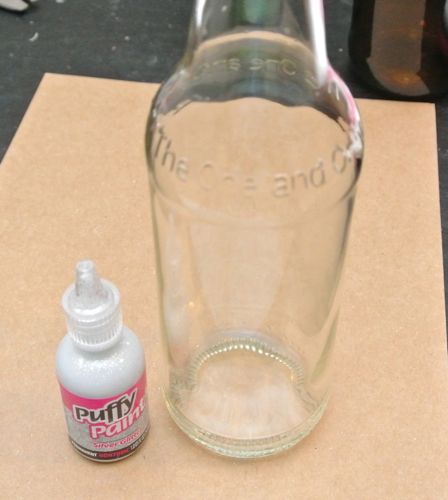
Step 1: Drink the beer
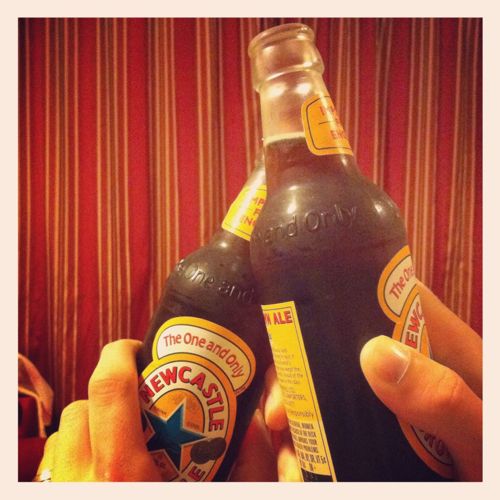
This is really the most important step! I mean, who ever heard of painting a full bottle?! I know its silly but I often buy buy beer or wine based on the look of the bottle. In this case, it actually makes sense. lol! CHEERS!
Step 2: Remove labels
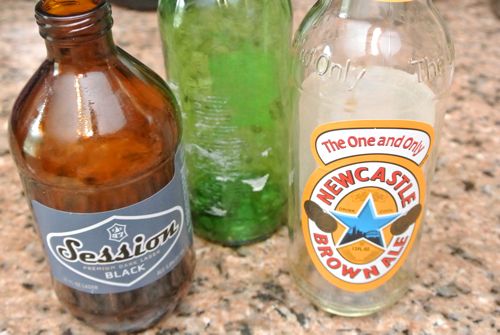
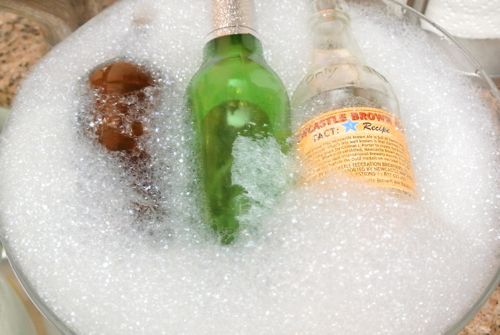
You can use GooGone or acetone to remove labels, but I’ve found the quickest, easiest, and cheapest way is to just soak them in warm, soapy water. After 15 minutes or so, use your nail or one of those handy Pampered Chef Stone Scrapers to remove the label. If it begins to tear or is resistant to its removal, just throw it back in the water until the label is soaked and practically falling off. If there is any glue residue, use a dish brush and more soapy water until it is gone. Dry completely.
Step 3: Paint Designs
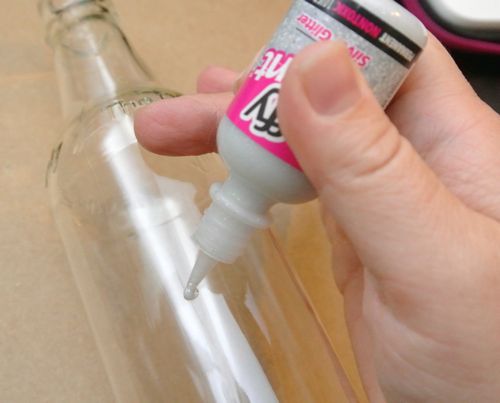
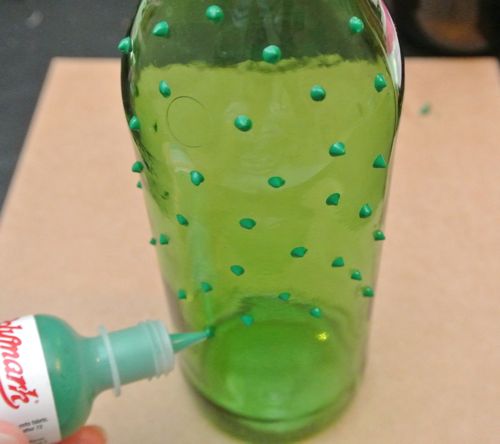
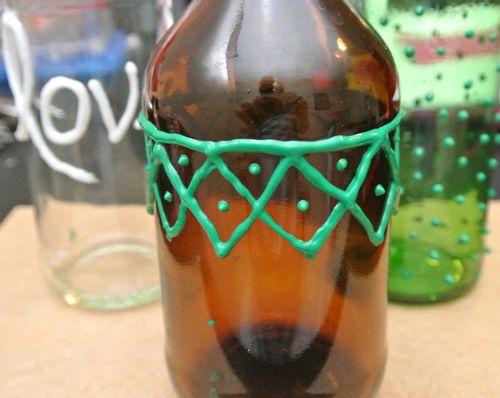
This step is optional since the bottles themselves will make for beautiful decor. If you do choose to add designs, you can use Elmer’s, hot glue, or puffy paint. Any will do, so pick what you have on hand or what you can handle with the most finesse. This is the fun and creative part, go crazy! Write words, add dots and swirls, whatever you like! Allow to completely dry. If you’re short on time, hot glue will be the quickest because it has the quickest set time.
Step 4: Spray Paint
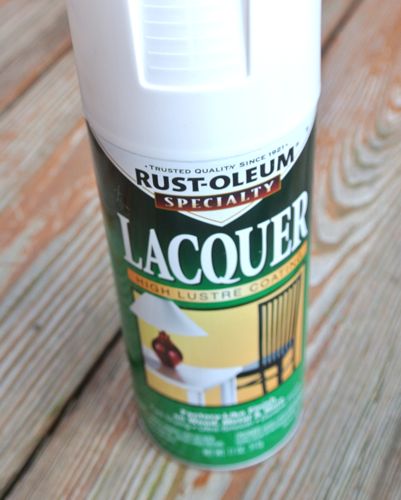
I used a high shine, white lacquer because I had it on hand, but you can get creative with this too. You can even use different colors and sheens for each bottle. Other popular colors might be light teal/aqua and matte black. Rustoleum is probably a good brand because it sticks to so many different surfaces. Since its a vase and won’t be handled too much, I did not use a glass paint that could be washed. With this paint, I will be able to wipe away dust and handle as needed.
Spray paint in a well ventilated area and paint multiple thin coats. The thinner the better so the paint doesn’t drip. Thin coats will also dry fairly quickly, so it goes fast. Darker bottles and darker puffy paints will require more coats of paint if you are spray painting with lighter colors.
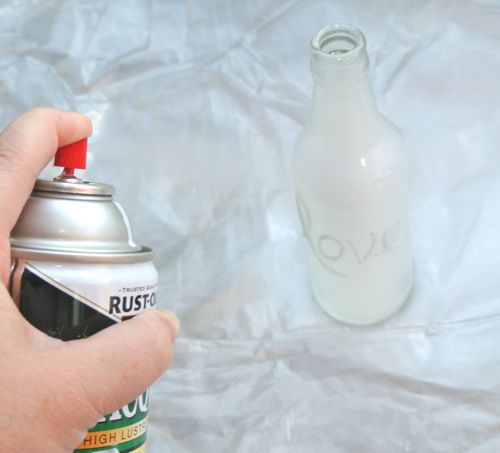
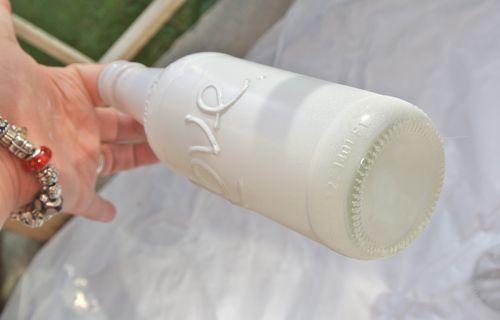
Don’t forget to spray the bottoms. Also, spray upward from the bottom to get the underside of the paint.
Step 5: Add flowers and admire
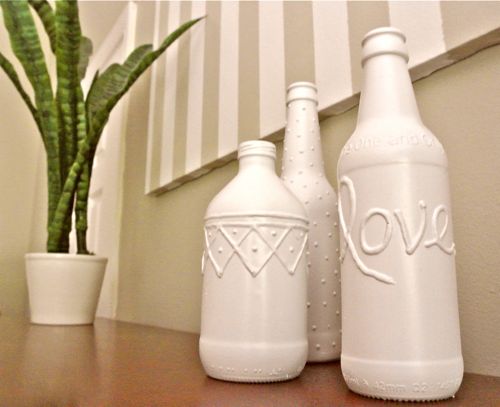
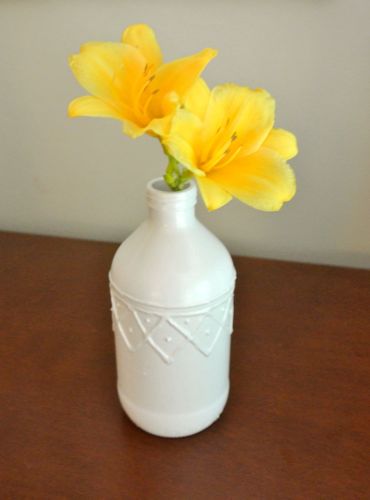
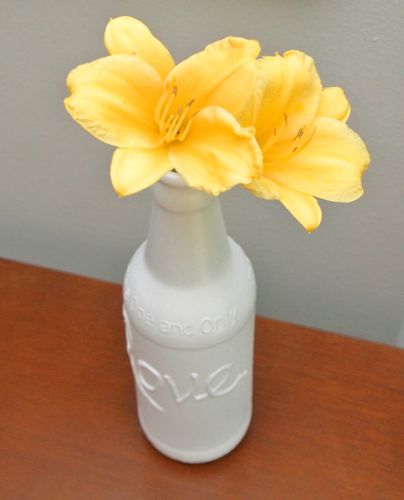
What do you think? What will you write on your beer bottle?
As Always, thanks for reading!

Do you like free gift cards?!? Our 5th Annual Before and After Series supporting Habitat for Humanity is up and running. Enter your home project now!
Also, don’t forget to check out our weekly Link-up Parties on Fridays, where you can submit your own DIY projects and crafts!
This post was linked up at: Doodles and Stitches, Get Outta My Head Please


I have a feeling I won’t be able to get past step 1. I just won’t get it exactly perfect so I’ll have to redo step 1 over again. A try one evening, then maybe another try or two another night after mowing the lawn, and maybe another try while out on the lake. I’m doomed, I’ll never get past step 1. 😉
hahaha, i think ethan would have the same problem! lol!
I have been working on mastering step one as well Jeff. It’s tough work, but someone has to do it. Practice makes perfect.
Jocie — Love these! Very cute and inexpensive decor idea.
Ha ha ha. Good one Jeff. Since you’re so good at step one I might have to have you do that part for me. I’m sure I won’t have to twist your arm too much.
I am so not beer drinker. Well maybe, but it has the word “root” in front of it. 😉
My roommate and I would collect daffodils in the spring and use stewarts or ibc cream soda bottles as vases and leave them in different people’s dorms. I never thought about painting them with the Puffy paint. What a good idea.
what a sweet gesture! i bet you were everyone’s favorite in the dorm! 🙂
That is very thoughtful. I’m glad you mentioned other glass bottled drinks b/c we don’t drink, we really drink anything except water at our house, so I am glad to know there are non-alcholic alternatives for step 1.
You could do this with wine bottles I seen it on Pinterest. Though like Jeff I don’t think I’d get past step one of drinking that delicious wine.
Hahaha, i felt the same way about wine. I’ve seen those too on pinterest, maybe i’ll try wine bottles next time. 🙂
Those are supah cool! I love the puff paint designs…how creative!
Thanks Gwen! and thanks for reading, hope you come back again!
I’ve been wanting to make these for MONTHS! You have finally inspired me. What a beautiful craft to make for your home! I Love them!! Thank you for sharing!
-Kylie
absolutelyarkansas.blogspot.com
Thanks Kylie! Would love if you sent us some pix once you do it! Hope you visit us again. 🙂
Thanks for linking up…http://www.doodlesandstitches.com/
I had no idea this was possible, it’s such a cool idea! 🙂
How fun are these? The possibilities are endless with designs and colors! I never would have thought about using the leftover bottles!
Thank you Jocie ,i really LOVE your ideas.
Wonder if these could be used to make cremation urns? A person could personalize them. Due to my size, I don’t think I’d fit in one bottle. I’d probably go out with a perfect ” six pack”!
I have made little lanterns using the same process but instead I used pasta sauce jars and jam jars and wrapped wire around the top to hang them and put a little tea light inside