
“5 Minutes or Less” is an on-going series dedicated to quick and fun crafts and DIY projects that you can do in five minutes or less. This segment came to being because in our busy life it was difficult making the time for the involved and time-consuming projects that I love. We would love to feature your ideas too, so don’t forget to take lots of pictures of your next “5 Minutes or Less” DIY and send ‘em our way!
Today’s “5 Minutes or Less” project is blinged out keys! Super fun, cheap, and great project to do with the older kids or group of girlfriends.

I used to have really cute keys that I paid a ridiculous amount of money for at Home Depot, but when we recently changed locks I didn’t take the time to get pretty keys made. Unfortunately, my new keys looks VERY similar to all the other keys on my key ring and that leaves me and Ethan fiddling with the keys to get into the house, often while holding kids or groceries. Then, recently on Pinterest, I saw an idea to paint your keys using nail polish. Unfortunately, I didn’t “pin” the idea at the time, so I can’t give credit where its due, but whoever you are out there, great idea!
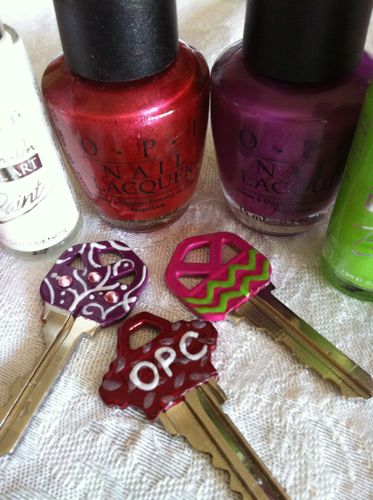
The cost on this project was NONE if you use supplies you already have. It obviously can be done in 5 minutes or less, but depending on the detail and embellishments added, it can take a little more time.
Supplies:
- Nail polish
- Keys
- Clear laquer
- Tape
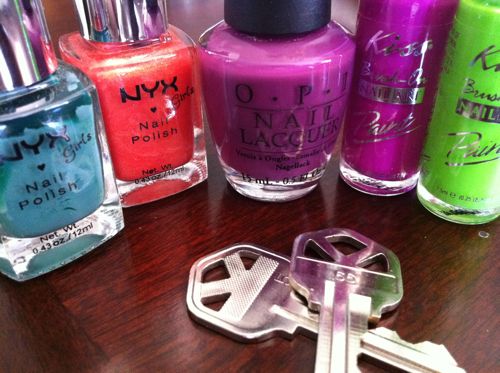
Directions:
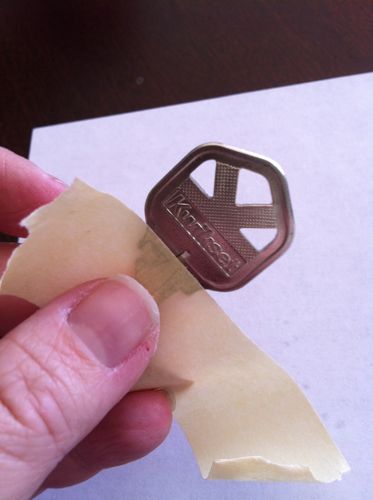
Tape a round the shaft of the key to provide a clean paint line but also to protect it from getting paint on it that will chip when you put the key in and out of the lock.
Paint 2 -3 coats of nail polish, allowing the paint to dry in between coats. Be sure to paint the sides, too.
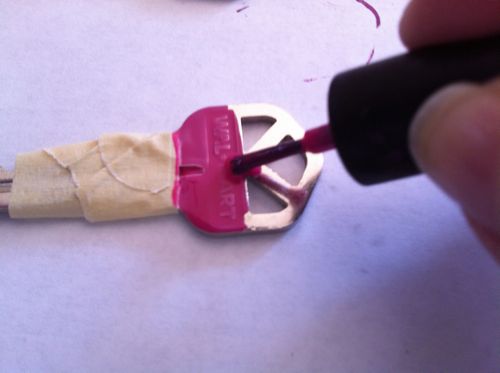
If painting designs,wait until the last coat has dried and use a small brush or you can buy nail polishes made for nail art (it has a long, super small brush).
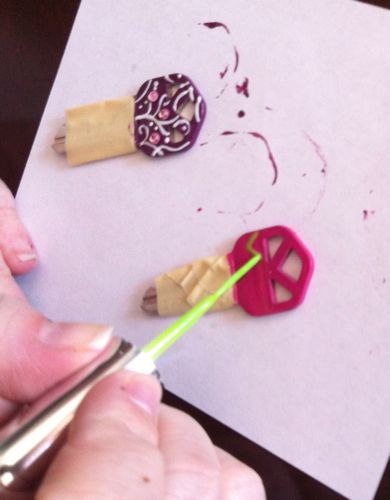
After painting the last coat or painting designs, if applying gems, place gems using super glue. I already had nail gems bought at my local beauty supply store. You can also buy nail decals and apply after the polish is dry.
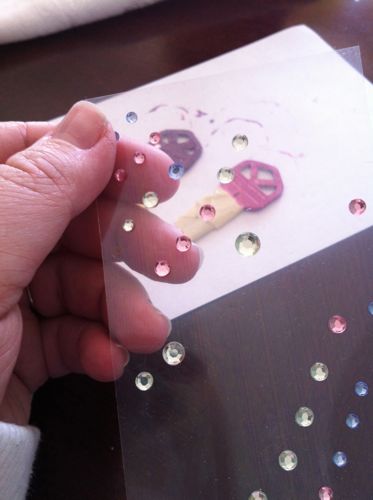
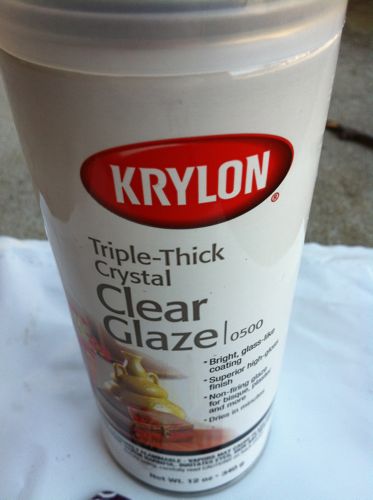
Finally, after all the polish has completely dried, apply 1 -2 thin coats of clear glaze or lacquer on both sides allowing it to dry in between coats. It only takes 10 or so minutes for it to dry to the point of being able to handle it but you will want to wait 24 hours before using your key so it will fully harden.
After dry, remove the tape and enjoy your fabulous new blinged out key!

And here is the blinged out house key, over one year later! It lost a rhinestone or two because of my own stupidity, but otherwise held up great!


I love that the OPC one is diamond plate like our header!
Now I need to make a Better Half themed key! 🙂
What a smart and cute idea for easily identifying which key is which! It’s also one the kids could help with. If you don’t like how it turns out or you mess up, you could just wipe the slate clean with nail polish remover before using the glaze. 🙂
Brilliant. Will show this to my wife, she spent money on those rubber covers you put on rings to identify them.
cool. now I can write “Front Door” and “Garage” on all my keys.
as long as you don’t write your address too! lol!
Thats cute let us know how well they hold up if that glaze does the trick.
I did this with our house key about 6 weeks ago, including gemstones, and it has worked GREAT! No scratches or chips, looks brand new!
Oh no. One more thing to color code! LOL I’m obsessive about color coding, so this is perfect for me. Now if I can just find that box of wild colored nail polish our daughter left behind when she joined the Air Force I’ll be good to go!
Thanks Jocie.
I love the 5 minutes or less theme. Most of my projects are on hold right now, because they take too long! The key idea is great because some of my keys are the same size and shape. But I’m wondering, how well does the paint hold up?
The guys could use this idea for nailsets. Always grab the right one!
My hubby is going to love his new keys once I get ahold of them:) Thanks for sharing the triple clear glaze! Going to get some today!
It’s good the menfolk have us to keep their things straight, yes?
Hey Kim! Us straight menfolk can be crafty and organized…at times. LOL! 😉
Super cool idea. I just had to replace my expensive hardware store super cute Monkey key and I think I am gonna use some of my girl’s polish and do something trippy. Thanks for the idea!