
“5 Minutes or Less” is an on-going series dedicated to quick and fun crafts and DIY projects that you can do in five minutes or less. This segment came to being because in our busy life it was difficult making the time for the involved and time-consuming projects that I love. We would love to feature your ideas too, so don’t forget to take lots of pictures of your next “5 Minutes or Less” DIY and send ‘em our way!
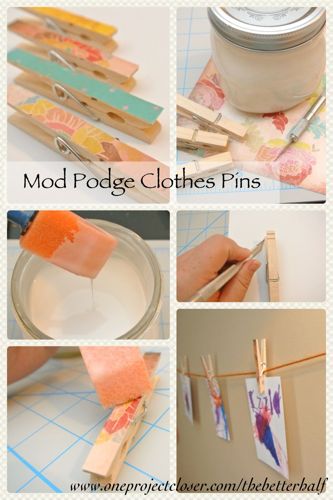
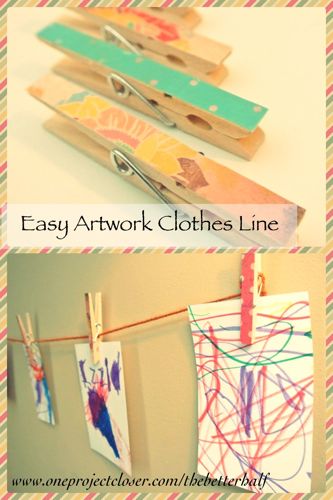
Awhile ago I had bought those cheap, plastic chip clips that stick to the fridge. Over time, they have been dropped by children and broken. I wanted to come up with a cute, cheap project to replace my chip clips, and one that wouldn’t break when dropped. 🙂 So here’s my dressed up clothes pins that you can use for so many different things, like magnets, chip clips, or kid’s art work.
Materials:
- Clothes Pins
- Scrapbook Paper
- Mod Podge
- Sponge brush
- Pen knife
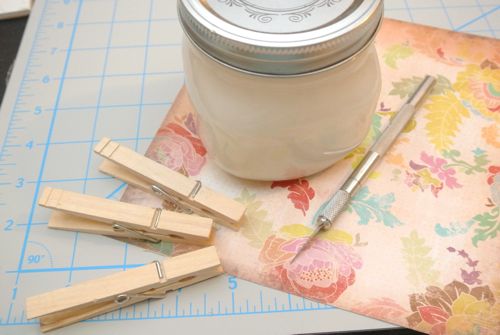
Step 1: Cut the Paper
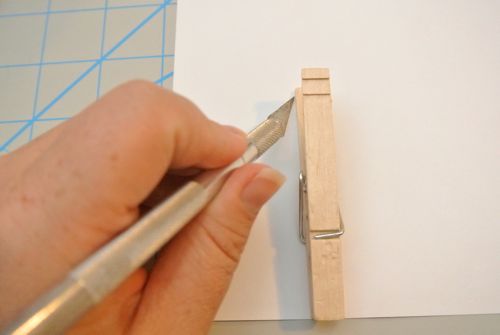
After you choose your scrapbook paper, place it face-down on the cutting board. Check out the super cool self-healing Exacto mat Ethan gave me for Mother’s Day. woot woot! Place your clothes pin on the paper and trace around it using your pen blade.
Step 2: Mod Podge
Check out my post on making your own Mod Podge for super cheap! Place a layer of Mod Podge on the clothes pin. Then place the paper cut out onto the clothes pin.
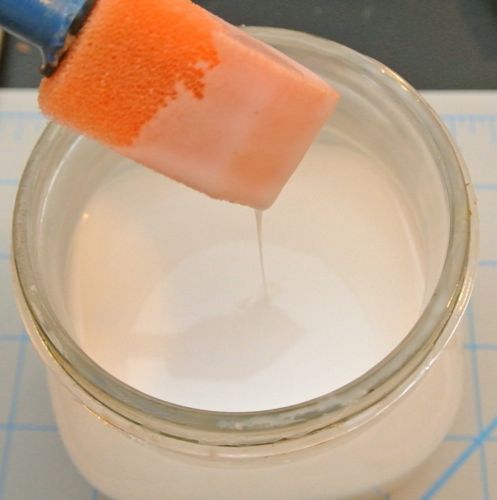
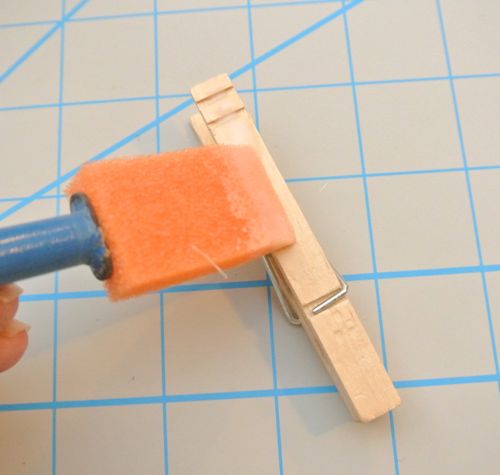
Press the paper down and move it around a bit to make sure there are no air bubbles. Then apply another layer of Mod Podge on top. Let dry. If needed, apply another coat of Mod Podge.
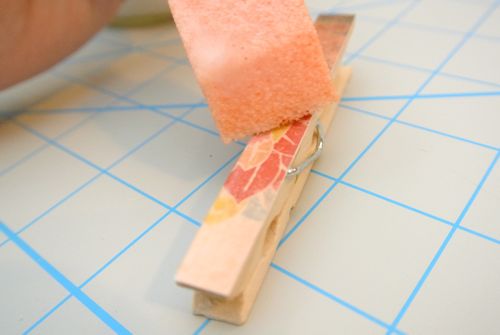
Step 3: Use ‘Em!
Okay, so wasn’t that the easiest and quickest project ever?!
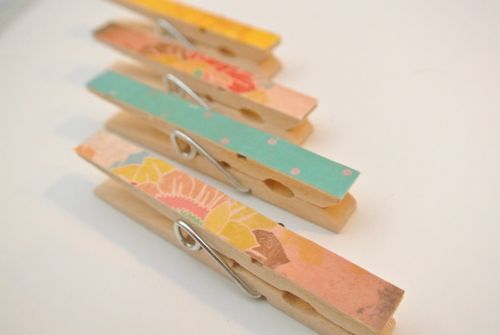
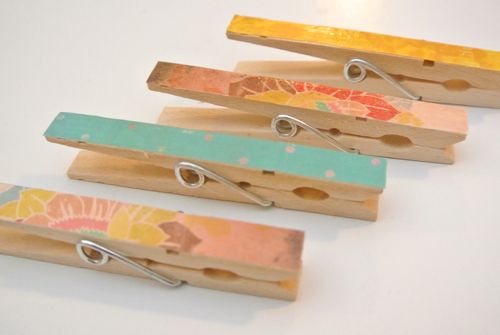
After I finished, I thought they were too cute just to use on chips, so I tried to come up with some other good uses.
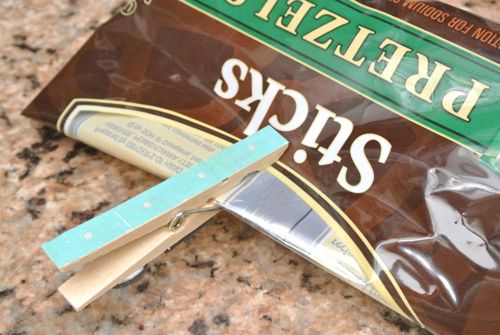
- Chip Clip – Buy chips. Eat them. If there’s any left, use your clothes pin to keep them closed. 🙂
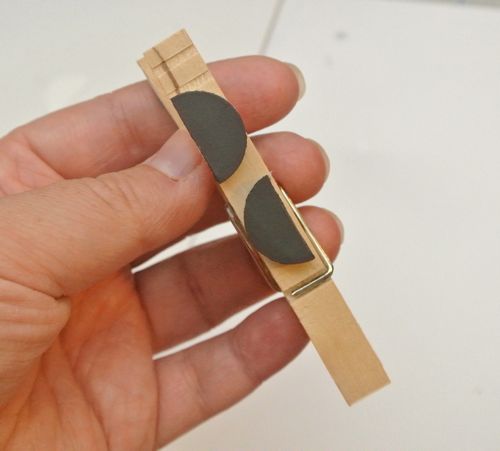
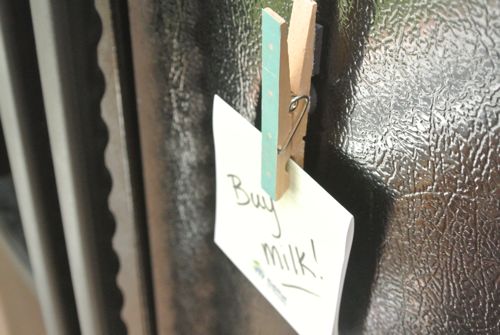
- Magnets – Just add a Magnet with adhesive (or use your own hot glue) to the back of the clothes pin. I only had bigger magnets, so I cut one in half with my pen knife and stuck both halves to the back of the clothes pin.
- Art Work Clothes Line – Tie a clothes pin on each side of a long piece of yarn, twin, or string.
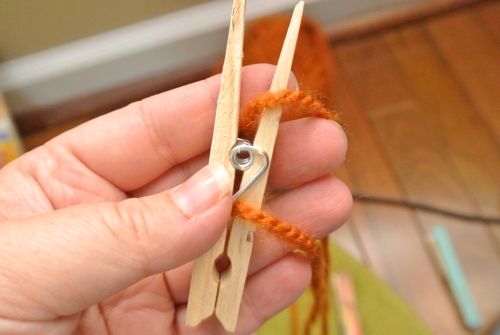
I affixed the Two clothes pins to the wall using 3M Picture Hanging strips so I wouldn’t damage the walls. Make sure the string is taught because adding artwork will weigh it down more.
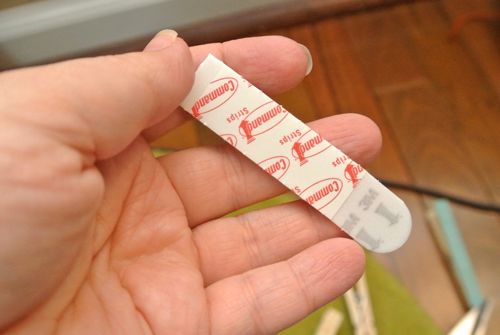
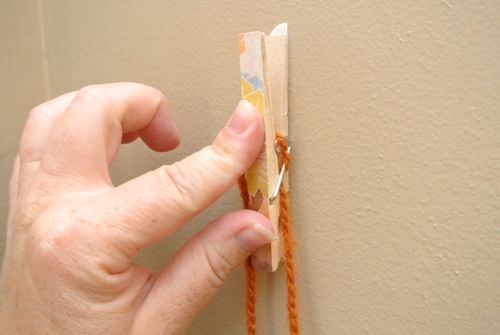
Then add clothes pins to your line, then artwork!
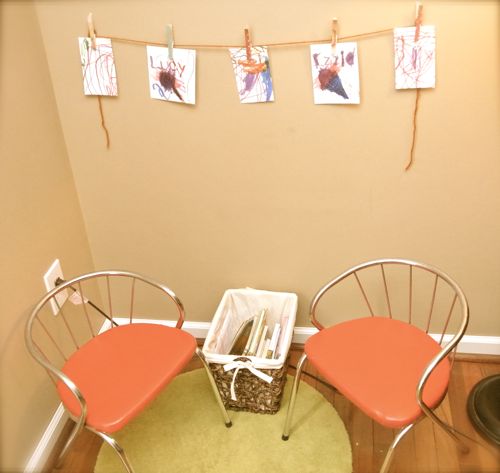

What do you think? What will you do with your Mod Podge clothes pins?
As Always, thanks for reading!

Don’t forget to check out our weekly Link-up Parties on Fridays, where you can submit your own DIY projects and crafts!


Cute, cheap and easy! Love it. 🙂
Thanks, Karah! Welcome back from vaca. Enjoyed reading all your updates.
I love these clothes pins, Jocie! I haven’t done any of these in a couple of years and really should make more. I find the ones I made in the past come in really hand in my craft/sewing room to hold the tags I sell in my Etsy on a screen I have in there. But I’m running out!
Thanks Kathy! I’m already really enjoying mine and may make some more to help do some organizing! :
What a sweet project! I love these 5-minute crafts!
Thanks Kelly! I love the 5 minute crafts (and posts too) since the big projects sometimes have me a little overwhelmed with not enough hours in the day. 🙂
I have just decided to hang my grandma’s aprons in my kitchen but couldn’t find any cute hooks. I was trying to decide how to make it look cute with clothespins and 3M strips. This is PERFECT! Thanks!
Pretty section of content. I just stumbled upon
your web site and in accession capital to assert that I get actually
enjoyed account your blog posts. Anyway I will
be subscribing to your feeds and even I achievement you access consistently fast.