
“5 Minutes or Less” is an on-going series dedicated to quick and fun crafts and DIY projects that you can do in five minutes or less. This segment came to being because in our busy life it was difficult making the time for the involved and time-consuming projects that I love. We would love to feature your ideas too, so don’t forget to take lots of pictures of your next “5 Minutes or Less” DIY and send ‘em our way!
Coasters? I don’t need no stinkin’ coasters! Well, I thought I didn’t until I got addicted to making them. Soon, I’ll be making coasters to compliment every season and holiday. We got these super cute homemade coasters from my sister-in-law, Charis this past Christmas. I’ve seen them floating around Pinterest too, so I figured I’d try my hand at it also, especially since I had all of the supplies already floating around the house. I loved this project because I is so quick, cheap, and useful too! This is the perfect gift if you are invited to last minute party or need a cheap teacher gift.
I listed this as a 5-minutes or Less Project because the time you spend actively working on a set of 4 coasters is about 5 minutes. If you do more coasters (I did 8) it takes a little longer. With dry time, you’re coasters will be done in an hour or two.
Supplies:
- Scrapbook paper
- Mod Podge
- Felt
- Hot glue
- Scissors
- Finishing Glaze
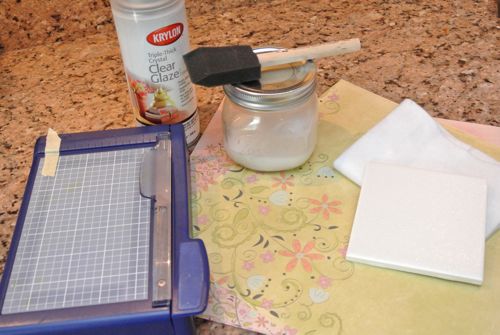
Step 1: Pick Your Tile and Paper
This is what I love most about this project! We have had this cheap box of white, 4″ square tile sitting in the back of our basement forever. It was here when we moved in but we’ve been too lazy to do anything with it or even get rid of it. Enter my perfect opportunity! I made 8 coasters = 8 tiles. I have also seen beautiful natural tile coasters, but I was going for using supplies already on hand. A similar tile to the one I used can be bought at your local Big Orange for about $0.82/tile.
I used card stock I had on had from my old scrap booking days – now I just do my albums online and use all my paper for miscellaneous crafting. In other projects involving Mod Podge and scrapbook paper, I have found card stock way easier to apply without bubbles forming, so I stuck with that for this project too.
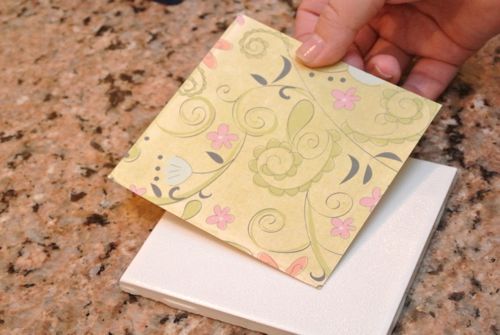
Step 2: Measure and Cut Paper
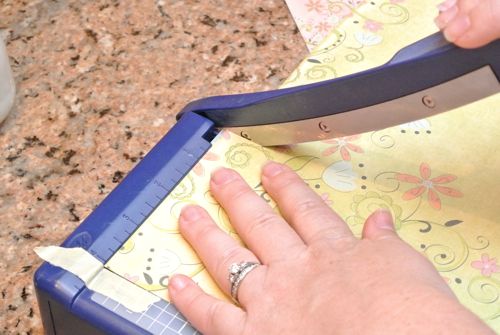
I used my Creative Memories Personal Trimmer to ensure straight consistent lines. Since the tile is slightly beveled at the edges, cut the paper to lay on the interior of the bevel. Since the measurement didn’t fall on one of the major line markings, I placed a piece of masking tape to mark how long the paper should be. It made for quick, perfectly square paper cut-outs. woot woot!
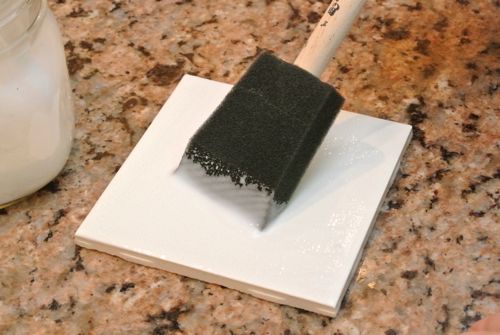
Step 3: Mod Podge It Up
Okay, so since I learned to make my own Mod Podge I’ve gone a little crazy, using it with every craft. Its just that awesome…Anyhow,using a sponge brush, apply a generous coat of Mod Podge to the top side of the tile.
Carefully lay a paper square on top, starting at one corner and gently pressing down as you move across the tile. Once laid, you can even move the paper around a bit to make sure the air bubbles are out.
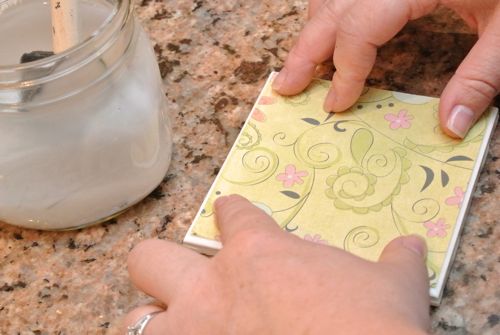
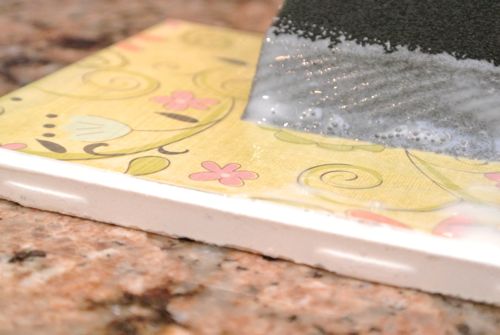
After positioned and completely flat, apply another coat of Mod Podge, putting a little extra around the edges. Allow it to fully dry, and then apply a second coat. Let dry completely.
Step 4: Apply Finishing Glaze
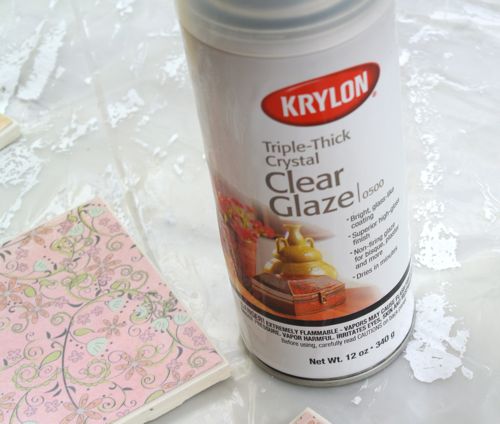
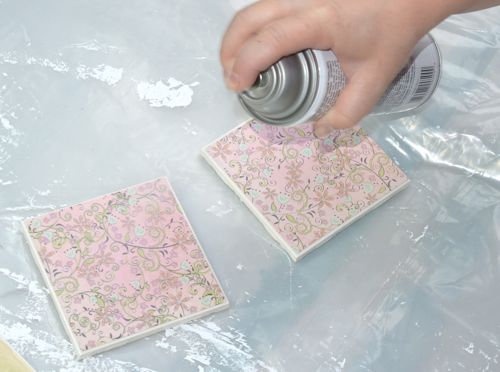
You may have noticed this is one of my other favorite craft items – finishing glaze. Seriously, I think I have sprayed it on every thing. The only product I use more is my hairspray. LOL! Spray a quick coat in a well-ventilated area.
Step 5: Apply Felt bottom
Ideally, it would have been great to use felt with an adhesive backing, but since I didn’t want to go to the store, I settled for plain old felt with hot glue. Cut your felt to the size of your tile. Then hot glue the back of the tile and place the felt on top, doing this one half at a time to prevent the glue from drying before you finish.
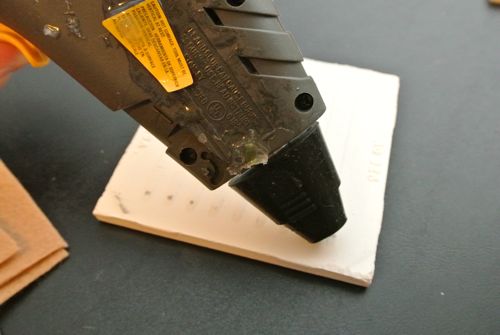
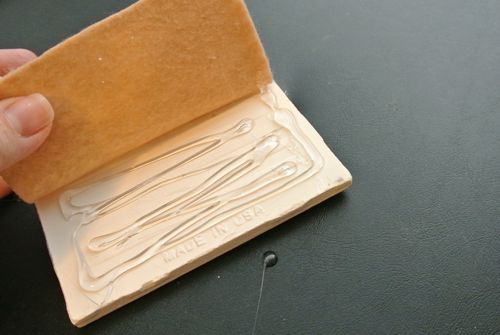
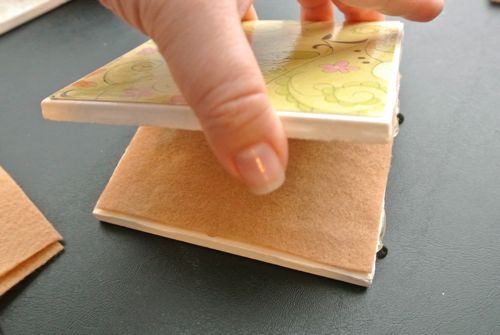
Once the felt was laid but the glue was still soft, I used the back of another tile to flatten the felt and smooth the hot glue. And DONE!
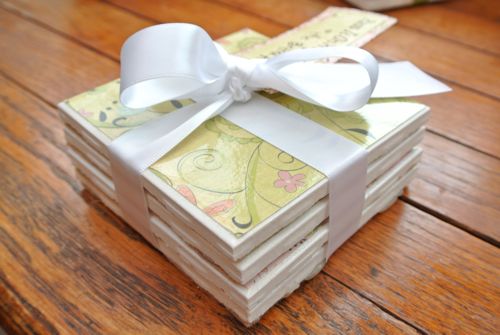
I added some ribbon and a homemade tag to pretty things up and now you have a gift costing under $5!
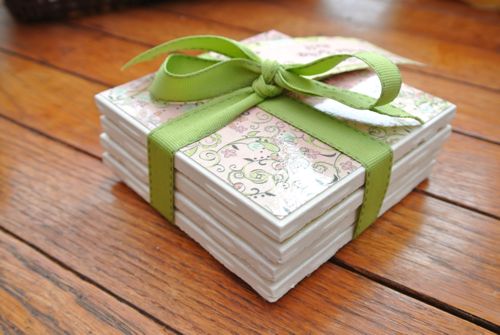
What do you think? What’s your favorite project that takes 5 minutes or less?
As Always, thanks for reading!

Don’t forget to check out our weekly Link-up Parties every Friday, where you can submit your own DIY projects and crafts!


wow, those look great! i for sure wish i had had a paper cutter when i was making yours. thanks for the shout out 🙂
Very nice. I can see how you can easily adjust the paper choice and maybe even go with photos.
You could make hot plates for the table using bigger tiles
I like the idea of a hot plate…I’m not a big fan of any coaster that doesn’t absorb the perspiration of my drink, but these are so stinkin’ cute I might just have to try some with the tile we have in our garage!
Hot plates would be super cute, but I would guess you would need to find a lacquer or sealer that can stand up to high heat since pots are super hot right off the stove.
If anyone finds some kind of sealant that will work to make these heat resistant, please post it.
What a fun project. I love a simple, inexpensive and cute gift idea!!!
Oh if you’d have only posted this sooner I’d have made some up for our daughters wedding to protect the satin table clothes I’m making for all the tables. The wedding is a month and a half away so if I get all the other projects finish I’ll go ahead and make some of these. If not I’ll make some for our home afterwards!
Thanks!
That sounds lovely, JustME. They might even make good favors for the guest to take home. Could write the wedding date and some swirlies.
Love that these take so little time and look so cute!! Great hostess gift or new home gift!
This coaster set is pretty neat. I’m going to pass this along to my sister. She is always making some kind of craft and will love this.
Have you tried making this with photos? Do you think it would work or would I need to print the photos on regular paper??
Wow, these look great! I had seen this on pinterest too, but you make this look even easier. I’ll have to give this a try for our new house 🙂
Do you think this would work with photos instead of card stock? Does mod podge damage photos? I’m excited to read you post about making your own mod podge next – thanks for the link!
I desperately need coasters! I saw a tutorial on Pinterest and haven’t gotten around to it yet. I have tons of scrapbook paper too! So cute and easy.