
We’re back for another update with general contractor Joe Bianco and the triple bathroom remodel. Joe has brought in Jim and Rich from Diamond Tile to tile all the bathrooms, and last week I shared how they poured the shower pans. Today’s post will back-track a bit to show you how Jim and Rich installed the concrete board, set guides for installing tile and started laying tile.
A lot of contractors use Durock for tile underlayment because it’s lighter and easier to work with than traditional concrete board. Jim and Rich used it on all the floors and walls.
Pro-Tip: Durock features a smooth side and a textured side. The textured surface provides a better surface for bonding and reduces tile slip with mortar applications.

It’s a common mistake to think that nailing or screwing the Durock over the subfloor is sufficient. However, the proper way to lay Durock is to put down a bed of thinset and lay the Durock overtop. Jim and Rich used Mapei Ultraflex 2 which is a polymer modified thinset.
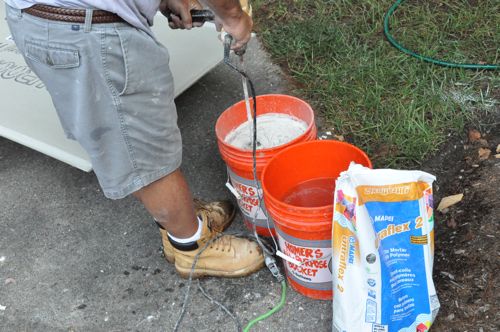
Jim used a 1/4″ notched trowel to spread the thinset while Rich made any necessary cuts.

After each board was laid, Rich drove roofing nails about every 6″ to ensure good adhesion while the thinset dried. Roofing nails are ideal because they can be driven below the surface and they have a broad, flat head. Just like with drywall, the nails are only a temporary anchor. The thinset is what really holds the Durock in place.

The guys used a grinder to make cutouts for the toilet, shower controls, pipes and everything else. They also staggered the joints, placing cut edges around the perimeter and butting factory edges together.


In the showers, the guys were careful not to put nails within 4″ of the floor to prevent compromising the waterproof membrane.

Both tubs needed to be installed before the Durock, and they were both set in a bed of mortar. This ensures the tub is well supported so that you don’t feel any “soft spots”, and it distributes the weight across a bigger area.

Here’s a look at the master bathroom tub.

It was important that the lip of the tub have a gap because it’s not designed to support weight, and Jim and Rich needed to be able to slide tile underneath.

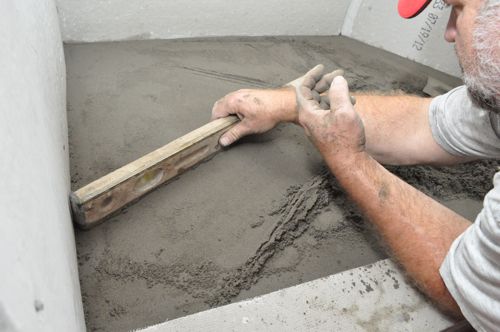
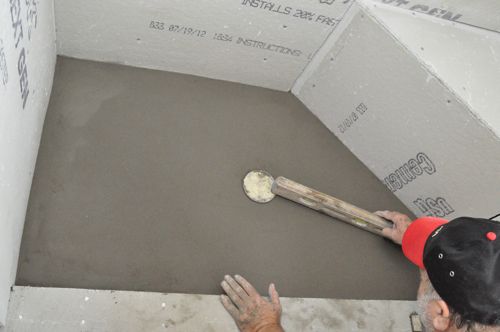
Jim did the two shower pans after all the Durock was installed.
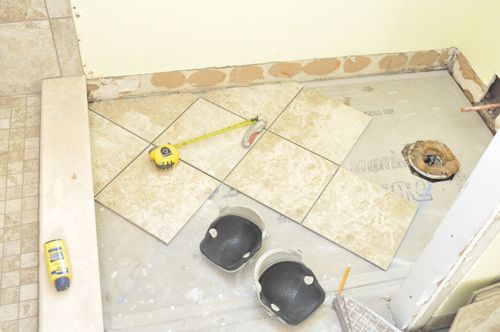
Mr. and Mrs. Homeowner have requested the floors be tiled at a 45° angle, and it was cool to see Jim and Rich create the guides. First, they determined a layout that eliminated small pieces around the perimeter and ensured that the most visible areas had full and half-sized tiles. It was by chance that this layout also centered a half tile on the doorway.
To create the guides, Jim determined the center of the doorway and struck a perpendicular line. Next, measuring off the threshold, he found the location for the first tile and set it on the line, marking the corners on the Durock.

Jim used those marks and a square to begin creating the rest of the diagonal guides.

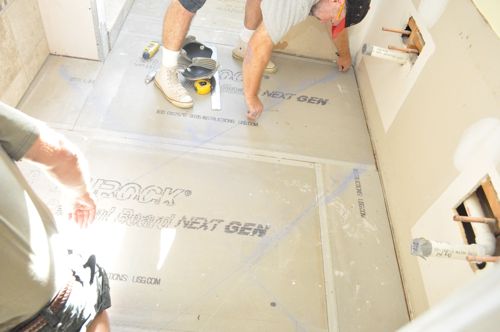
Each guideline was spaced at 23-7/8″ which is the measurement of two of these specific tiles and two joints.

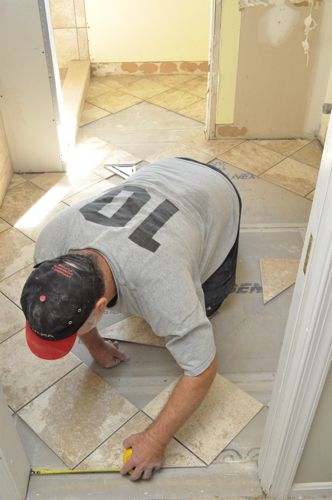
Taking the time to set the guides enabled Jim and Rich to precut all the tiles, ultimately completing the job faster.
Pro-Tip: Tile is manufactured in batches, and to ensure the most consistent coloring, purchase tile from the same batch number or consecutive batch numbers.
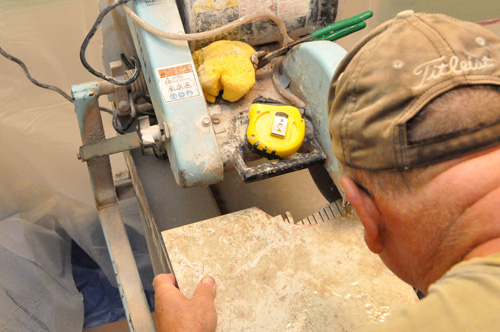
To make curved cuts, Rich used a wet saw to cut the edge of the tile and cut slots that are easily removed with a pair of nippers.
In this way Jim and Rich set out the entire floor before spreading any thinset, and they were able to make cuts that leave little room for error.


What is the recommended fix for a shower whose base already has soft spots? Can this be ignored or is it something that must be fixed? I imagine that fixing it would be rather expensive since it would probably need to be ripped out and replaced.
Ethan, do you have pics of the demo/removal of the typical shower/bath tub that’s shown in the 8th picture down? That’s the one most similar to the one on which I may need to repair the base.
The soft spots are probably caused by a poorly supported pan or a damaged subfloor. I’d be especially concerned if this was a recent development. I don’t think there’s an easy fix. You might need to take the plunge and demo the pan. I don’t have any pics of the guys removing the tub. If it’s fiberglass, you can just cut it up with a recip saw.
The thinset on the floor is there more for support than for adhesion. It ensures there are no gaps that will allow give in the floor and cracks to occur. I would have still used screws to secure it to the floor.
That’s a good addition that I forgot to add. However, the nails (or screws if you prefer) really are only temporary anchors so the thinset is what locks the Durock in place.
Did they use any adhesive on the walls or is it just nailed screwed….and I’d assume they’d use something more beefier than roofing nails for the vertical surface?
They did use adhesive on the walls, and it is anchored with nails. Again, it’s the adhesive that holds the Durock in the long run.
Why did they use roofing nails on the floor durock rather than drywall screws? Are they temporary?
Drywall screws rust out and cause cracking. In this case, roofing nails are ok, durock screws are better.
Thanks! Good to know.
The lip of the tub is not intended to support weight? That seems odd. How will they keep people from doing that in the future?
A better way of phrasing that: the lip of the tub is only meant to support the occasional weight of the person climbing in and out, not the weight of the tub, a person and all the water. The main support needs to be under the bottom of the tub, and the lip is almost “floating”.
Joe’s right on.
For all the Durock questions, here’s a copy of the installer guide:
DUROCK® Cement Board Installation Guide – CB237 – http://www.usg.com/rc/installation-application/panels/durock-cement-board-installation-guide-en-CB237.pdf
Quick notes: Thinset and nails is ok according to USG. USE a respirator, or better yet, a HEPA rated dust collection device and a respirator. All joints should be staggered on the cement board, and avoid putting them over joints in the subfloor.
I’ve had a lot of sucess cutting it with a diamond or carbide tipped jigsaw blade, and carbide tipped holesaws.
Great comments Joe. I appreciate you weighing in.
Laying the tiles out dry and getting all the cuts first is smart. I will remember this.
An important thing to note is that they partially filled the tub to set it correctly.
Yeah I thought I noticed that as well in the picture. Is that done to make sure it is level? Or to add weight?
A little water will expand the tub slightly.
I forgot to mention that I really like that they took the time to set the tub in mortar. It makes a huge difference and eliminates any creaks when taking bath and showers.