
Last week we kicked off our fourth annual Before and After series, and now it’s time to start picking winners!
If you’re not familiar with the series, every week we pick a before and after story submitted by someone like you (yes, you there). The winner gets a $50 gift card and we make a $100 donation to Habitat for Humanity in their honor. We also plug Habitat with some interesting factoids found near the end of each post. We’re doing this all summer long so there’s still time to submit your story. Check out the link above for the official announcement and all the details.

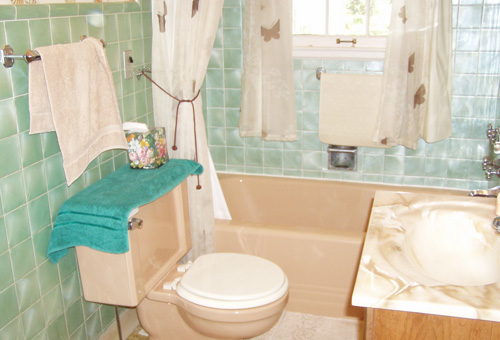
The first winner this year is Carol from Paintergals’s Little Cottage, and we think you’ll agree that her bathroom was rather scary. It had crumbling walls and metallic tape in the shower. The tiles were sea-foam green, the floor was gold colored floor, and not to mention the “dead salmon” tub. Wow! Read on to see the awesome work Carol and hubby did on this seven week reno.
When we first saw our little cottage, this is what the bathroom looked like,
Actually, you can’t see all the nastiness that we discovered in three years of living here.
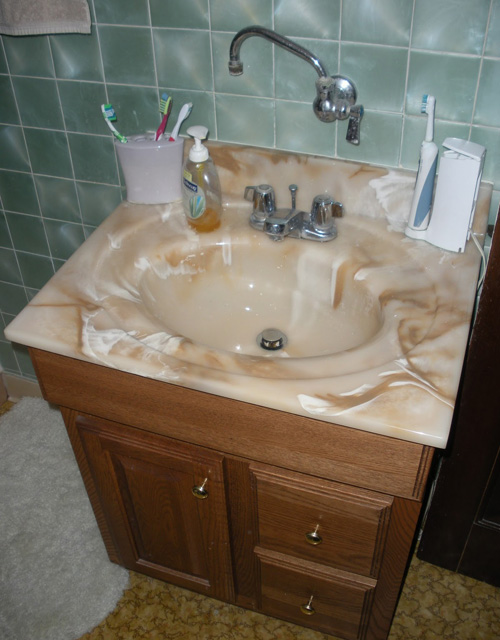
The walls literally crumbled when we took off the acrylic tiles in the tub area. And yes, I said acrylic tiles. Seems that was the thing in the 50’s?How about this extra faucet over the vanity?
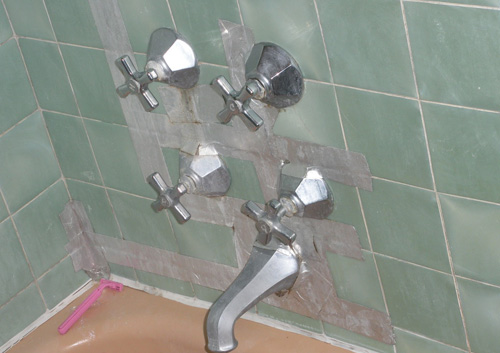
Or the double faucets in the tub area?
Actually, we couldn’t even take a bath, since the cold water faucet refused to budge to more than a trickle. Oh, and hey- don’t you like the waterproof metallic tape that we used to hold the tiles on? Sheesh.
OK, I’ll stop. Enough images to prevent a good night’s sleep, eh?
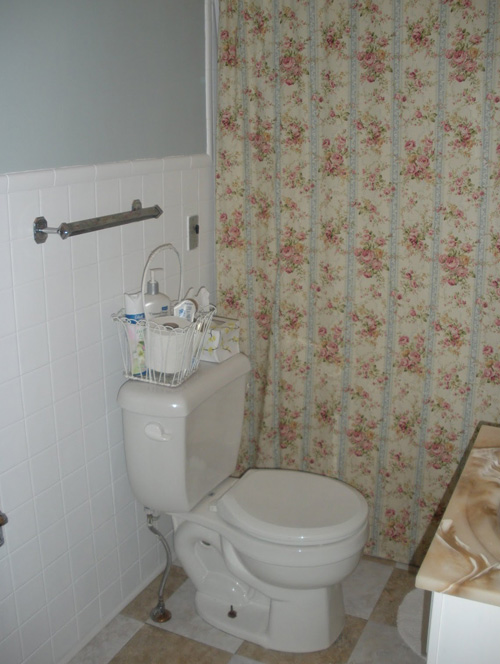
In November of 2009, I had decided I had had enough of living with the seafoam tiles, gold floor, and dead salmon tub. Well, actually, I didn’t do anything about the tub except make an extra long shower curtain to hide it. But I did do a temporary makeover, just to tide us over until the actual one.
This is how it turned out.
Amazing what paint and a new floor will do. However, the bad tiles are still there (now just covered up in paint) and the rotten walls are still lurking.
Flash ahead to August 2010. No, make that September. All right, we’ll start in October. No really, we are starting this project NOW, in November.
It took us 7 weeks, lots of changes in plans along the way, a fall between the vanity and tub (my hubby), strained muscles as well as a strained marriage, but it is done.
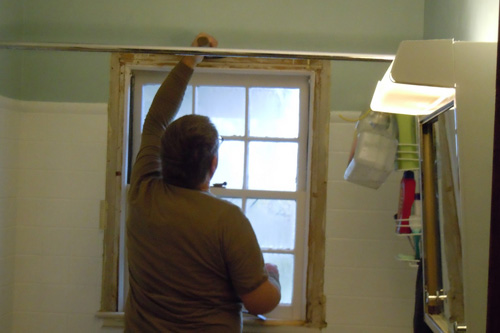
The first thing we had to do was remove the window in the tub area and patch the hole.
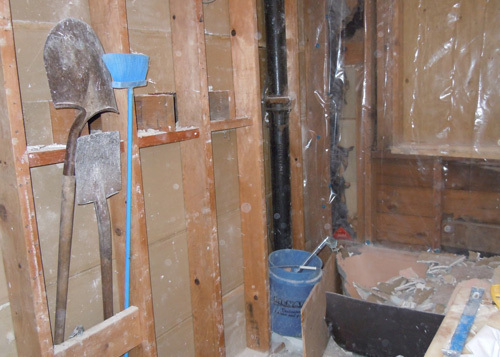
Next, came the l-o-n-g demolition process. We totally gutted the room. Plus that lovely dead salmon (that’s the color I was told it is) tub had to be demolished with a sledge hammer and carted out. That thing was cast iron and very heavy.
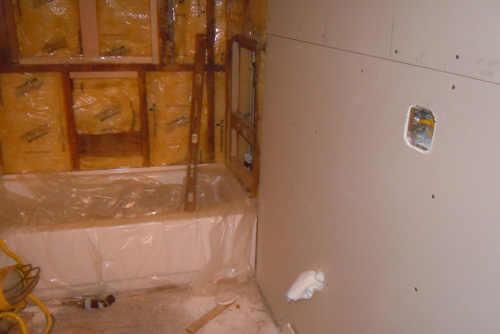
Newer, better insulation and hey, a new tub! Plus, the walls are being formed. This is the only part of the process we hired out: we figured dry walling wasn’t something we wanted to mess with.
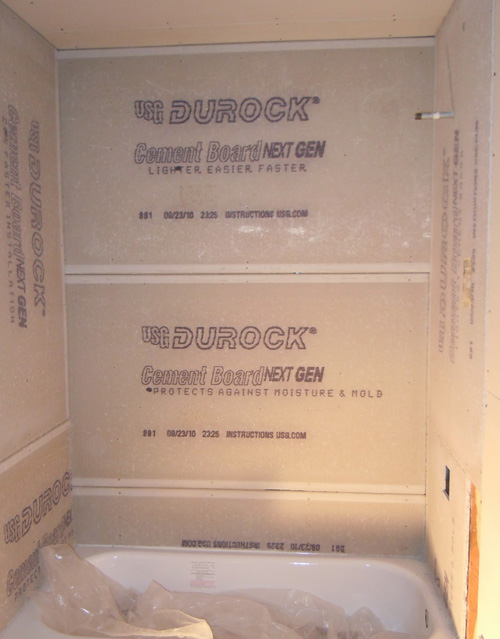
And yes, we did use cement board in the shower area.
You can’t really see in this photo, but the walls and ceiling have been painted.
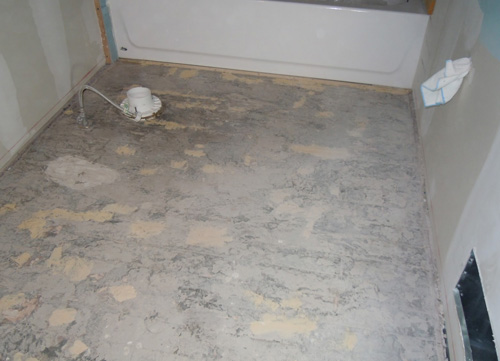
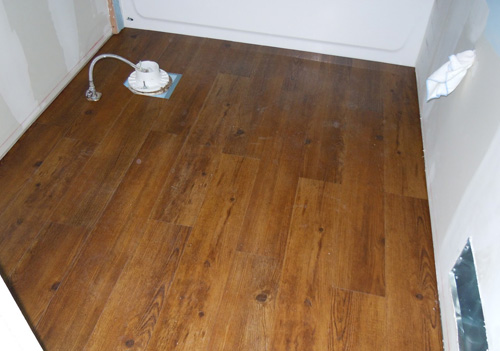
Next up, the floor.
We laid this floating laminate from Home Depot, called Allure. Love this stuff.
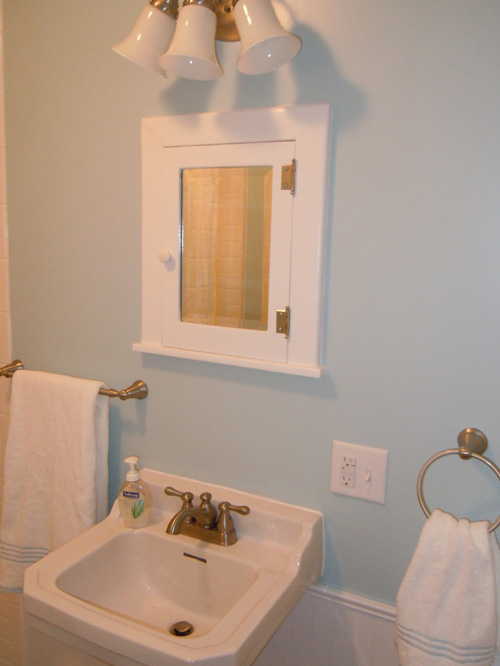
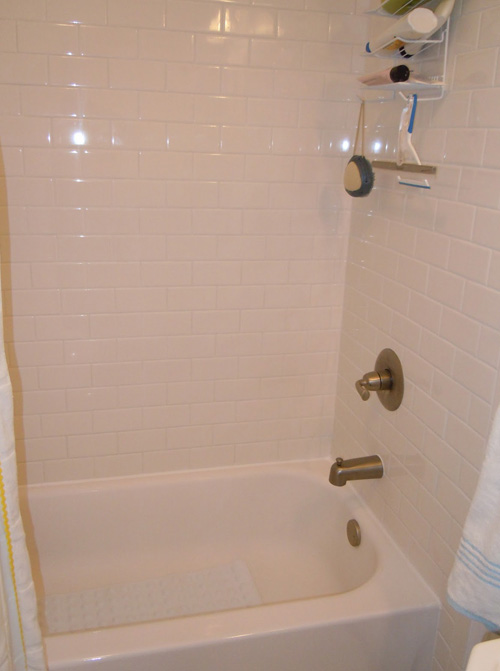
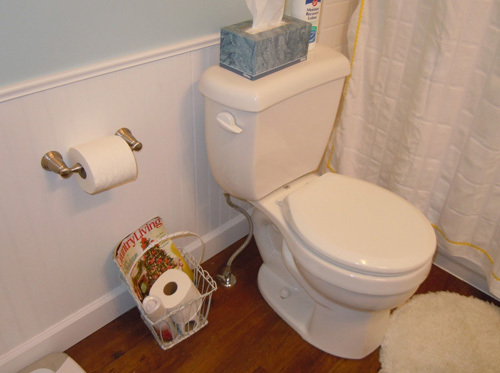
And here are the finished photos.
We cut down the ductwork so rather than having the heat register high on the wall, it now is closer to the floor. Much better.
I obsessed over finding a medicine cabinet in this style. Finally did, at a salvage store about 30 miles away. We also bought the wall mount sink at a store called ReNew that sells items pulled from houses. We’re so green!
The light fixture was my second choice. Originally, I wanted to have sconces on either side of the cabinet, but we weren’t sure about the space involved, so we made a last minute dash to Menards and got this one for $19.
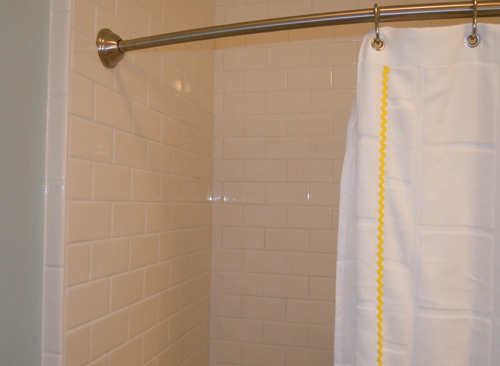
The tiling alone took me seven days. I ended up tearing out sections of one wall two times since it wasn’t lining up right. But it got done.
How do you like our curvy shower curtain rod?
Beadboard was another last minute change of plan. The original plan was to carry the tile out into the room, but after looking at the massive space I had to tile in the tub area, I decided beadboard would do just fine, thank you very much!
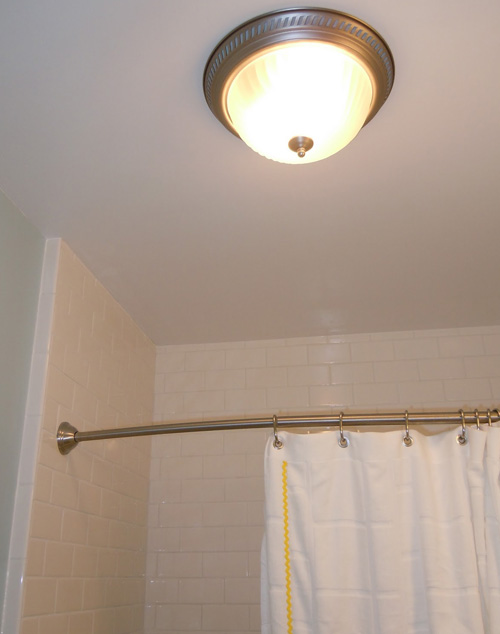
We added this fan/light fixture to the center of the ceiling.
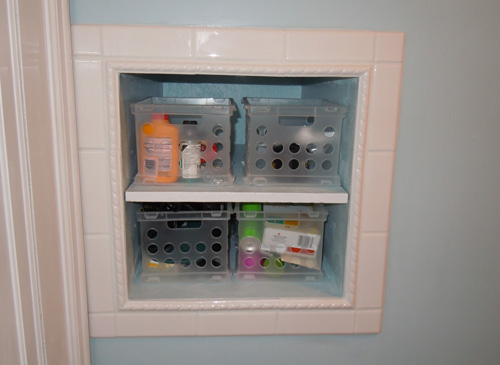
And now for something fun! Original plan (again) was to create a niche in the tub wall. Since we were discouraged from doing it on the exterior wall, we thought we’d do it on the tub wall with the toilet. Alas, when we gutted the wall, we found the sewer pipe going up that wall, so no room for the niche there.
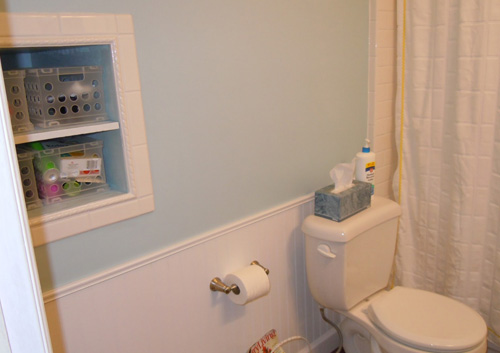
So… we decided to make a storage cubby in the room. It has a depth of 18″. Nice and deep for storage containers.
Plus, I got to use the sweet rope tile that I had already purchased.
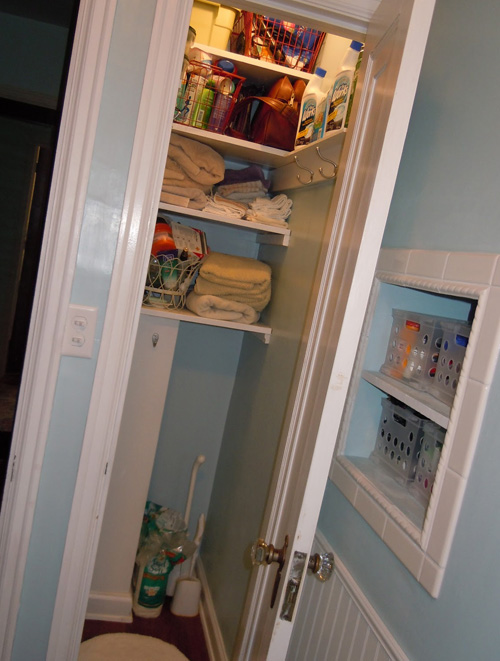
Closet: freshly painted and now thoroughly crammed full of stuff. I now realize I need to paint the inside of all the closets in our house. Really makes a difference.
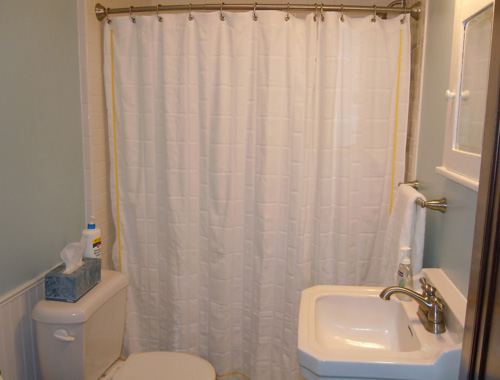
And one last parting look. Ah…
Thanks Carol!
First, this was amazing! Hats off to you and hubby for putting in a ton of work. It’s really paid off and the bathroom looks spectacular. Second, thanks for sharing this great story and photos with us!
Habitat for Humanity Factoid
The 2011 Habitat Challenge only has a few days left! If you haven’t heard, an anonymous donor made a very generous $500,000 contribution and is challenging you to give a gift by June 30. This is an exciting chance to help Habitat double its impact to provide safe, decent housing for families struggling to build a better life. Read more about Habitats mission.
To make an online donation, visit the Habitat Challenge 11 page.
Where’s Your Before and After Story?
We need to fill up an entire summer with transformations just like Carol’s, and yours could be next. Email your pictures and a “how to” story to beforeandafter@oneprojectcloser.com to join in.
Help Us Spread the Word
Are you a blogger? If you’d like to support us, please write an article on your blog about the contest, and consider adding one of our buttons to your sidebar. You can find the buttons and more information on our main Before and After article.



Oh my goodness! Thank you.
It was a ton of work, but we are so thrilled with the results.
What a nice remodel! Did you get a portable restroom rental in the meantime, or have a second bathroom?
Katie, thanks for the nice words. We had a toilet in the basement. Since then, we have added a second bathroom upstairs.
Carol,
That is an awesome remodel! The new bathroom is updated and beautiful! Easy to clean too and no leaks! Good for you!
Thanks so much!
What was the purpose of the 4 knobs in the shower? Not decorative I hope, or maybe I do.
The top two were for the shower head and the bottom two were to fill the tub. Theoretically, since the last couple of years the cold water faucet for the tub did not work.
Great job on the reno-my bride (of only 20 years!) and I did a shower reno in Jan 2011 before I left for an overseas deployment. It was a lot of work and stress, since we are both DIY rookies. We got it done in only 6 weeks, and came in at just under double the budget. (that’s good, right?? 🙂 About 3 months into the new shower, the floor tiles’ (12″ tiles of 1×1 squares) grout started coming out/tiles would shift. I used mastic on the floor (a local store ’tile pro’ told me I could use either mastic or thinset-so I used the mastic I used for the walls) and I believe that is what the problem is. Also, when I made the mortar bed, I sloped it to the drain using the formulas for distance/slope-only i inadvertantly created low point which pools water. My questions are: what is the best way to replace the tiles (using thinset of course) and get rid of the low spot so the water drains properly? Any suggestions would be fantastic! Thanks!!
I have never tiled a floor like that, but don’t you need to start with a base like this?
http://www.google.com/products/catalog?q=shower+floor+base&rls=com.microsoft:en-us:IE-Address&oe=&um=1&ie=UTF-8&tbm=shop&cid=11350952730556739421&sa=X&ei=dS49Tt7aFcatsAKW4Mki&ved=0CHsQ8wIwAg#
I’m sure Ethan or Fred will have knowledge they can share on the subject.