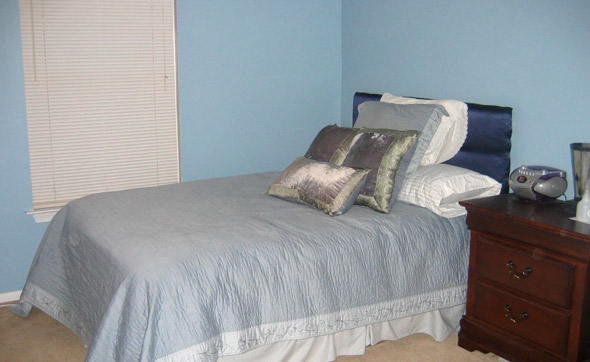
As some may already know, Ethan and I are expecting our second child in January, a younger sister for our now 20-month old daughter, Izzie. Since we have a nursery already set up, we are transitioning Izzie into a “big-girl room,” complete with a single bed! Here is the BIG REVEAL!
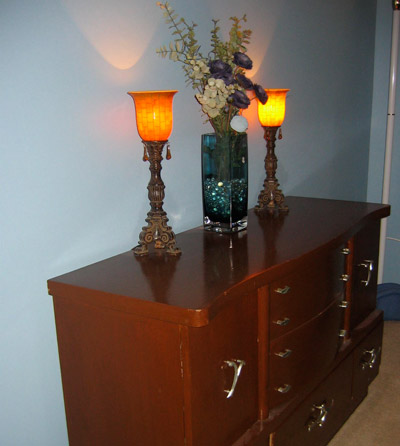
Goodbye guest room (furnished with my old double bed from college and my mother’s hand-me-down dresser).


Hello, Big-girl room!

All the Elements
1. Bunk beds: I looked into buying used bunk-beds, but found that most were still out of our price-range, even on Craigslist. A friend had bought bunk beds for her teenage son at Walmart and said they had held up well so far. Ethan and I ended up buying the Elise Bunk Bed in Soft White from Walmart. For $200, it was a bargain! They came un-assembled, but came with good directions and were put together in 3 hours. They definitely seem sturdy enough to withstand the wear and tear of a toddler girl. We hope they will last Izzie and Lucy (#2) for quite awhile!
2. Pottery Barn Bedding: When I was originally planning Izzie’s new room, I started looking around at quilts. I love Pottery Barn, but again, Target was more in our price range. Even then, a single, twin quilt at Target was still about $90. When I was at our local Nearly New Sale shopping for baby clothes, I came across two twin quilt sets from Pottery Barn, including decorative pillows, sheets, bed skirts, and pillow shams. The woman selling them said they came from a vacation home her parents recently bought – they were barely used and she was only asking $80 for everything! Now that they are in the room, I love them even more!
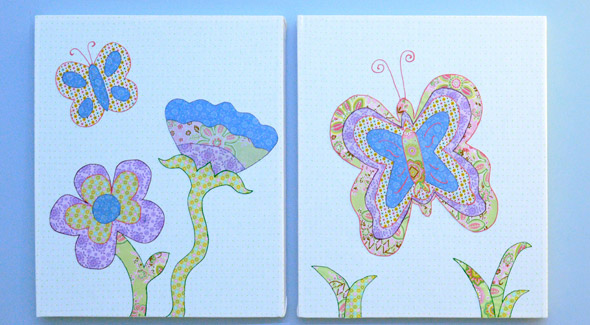
3. Wall Hangings: I wanted to add a personal touch to Izzie’s new room as I had to her nursery by making fabric wall-hangings. i used the decorative pillow for inspiration for the butterfly and the quilt as inspirations for the flowers. I found this set very difficult to make because of the many different fabrics and creating interest without overkill. In the end, I am pleased and I think Izzie will appreciate them as she grows. Check out my detailed post about creating wall hangings.

4. Matching Lamp: Once I had finished the wall hangings, I decided to re-purpose an old lamp I kept in my office. I added fabric cut-outs of flowers outlined with puffy-paint to the basic white lamp shade. The cut-outs attached easily to the lamp shade using Liquid Stitch.

5. Re-purposed Dresser: We moved the dresser once in our office into Izzie’s new room. The white really pops against the blue walls!
6. The finishing touches: Some small touches have already been added to the room to enhance the decor, such as the large Teddy Bear, a pink piggy bank, and a decorative light switch cover. Soon coming will be letters spelling out Izzie’s name, a matching Pottery Barn rug (a hand-me-down from my cousin), and Izzie’s decorative barrette holder.
All in all, we spent very little transforming our guest bedroom into a beautiful big-girl room for Izzie. Last night was Izzie’s first night sleeping in there and we were pleasantly surprised with how smoothly it went!
What do you think?


Yea, Izzie! Can’t believe she’s already in a real bed! And great job on the decor, Jocie. It’s such a cute and up-beat room. How can she not wake up happy every morning with all that color and clear signs of the love you put into getting the room all ready for her!