
Before & After Series: Before we jump into this Pro-Follow, I want to let everyone know that our 5th Annual Before & After series will be starting soon, and you can find all the details on the announcement post found on The Better Half. If you’re new to OPC, we run a Before & After series during the summer to help raise support and awareness for Habitat for Humanity. Readers submit a story and pictures, and every week we pick a winner who gets a $50 gift card AND we make a $100 donation to Habitat in their honor. Even if you don’t enter a submission, we greatly appreciate every Facebook mention and tweet to help spread the word. Now back to the Pro-Follow.
I’m really excited to kick-off what should be an amazing string of Pro-Follows focusing on building an in-law addition, and I hope to be there every step of the way. Steve Wartman and his crew have had this on the books for months, and yesterday was the day they broke ground. Here’s a look at some of the plans for this addition, and you can see all the new work is marked out with solid lines. The bulk of the work will be on the side of the house, and what was the garage will become a finished space with a small bump-out on the backside.

Step 1: Demolition
This job started off with a lot of demolition, and Steve’s crew began in the garage, disassembling the door and removing the ceiling and insulation.
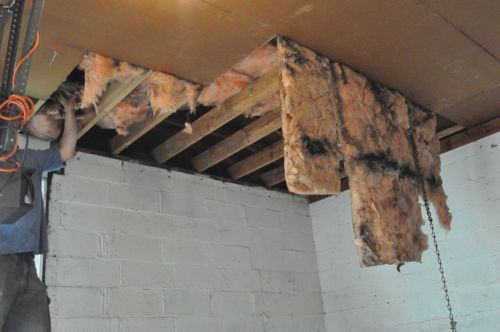
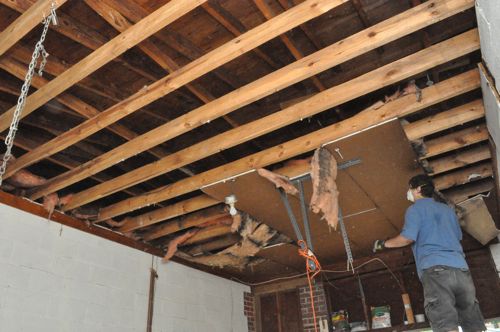
Inside, what was the master bedroom will become a great room, and Steve’s crew will need to remove a wall and the ceiling.
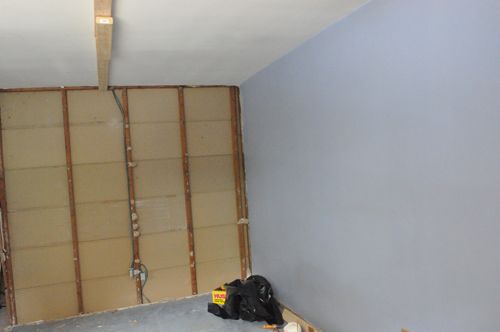
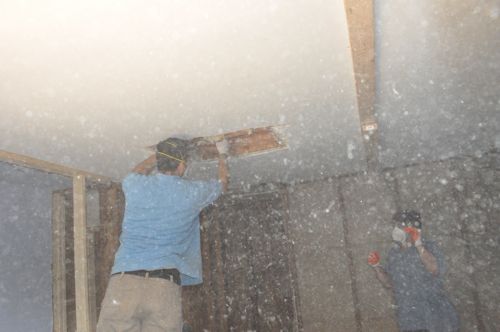
The combination of plaster and blown-in insulation made for a messy time.

Step 2: Sight Lines
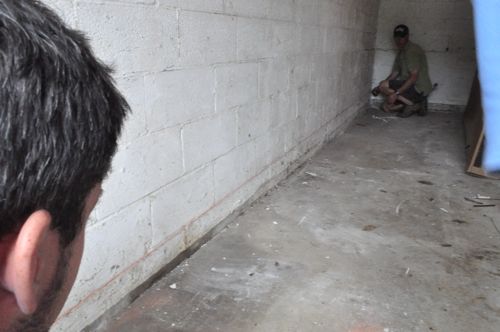
Steve needed to provide the foundation crew measurements for where they should dig, and to do that, Steve needed to map out a few markers. They used a builders level to site a line around the garage and found a considerable slope in and toward the house (the exact opposite of what you hope for in a garage floor).

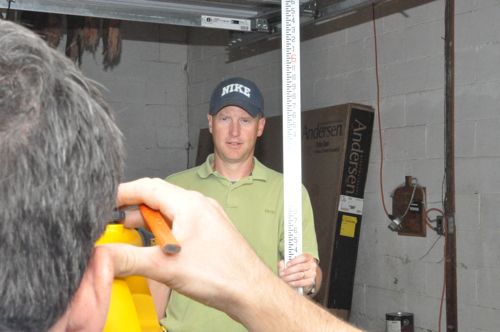
Next, the guys ran a string to mark the height of the floor and subsequently the location of the joists for the second floor. With a little work, they’ll be able to reuse a portion of the block wall instead of having to rebuild it.
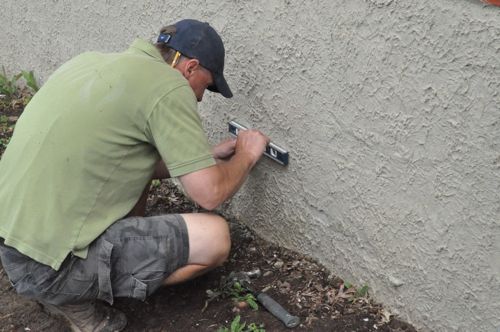
Transferring these measurements outside enabled Steve to give the foundation crew all the info they needed to begin excavating and cut out a couple of openings for doors.
Step 3: Excavate
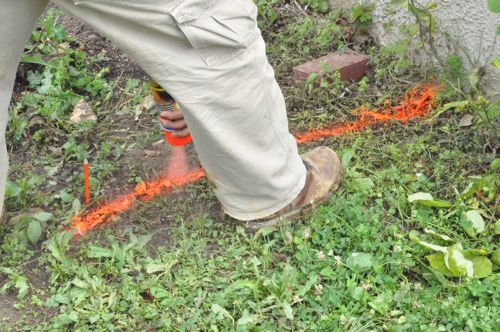
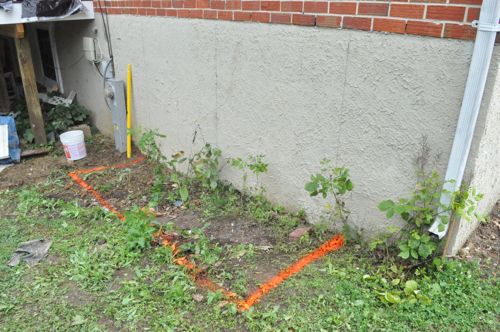
Steve marked out a rough estimate of the addition with spray paint and used stakes to indicate some buried pipe.
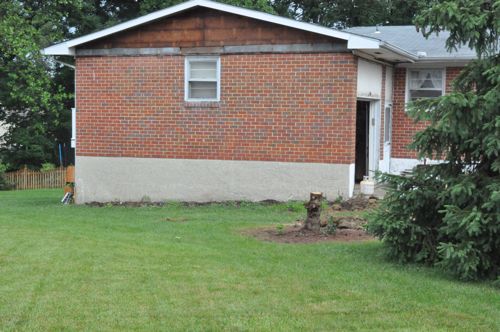
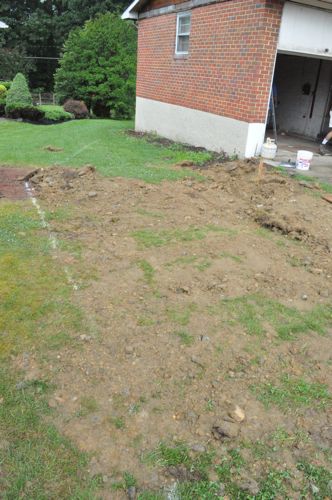
Soon after, Victor and team from Luciano Cristofaro Contractors arrived with a backhoe, and they got to work.
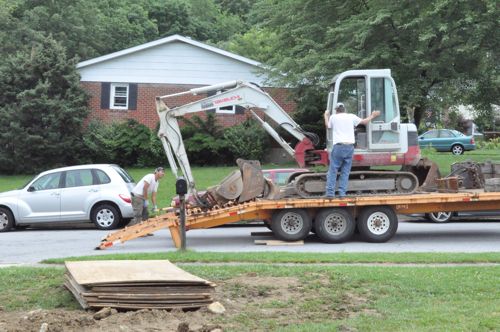
Victor’s crew started by verifying the footprint of the addition and removing the top few inches of soil so as to provide a good base for the concrete.
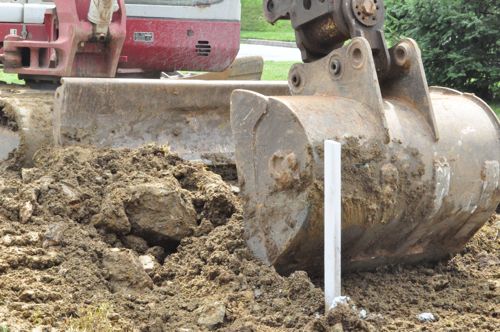
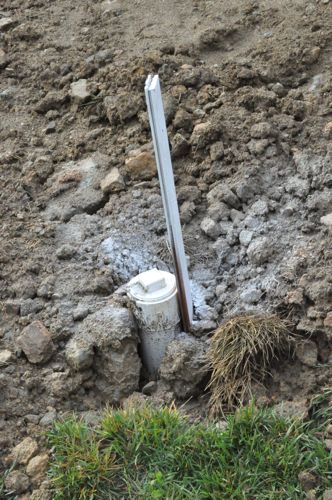
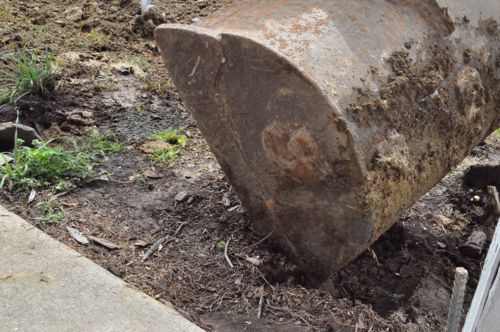
Here’s a look at the bump-out on the backside of the house.
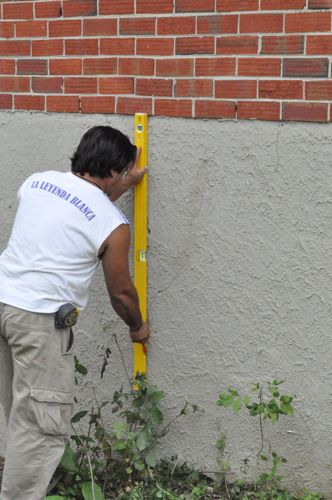
In Maryland footers need to be at least 30″ deep, and Victor targeted 32″.
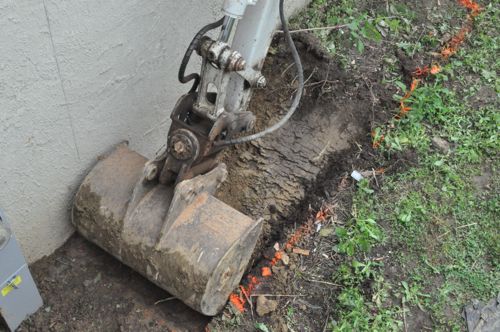
At one point, they unearthed a galvanized pipe that wasn’t marked by the local utility. After some investigating, the guys found it wasn’t connected to anything and was probably an old water line. Even so, finding a buried line near the power main is cause for some concern.
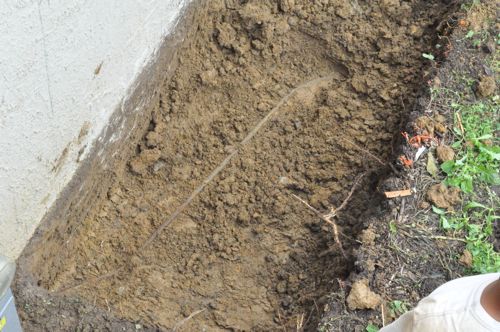
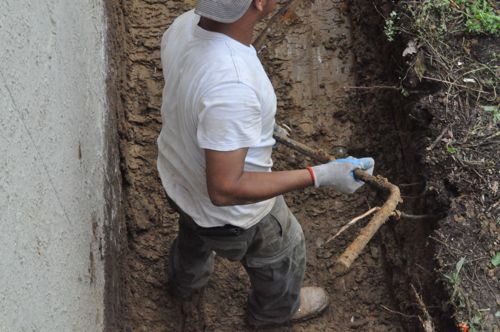
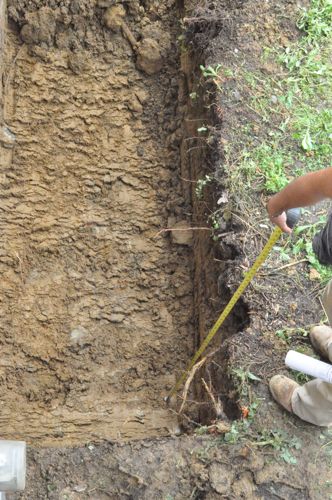
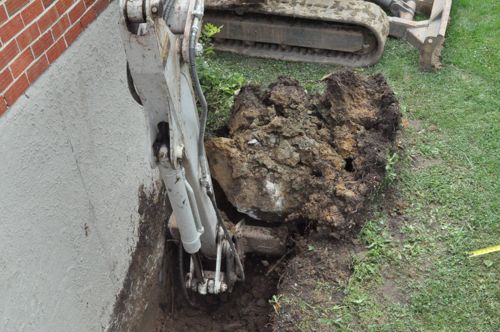
Victor has done a lot of work in the area, and he says it’s not uncommon to find granite rocks. Fortunately, the backhoe was able to handle this one because it would have been costly and time-consuming to jackhammer through it.
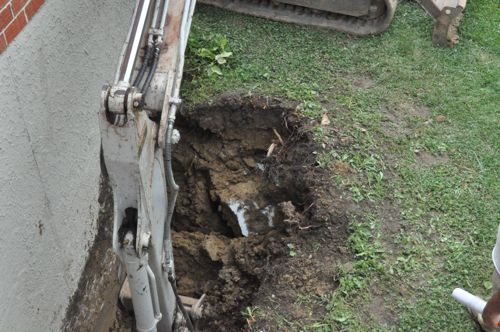
He estimates this rock would cost about $150 from a local landscaper, and he plans on taking it home.
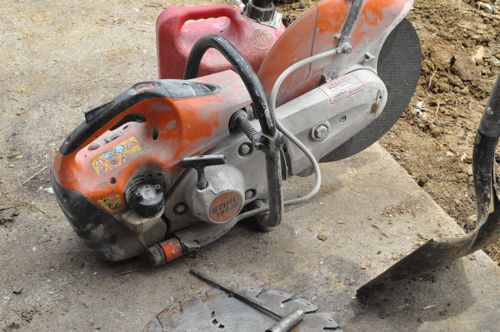
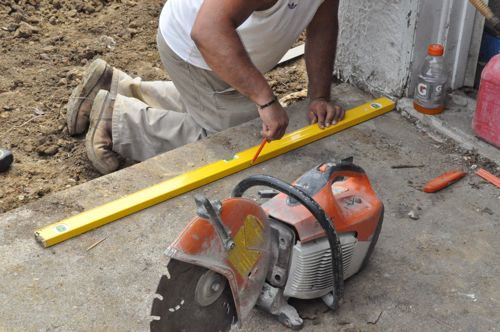
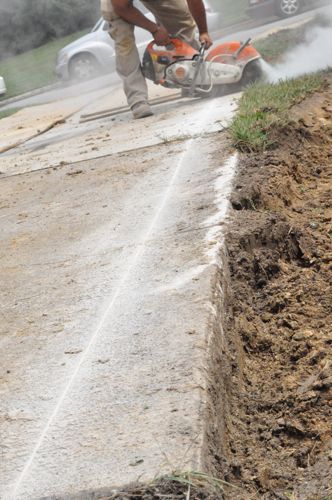
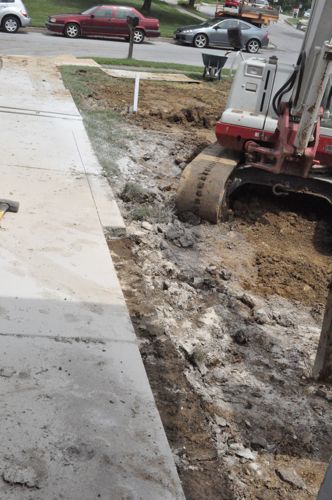
Victor also broke out a concrete saw to trim a little of the driveway. This was necessary because code requires the foundation be 24″ wide, and that extended about 5″ into the driveway.

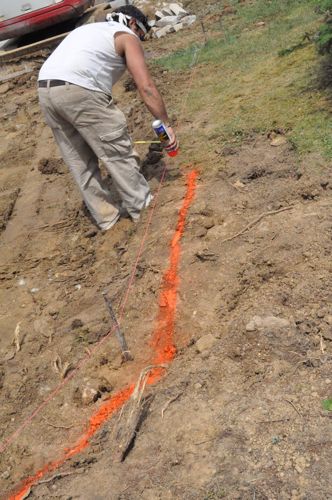
Using stakes and strings, they mapped out the addition once more and spray painted lines to begin digging the footers for the main area.

If you look closely, you’ll notice that Victor marked his line a few inches off the string. That extra room will provide work space and will later be back-filled with dirt.
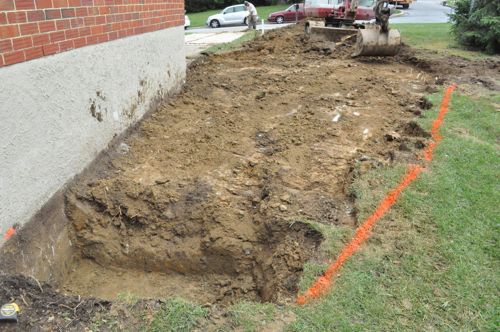

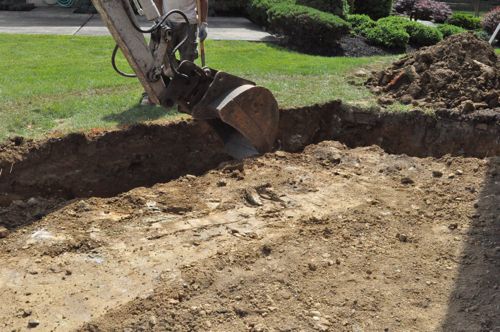
Here’s a look at the footer continuing around the perimeter of the addition, and that’s all for today. Tomorrow the work continues with preparing the footers for concrete and getting everything inspected.


lose a garage, gain an in-law?
Worst possible turn of events!!!
hahaha….
Same house as the deck and shed right? Also looks like the sliding door for the deck is in the garage.
You are uber-observant! And, your exactly right. Victor and his team will be cutting through the brick to make room for the patio door that never happened with the deck build.
How is that ceiling framed? It looks odd. also, where does the master bedroom go now that its the great room? is that why they’re adding that closet?
I don’t recognize it either, and I’ll have to get Steve’s opinion about the framing. I’m not sure about how they’ll reorganize the house, but I’d guess the master bedroom will go on the second floor.
It looks pretty normal to me. You have the load bearing walls, on top of which rest the ceiling joists. The roof framing COULD rest directly on those if the ridgeline matched up and the bottom chord of the roof framing could span the gaps across rooms. However, in the era that this house was built, there weren’t engineered beams, trusses, and whatnot that could make massive spans. You were stuck with the shorter spans of dimensional lumber, supported by smaller rooms with more load bearing walls. To give a uniform platform for the base of the roof bracing, you need that ceiling structure running the length of the house.
I feel I should do a Pro follow my neighbor died and someone bought there house they ripped the entire place out and are adding an addition to it. I Probably could start a whole blog lol. Its crazy and I miss the quiet.
Nicely- detailed follow. It demonstrates the work and expenses related to adding an addition. I wouldn’t be surprised if homeowners who have owned homes for a longer period of time might end up spending more than the home’s initial cost to add significant additions.