
Yesterday I ended the Pro-Follow update with a teaser that Steve and his crew would be tearing off the garage roof. Well the roof is off, and it was a ton of fun to see how the guys dismantled it. Plus, I always enjoy hanging out on top of a roof. Today’s Pro-Follow shows you how they did it and covers some of the framing that was going on underneath.
Step 1: Cut Through the Shingle and Sheathing
Using a circular saw, Steve began cutting through the shingles and sheathing to create small, manageable pieces.
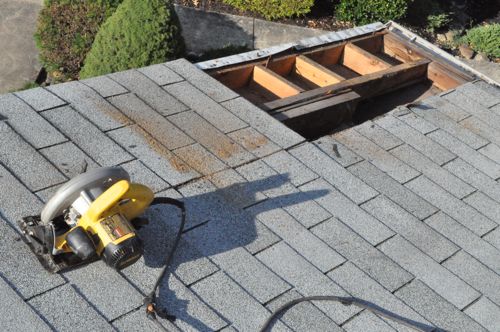
Pro-Tip: Set your blade to the minimum depth required to make the cut to better avoid binding up the blade.

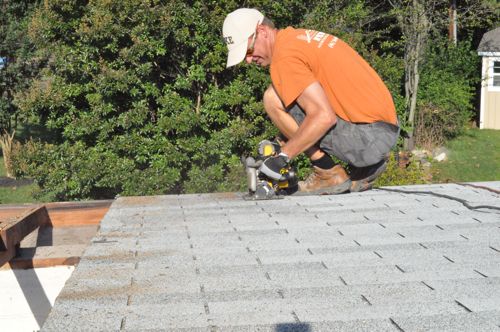
Step 2: Remove Shingles and Sheathing


Pro-Tip: This roof features a 4/12 pitch. For a 6/12 pitch or greater, Steve recommends being harnessed in at all times as a safety precaution.
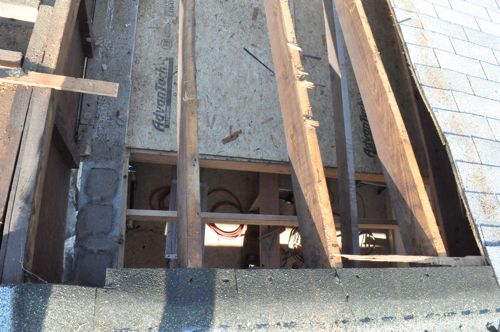
Steve estimates the shingles still have about 10 years of life left in them, and for that reason the homeowners have opted to preserve part of the roof (rather than re-shingle the whole thing).

Steve’s plan was to cut the shingles back just far enough to allow his team to continue framing the walls, saving as much of the existing roof as possible. To achieve that last cut, he used a level to determine the location of the new walls and drills a hole to act as a point of reference.
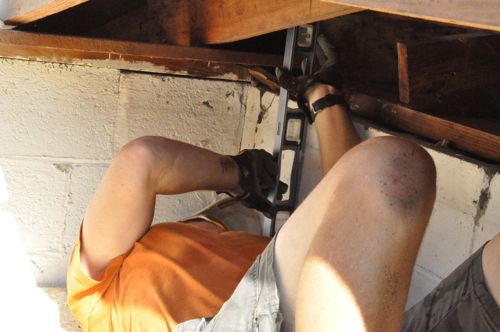
Can you see the drill bit right next to the extension cord?
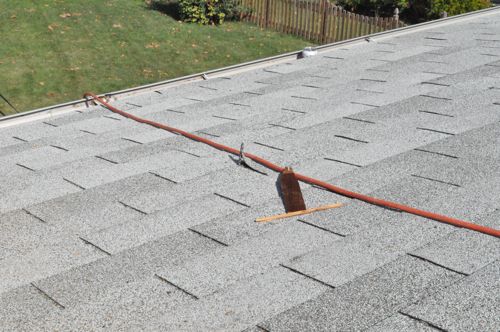
Next, Steve snapped a chalk line and cut along his mark with a circular saw.
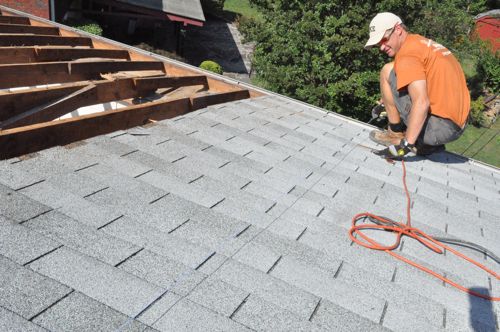
Step 3: Remove Fascia Board
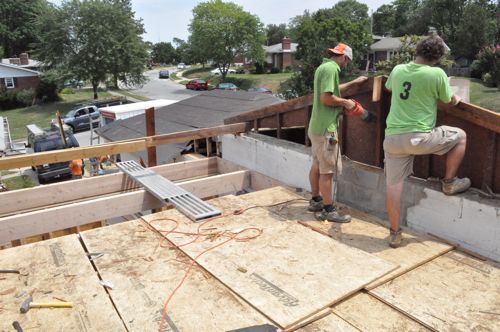
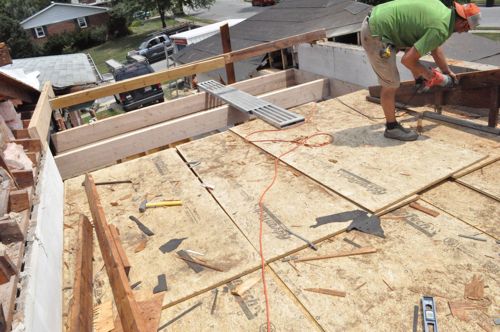
With all the sheathing on this half of the roof removed, Steve kicked off the fascia board. The OSB you see pictured is temporarily sitting on some of the framing going on underneath, and I’ll cover that in the next section.
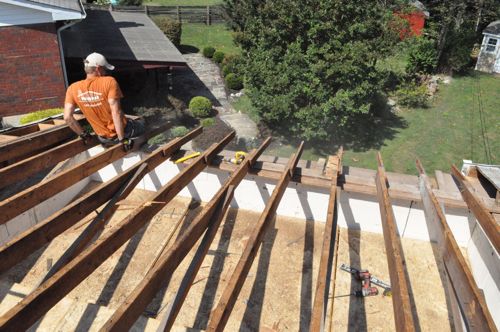
Step 4: Remove Rafters
Next, Steve removed the rafters and rafter ties.
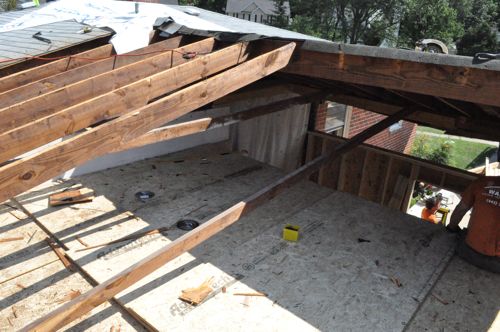
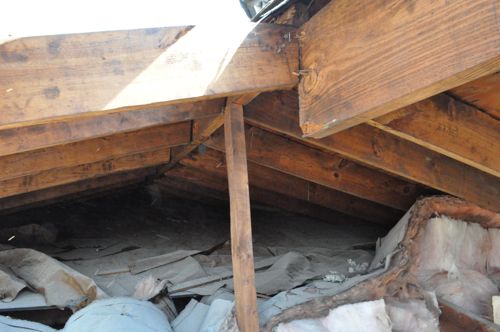
Earlier I noticed a bulge along the ridge of the roof that was concealed by some temporary house wrap (to protect against rain). I had assumed it was a ridge vent until I remember that this house has roof vents in lieu of ridge vents. It turns out the ridge rafter wasn’t a continuous board, and the one segment wasn’t very well supported. You can see in the picture below that the ridge rafter droops about 3″. Fortunately, this was part of the roof that was being removed.
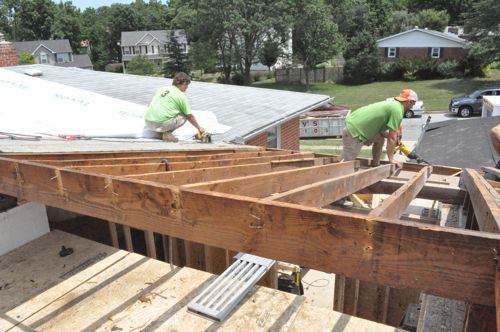
After the first half of the roof was removed, Steve’s crew took down the second half of the roof in a similar fashion.
Step 5: Remove Soffits and Gable
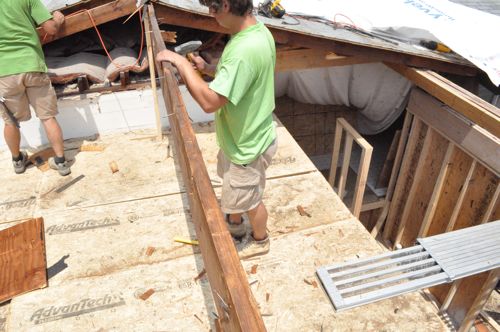
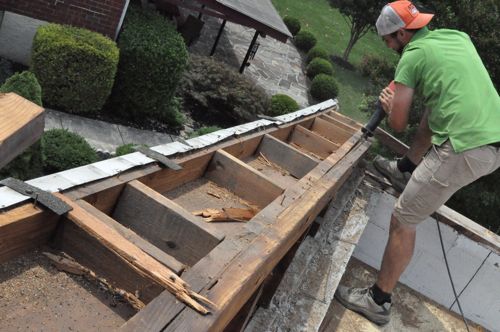
The also removed several soffits and the gable from the side of the house.

Step 6: Continue Framing
While the roof was coming off, the rest of Steve’s crew was underneath continuing the framing. They were running joists from one ledger board across to the next. As they worked, the guys moved spare piece of OSB on top of the joists because Steve was working on the roof above them.
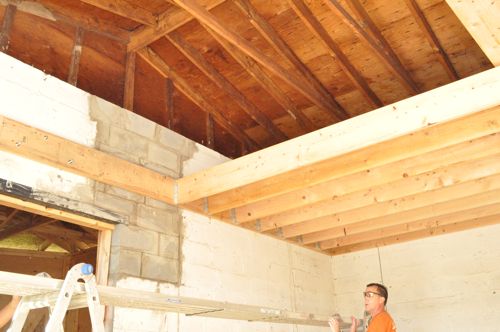
All the ledger boards were secured with Red Heads, and the joists were toe-nailed and supported with Tico hangers.
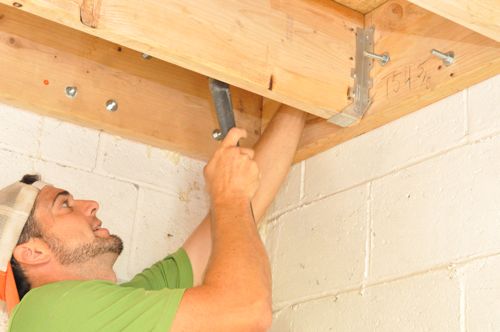
The guys have a Ridgid palm nailer that is perfect for nailing joist hangers.
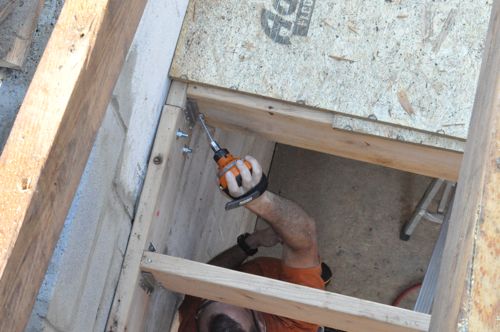
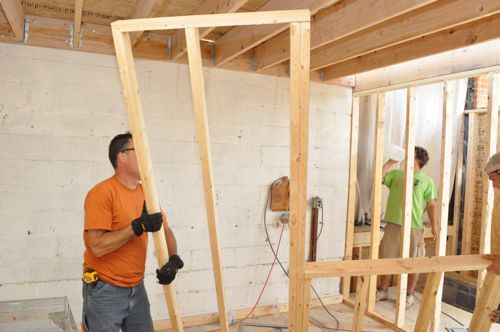
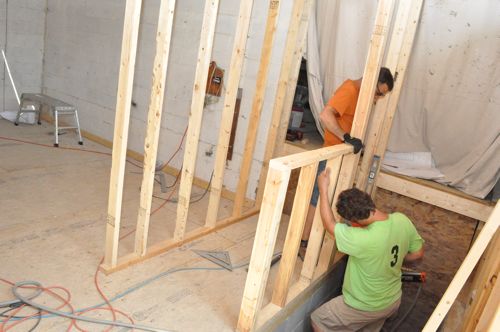
Next, Steve’s crew began framing out the stairway and, across from that, the laundry area.

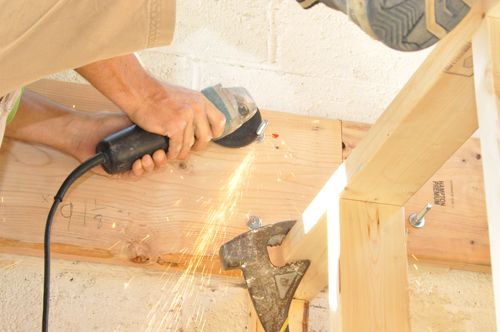
The guys used a grinder to cut off all the excess length of the Red Heads.
The crew positioned these massive, 2×12 headers on either side of the stairway.

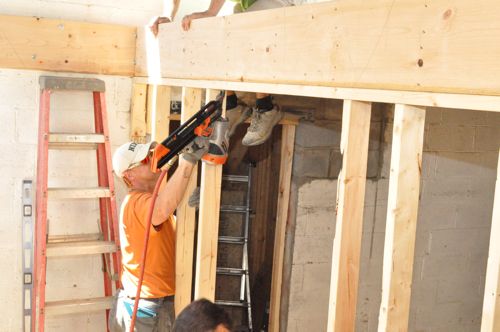
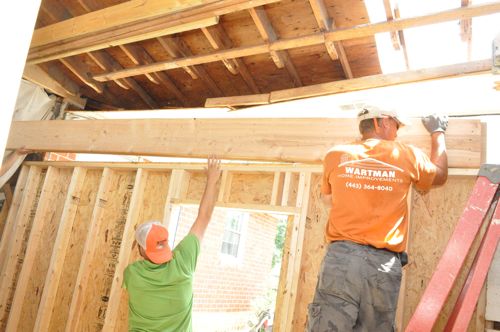
Lastly, the guys framed in the knee-wall (at 42″) to divide the stairway.
Pro-Talk: In architecture, a knee wall is typically a short wall, usually under three feet in height.
Thanks for joining me for another Pro-Follow. The guys will be framing out the second floor of the (previous) garage, and soon after that, the roofers will come in to complete their part of this addition.


This is at least the 2nd or 3rd time that you’ve shown how Steve does organized and neat demolition. It was easier and cleaner for them to take the roof off in sections than just wailing on it with sledges and pry bars. The home improvement TV shows that depict demo as an all out battle against the space make me shake my head.
Great follow so far Ethan!!
I agree, and at the end of each day, the guys perform some simple cleanup that makes it easier to get started the next day. As always, thanks for the comment!
I agree Jeff. That’s a huge pet peeve of mine too on those t.v. shows. There are also lots of things that could have been saved and donated to places like Habitat for Humanity.
Sledges and pry bars make for more entertaining television, but in my experience demo always goes faster using a neat and organized process. And you’re much less likely to find a significant amount of dust and debris elsewhere in the house.
you said the homeowers have opted to preserve a part of the roof because the singles have 10 years left in them. Then you show that Steve works on the second half of the roof. Was a decision change made or is there a portion of the roof that is not being worked on that isn’t shown?
That’s just the second half of the garage roof. They’re preserving the roof over the house.
Is there going to be a loft above the old garage? It doesn’t look like there will be much headroom up there.
They’ll continue the framing up to create a second story that’ll serve as a bedroom.