
Welcome back to our latest Pro-Follow! Steve Wartman and his crew are in the midst of building an in-law addition, and last week we had several big thunderstorms here in Maryland that slowed progress. At this point, the guys have almost wrapped up framing the second floor walls, and then they’ll get into framing the roof.
Last time we left off, the guys had built all the walls, and if you remember, that was no easy task. Incorporating the existing structure and keeping a consistent wall height meant framing the walls at four different heights! Here’s a look at the stack of walls ready to go up.
Step 1: Finish the Wall Framing
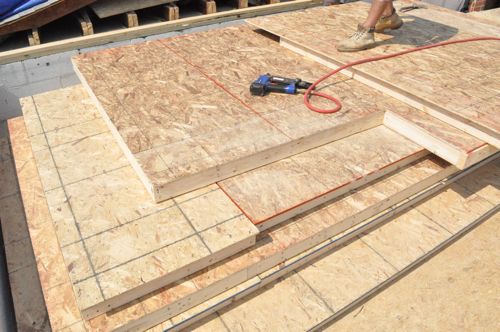
Pro-Tip: When building all the walls all at once, plan out the corners to ensure the sheathing overlaps all the framing.
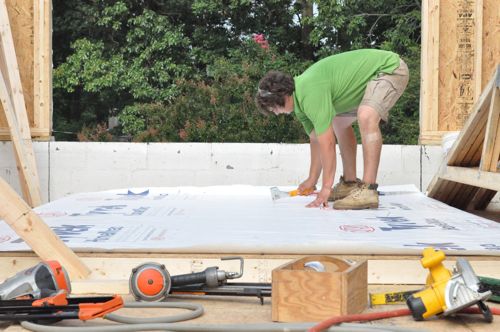
Since this is the second floor and some portions of the walls will be inaccessible afterwards, the guys tacked the house wrap before putting up the walls.
Here’s a look at the second floor after most of the walls went up.
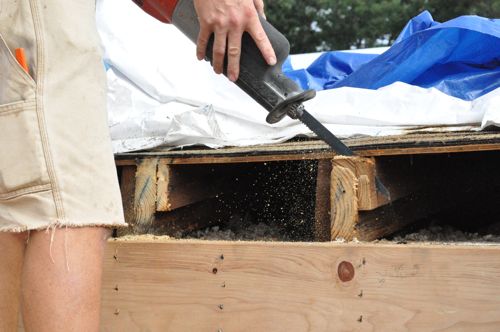
Some of the cuts needed to be “fine-tuned” before putting in that section of wall. Here you can see Steve using a recip saw to shave a little off a roof rafter.
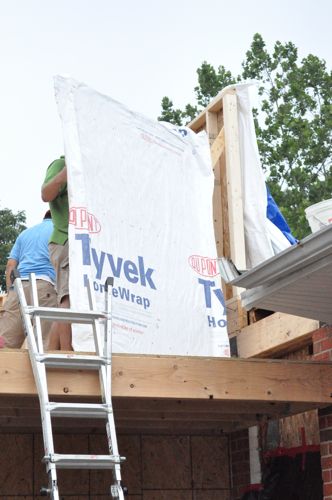
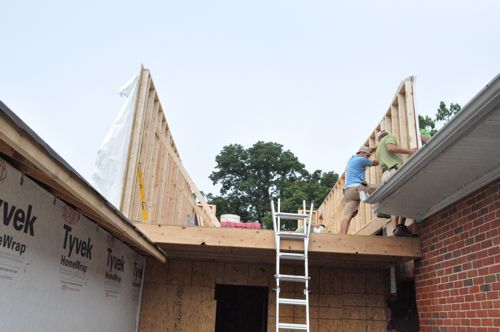
With each section of wall, the guys checked it for level and that it was straight with the rest of the wall.
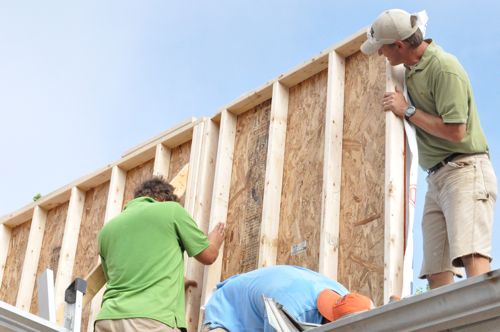
Here’s a look at the guys getting the last piece of wall into position.
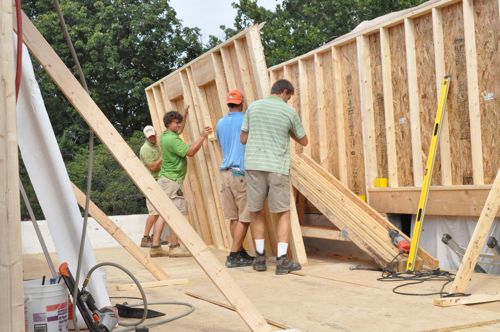
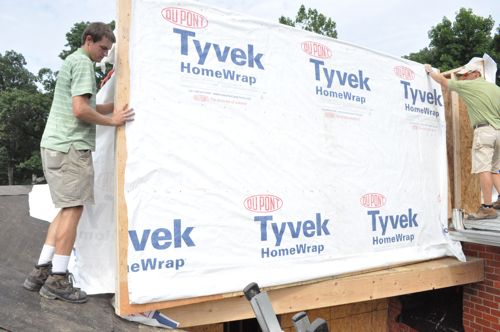
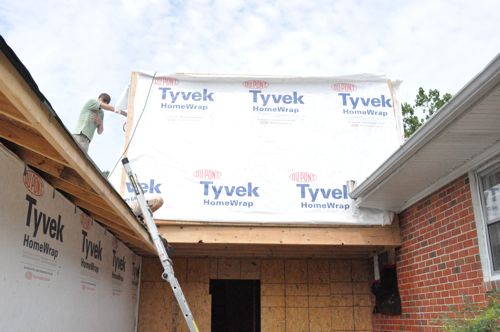
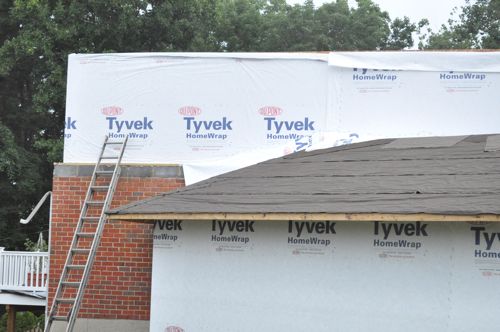
At each corner, the guys overlapped the house wrap and tacked it in place. Now it’s ready for tape.

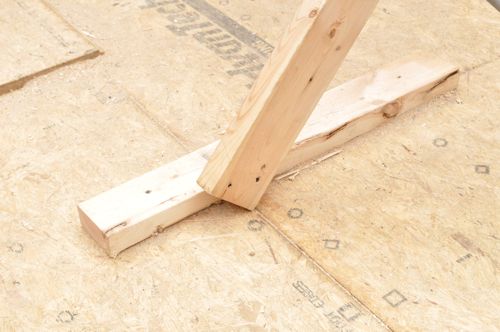
Each section of wall was nailed to the sill plate or sub floor (depending on where it was located) and to the adjacent walls. Once the wall was level, the guys attached temporary braces to hold it in place.
Step 2: Add Top Plate
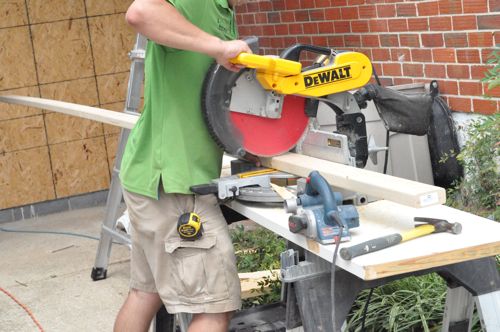
With the walls completed, the guys cut and nailed a second top plate to further tie everything together.
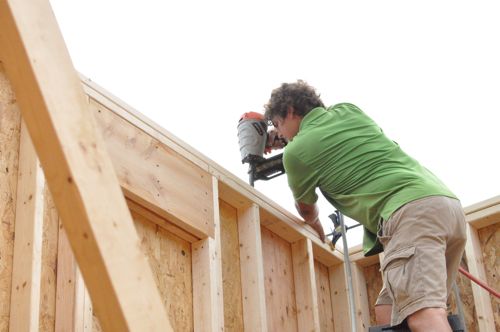
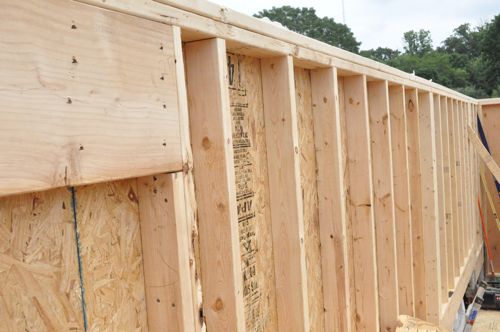
Here’s a great look at the second floor. The block in that opening will eventually be removed to make way for a “bump-out” on the backside of the house.

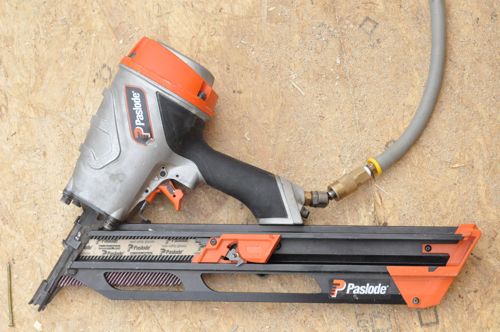
Step 3: Install Roof Trusses
Steve’s crew is building a hip roof to match the rest of the house. You can see they’ve got pre-built trusses, and there are several different kinds of trusses to create the four sides of a hip roof.
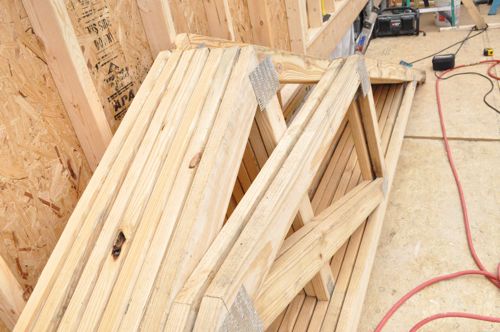

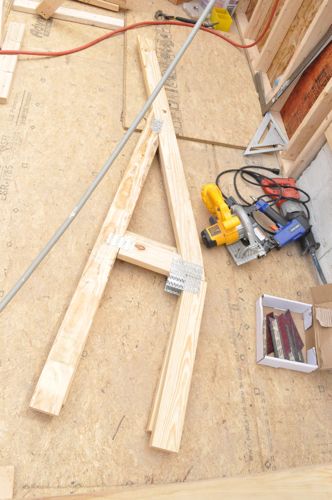
Before the trusses can go up, the guys measure out 24″ o.c. and reference the building plans to determine which type of truss goes where.
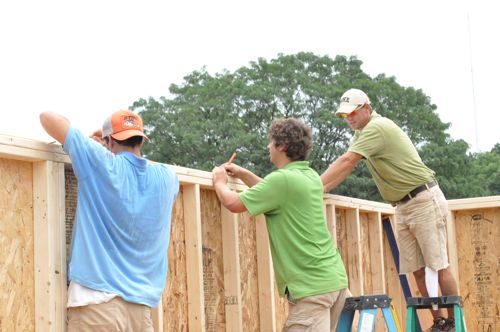
Starting with the standard trusses, they begin building the ridge line.
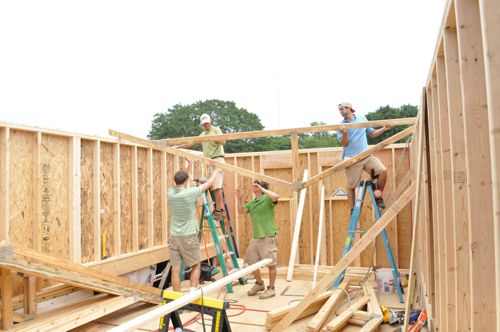
It’s important that each truss is in the right position on the wall, evenly spaced on both sides and level across the roof.


Just like with the walls, the guys set up temporary braces to hold the trusses in place.

These braces also make sure to keep everything 24″ oc along the entire length until the sheathing goes on.


The guys have an 8′ level they use to make sure the trusses are all level.

Each truss was toe-nailed and afterward these Simpson ties further secure the trusses to the walls.

Next, the guys setup a girder truss which looks like a standard truss with the peak removed. After that the guys began placing end jacks perpendicular to the girder truss, and this was were some of the smaller trusses came into play.


That’s all for today’s Pro-Follow update. It’s exciting the think the roof will soon be in place and windows and siding soon after that! Stay tuned.


Looks great!! When you brick the exterior wall (I assume your doing brick), will you put anything in between the Tyvek and the brick?
They are doing siding. If they were doing brick they would need an air gap with weeping channels built in. It would be tied into the wood wall with metal strips.
Cool. I’m going to be setting trusses on a garage very soon and this is very useful information. Love the pictures.
Does the instruction book for those truss pieces come in 15 languages like the ones for putting together furniture?
Looks good. Are any skylights or solar panels going to be installed?
So far as this article goes it is fine, but what about when you get to over framing the existing house roof ? Using trusses, existing is stick framed roof and yes the addition will be at right angles to the original ridge line.