
I’m back from out of town, and it’s good to be on the job site again. Steve Wartman and his crew have been busy while I was away. This Pro-Follow update will share a snapshot of the progress I missed and focus on installing some new gutters.
Today’s article is part of a series documenting the excellent work of general contractor Steve Wartman and his crew as they build an in-law addition. If you enjoy learning from the pros, never miss a Pro-Follow update by becoming an email or RSS subscriber.
Rough-In Plumbing
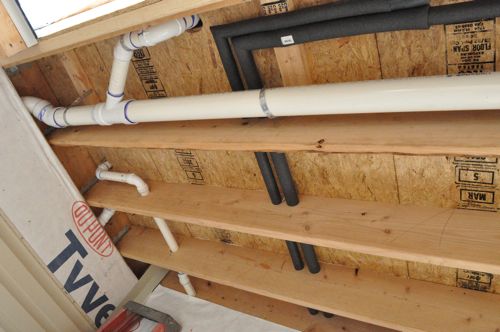
The plumbers have been through and done their rough-in work, running lines for two full bathrooms, a kitchen, washer / dryer, and water heater.


Windows and Doors
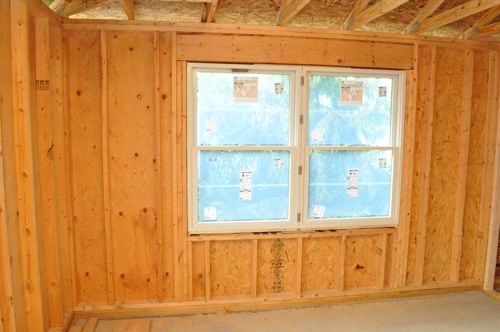
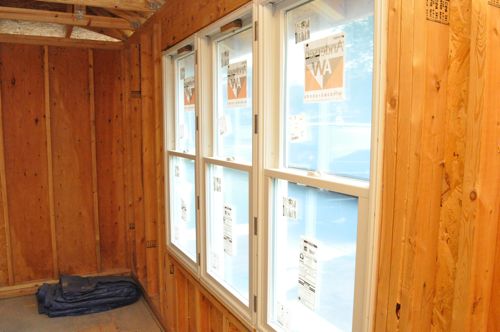
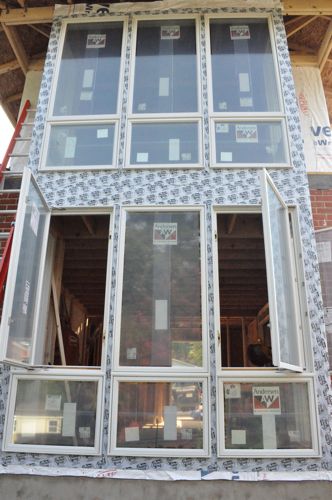
All the windows and door have been installed too.
Siding and Soffit
The addition will have vinyl siding and that is underway as well.
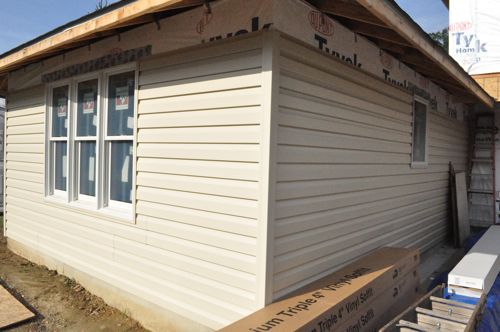
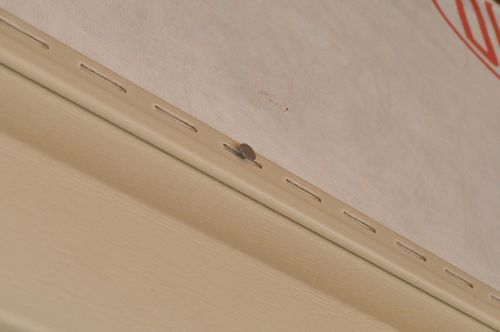
Pro-Tip: Vinyl siding will expand and contract with temperature changes so it’s important not to nail it too tightly. Nails should have about 1/16″ gap and each section should have about 1/4″ of wiggle on either side.
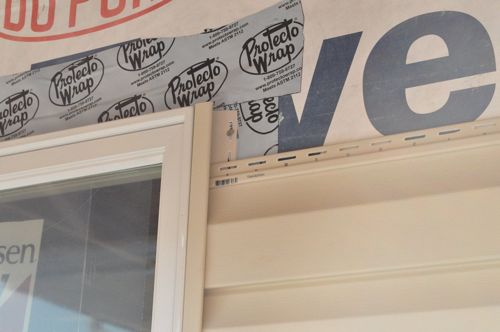
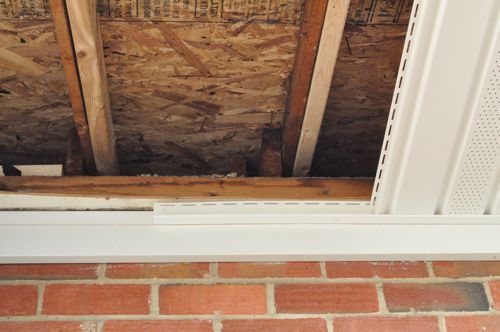
The existing house features a frieze board, and to provide some continuity, Steve’s crew has incorporated that into the addition as well.
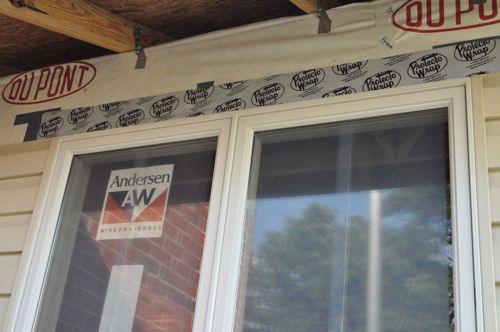
Pro-Talk: A frieze board (pictured below) is a piece of trim installed at the joint between the soffit and the exterior wall.
Installing the Gutters
Steve brought in Richard Price from Richard Price Remodeling to tackle installing the new gutters. Dick has been in home improvement business for over 40 years and it was cool to see him in action.
Step 1: Remove Old Gutters and Fascia
Dick started by removing a section of old gutter. He cut the corner free and hammered the gutter away from the house.
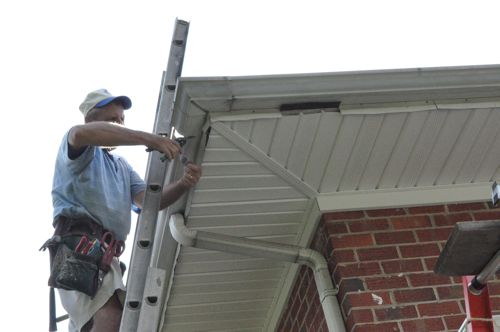

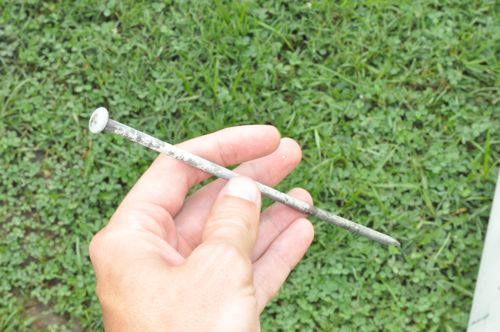
These gutters were held in place with long spikes, making them easy to remove.
Pro-Talk: The old gutters were hung with a spike and ferrule hanger. Over time, these spikes tend to pull out of the wood so new installations often use hanger brackets that screw in place.
Next, Dick pulled off the old fascia to reveal a weathered, but solid, fascia board. He checked it for any soft or damaged areas, and Dick made sure there were no nails protruding that would get in the way. Even though the fascia was sound, it was still a little warped which created a small challenge for the new fascia.
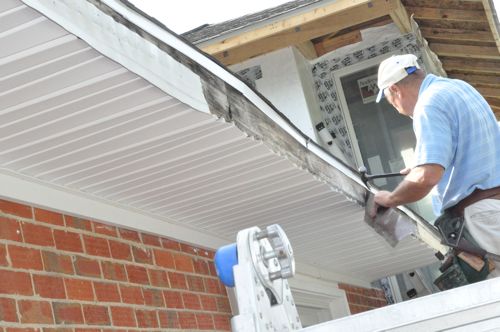
Step 2: Cut and Install New Fascia
Dick measured and marked off four sections of fascia.
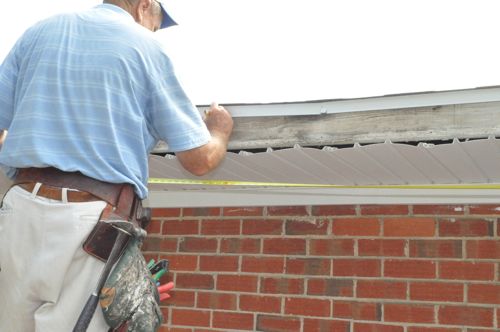
Using a metal break, Dick custom cut each segment.
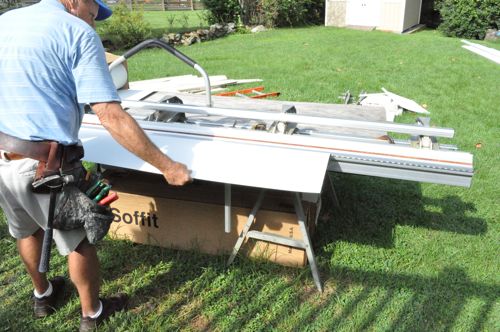
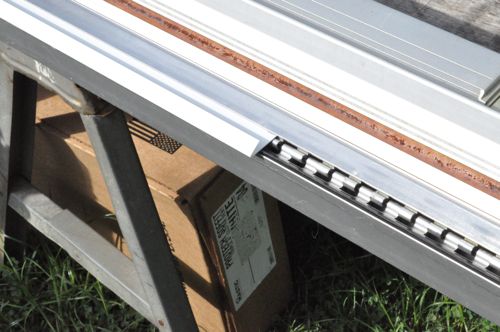
He also double the exposed edge back on itself. Dick does this because it creates a nice, “factory-edge” look and it enables him to interlock adjacent pieces of fascia.
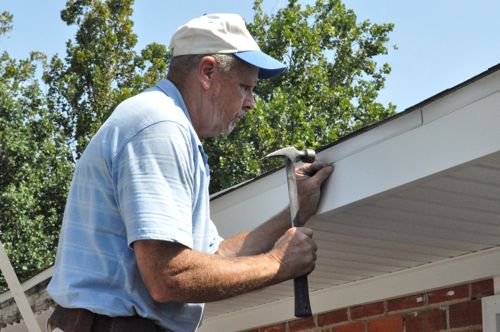
Dick slide the fascia underneath the drip edge and anchored each piece with aluminum trim nails.
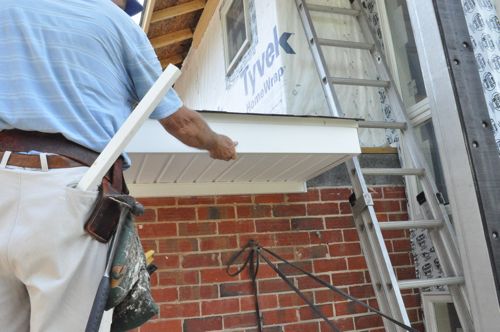
Pro-Tip: Dick doesn’t drive the nails all the way in case he needs to make minor adjustments. After he’s satisfied and the entire fascia looks like one piece, Dick puts the nails in the rest of the way.
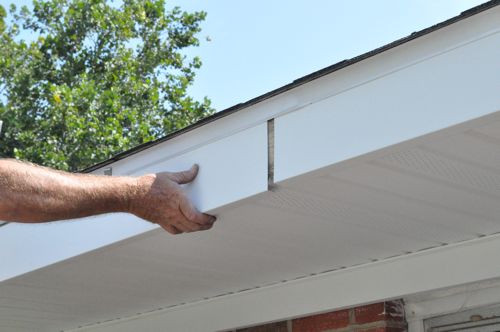
Dick interlocked the fascia by sliding the next piece into the fold he created.
Step 3: Assemble the Gutter
Dick prefers seamless gutters because there is less potential for leaks to develop, providing a more long-term solution. That means that Dick has already been out and ordered the necessary lengths. He also chooses a thicker, 0.32″ metal over thinner alternatives.
Dick started assembling the new gutter at the corner, and he uses a clear sealant to create a waterproof joint between the pre-fab corner and the gutter.
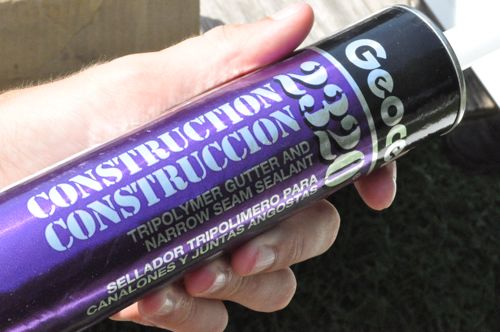
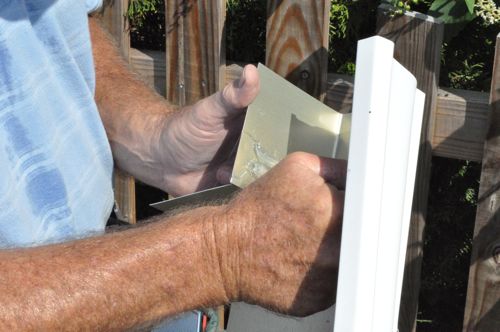
Dick always puts down two beads of sealant.

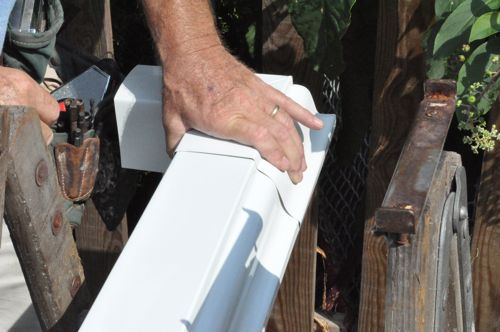
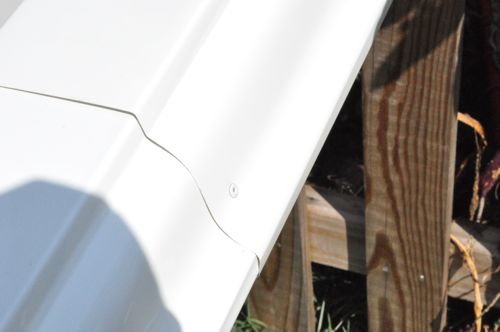
Next, Dick drills pilot holes and places several white rivets around the joint.
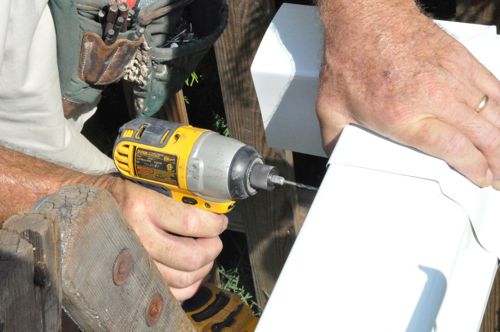
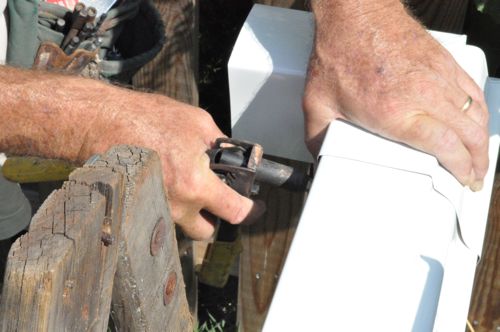
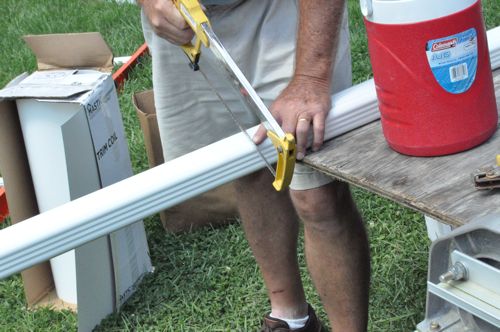
At the other end, Dick uses a hacksaw to trim the gutter to length.


From left to right, this is a crimping tool, gutter end cap and downspout drop outlet.

After fitting the end cap in place, Dick used the crimper to make sure it wasn’t going anywhere.
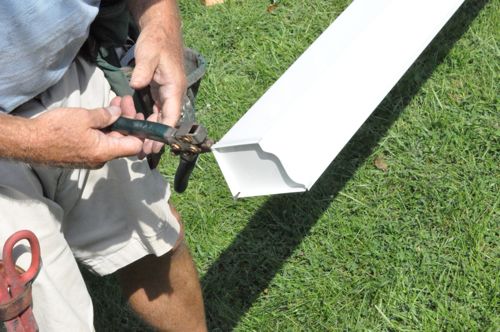
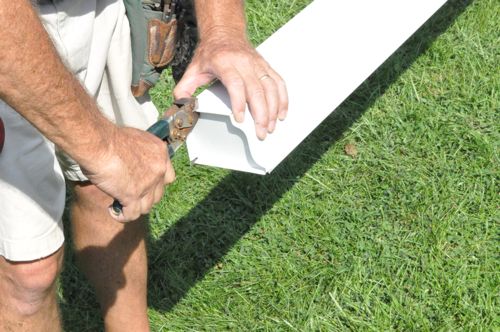
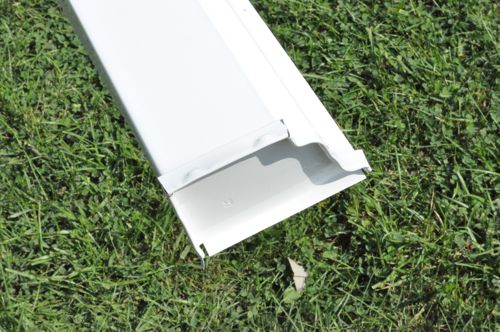
Dick cut a starter hole for the drop outlet with a utility knife.

Next, he cut the opening with a pair of snips and hammered the outlet into place.
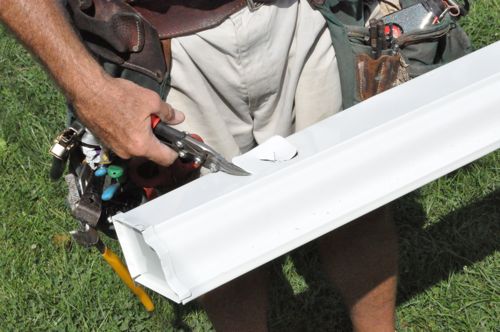

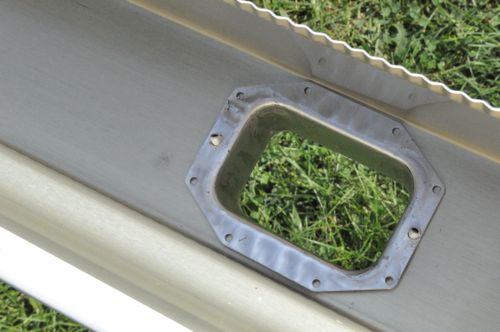
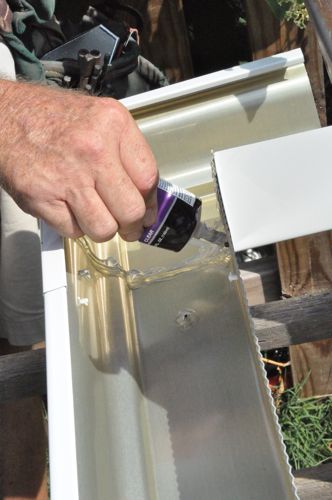
Using the same sealant, Dick went over every joint, rivet, end cap, drop outlet, etc. to eliminate the possibility of leaks.
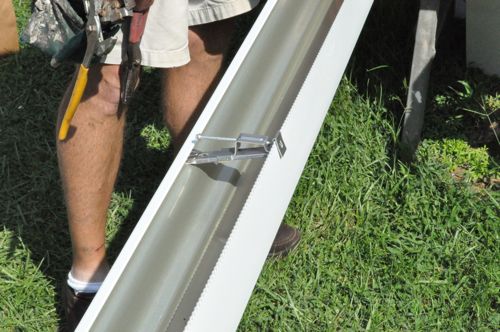
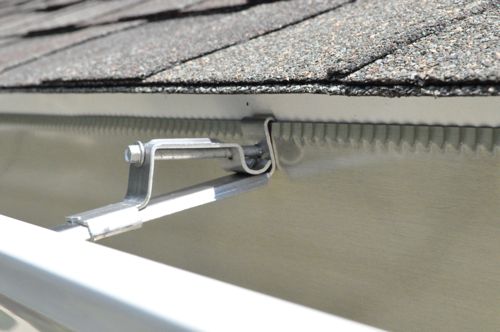
For this install, Dick is using bracket hangers (rather than spikes) because they hold better over time. These brackets simply snap over the gutter and screw into the fascia board behind it.

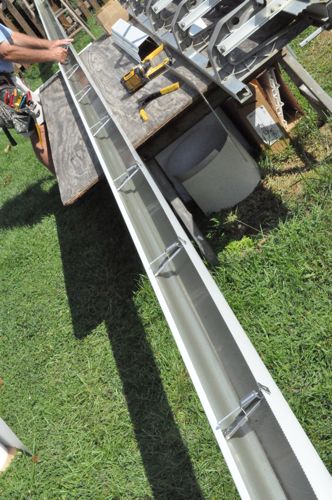
Step 4: Install the Gutters
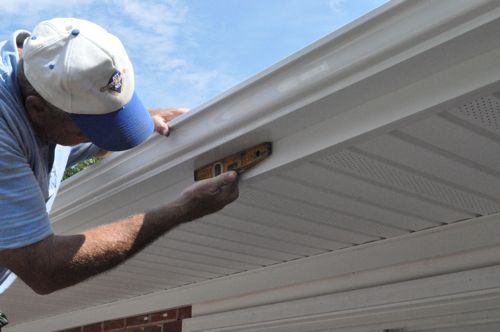
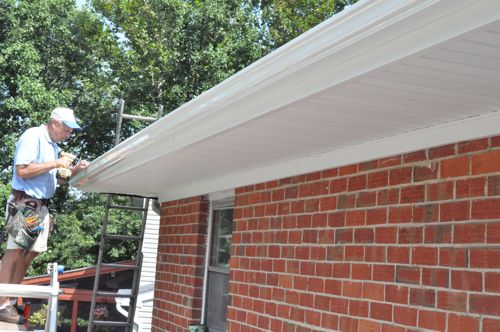
Dick hung the gutters directly against the fascia and underneath the overhanging shingles.
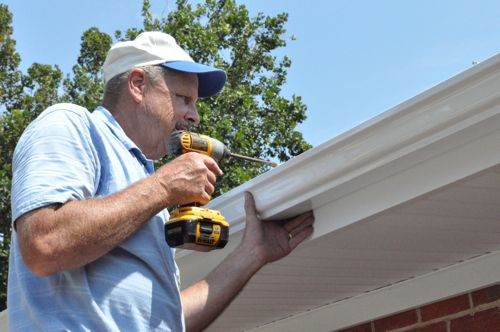
Pro-Tip: When hanging gutters, it’s important to create a slope to direct water toward the downspout. The slope should be 1/4″ over 10′.
Step 5: Install Downspouts
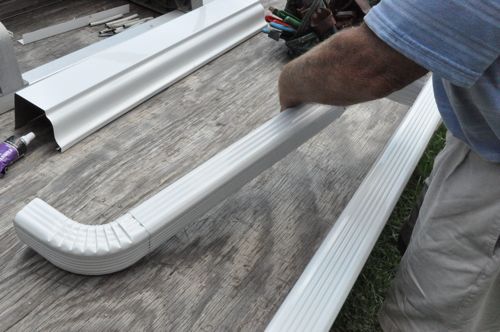
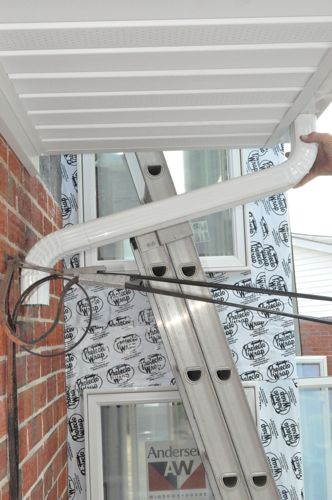
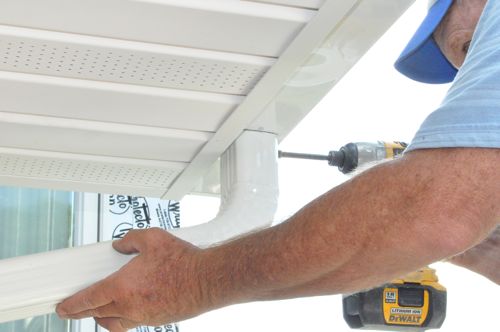
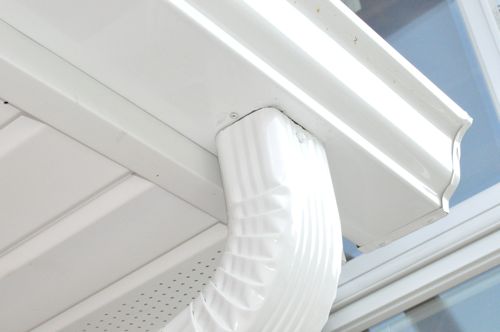
Dick setup a couple of elbows and a short length of downspout to run the downspout along the wall.
These pieces slide together and Dick hides a screw on the topside of the downspout where it isn’t visible.
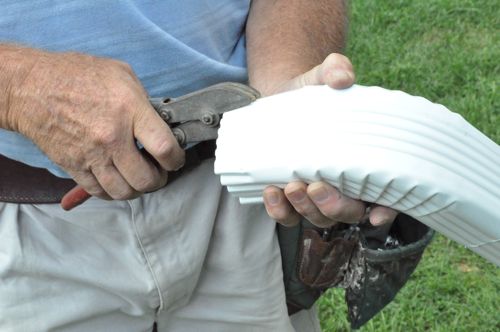
Here’s a picture of another crimping tool to ensure a snug fit.
That’s all for today’s Pro-Follow update. Currently, I’m headed to Meadville, PA for the first ever Channellock media event! I’m really excited to learn more about Channellock and tour the plant where Channellock tools are forged. To get instant updates from this and every media event I attend, like us of Facebook and follow us on Twitter.


We used bracket hangers for our gutters when we had our roof redone last year. They are terrific IMO. No more driving spikes back in when cleaning gutters. Then again, the mesh covers we use now have done a terrific job in keeping just about everything out. ;-]
Hey Simon,
Glad to hear your input. It makes sense that the spikes don’t last nearly as long as the bracket screws, and anything that increases the longevity is a good change.
how far will he take the downspouts from the house? is he going to add a hinge to move them out of the way for mowing, etc. ?
I think Dick was running the rest of the downspouts last. I’ll be at the job site tomorrow and I’ll be able to report back.
“Vinyl siding will expand and contract with temperature changes so it’s important not to nail it too tightly. Nails should have about 1/16″ gap and each section should have about 1/4″ of wiggle on either side.”
is this something people just know or you learn from experience or there’s a blatant warning on the box?
I didn’t see any blatant warnings. However, I’m sure the manufacturers state this somewhere in their documentation. Also, any good GC or siding installer should already know this.
Don’t people sometimes try to slip the back side of the gutters up underneath the roof drip edge?
You’re right Reuben. Unfortunately, that wasn’t an option with this install. Good tip!
Very professional. But surely he couldn’t install the long run by himself?
Dick had a little help, but often he does the entire install by himself. I guess doing it for 40+ years he’s worked out a pretty good system. My guess is that he moves the gutter in place and puts in a temporary fastener to act as the second pair of hands.
That bump out is definitely protected. Probably easier to wrap it in peel and stick than tyvek. Thanks for the update. The crimping tool can also be used for round HVAC/dryer ducting.
I had the same reaction when I walked around back. Thanks for the tip about the crimping tool!
There is a photo looking up at floor joists with plumbing running between them… i also see exterior siding and building wrap. Is this old exterior space or is it still exterior space? If it is still exterior space, what kind of insulation are we planning on placing around the pipes to protect against freeze? maybe rigid and some SPF (spray foam)??
Thanks for the gutter details!
Hey Eric,
That is exterior space with the master bathroom above and an overhang / porch area below. The guys have padded that area to allow for extra insulation (I’m not sure what R-value) and you can see the pipes have been insulated individually. Steve is definitely conscientious to protect against freezing so I know he has a solution in mind.
Good comment. I think you’re new around OPC. If so, let me extend a warm welcome, and I hope to see your comments again.