
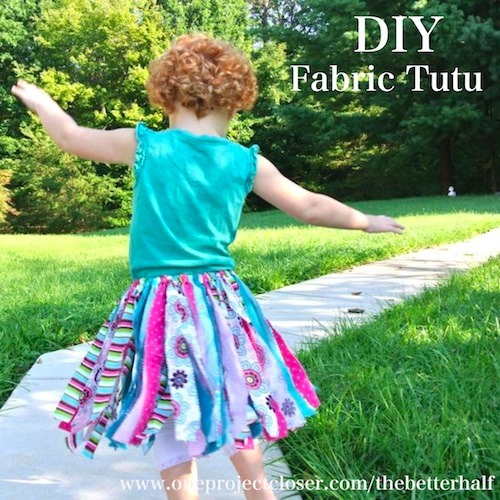
Awhile ago, my crafty (and photographer) friend, Ruth showed me a fabric tutu she made for her daughter, and OMG was it cute! It was made the same way I made Lucy’s birthday tutu last year but made of fabric scraps instead of tulle.

It was so simple and easy. Not as cheap as a tulle tutu but I could have made it for cheaper if I had shopped the clearance isles instead of just picking my favs. I made three skirts, one for Lucy, one for Izzie, and one for Izzie’s BFF for about $40 – about $13 each.
These would make wonderful birthday or holiday gifts. Here’s how I made them, step by step, so hopefully you can make your own!
Materials:
- Fabric, 2 – 4 yards
- Stretchy headband or elastic
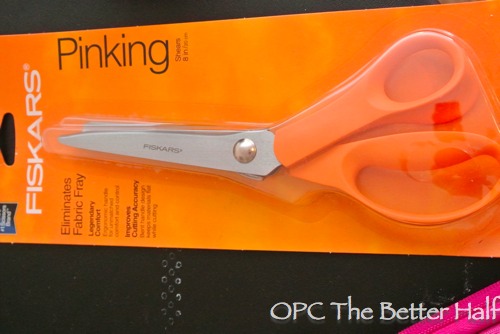
- Pinking Shears
Step 1: Measure and Cut the Fabric
As I said before, I bought really cute fabric, not on sale. I chose several different patterns and colors in the blue and pink family.
Once you have your fabric, measure how long you want the tutu to be. Keep in mind that as the tutu is worn, it will wrinkle and get more poofy, appearing shorter. I made my tutus a little longer (14″) so the girls could “grow” into them, although if I had to do it over, I may have made them a bit shorter.
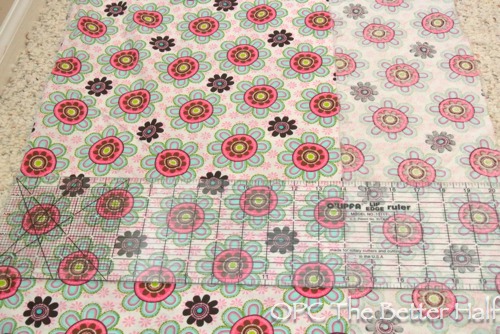
For a fuller tutu, layer the fabric before cutting strips. I used a single layer and bunched it close together to also create fullness.
Then cut your fabric longways to twice the desired length of the skirt. So for example, if you want your skirt to be 12″ long, cut your 2 – 4 yards of tulle longways so that it is 24″ wide. I folded the fabric longways and cut at 14″. Make sure to use pinking shears to prevent your fabric from fraying.
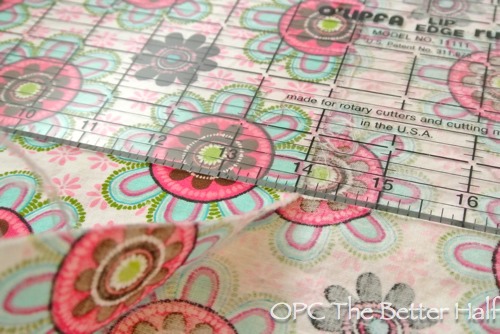
Cut 2 – 3″ wide strips of fabric. One end should be cut and the other side should be looped.
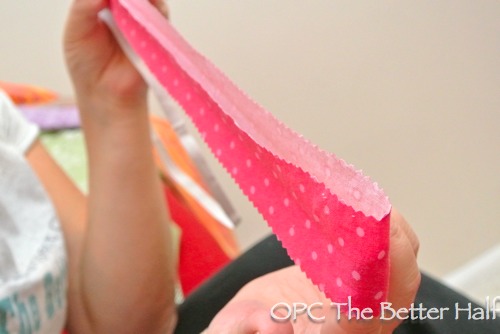
When you think you have cut enough strips, cut some more! You will need a ridiculous amount. Really it depends on how dense of a skirt you want, so feel free to wing it.
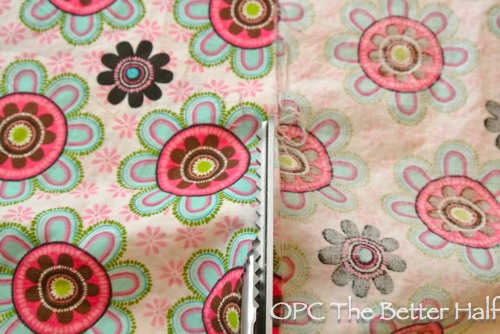
Step 2: Loop Around a Head Band
Once fabric is cut, take one strip (or two if layered) and place the loop in one hand and wrap around the elastic head band, looping around the head band and back through the loop. Pull until tight.
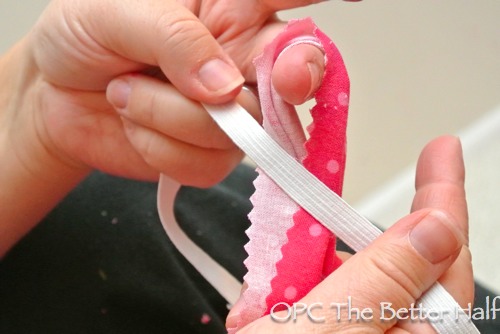
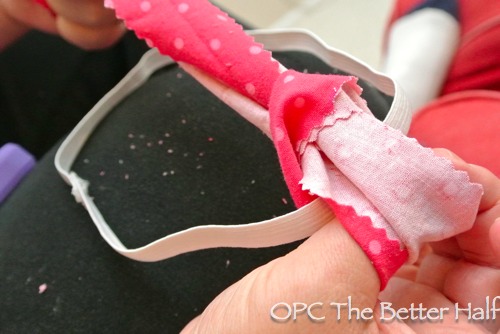
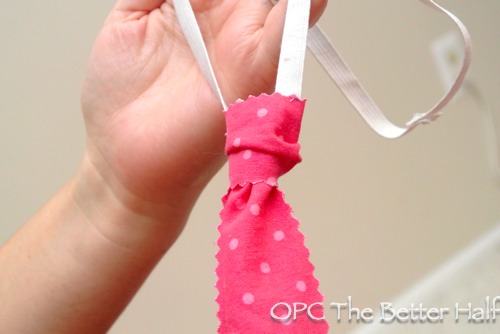
Repeat, repeat, repeat! Push together the fabric, less space between the loops will make for a denser skirt.
Finally, after a long time of looping tulle, you will have worked your way completely around the elastic head band.
Step 3 (Optional): Add a Fabric Flower
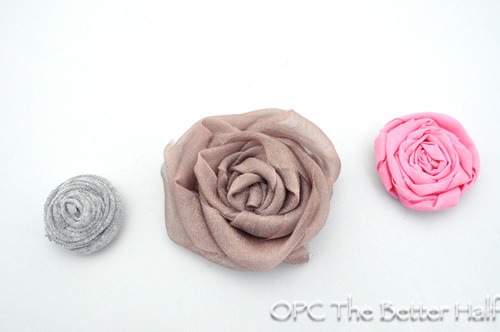
Make a small space between two loops and tie a bow, using coordinating fabric. Check out my full tutorial on making fabric flowers.
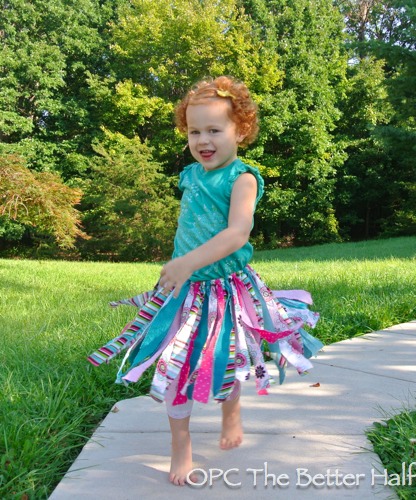
And done! Isn’t she a cutie?


What do you think? Where do you get good deals on fabrics?
As Always, thanks for reading,

Don’t forget to check us out on Facebook and Pinterest!
We linked up at: House on the Way


Cute! What an adorable little model you have! 🙂
Thanks Ashley!
This is such a cute idea!
I have a question though, in your description above the pink polka dotted strip of fabric it says this,
“Cut 2 – 3″ wide strips of tulle. One end should be cut and the other side should be looped.”
Did you use tulle in this skirt?
hahaha. sorry about that. I have made many more tulle tutus than fabric, and i think i was just picturing it in my mind as tulle and didn’t catch the slip! thanks for the find. 🙂
I love this!!!!! Would be cute on a sock monkey too :O)
What an adorable idea, and for me a non-sewer this is do-able. I am saving up for a pair pinking shears myself:)
I have used tulle for this type of tutu, but never fabric. This looks like fun, but best of all it’s easy.
Hi, I check your new stuff named “How to Make No-Sew Fabric Tutus – One Project Closer” regularly.
performance parts http://www.j2fastmotorsports.com/hks/