
I have become addicted to Pinterest, and I’ve been pinning like there’s no tomorrow. If you noticed that new button in our sidebar, you can click that to follow me and see where I’m getting all this inspiration. Recently, I’ve been working to give our bedroom a crisp, new look, and yesterday I transformed our old lamp into a beauty. It looks amazing! Here’s how I did it so hopefully you can make your own version at home.
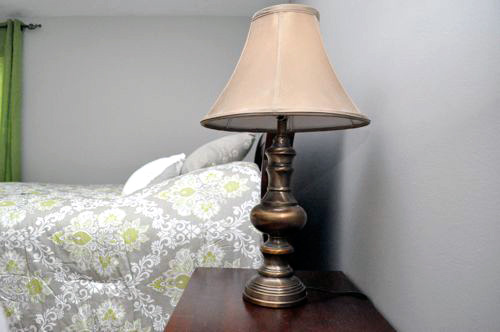
This is a picture of the lamp in its original, unimpressive state. There’s nothing wrong with the lamp other than it doesn’t look right in our bedroom anymore.
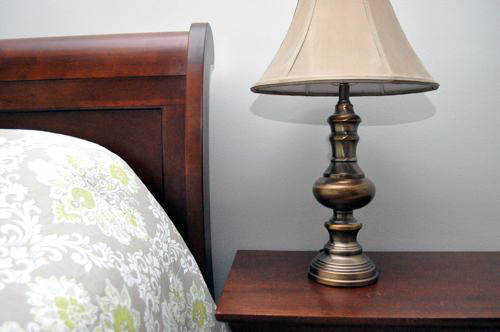
Drab and boring, huh? Definitely no pop!
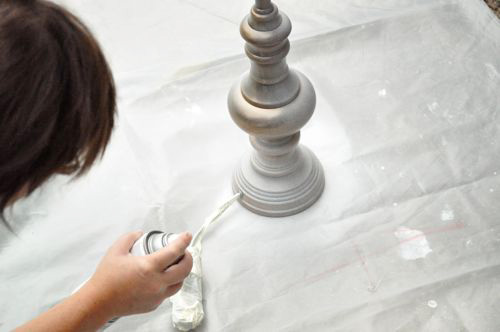
I bought some Valspar, hi-gloss spray paint and taped off the vitals. It took a few coats to completely cover the brass and give it a nice, glossy look. Reminder, when spray painting, use multiple thin coats, allowing them to dry in between.

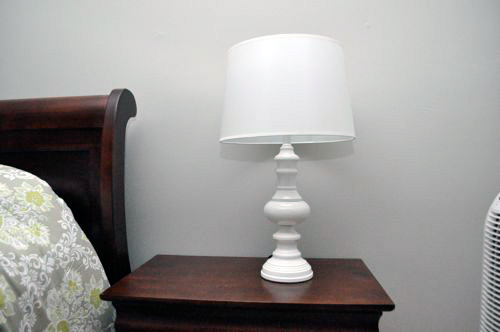
Even with a cheap-o replacement lamp shade it looks much better.
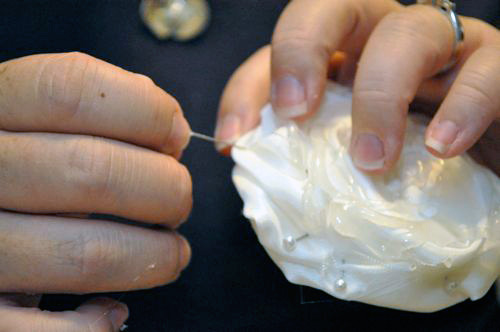
Now the real work begins. I bought some silk and cut it into long strips. Next, I wrapped it into flowers held together with pins.
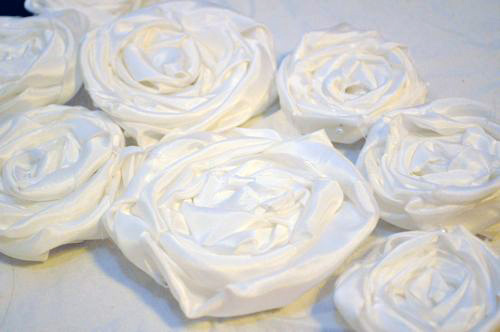
I used some hot glue on the backside of each flower to hold everything together and removed the pins. Check out my complete tutorial on making this type of flower and others.
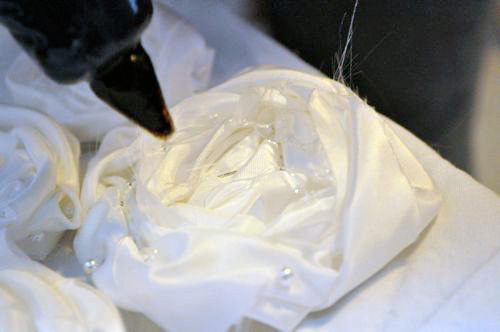
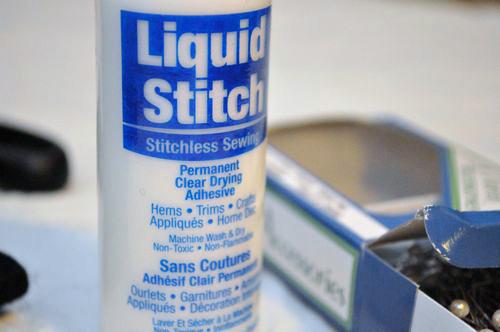
Liquid Stitch is a fabric adhesive that dries completely clear, and I used it to secure a couple ribbons around the lamp shade. It turned out great – you can’t see any sort of glue spots.
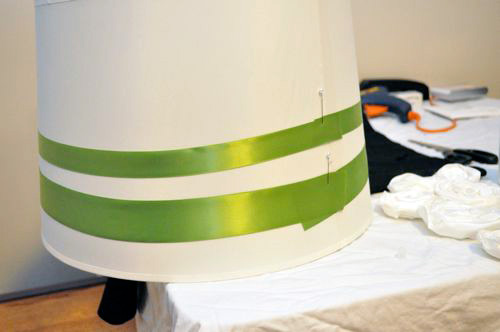
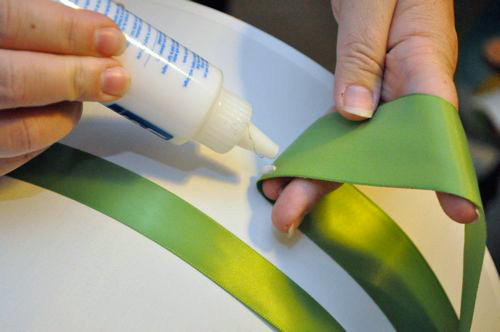
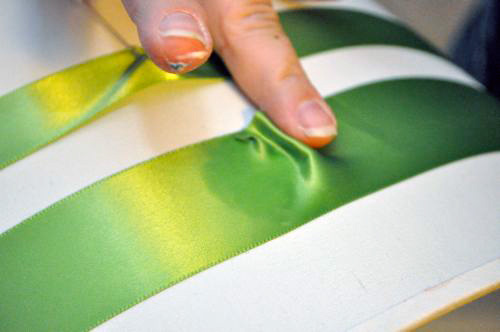
The tricky part about gluing the ribbon was that the lamp shade wasn’t a simple circle. It had a slope, meaning the two ends of the ribbon wouldn’t meet without wrinkling. The workaround was to keep the ribbons parallel and hide the seam under a flower.
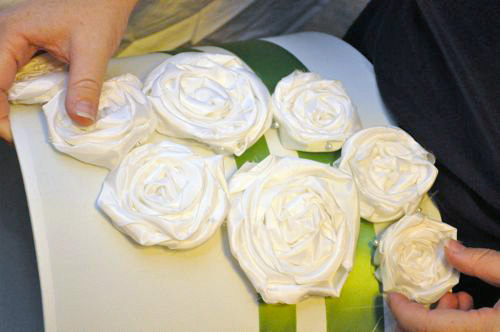
With a little more hot glue, all the silk flowers where in place.
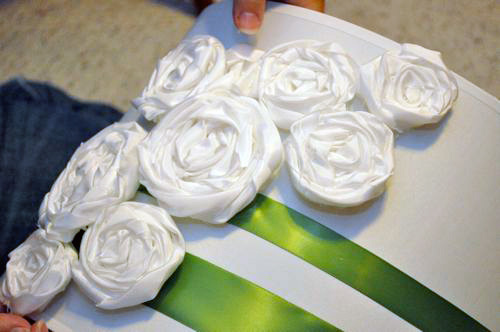
Silk doesn’t always cut very cleanly so I had a few “flyaways” to remove.
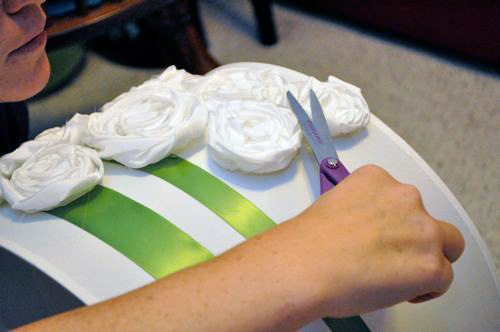
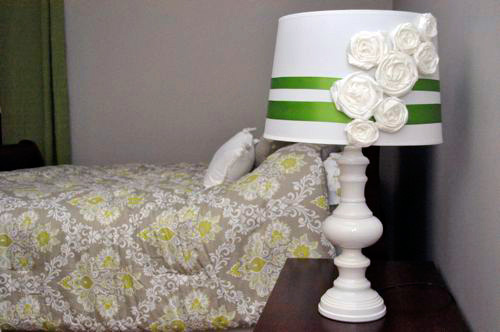
Here’s the finished product.
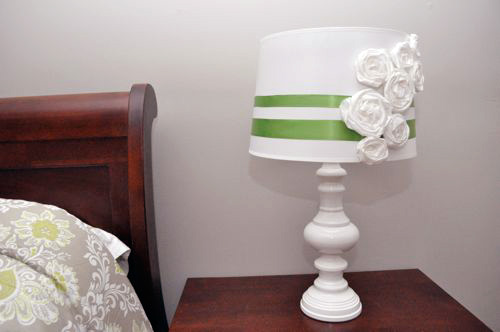
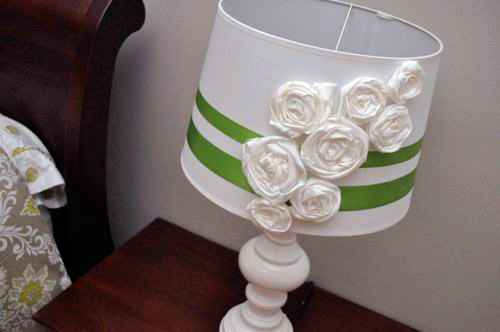
And with the light turned on.
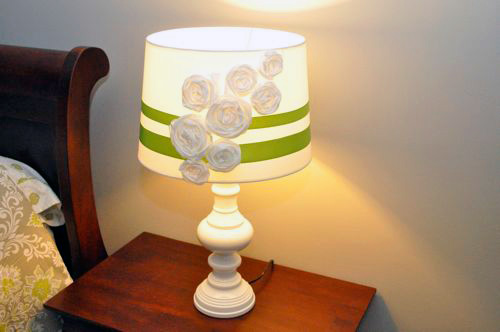

Pretty cute right?


That is seriously adorable! Jocie did a great job. I am on Pinterest, as well. I think the trick with that site is to get ideas and do them, and not just collect pins. I have found some great recipes on there that I actually made! 🙂
I love when people reuse/remake what they have into things they really like. Good job on the lamp.
Love the bedspread. Reminds me of the stencil post they just had on YHL. http://www.younghouselove.com/2011/09/dude-stencils-are-no-joke/
Cute transformation
Really like it, although the roses are a bit too girly for me… I do like the green stripes and the white base is just so clean looking now!
I guess that means I can’t ask you to make me one for our house, Joc. 🙂
I love this! I am totally going to copy you
The hubby refinished one of our lamps and it’s a lot more work than it appears! Then the lamp went on the fritz. I’m not sure if it’s worth rewiring the big ol’ hand-me-down. The jury’s still out, but you gave me some inspiration. Maybe my lamp needs an inside-out make over?
Really great work . This is the best handmade lamp shade i have ever seen , very cool work . Thanks for sharing , i think i will try doing it soon.
This is adorable!! and it looks pretty easy to make as well. Props to you for being so creative!!
Oh this is just too cute! I wish I had a girlie room to redo. I need a granddaughter.
I can’t wait to have my apartment so I can do something this AMAZING!
ADORABLE! I wish I had a any lamp…then I could do this to it!
Very cute lamp! I love the pop of green, and the arrangement of the flowers is so pretty.