

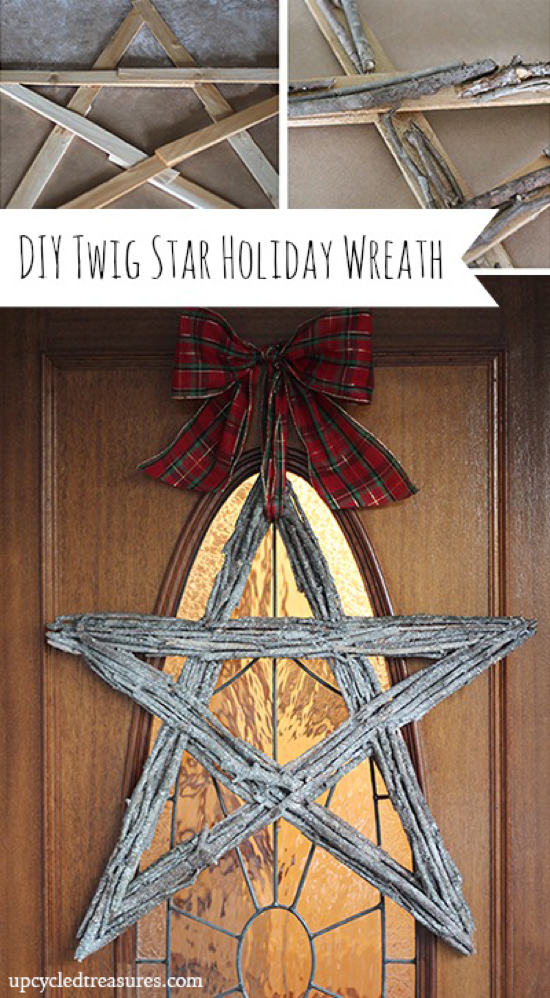
Hi there! I’m Katie from Upcycled Treasures, and I am so excited to be a new contributor for OPC! Today I am sharing a super simple DIY Twig Wreath that will cost you next to nothing to make.
Being a fan of the great outdoors, it’s no wonder I am slightly obsessed with incorporating natural elements and rustic design into our home. This project is easy peasy and just takes a bit of patience. So grab some hot chocolate, put on your favorite holiday movie, and you will be done in no time!
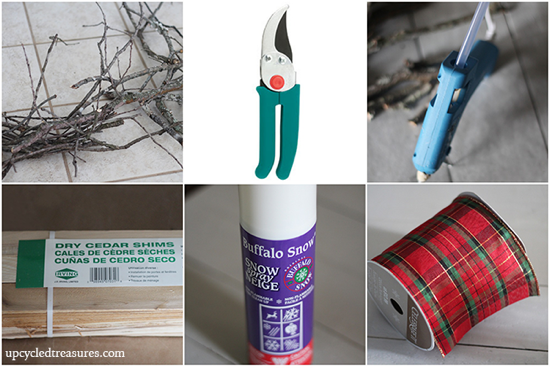
Here is what you will need:
- Wood Shims {paint sticks will also do}
- Twigs/branches
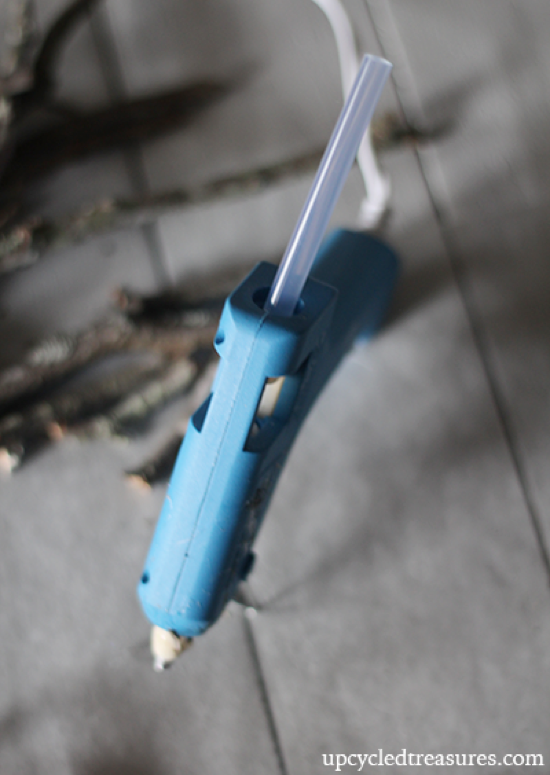
- Glue Gun/Glue Sticks
- Gardening Shears {optional}
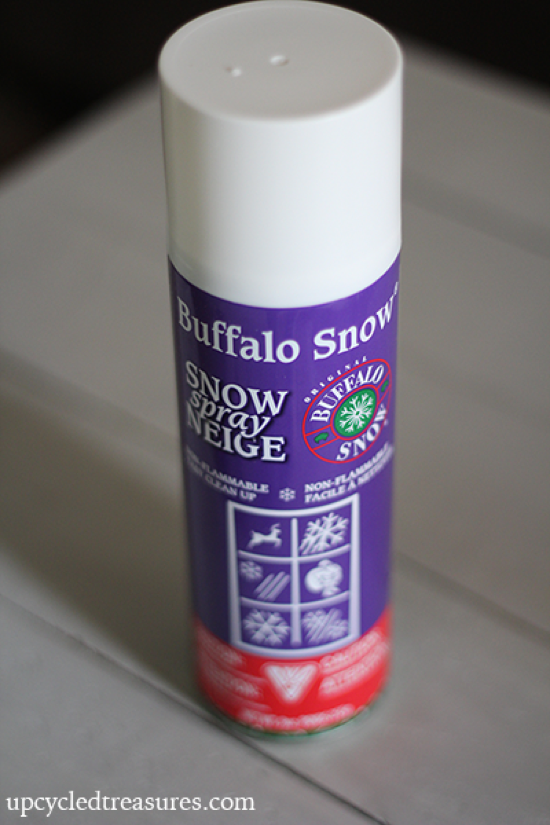
- Fake Snow Spray
- Ribbon
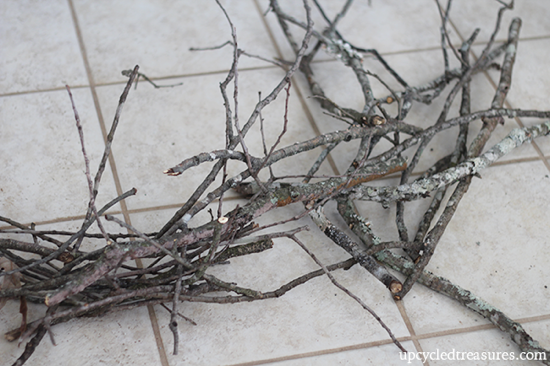
The first thing you will want to do is collect some branches/twigs from the ground in your yard. I actually had some leftover from my DIY Twig Tree Ornament. Side note: the photo below is just a small portion of the twigs I had collected.
I like to “bake” my sticks in the oven before using them for projects. You can simply place them on a foil lined baking sheet on low {or 250 degrees} for about 30 minutes. This ensures the twigs are nice and dry, and it kills off any bugs that may be on them {eek!}.
Once the sticks were cooled off I broke them into different sizes and moved them off to the side. You could also use gardening shears for this part if you would like, especially for thicker branches/twigs.
I then took 10 Wood Shims, which were leftover from my wood shim artwork, and made a star shape by overlapping the ends. I did this project on top of kraft paper which had some “fake snow” left on it from when when I sprayed my nautical Christmas wreath.
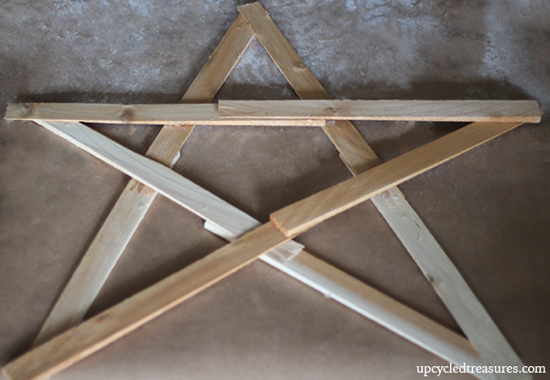
Once I had the star shape I liked, I used my glue gun to glue all of the ends together and hold the star shape in place.
Afterwards it was time to start gluing on the twigs, yay!

I simply started gluing twigs on top of the wood shims and overlapping one another. I used different sizes to create even more texture and interest. Once I filled the top of the wood shims, I went along the edges as well.
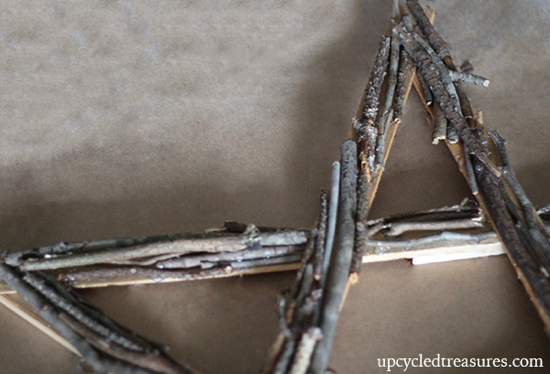
Here is what my star looked like several twigs and glue sticks later..

I then sprayed it with some “fake snow”.
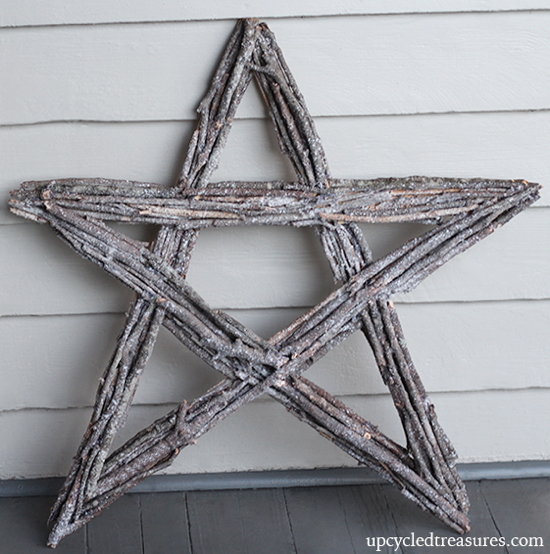
Rather than use a wreath holder, I attached some ribbon, a pretty bow and hung it from a nail on the door. Here is what she looked like all finished:
So if you are looking for a fun and affordable holiday wreath then this is a great option! Plus you can follow the same guidelines and make any other shape, a monogrammed letter, a snowflake, etc. The possibilities are endless!
My sister liked this one so much I let her keep it. What do you think?


LOVE LOVE LOVE this!!
So happy you like it JoAnn! My sister said she will just switch out the bow and keep it up year round 🙂
Fun project! We just had our River Birch cut down, but Inpeomise I could have made 50 of these with all the twigs it constantly dropped!
Gotta love free twigs and there doesn’t seem to be a shortage of them either 🙂
Such a cute idea!
Thank you Kathryn and Happy Holidays!
That is so awesome… Funny story. I tried to make a “grapevine” basket one year, but I used Poison Ivy vines. It was in the winter, and my sister told me to go out and pull vines down off the trees like she did for her wreath.
Never trust a sister…
hahahahahahah i love this story gwen!!! totally gonna do that to my sister!
Wow, that’s definitely something I would do, haha.
Love love love this!!!
Thanks Vanessa!
That is so cool! It looks great!