

Growing up, I thought watercolor painting were restricted to traditional landscapes, flowers and maybe a farmer in a field with a kitten. But recently I have really found my love for watercolor! Now, I have absolutely no clue what I’m doing. And I really mean no clue. I think once in elementary school we had an art unit on watercolor, but that’s the extent of my experience. That being said, I have recently decided to change that.
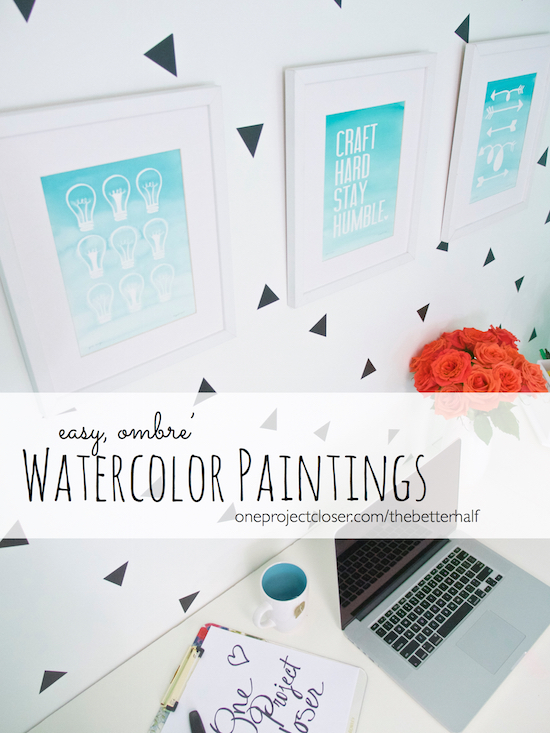
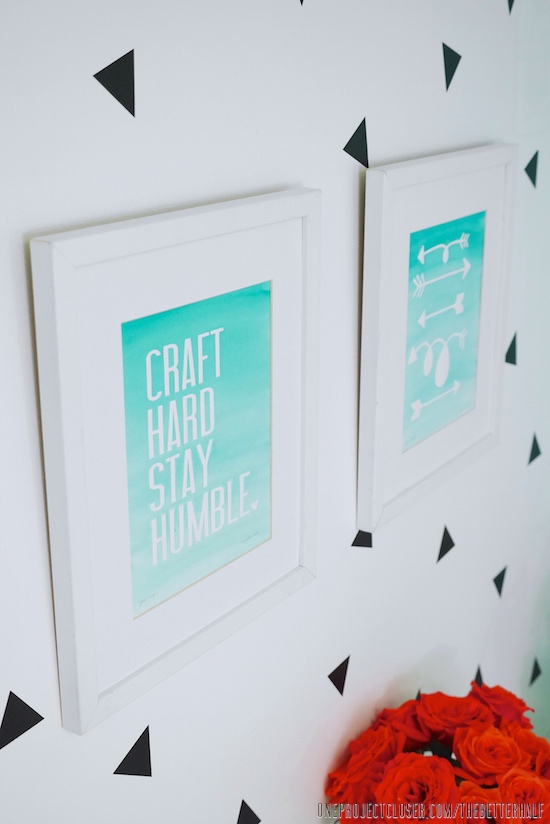
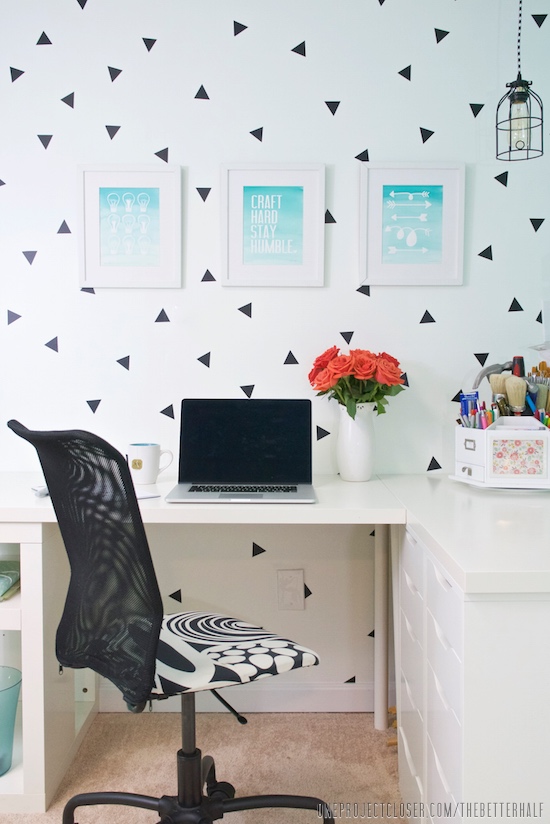
I have given my basement craft room a face lift this past week (more reveal to come later) but I decided to put three paintings over my desk, mainly because I happened to have three frames that I like.
Armed with some new watercolors, paint, my Silhouette machine, and vinyl that Expressions Vinyl sent me, I got to work. Side note: Every weekend in August we are giving away a $50 gift card to Expressions Vinyl! So you can do this project yourself! Here’s my simple step-by-step for an easy watercolor painting for beginners:
Step 1: Design and Cut
Using my Silhouette machine, I designed these three graphics: the lightbulbs, arrows (bought from the Silhouette store), and “Craft Hard Stay Humble.” That’s my very own favorite saying!
Once designed, cut them out with the machine. If you don’t have a machine, you can print them and use an x-acto blade to trace the design over top the vinyl. OR easy option, buy stickers in the design in you want to paint!
Step 2: Place Design
Okay, so this is a pretty easy step. I use transfer paper to move the vinyl from its backing to the paper to keep it from bubbling or moving.
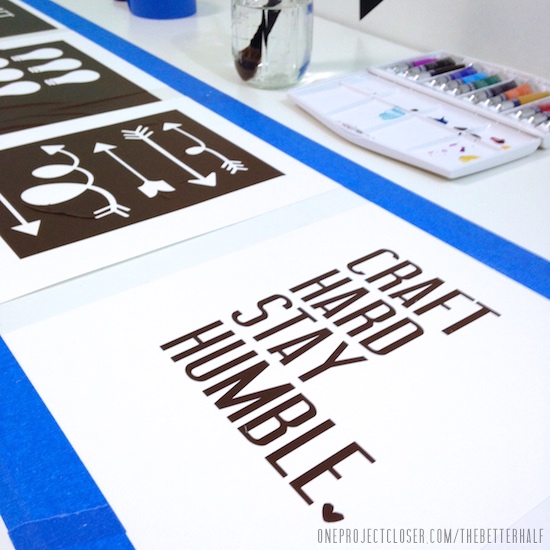
If you want all-over color, like the ombre’, place the stickers on the INSIDE of the cut out (as pictured above in the forefront). If you want just the design painted on the paper, place the sticker on the OUTSIDE of the cut out (as pictured above in the background).
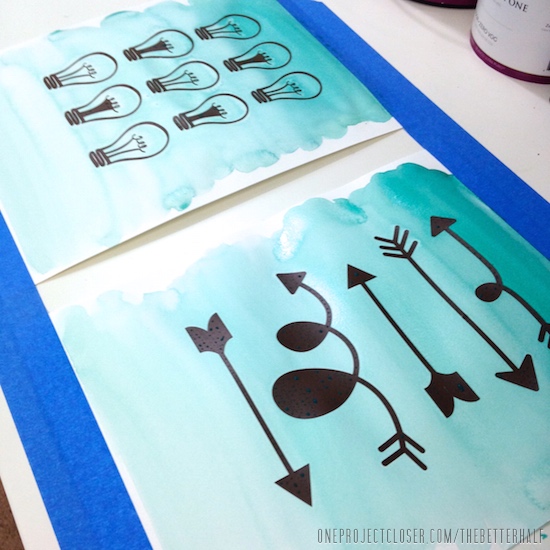
Step 3: Watercolor
I’m sure the real artists out there have some great tips and feel free to lay them on me. But here if how I went about my ombre’ look. First, I picked my color and really filled my #18 brush (bigger would be fine too). I made long horizontal strokes back and forth at the top, without lifting my brush, slowly moving down. About a quarter way down the paper, I half dipped my brush in the water (only once) and then returned to the paper using the same technique going side to side working down the paper. I repeated this twice more halfway and three-quarters down the paper.
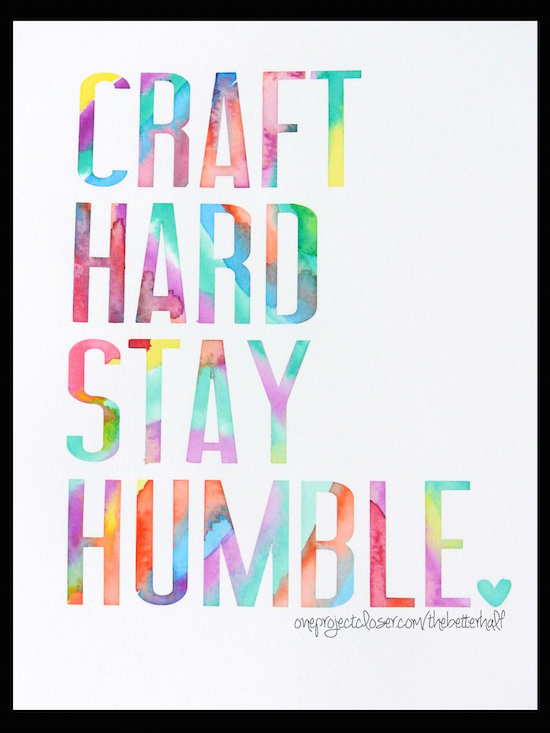
When I painted the inside of the letters I used a different technique. First off I used a lot of color and less water. Then I just sorta tried to balance the color throughout the picture while keeping the color dark. EASY!
Here’s a free printable for you of my favorite of my paintings (plus this is my very own saying).
Step 4: Once Dry, Frame!
I gotta say, I kinda surprised myself with how amazing these turned out! Plus, it really was easy!!

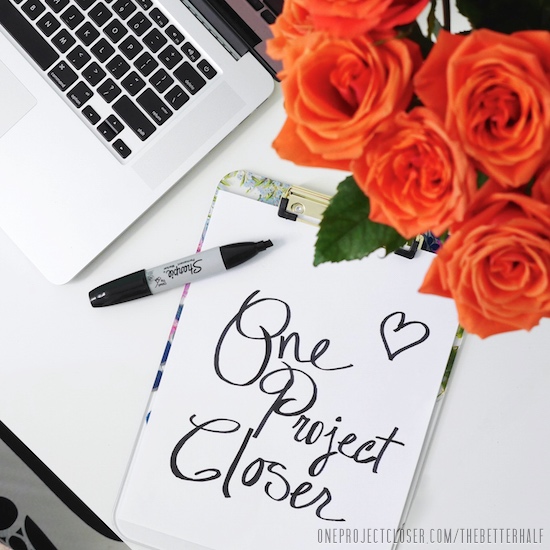
Oh, and here’s my cute little free hand for the photo shoot. And did you see the pretty flowers Ethan got me for my birthday?
What do you think? What are your tips for an easy watercolor painting for beginners?
As Always, thanks for reading!

Don’t forget to check us out on Facebook, Pinterest, and Instagram!

Love these SO much! What a great idea!
Thanks so much amy! this is by far my favorite wall in the house right now! 🙂
[…] Easy Ombre Water Color Paintings – One Project Closer […]
I know it’s been a while since you posted this but I just found your blog. Oh I’m loving these watercolor pictures you have made. I am setting up a craft room in my spare bedroom and right now I’m trying to get everything sorted and labeled. This part hasn’t been fun but it has to be done . I’ve even found things that I’ve bought twice, what a waste of money.lol Anyway I’m a the point to where I need something FUN to do before I go mad.lol This is prefect . I don’t have a Silhouette machine (oh how i wish I could afford one) so I will be using craft store letters. Thank you so much for posting this and helping me have a happy moment. This will also be beautiful on my craft room wall. 🙂
P.S. I’m hoping to start my own blog soon. I’ll let you know when I do.I’m sure this will be one of my posts and I’ll be sending my followers to your website for the how tos. I’m taking lots of pictures.